


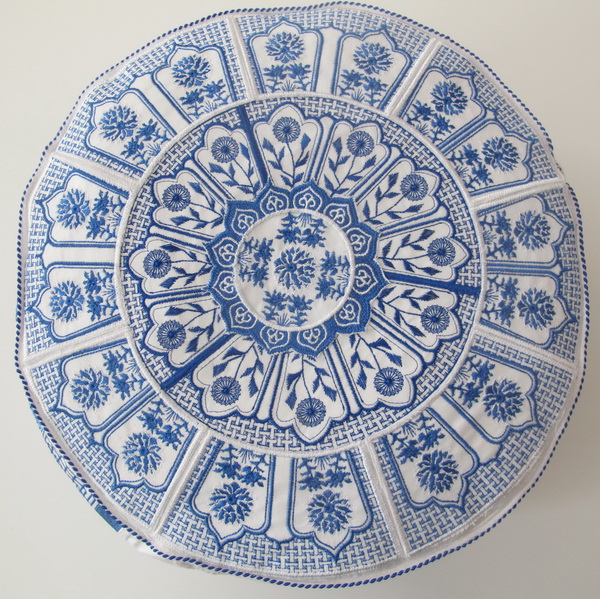
Instructions for the Reflections of Tradition Foot Stool
Notions:
- 3 metres or 3 yards of fabric (you may not need that much, but I always buy extra fabric)
- 1 x zipper 35cm or 13 inch
- 1.5 meters or 60 inches of fabric to accommodate stuffing for the stool
- I used Goose feathers to fill the foot stool so that I have no idea how much you would need as I buy the goose feathers in large bags
Stitch out all the following designs on back ground fabric of your choice
- Inner design_01
- Inner design_02
- Inner design_03
- Outer design_01
- Outer design_02
- Outer design_03
- Outer design_04
- Outer design_05
- Outer design_06
- Outer design_07
- Outer design_08
- Tradition_01
- Tradition_02
- Stitch twice Tradition_03
- Tradition_04
- Tradition_06
- Stitch 5 times Tradition_07
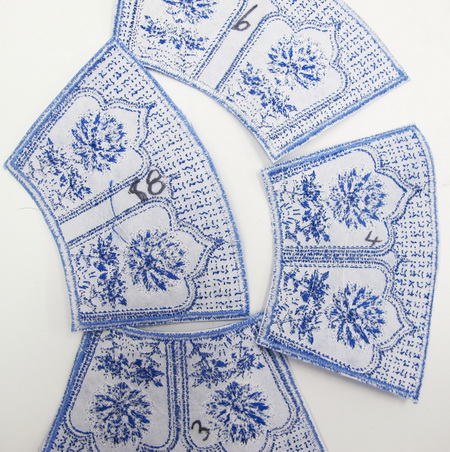
1. Number each of the inner and outer designs as you finish stitching the designs out
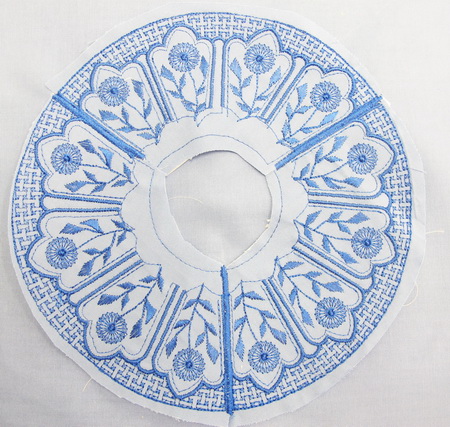
2. These are the three “Inner design” panels. Lightly glue each of the panels using a hot glue gun onto the background fabric which is the same white fabric that I stitched all the designs, notice in the photo above you do not cut the panels close to the stitched edges.
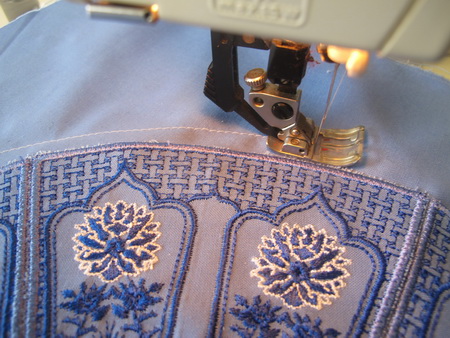
3. Satin stitch each of the panels down using the same coloured thread as you used in each of the panels as you can see in the photo above
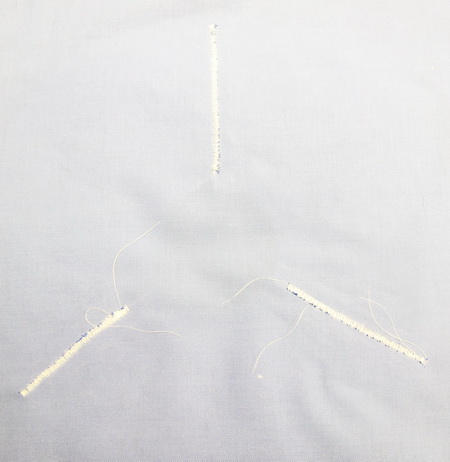
This photo is showing you the back of the fabric and the satin stitch
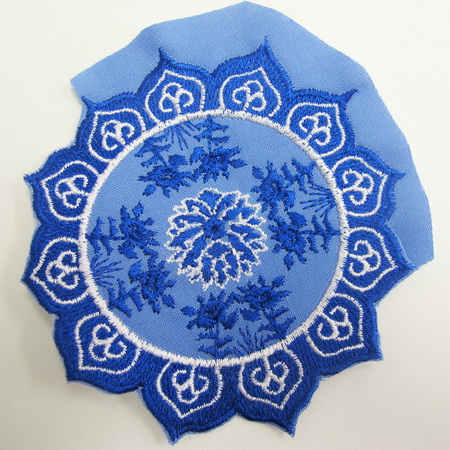
4. Cut around the satin stitch border of “Tradition_06”
5. Zigzag stitch “Tradition_06”over the top of all the inner designs
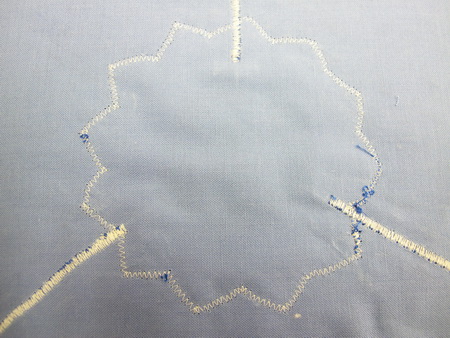
Photo showing “Tradition_06” zigzagged stitched to the background fabric
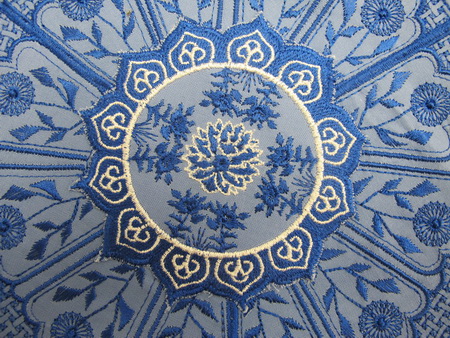
6. Zigzag stitch all the “Outer Designs” as seen in the photo above

7. Zigzag stitch all the “Tradition “ panels together
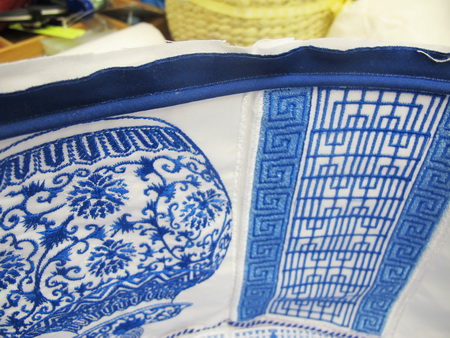
8. Stitch cording to the top of all the panels
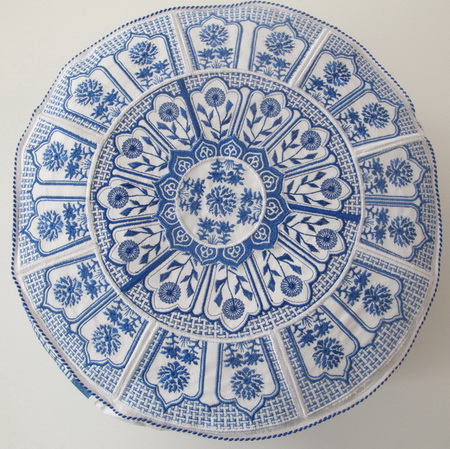
9. Straight stitch around the design this gives a base to work from when stitching all the “Tradition” panels to the top
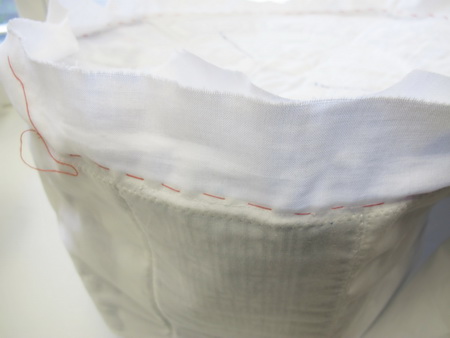
10. Pin and hand stitch the top and side together, this may take a bit of manoeuvring and may be a bit fiddly, I had to undo and redo a couple of times as fabric and stitching can vary.
11. First insert a zipper into fabric
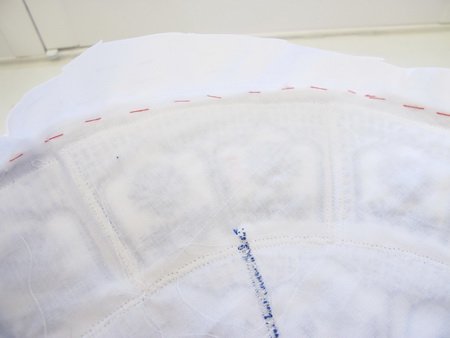
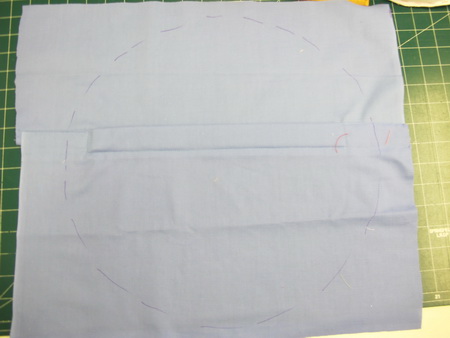
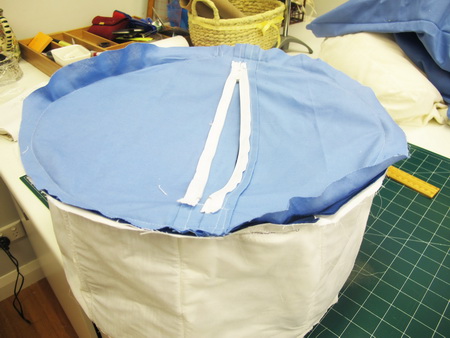
12. Lay the top of the foot stool over the fabric and roughly draw the circle
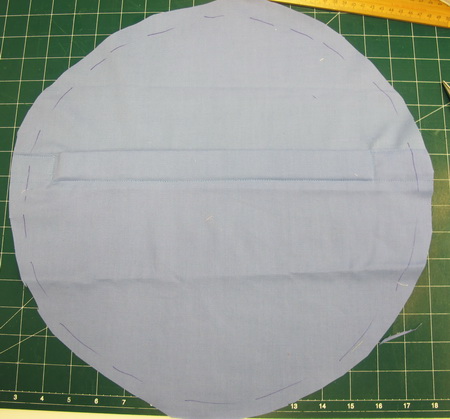
13. Cut around leaving enough room for variances as shown in the photo above
14. Stitch to the base of all the “Tradition” panels a cording
 '
'
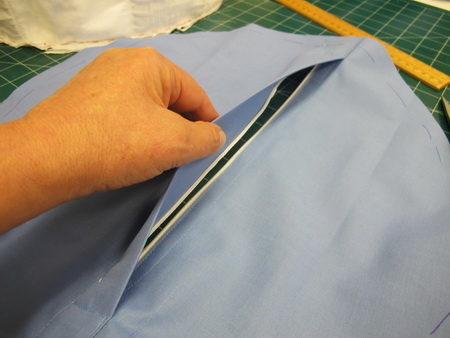
15. Before attaching the base panel to the “Tradition” panels make sure you have your zipper open also notice I used a darker colour for the base as the white shows the dirt
16. Pin and hand stitch base to the panels then machine stitch base to the panels
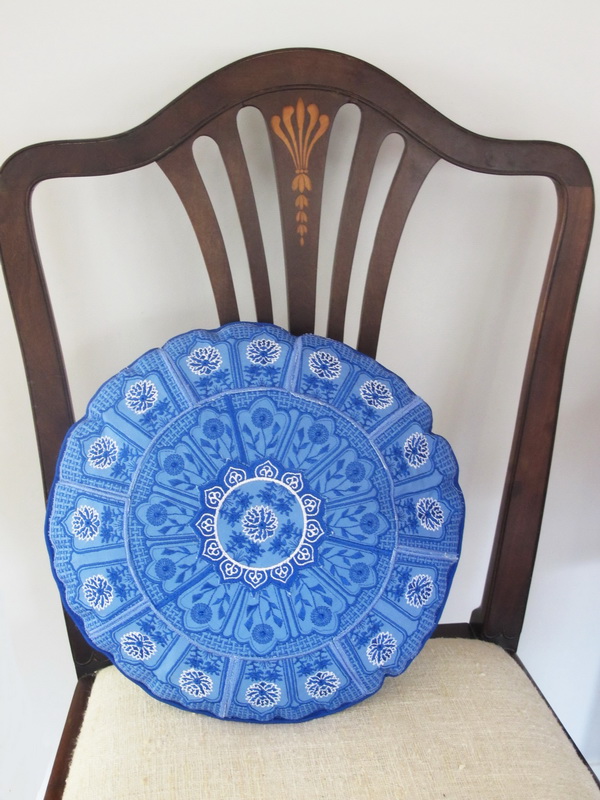
Instructions to make the Reflections of Tradition Cushion
What you will need:
- 2 meters or 2 yards of fabric (you may not need that much as I always buy extra fabric)
- 1 zipper 35cm or 13 inch
- 1.5 metres or 60 inches of fabric to accommodate stuffing for the stool Stitch out all the following designs on the background fabric of your choice
- Inner design_01
- Inner design_02
- Inner design_03
- Outer design_01
- Outer design_02
- Outer design_03
- Outer design_04
- Outer design_05
- Outer design_06
- Outer design_07
- Outer design_08
- Tradition_06
Follow the instructions for the footstool until number 9. No need to read instruction number 8.
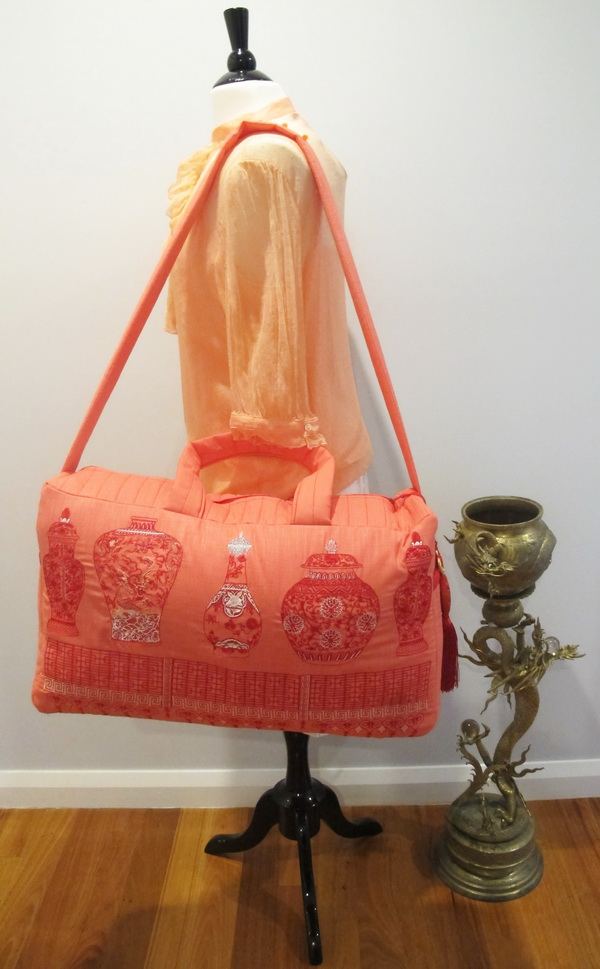
Reflections of Tradition Overnight Bag
What you will need:
- 3 metres or 2 yards of fabric (you may not need that much as I always buy extra fabric)
- 3 metres of wadding (thin wadding)
- 30cm or 12 inch zipper
- 3 metres of lining fabric
- 6 metres of bias binding
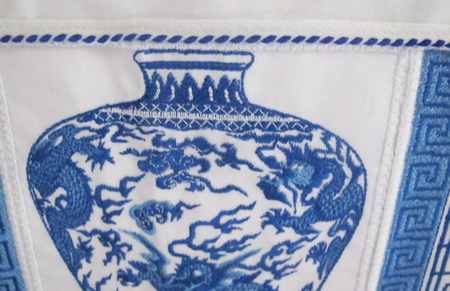
Mark the centre on your fabric as to where you would like the designs to go and then stitch out the following
- Tradition_13
- Tradition_12
- Tradition_11
- Tradition_10
- Tradition_13
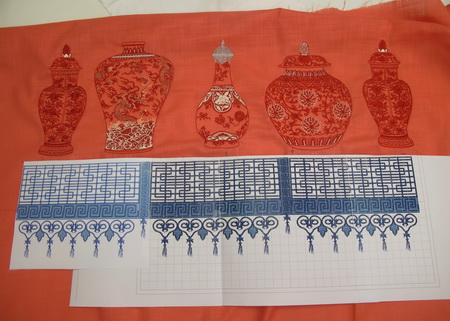
- Photocopy in Actual size, two of “Tradition_08”and one of “Tradition_09”
- Cut the paper designs out as you can see in the photo above
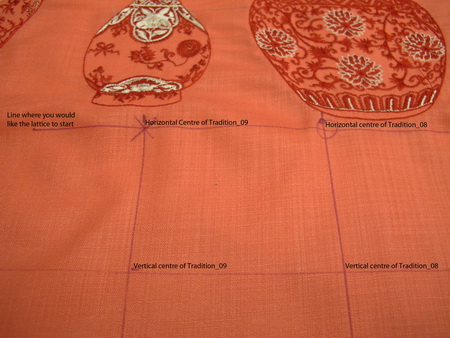
- Mark the centre of the jars on the fabric
- Mark a line across as to where you would like the lattice work to start
- Mark the centre of the horizontal line for the lattice work
- Stitch out “Tradition_09”
- On the left side of “Tradition_09” stitch “Tradition_08”
- On the right side of “Tradition_09” mirror image “Tradition_08” and then sew
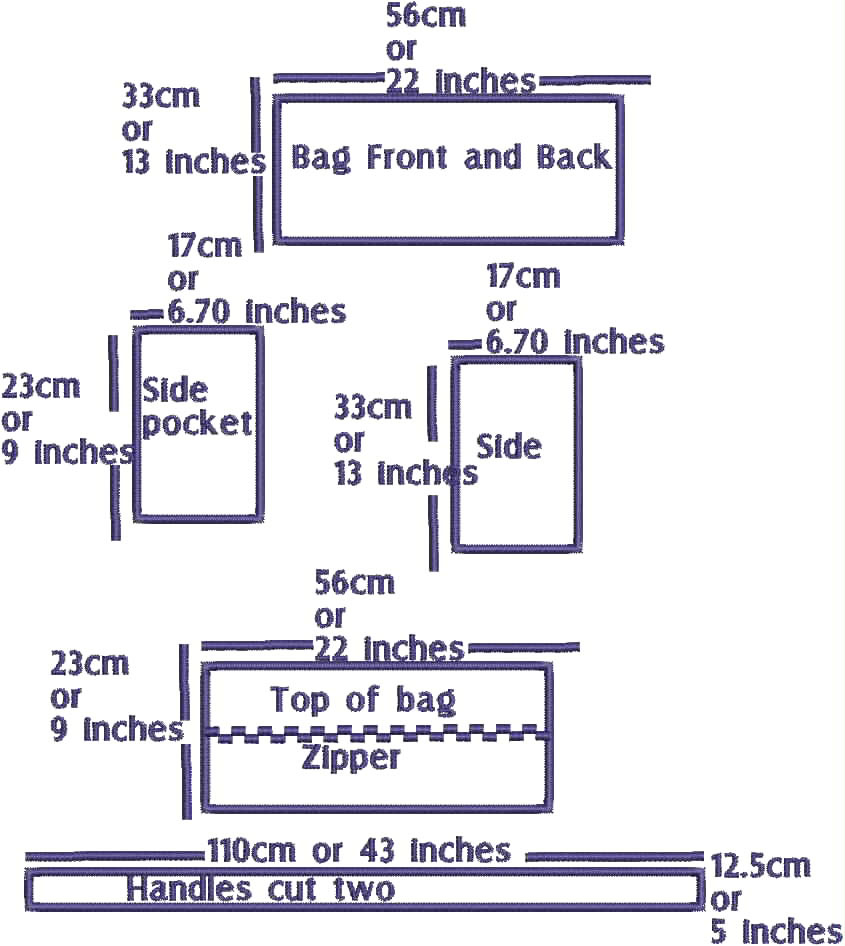
- Once you have finished stitching all the designs out cut the front and back as to the measurements you would like or the measurements at the top of the page
- If you choose to put inside pockets into the lining, do it now
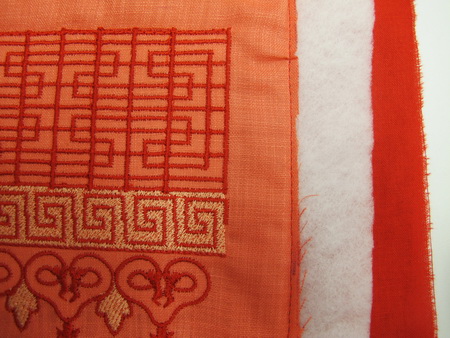
- Stitch down the thin wadding and lining to the front and back of bag
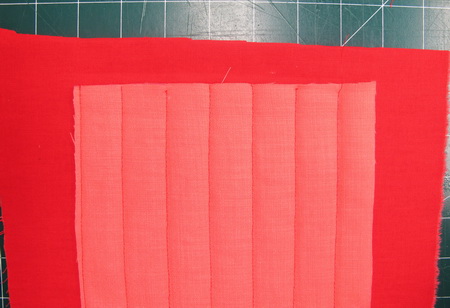
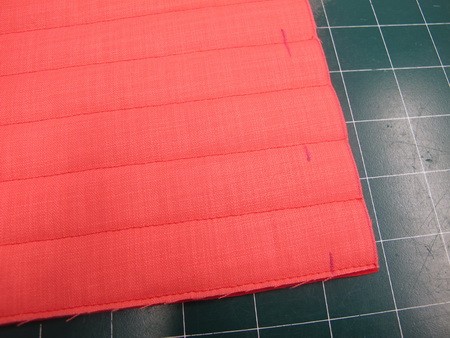
If you wish you can quilt the side pockets if you do cut the fabric larger than you need.
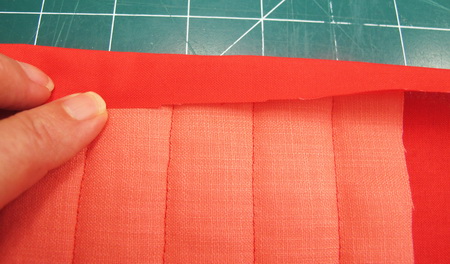
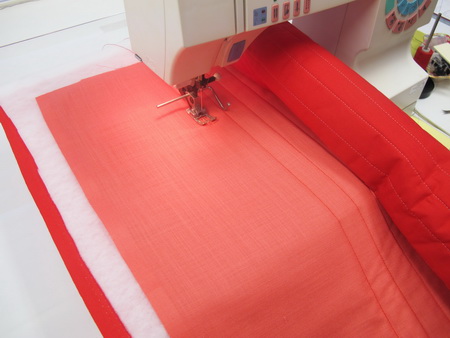
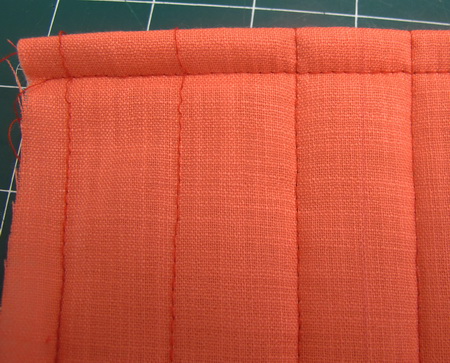
With the lining fold over the top of the side pocket and press down with an iron
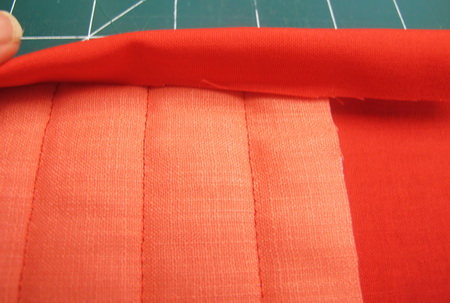
Press over once again
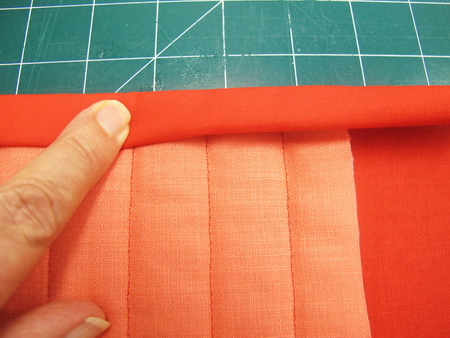
Stitch the lining down to the side pocket
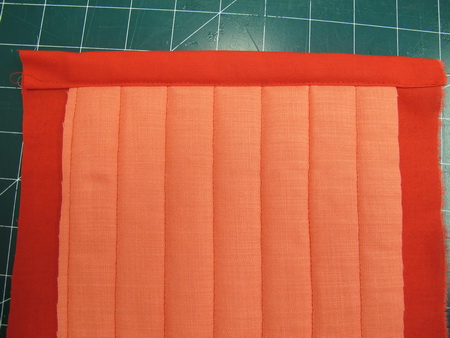
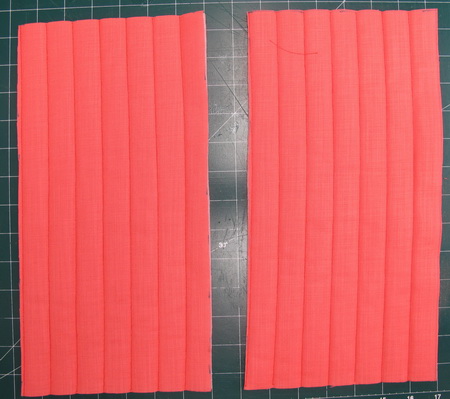
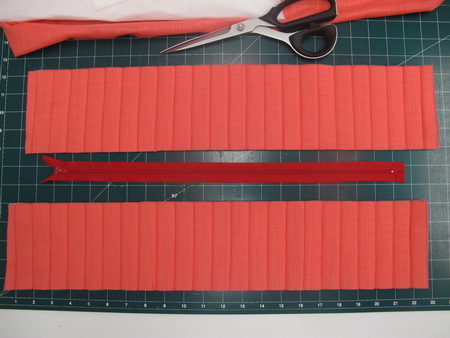
Mark the measurements for the side pockets and trim
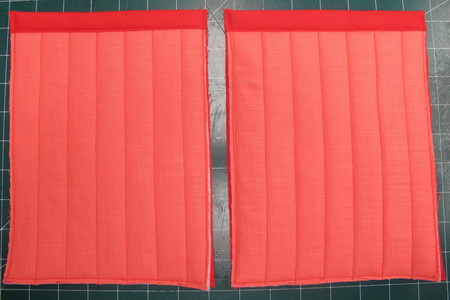
Two side pockets ready
If you choose to put any inside pockets into the lining this is the time to do it. Quilt the back of the bag

Back of bag quilted
Side panels quilted
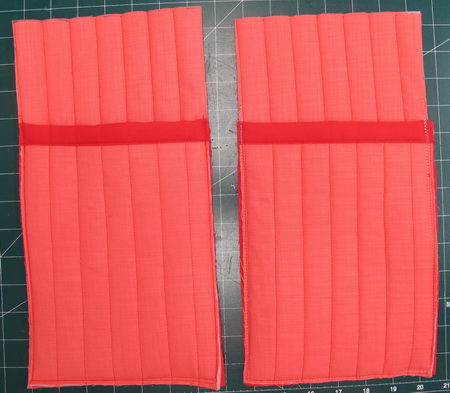
Stitch the pockets to the side panels
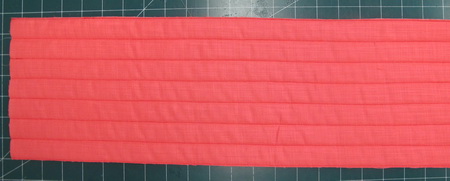
The base of the bag the measurements are 56cm x 17cm or 22 x 6.7 inches quilt the base if you wish

Top of bag, mark the centre of the top
Cut the centre of the top for the zipper

Finish the edges for the zipper so, as there will be no frayed edges
Fold over the fabric for the zipper
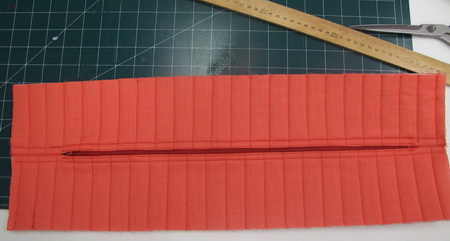
Zipper inserted into the top of the bag

Stitch the base to the back of the bag
Stitch the two sides to the back of the bag
Stitch the side panels to the base sides
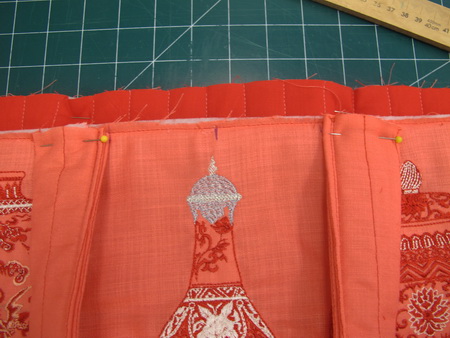
Stitch the front of the bag to the side panels
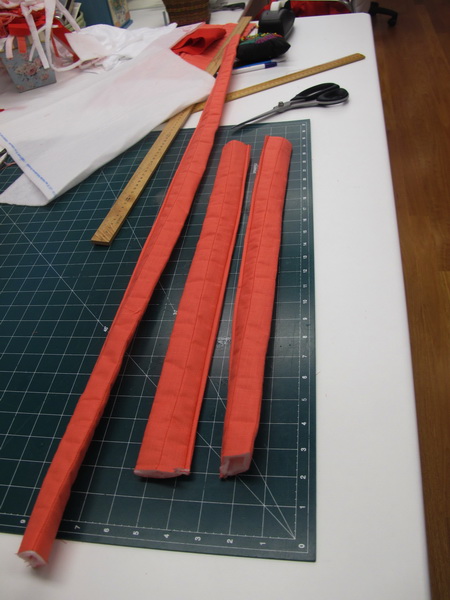
Cut one of the handles in half
Stitch down the long handle from one of the side panels to the other side panel
Find the centre on the front and back of the bag and measure from there where you would like to place the two smaller handles
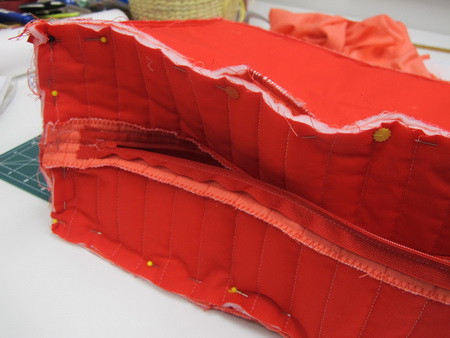
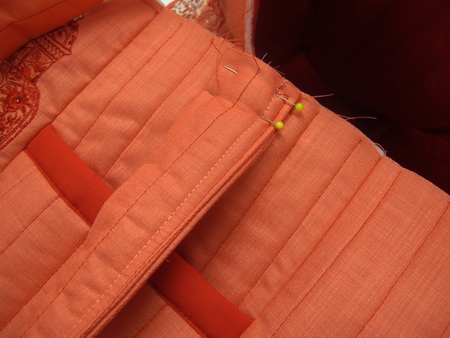
Pin the top to the bag as shown in the photo above
I suggest you hand stitch first before you machine stitch
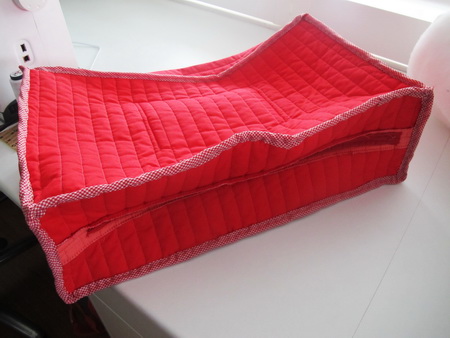
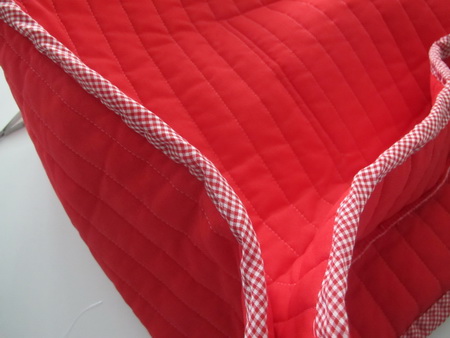
To finish the bag stitch a bias binding around the edges or finish off using your sewing machine
Close up of the finish inside the bag