|
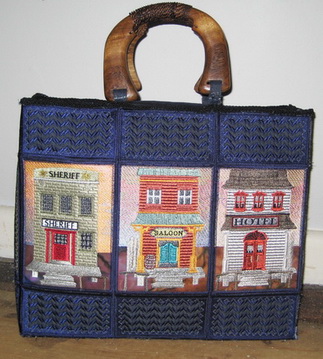
Instructions for Old West Bag |
||
|
||
 |
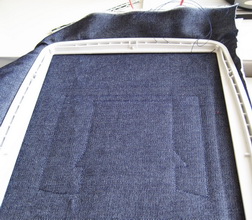
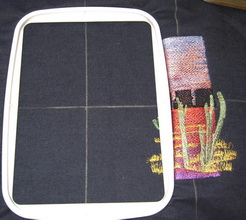
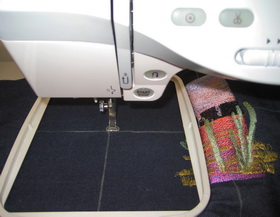
Insert in the hoop Jean fabric and a cut away | |
 |
Clip the hoop into your machine and then slide under Floriani Stitch and Shape (You can purchase the Stitch and Shape from United States Australia florianiembroidery.com.au
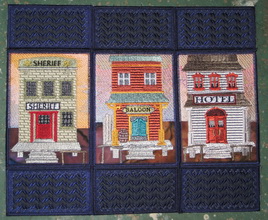
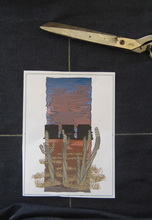
Stitch out the following designs: Hotel_01 Sheriff Saloon |
|
 |
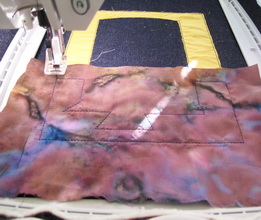
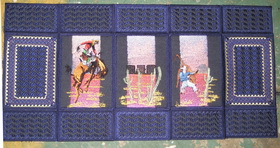
Stitch the first “Default colour” the stitch out is the size of fabric you will need for your sky background. | |
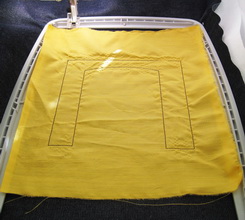 |
I chose a yellow sky fabric (choose whatever would best suite you) Stitch the second “Default” colour out | |
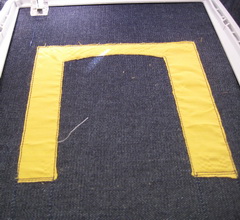 |
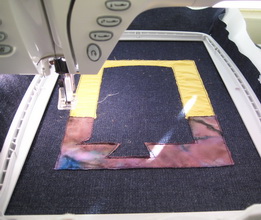
Take your hoop out of your machine and cut away the excess fabric | |
 |
Insert your hoop back into the machine and stitch out “Default colour” number three | |
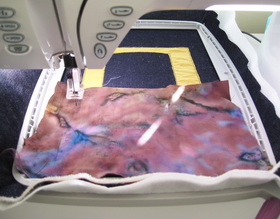 |
I chose a mottled hand dyed fabric for the ground cover (choose whatever would best suite you) Stitch the fourth “Default” colour out. | |
 |
Fourth” Default colour” stitched out | |
 |
Take the hoop out of your machine and cut away any excess fabric then clip your hoop back into your machine | |
 |
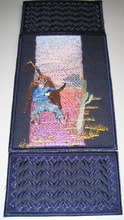
Stitch out “Bag top_bot_01” 16 times. I also designed another block for the top and bottom of the bag “Bag top_bot_02” this one has more detail in the design, I will leave that up to you as to which design block you would like to stitch out. Cut away from the satin stitched border with your scissors | |
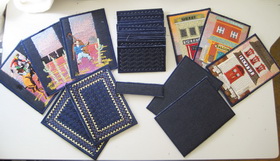 |
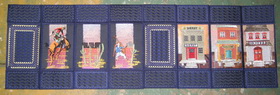
Stitch out the following designs for the bag Back_01 once Back_02 once Back_03 once Bag side twice Bag top_bot_01 16 times Bot_01 twice Bot_02 once Hotel_01 once Saloon once Sheriff once Once you have stitched all the designs out, cut away all of the above designs around the satin stitched borders using your scissors. |
|
 |
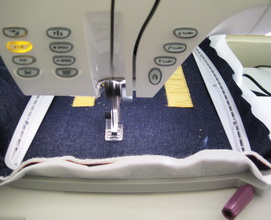
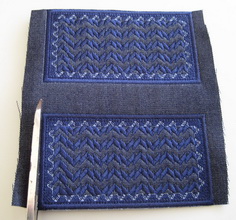
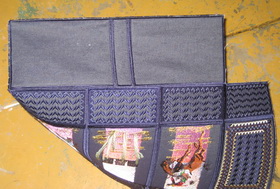
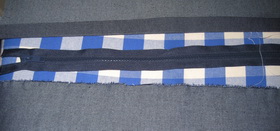
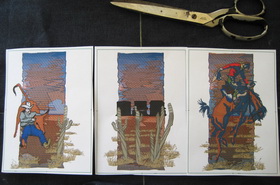
Join each panel using a zigzag stitch to start with. Over the zigzag stitch, stitch using a satin stitch all the panels as shown in the photographs to the left. | |
 |
||
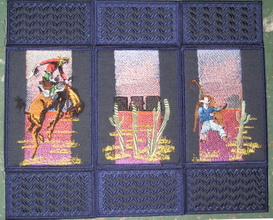 |
All the panels to the left are satin stitched together | |
 |
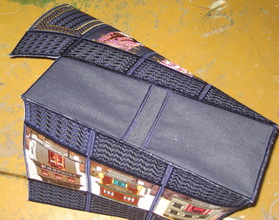
All the panels to the left are satin stitched together | |
 |
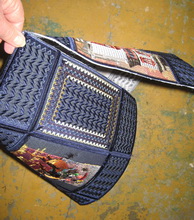
All the panels to the left are satin stitched together | |
 |
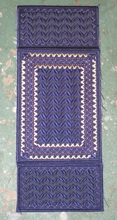
Stitch all the panels together as shown in the photo | |
 |
Stitch all the panels together as shown in the photo | |
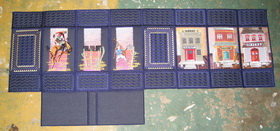 |
Stitch the “Bot_01” to “Bot_02” and then stitch another “Bot_01” together. Stitch the base part to to the following three panels Back_01 Back_02 Back_03 |
|
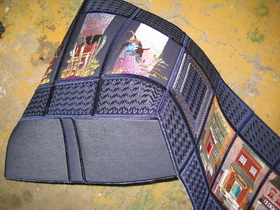 |
Stitch the base panels to “Bag side” | |
 |
Stitch the front panel to the base of the bag | |
 |
Stitch the other side panel to the base of the bag | |
 |
Getting ready to sew the final panels together | |
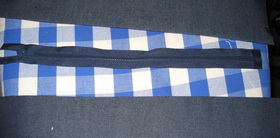 |
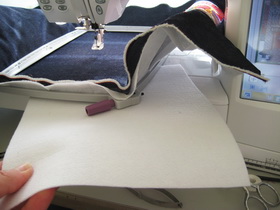
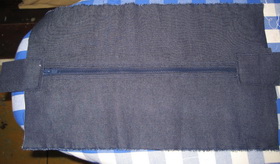
Purchase a 35cm bag zipper Cut two panels larger than your bag |
|
 |
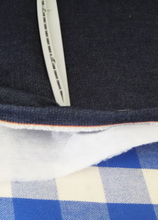
Iron down two folds for the zipper and stitch, insert the zipper | |
 |
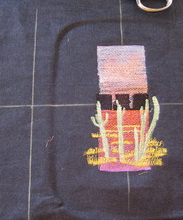
At each end of the zipper I put two blocks (I have no idea what you would call them) this finishes the top panel off nicely. | |
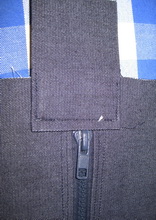 |
Showing you a close up of the block | |
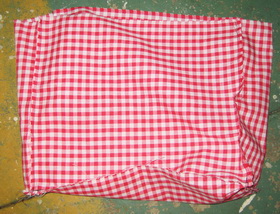 |
Make an insert with pockets for the bag. I always like to use light coloured fabric for the lining of bags, that way you can see more clearly as to what you have in your bag | |
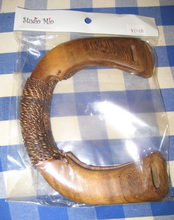 |
I purchased these handles at http://www.thequiltingheart.com/pdf/baghandles.pdf | |
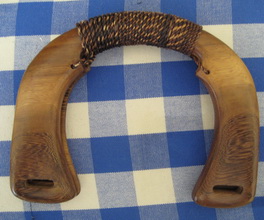 |
Close up of the handles | |
|
Instructions for Old West Cushion 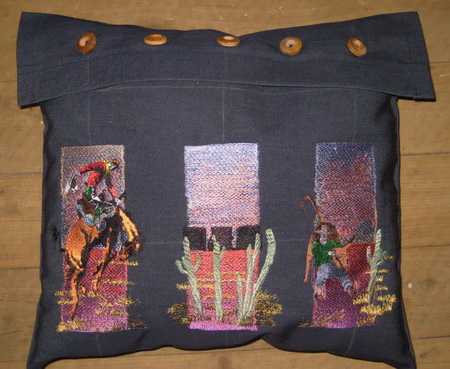 |
||
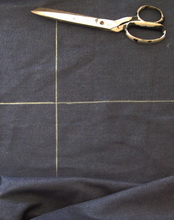 |
Make a centre point to place the centre design which is “Back_02” using either chalk or marking pen | |
 |
Print out all three of the following designs in “Actual Size” with the your centre markers Back_01 Back_02 Back_03 |
|
 |
Positioning all three designs using the print outs in “Actual size” | |
 |
Stitch out the centre design first which is “Back_02” | |
 |
Place the hoop where you would like “Back_01” | |
 |
Placing the needle in the centre where you marked with either chalk or marking pen “Back_01” | |