 |
The assembly process for the Boudoir Display Quilt is identical to that used for my Delft Quilt. The procedures and photos used to demonstrate this process are those used for that project. Two sheets of lightweight stabilizer are required. Place one sheet of lightweight stabilizer over the other. |
| |
|
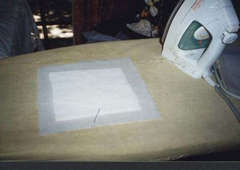 |
Lay a sheet of pellum on top of the two sheets of lightweight stabilizer Pellium is a very thin wadding. Lay the fabric square on top of the wadding. I also spray starched the fabric. Hoop the combined layers of stabilizers, wadding and fabric. |
| |
|
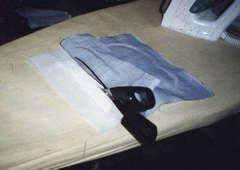 |
Cut both the pellum and stabilizer. Use the outside line that was digitized into the design as a guide as to where to cut the stabilizer and the pellium. Also use the outside line also as four points for you to pin the layers together. |
| |
|
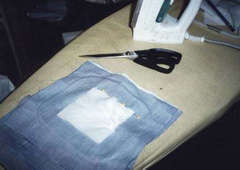 |
Pin two digitized squares together. Ensure that the squares are taught. Use both the stabilizer and the four points as a guide. |
| |
|
 |
Stitch the digitized squares together a single row. |
| |
|
 |
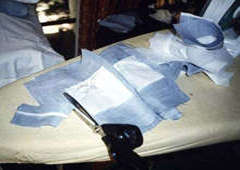
Cut away excess fabric to be ready to join up with the next row of digitized squares |
| |
|
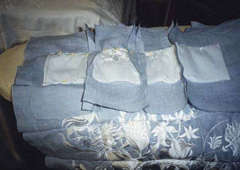 |
To join up with the next row, pin from the centre of the quilt out to the edge. This method should eliminate any problems of pulling and stretching and makes it easier to join the square up when stitching across the quilt. |
| |
|
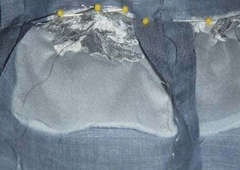 |
A close up view of the pinning process on the quilt. |
| |
|
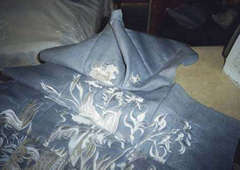 |
Ensure to match up the designs and the quilt squares |
| |
|
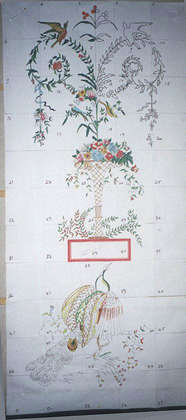 |
You will receive this .bmp file with each Boudoir design set for easy placement of each project |


