 |
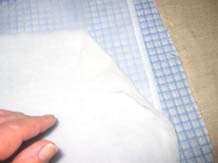
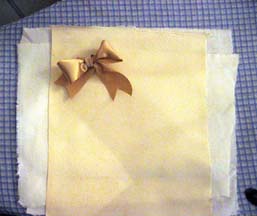
Stabilizer Very thin wadding Pure fine linen |
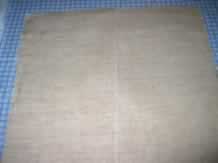 |
Iron the linen
Fold the linen in half and crease down the centre using your iron.
|
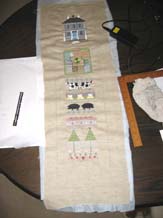 |
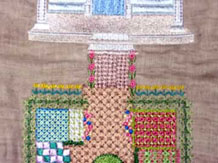
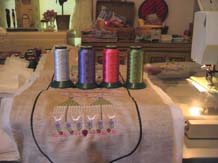
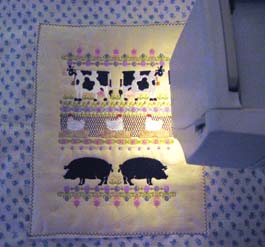
First design at the very top is
|
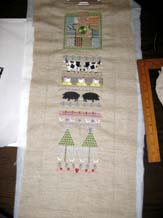 |
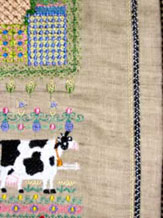
Good example as to how to rectify mistakes!!!
1) I forgot to line up with the house steps to the garden ...If you look closely the garden path and the house steps are the exact same width, so as you can have the flow from the house steps to the garden path 2) The next mistake ...Between the garden design and cow design there is to much of a space |
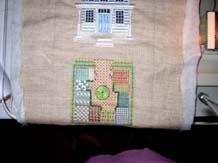 |
Close up of my mistake and the start of rectifying the problem. I am going to make the garden and path look as though they match up using my decorative stitches from the machine. |
 |
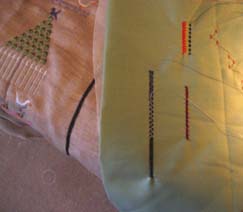
Using the straight stitch from your sewing machine stabilize the fabric for the pathway between the steps and garden path. |
|
|
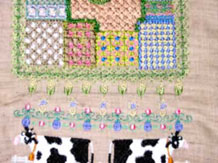
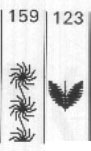
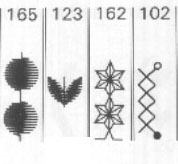
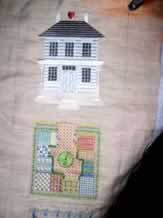
For the pathway I used a cross stitch and did 8 lines accross then on either side of the cross stitch as shown in the photograph leaves and flowers. First I stitched 3 leaves in green thread No. 123 on either side Then over the stems of the leaves I stitched the 3 flowers No. 159 in pink thread
Rectifing the problem between the garden design and cow design I used the leave stitch No. 123 in greeen thread and then stitched the flower stitch No. 159 in pale yellow thread |
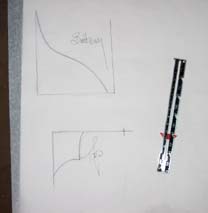 |
I have designed simple curves for the top and bottom of the Bell Pull.
Notice I have a centre line in the photograph above. This will give me a point so I can mirror the design |
 |
From experience over the years I find it best before doing a satin stitch to stitch a zigzag stitch which is slightly smaller than the satin stitch, as shown in the photograph. This helps to stop pulling of the satin stitch and give you a smoother finish |
 |
Satin stitch border completed |
 |
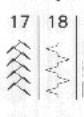
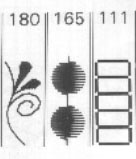
Stitch the zigzag stitch border in black thread L=1.0 W= 2.5 Stitch the satin stitch over the zigzag you just did in black thread L=.40 W=4.5 Stitch No. 17 over the top of the satin stitch a pale blue thread Stitch No. 18 on the inside of the black satin stitch L=0.5 W=3.0 pale yellow
|
 |
Beside my machine I always have a small piece of fabric that has a backing. The reason for this, so I can experiment with the decorative stitches from my machine and play with the widths and lengths to see what would look best. As shown in the photograph above |
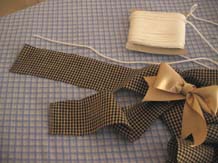 |
To make a binding to go around the Bell Pull contrasting gingham fabric |
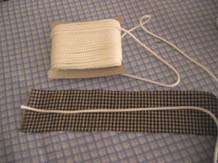 |
Place in the centre of the gingham strip the venation blind cording Fold the gingham strip over the cording and stitch down the cording to the fabric at the end you start, so the cording will not move I use my zipper foot to stitch the binding together |
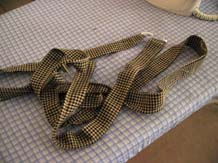 |
All finished |
 |
To stitch out the Farm Animals, 2 Trees and Garden on each of the cushions I used the following
|
 |
Using a very fine linen I stitched all three cushions using the following designs
|
 |
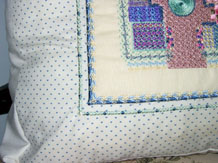
Once I had stitched out all three designs on the fine linen, I then, with my ruler made a border in pencil around each of the designs. Over the pencil marking you just made, stitch using your zigzag stitch as shown in the photograph to your left Cut away from the zigzag stitch and then zigzag onto the fabric of your choice, stitch over the 2 layers of zigzag using a satin stitch. This gives your work a lovely look |
 |
Farm Animals cushion finished |
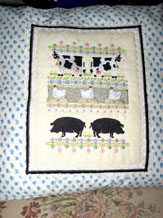 |
Farm Animals cushion finished |
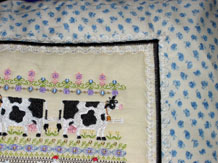 |
Close up of the black satin stitch and using a purchased zigzag braid |
 |
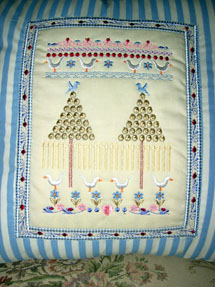
2 Tree Cushion |
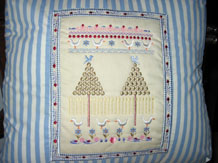 |
Close up of 2 Tree Cushion |
 |
Instructions for the border using the decortive stitches Close up of 2 Tree Cushion
Decorative Stitches used for the border design including the widths and lengths of each stitch
|
|
|
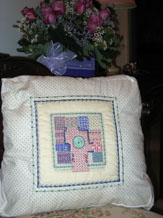
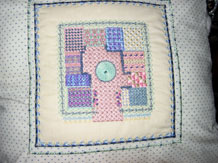
Garden cushion |
|
|
Instructions for the border using the decortive stitches Close up of the Garden Cushion
|
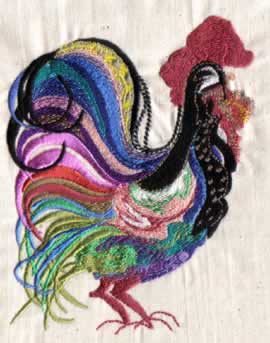 |
Stitch out of "The Rooster Crows" |