Instructions for making the Scented Orchid Book Cover. 


Notions

  • Thick upholstery fabric (you use what ever fabric that would best suit you)
  • Purchased book from Borders the maker is "Paperchase"
  • 2 sheets of medium cut-a-way
  • 2 layers of thin batting

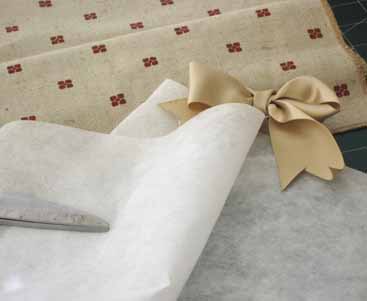
The photograph shows the fabric and the two layers of cut-a-way I used to stitch Scented Orchid_01

 
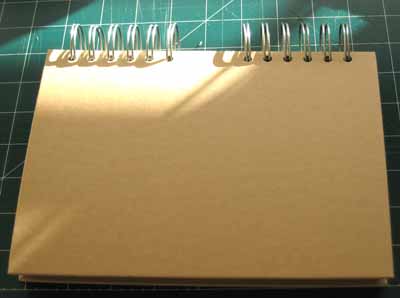
This photograph is the book I purchased from Borders.
 
2 layers of thin wadding
 
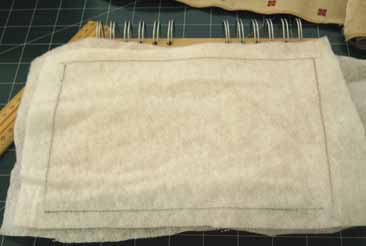
Mark the thin wadding the same size as the cover of the book
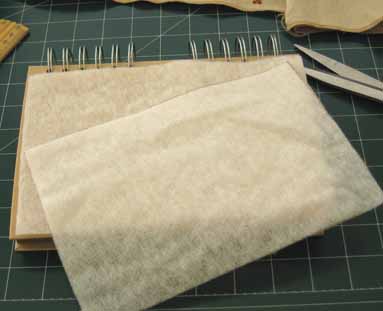
 
Cut the wadding
 
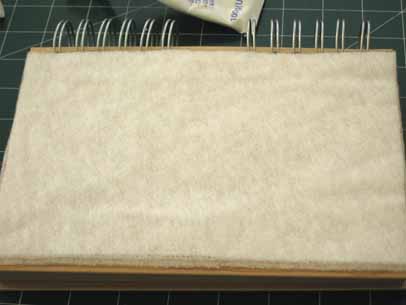
Glue the wadding onto the cover of the book
 
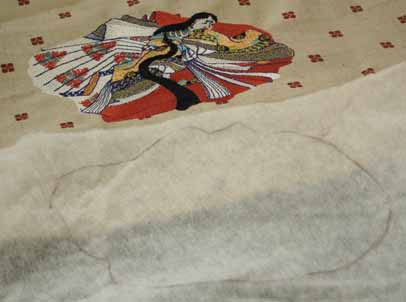
I put one piece of thin wadding over Scented Orchid_01 and traced on the wadding the outline of the design


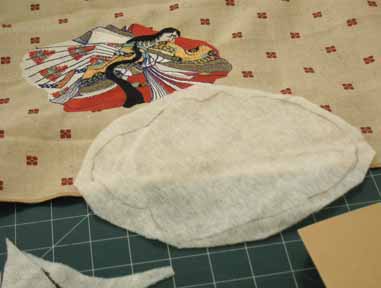
Roughly cut around the outline of the wadding and glue the wadding onto the centre of the two layers of wadding you just glued to cover of the book


Cut the cut-a-way as close as you can to the design
 
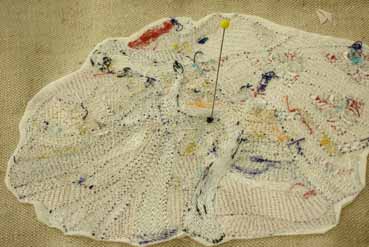
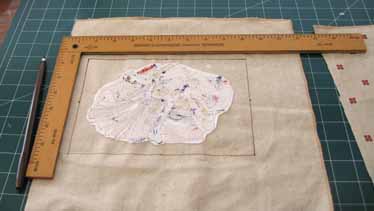
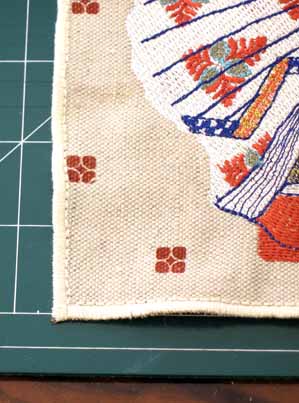
Mark the centre of Scented Orchid_01

 
Centre of Scented Orchid_01
 
  • Working from your centre you just marked using a square ruler to mark a border on the wrong side
  • Stitch on the wrong side in straight stitch around the border you just marked with your pen
 

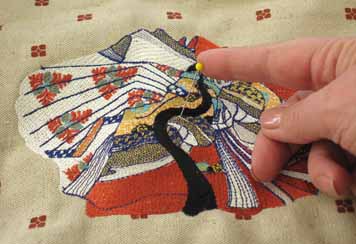
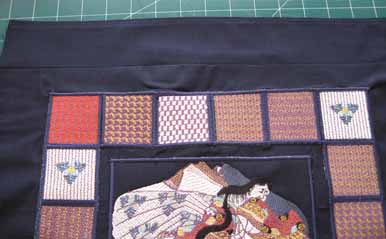
Stitch on the right side a zigzag stitch

Over the top of the zigzag stitch you just stitched, stitch a satin stitch

Over the top of the satin stitch you just stitched, stitch another satin stitch but making this satin stitch slight wider, this gives your border a lovely finish

 
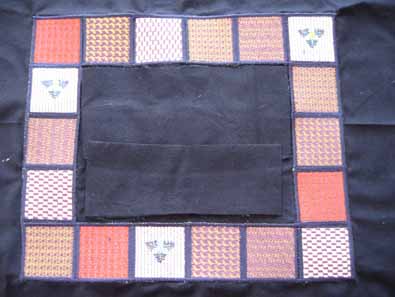
Close up of the satin stitch for the border
 
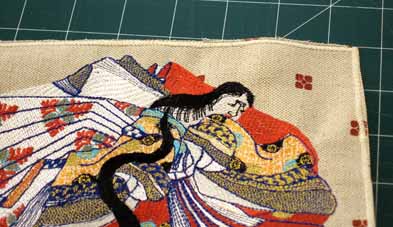
Cut away the excess fabric from the satin stitch
 
  • Once you cut away the excess fabric from the satin stitch border you then satin stitch over the satin stitch you did previously, from memory I did that twice, it does give the border a lovely finish
  • Then I stitched right up against the satin stitch a straight triple stitch, this does finish the project off beautifully
 
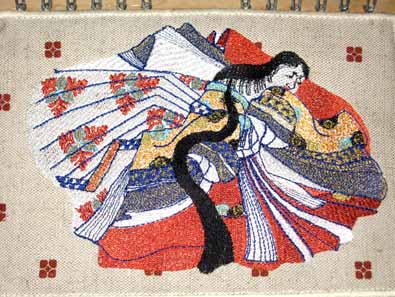
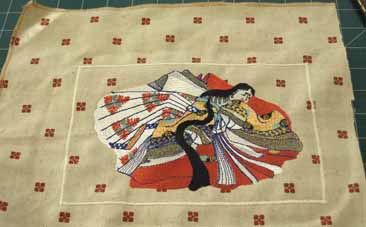
Glue Scented Orchid_01 panel onto the layers of thin wadding
 
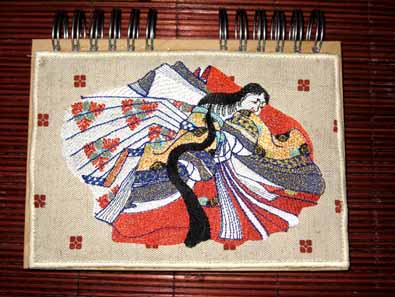
The Scented Orchid panel already to lay the books over the top
 
Once I glued the panel onto the wadding, I then layed a number of heavy books on the top of the panel and left the books on top for over twenty four hours

 Instructions for making the Scented Orchid cushion
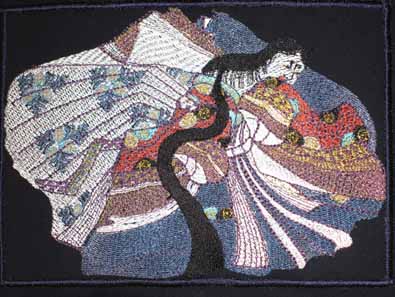
Stitch out Scented Orchid_02 As you can see I changed the thread colour's from the original design colour chart.
 
  • Stitch out the Orchid_01 to Orchid_06. I stitched out 18 squares to make a border to go around Scented Orchid_02
  • Zigzag stitch each square onto your background fabric
  • Once you have all the squares in place you then satin stitch each of the square so as to give each of the squares a nice finish
  • Then I zigzag stitched Scented Orchid_02 in the centre of the squares
 
 
Stitch a nice hem at the top of cushion
 
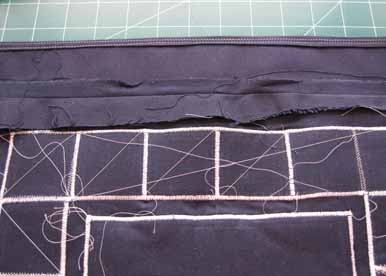
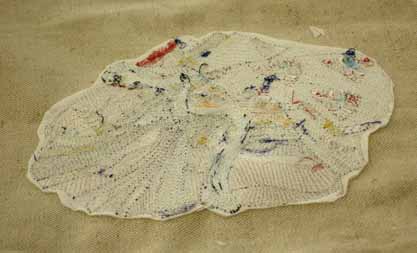
Back of what I had just finished. I find sometimes looking at the messy back shows you what had been done on the face of the cushion
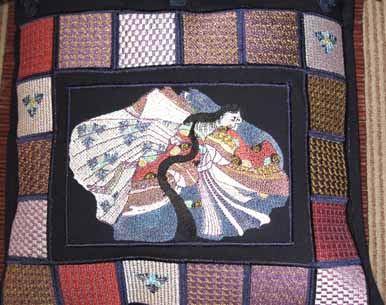

Close up of cushion
 
I made a flap to go over the front of the cushion and put Oriental buttons to give the cushion a lovely finish
 
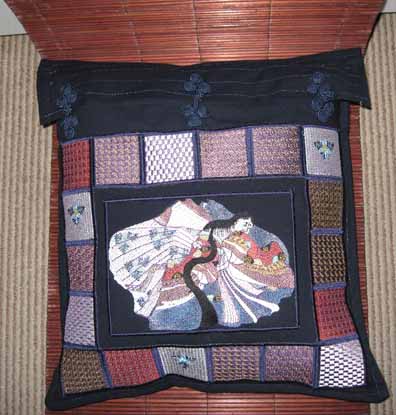
Another view of the cushion


Machine Embroidery Designs

 Latest Releases


Folklore Machine Embroidery Designs

Released on the 25th June 2019


 Folklore Machine Embroidery Designs by StitchingArt


6 designs included in the Folklore machine embroidery design set.

The Folklore design is suitable for a 6 x 10 inch or 240mm x 150mm hoop.

The Folklore design is available in DST, EMB, EXP, HUS, JEF, PES, VIP, VP3 and XXX.

The colour chart is included in the design set

As I am now digitizing with Wilcom embroidery software (which is a commercial software) we are unable to convert files to ART format. Bernina embroidery machines will now need to purchase designs in EMB or EXP format. Sorry for the inconvenience.

View the Folklore Machine Embroidery Designs

Mayil Machine Embroidery Designs

 
Mayil Machine Embroidery Designs

 Released on the 28th May 2019

6 designs included in the Mayil machine embroidery design set.

The Mayil design is suitable for a 14 x 8, 14 x 7 or 360mm x 200mm, 360mm x 150mm hoop.

The Mayil design is available in DST, EMB, EXP, HUS, JEF, PES, VIP, VP3 and XXX.

The colour chart is included in the design set

As I am now digitizing with Wilcom embroidery software (which is a commercial software) we are unable to convert files to ART format. Bernina embroidery machines will now need to purchase designs in EMB or EXP format. Sorry for the inconvenience.

View the Mayil Machine Embroidery Designs


springoflife4


Spring of Life Machine Embroidery Designs

 Released on the 27th April 2019

9 designs included in the Spring of Life machine embroidery design set.

The Spring of Life design is suitable for a 5 x 7, 6 x 10, 8 x 12 inch or 180mm x 130mm, 240mm x 150mm and 360mm x 200mm hoop.

The Spring of Life design is available in DST, EMB, EXP, HUS, JEF, PES, VIP, VP3 and XXX.

The colour chart and instructions are included in the design set

As I am now digitizing with Wilcom embroidery software (which is a commercial software) we are unable to convert files to ART format. Bernina embroidery machines will now need to purchase designs in EMB or EXP format. Sorry for the inconvenience.

 View the Spring of Life Machine Embroidery Designs


Wild and Free Machine Embroidery Designs


Wild and Free Machine Embroidery Designs

 Released on the 2nd February 2019

6 designs included in the Wild and Free machine embroidery design set.

The Wild and Free design is suitable for a 6 x 10 inch or 240mm x 150mm hoop.

The Wild and Free design is available in DST, EMB, EXP, HUS, JEF, PES, VIP, VP3 and XXX.

The colour chart and instructions are included in the design set

As I am now digitizing with Wilcom embroidery software (which is a commercial software) we are unable to convert files to ART format. Bernina embroidery machines will now need to purchase designs in EMB or EXP format. Sorry for the inconvenience.

 View the Wild and Free Machine Embroidery Designs