Up The Garden Wall Hanging
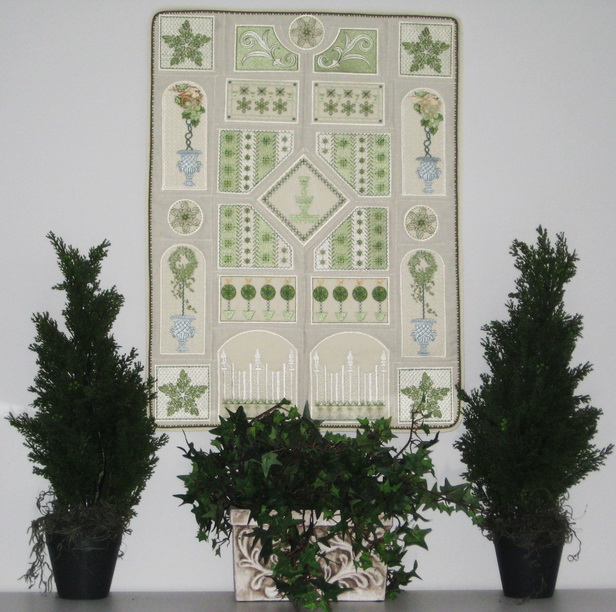
The wall hanging measurements are 68 length x 50 wide cm or 27 length x 17 wide inches
Notions:
- The following measurements are approximate, always buy more than you think you will need
- 2.5 meters or 3 yards of a pale cream cotton fabric
- 1.5 meters or 1.7 yards of either tear away or cut away
- 2.5 meters or 3 yards of pellon (thin wadding)
- Backing fabric for wall hanging
- 1.5 meters or 1.7 yards of pale piping
- 1.5 meters or 1.7 yards of bias binding (optional)
- Olive green braid 1.5 meters or 1.7 yards
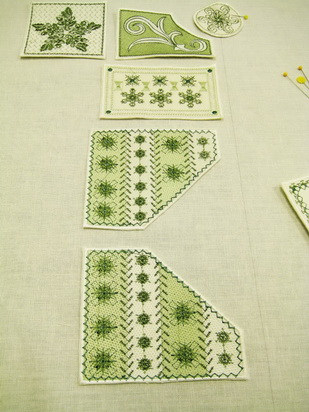
Stitch out the following designs:
- 4 of No. 01
- 2 of No. 02 (mirror one of the designs in your sewing machine)
- 2 of No. 03
- 4 of No. 04 (mirro two of the designs in your sewing machine)
- 1 of No. 05
- 2 of No. 06 (mirror one of the designs in your sewing machine)
- 2 of No. 07
- 3 of No. 08
- 2 of No. 09 (mirror one of the designs in your sewing machine)
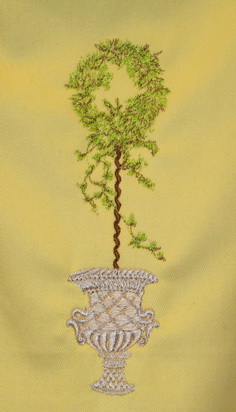
- 2 of No. 10 (mirror one of the designs in your sewing machine)
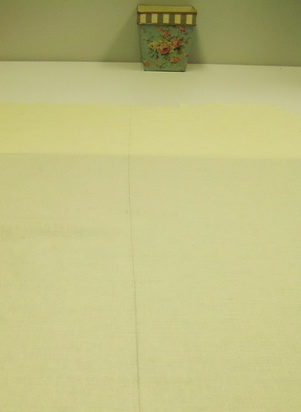
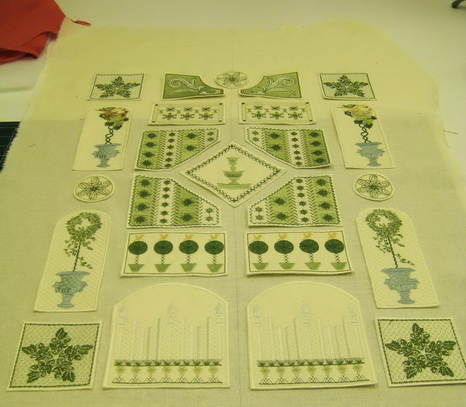
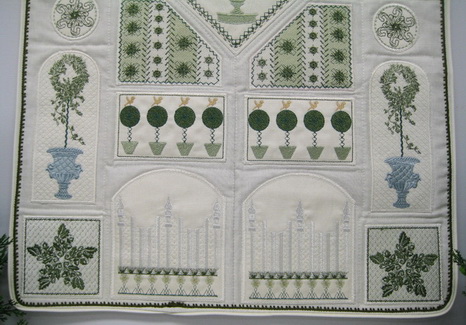
Once you have stitched all the designs to make up the wall hanging, mark a line down the centre of the background fabric you will be using to place all the designs.
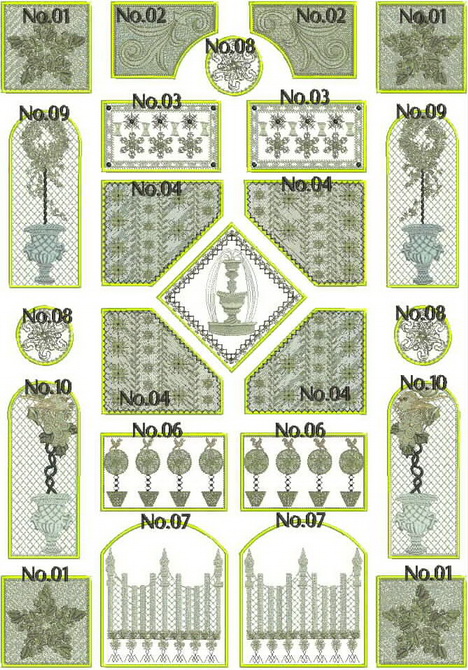
Place on the background fabric the designs as pictured above.
Pin your designs down to the background fabric making sure your measurements are correct.
Once you have pinned down all the designs and happy with the correct placement of all the designs, glue each design to the background fabric.
As you can see each design has been glued down to the background fabric. Leave the glue to dry completely before you stitch the designs to the background fabric.
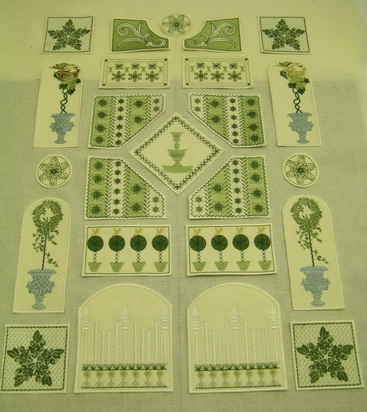
Please note: I forgot to mirror some of the designs, too much of a hurry :) please do not make the same mistake as I did.
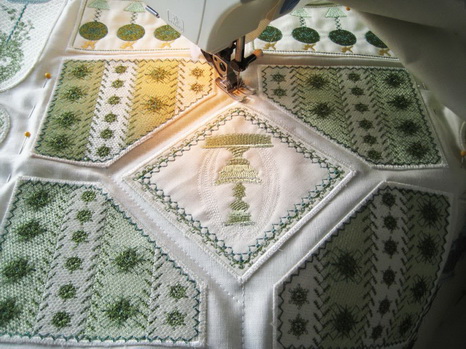
Zigzag stitch each design down.
Straight stitch in the centre of each path way to hold the wadding and background fabric together.
Stitch along the edges of the wall hanging the pale cream piping.
Stitch down the olive green braid next to the piping.
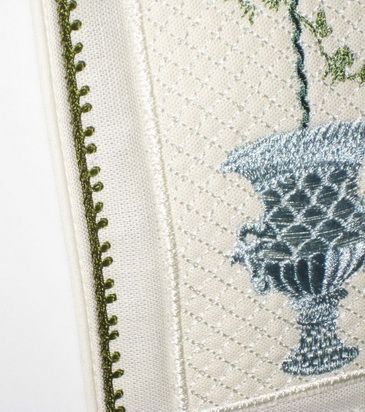
Showing the piping and the olive green braid.
On the back of the wall hanging hand stitch a bias binding over the ragged edges of the piping or if you are not that fussed about the back you can leave it.
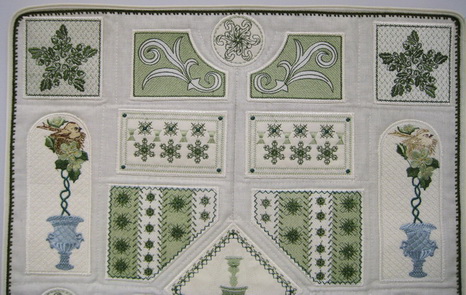
Completed Wall Hanging.
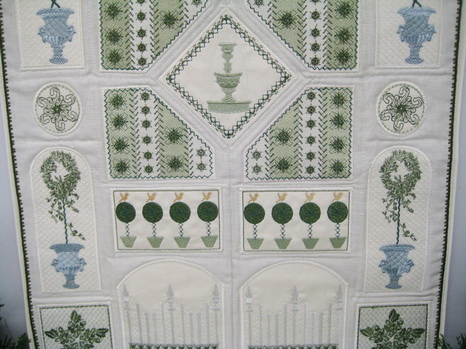
Completed Wall Hanging.
Completed Wall Hanging.
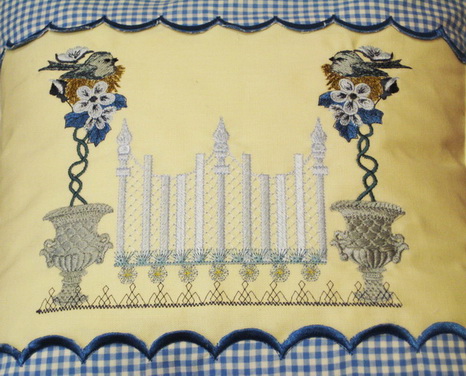
Up The Garden Cushion
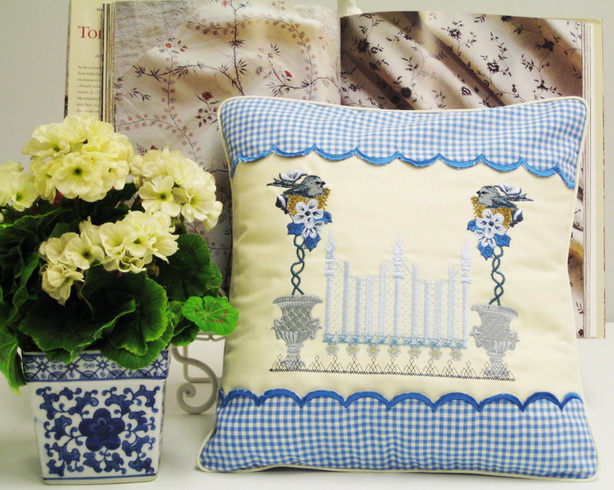
Stitch the following design:
For the 180 x 130mm or 5 x 7 inch hoop
- Stitch No. 10b, No. 07c then mirror No. 10b in your machine and stitch
Or
- No. 10a, No. 07c then mirror No. 10a in your machine and stitch
For the 360 x 150mm or 6 x 14 inch hoop
- No. 07b_360x150
For the 360 x 200mm or 7.9 x 14 inch hoop
- No. 07b_360x200
The decorative stitches in your machine have some lovely scallop designs.
Stitch a scallop design on a pretty fabric, cut away the scallop.

Up The Garden Apron
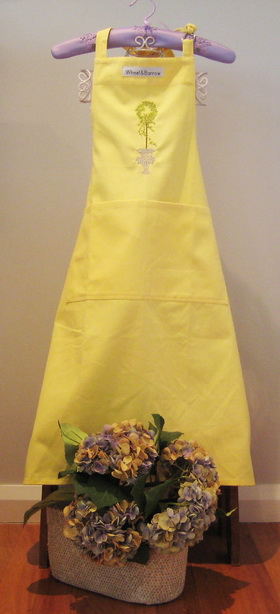
Stitch No.09a onto an apron either one you have bought or made.