


Mother and Child Icon Instructions
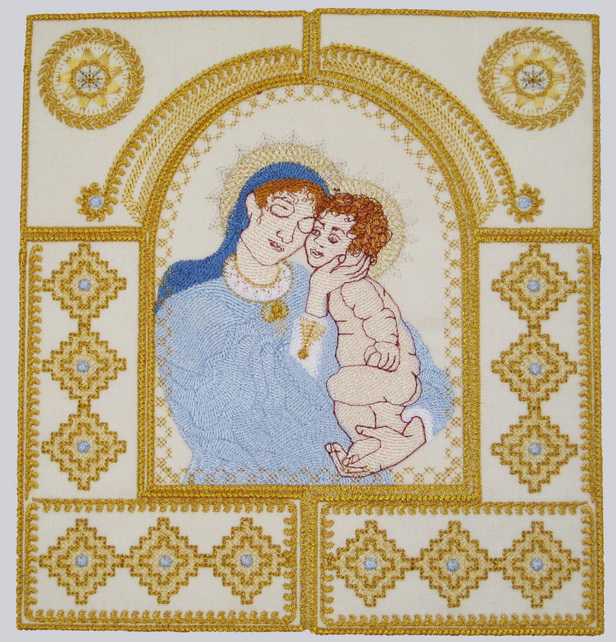
Size of Mother and Child Icon once all stitched out
22.8 x25 cm
Or
9 x 9.9 inches
Stitch out the following designs
- MotherChild_01
- MotherChild_02
- MotherChild_02 mirror imaged
- MotherChild_03
- MotherChild_03 mirror imaged
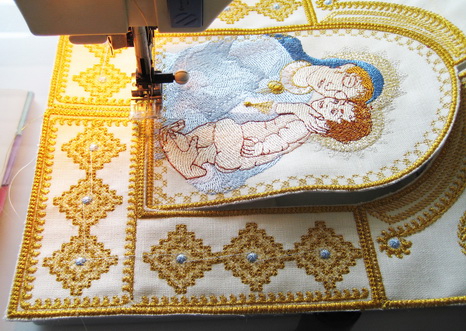
The photo above shows you the process of zigzag stitching all the panels together
Stitch out all the panels
- Zigzag stitch MotherChild_02 to MotherChild_03
- Zigzag stitch the two mirrored panels of MotherChild_02 to MotherChild_03
- Zigzag stitch MotherChild_01 to the two panels MotherChild_02 and MotherChild_03
- Zigzag stitch the two mirrored panels to all the panels
- Once all the panels are stitched together you can glue onto a canvas the size of which is 10 x 10 inch or 25.5 x 25.5 cm

The photo above is shows how you zigzag stitching all the panels together
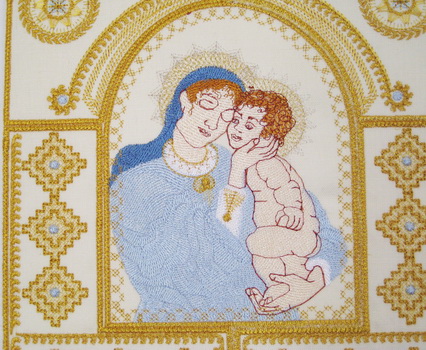
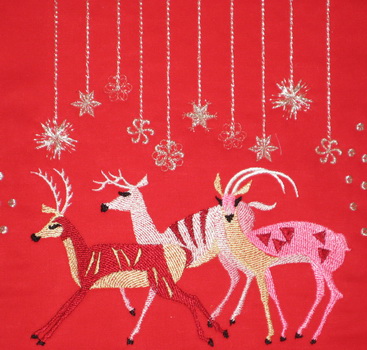
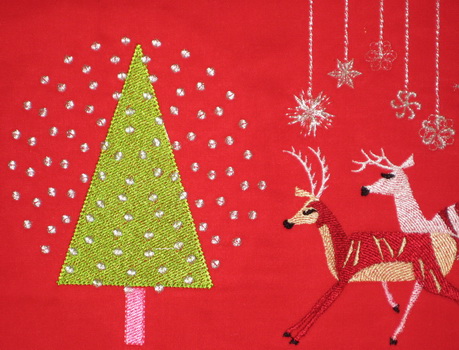
Close up of the panels once all stitched out
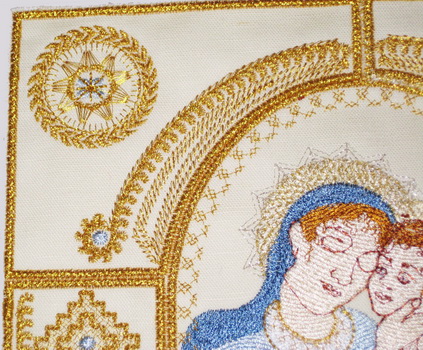
Close up of the panels once all stitched out
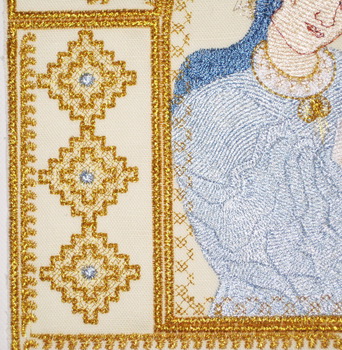
Close up of the panels once all stitched out
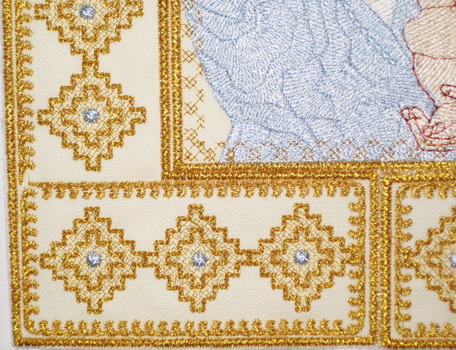
Close up of the panels once all stitched out
Instructions for the Centre Tablemat
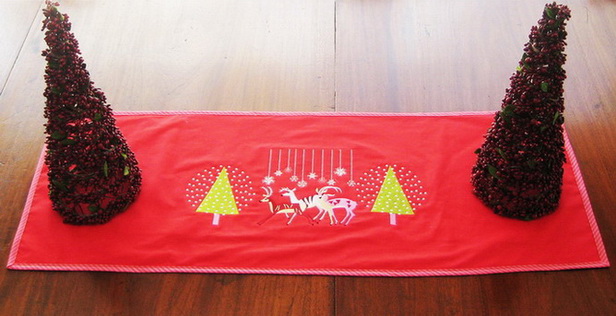
The size of the Centre Tablemat is:
102 x 42 cm
40 x16.5 inches
Stitch out the following designs
- Spark_01
- Spark_02 twice
- Spark_03
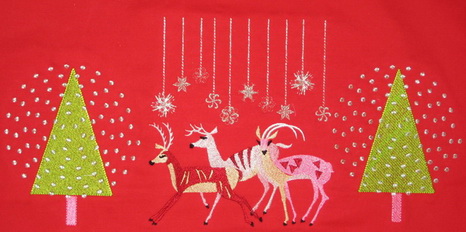
- Stitch out “Spark_01” first in the centre of your fabric you have chosen for the mat
- On both sides of “Spark_01” stitch out “Spark_02”
- Above “Spark_01” stitch out “Spark_03”
- For the backing of the mat was used a red and white gingham fabric, you then stitch down using a straight stitch around the edge of the mat.
- Stitch a pink and red striped bias binding around the edge of the mat
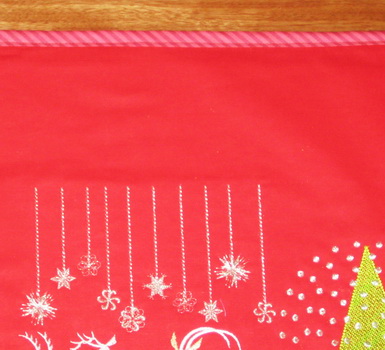
Showing the pink and red striped bias binding around the edge of the mat
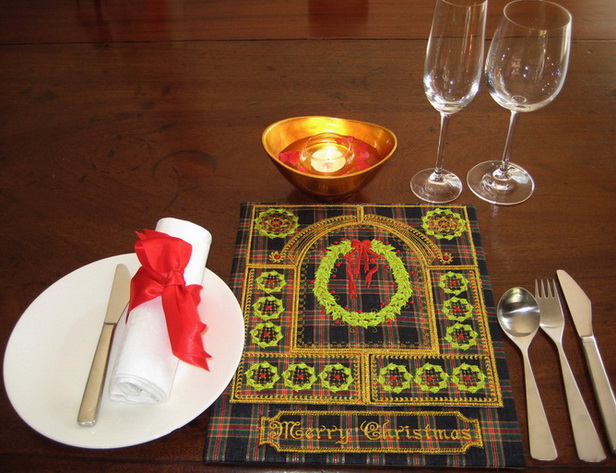
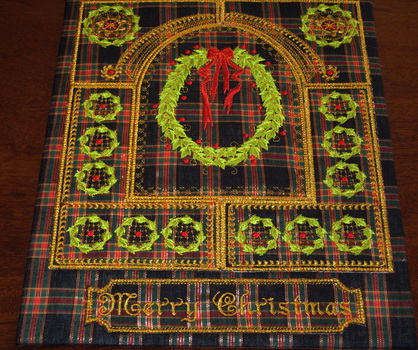
Instructions for the Merry Christmas Tablemat
Stitch out the following designs:
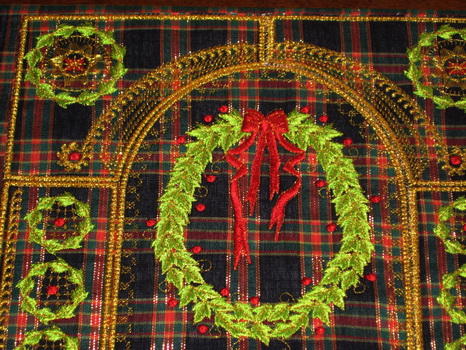
- Wreath_01
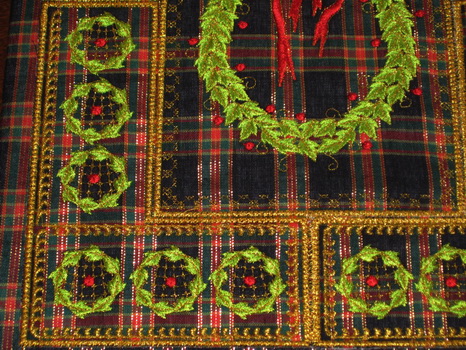
- Wreath_02
- Wreath_02 mirror imaged
- Wreath_03
- Wreath_03 mirror imaged
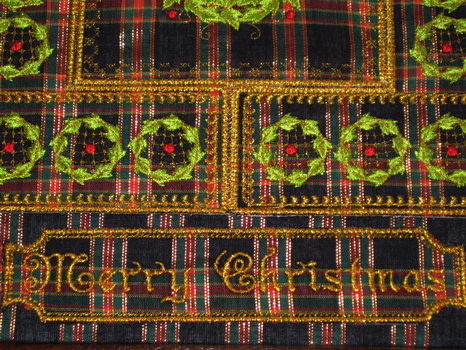
- Merry_01 once
- Stitch out all the panels
- Zigzag stitch Wreath_02 to Wreath_03
- Zigzag stitch the two mirrored panels of Wreath_02 to Wreath_03
- Zigzag stitch Wreath_01 to the two panels Wreath_02 and Wreath_03
- Zigzag stitch the two mirrored panels to all the panels
- Stitch the panel onto your fabric of choice
- Cover the thin canvas board size 10 x 12 inch or 254 x 305mm with fabric and hot glue the fabric to the back of the canvas board
- Hot glue the back of the board with felt
- Glue the Wreath panel to the fabric
- Glue the Merry Christmas panel to the bottom centre of the panel
Instructions for Cars
Appliqué either “Cars_01” or “Cars_03”
Cars_01 has a stem stitch as a border
Cars_03 has both a satin stitch and over the satin stitch is a stem stitch
Appliquéd on the back of the “T” shirt is “Cars_04”
Appliquéd on the front of the “T” shirt is “Cars_04”
Stitch twice onto a red fabric “Cars_01” above stitch “Cars_02” twice then below stitch “Cars_02” twice
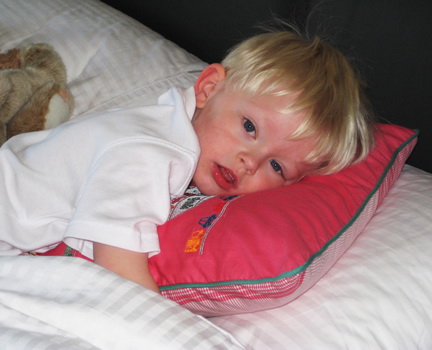
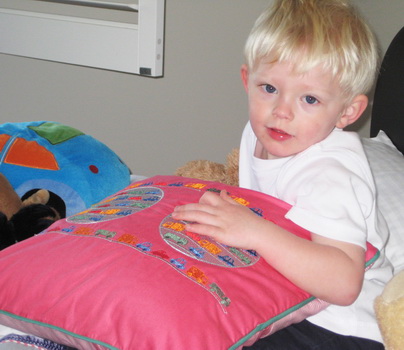
Josh enjoying his car cushion
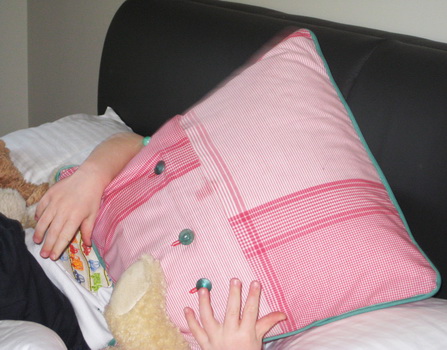
Back of the car cushion. I have plenty of old, odd buttons but in different sizes and width so I used some old buttons for the cushion, this makes the cushion interesting for a child


