


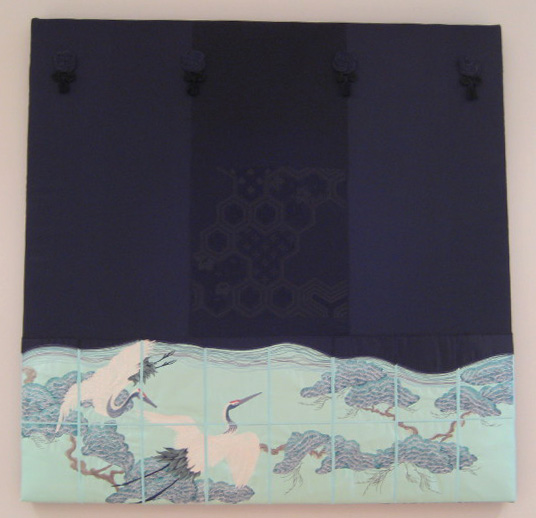
Touching Silk Black Wall Hanging
Notions
- 3.5 meters of black silk or 4 yards
- 1.5 meters of wadding or 2 yards
- Canvas board 1 meter x 1 meter or 40 x 40 inches
- 1.5 meters of cut away stabilizer
- 1.5 meters of cheap cotton fabric
- Staple gun
- Fabric glue
- The black panel in the centre I purchased last year at a Sydney Craft Show. I normally get a card or something to say where I purchased the item, but there was nothing in the bag when I took the black panel out. I am going to the same craft show on the 16th June 2010 and I am hoping to find more of these panels at one of the stands. If I find the panels, I will let you know where you can purchase the panel as it is stunning. I will notify you in the customer newsletter.
- 4 black tassels
Stitch the following panels:
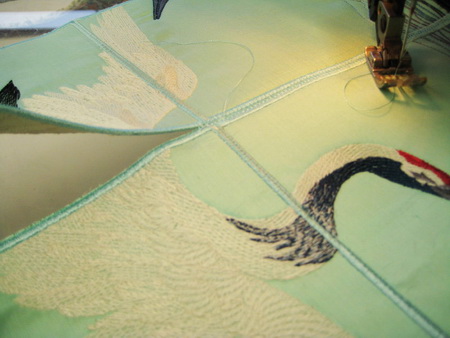
For each panel I hooped the silk with cotton fabric, then slid the hoop into the machine. Under the hoop I then slid the “Cut Away” stabilizer.
- No. 01a
- No. 02a
- No. 03a
- No. 04a
- No. 05a
- No. 06a
- No. 07a
- No. 08a
- No.09
- No.10
- No. 11
- No. 12
- No. 13
- No. 14
- No. 15
- No. 16
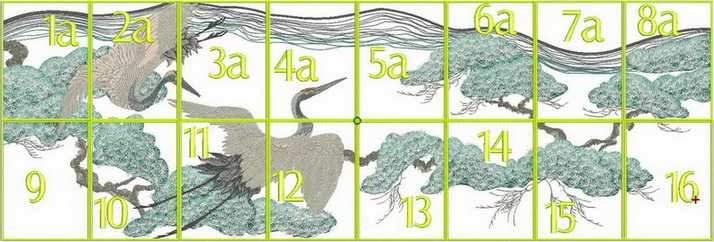
This is how the panels should be stitched together.
The numbers ending with an ‘a’ are for those of you who wish to do the design that was stitched on the black fabric. These numbers go up to the panel No. 8a as these designs are the top panels of the picture.
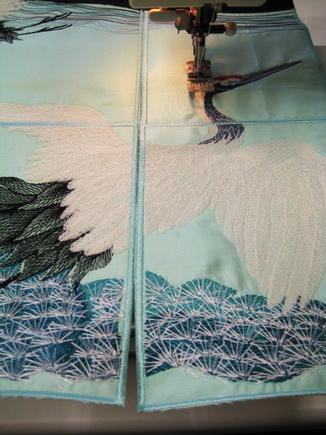
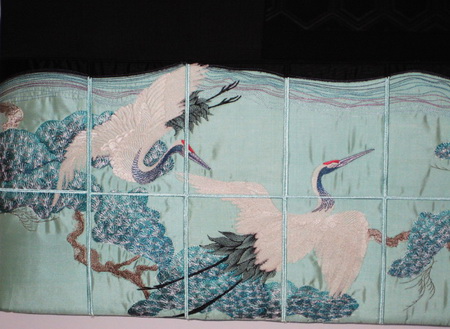
Using a zigzag stitch, stitch all the panels together.
Stitch the panels together using a zigzag stitch.
Stitching the panels together.
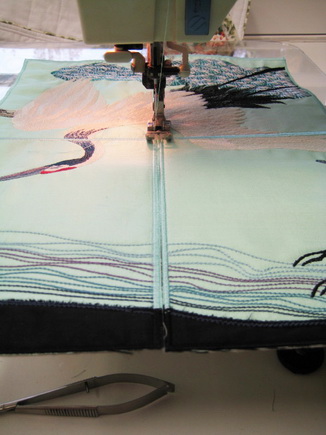
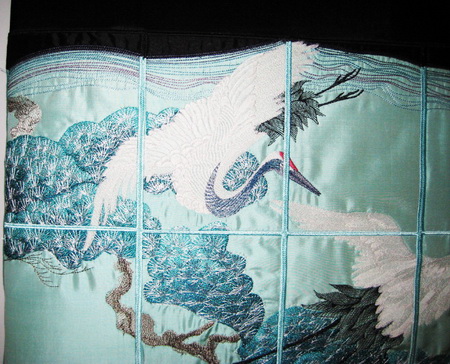
Once you have stitched all the panels together lay all the stitched panels on your black silk.
Using fabric glue, glue the panels onto the black silk.
Once the glue has dried, stitch down the panels on the black silk using a zigzag stitch.
Panels stitched together.
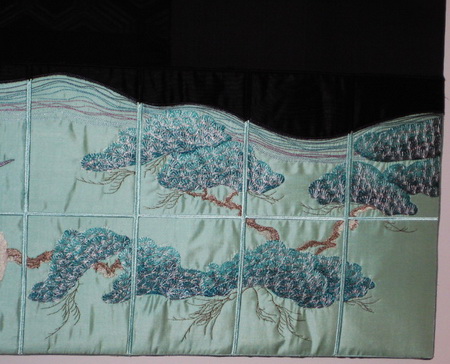
Panels stitched together.
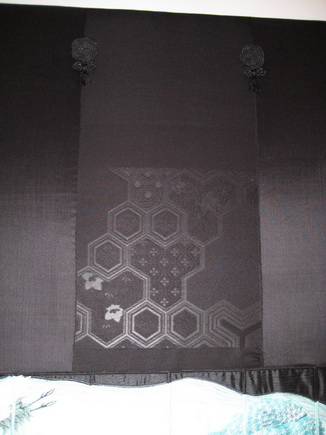

I then stitched the black Japanese panel to the centre of the work.
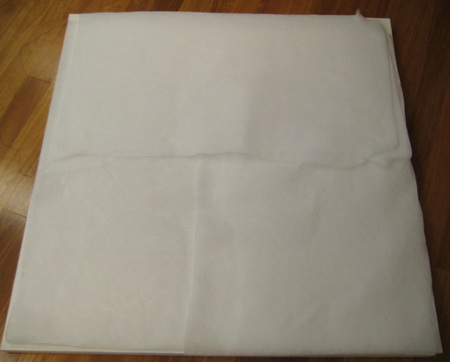
Cover the canvas board 40 x 40 inches or 1 meter by 1 meter with wadding and then glue the wadding onto the canvas board.
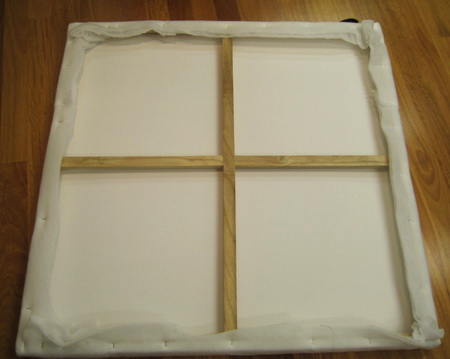
Staple the wadding to the back of the canvas board so it is centred. This part was a bit fiddly.
Staple the silk onto the back of the canvas board. Then glue the four tassels onto the work....now you have a stunning masterpiece this will be a WOW factor in any home.
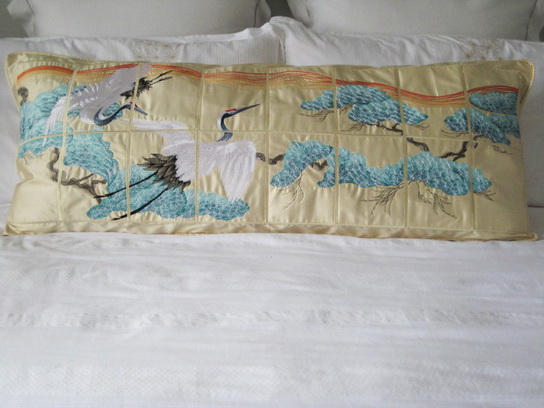
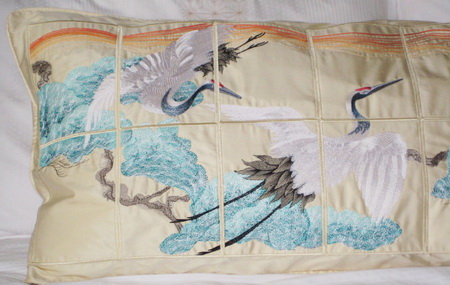
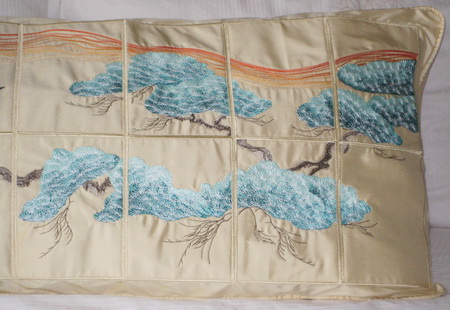
Touching Silk Cream Pillow
Notions
2 meters of cream silk
2 meters of cotton fabric
2 meters of “Cut Away” stabilizer
Stitch the following panels
- No. 01
- No. 02
- No. 03
- No. 04
- No. 05
- No. 06
- No. 07
- No. 08
- No.09
- No.10
- No. 11
- No. 12
- No. 13
- No. 14
- No. 15
- No. 16
For each panel I hooped the silk with cotton fabric, then slid the hoop into the machine. Under the hoop I then slid the “Cut Away” stabilizer.
Touching Silk Charley Wall Hanging
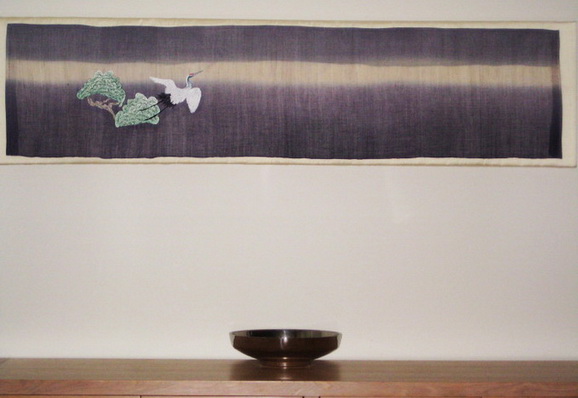
When my daughter Charley and her husband saw the finished product they wanted it...I photographed the work hanging in their dining room
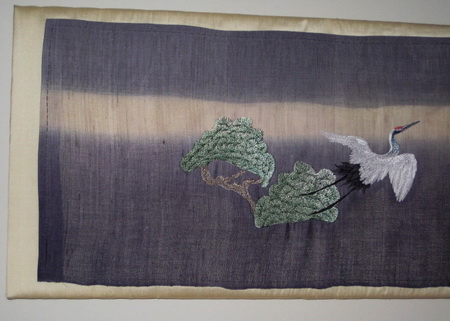
I purchased this panel of hand dyed linen last year at a Sydney Craft Show. I normally get a card or something to say where I purchased the item, but I musnt have picked it up.I am going to the same craft show on the 16th June 2010 and I am hoping to find the fabric at one of the stands. If I find the fabric, I will let you know where you can purchase the fabric as it is stunning. I will notify you in the customer newsletter.
• Stitch “Bird trees” on the linen panel
• Canvas board 15 x 60 inches
• Cream silk fabric to cover the board
• Wadding to cover the board
I stitched the hand dyed linen panel onto the cream silk
Touching Silk Top
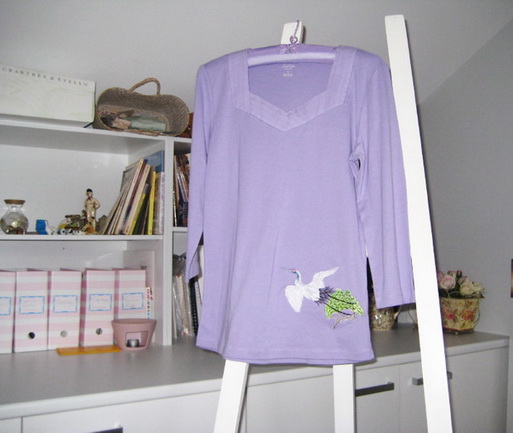
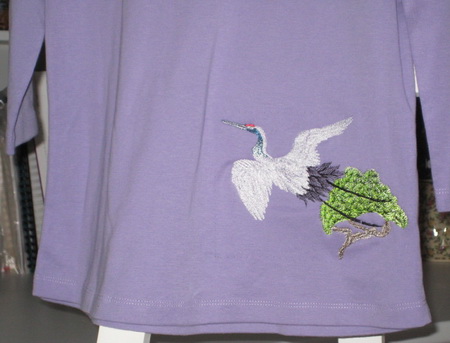
I stitched “Bird tree” onto the knitted top.


