


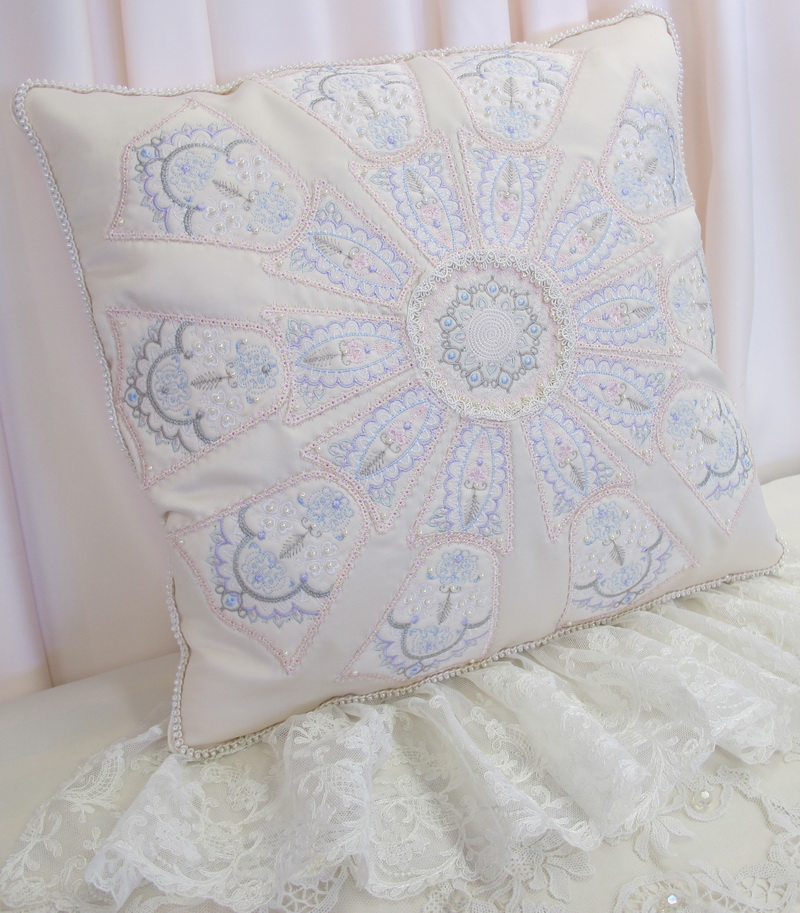
Scene Stealing Cushion Instructions
Requirements
- Stabilizer Tear Away 2 meters or 2 yards
- Thin wadding 2 meters or 2 yards
- Egg shell coloured fabric 2 meters or 2 yards
- 2 meters or 2.3 yards of braid
- 2 meters or 2.3 yards of Satin cream piping
- Little pearls (I purchased from the $2.00 store a couple of necklaces with strings of pearls, I found it cheaper that way
Stitch out the following:
- 10 Pale Scene Stealing_002
- Pale Scene Stealing_003
- 1 Pale Scene Stealing_001
PLEASE NOTE
You can follow the step by step photos of the poof instructions
1. Hoop your fabric and thin wadding
2. Once you have hooped the fabric and wadding slide the “Tear Away” stabilizer under the hoop
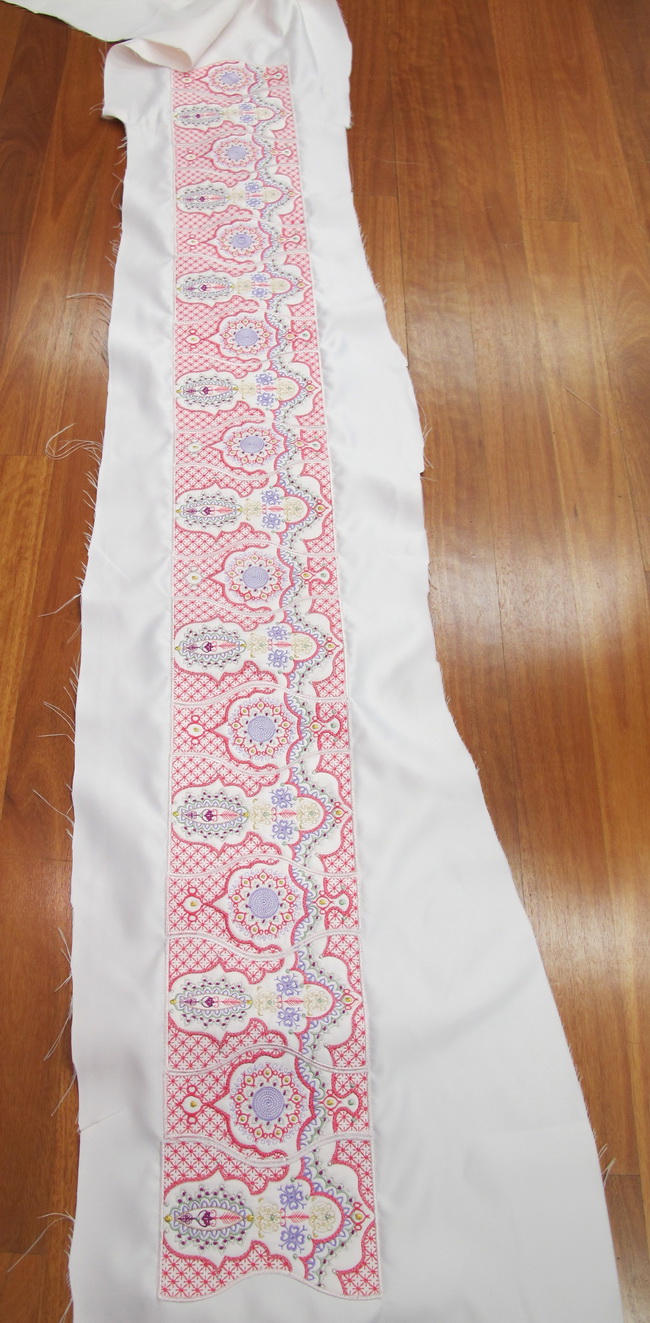
3. Stitch out all the panels
4. Cut the background fabric 50cm square or 19.5 inches
5. Mark the centre
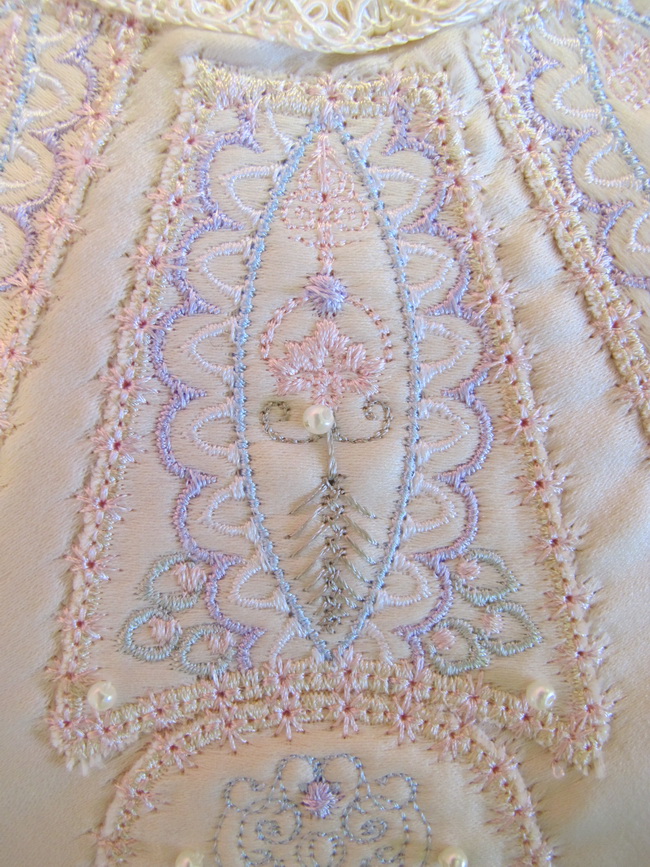
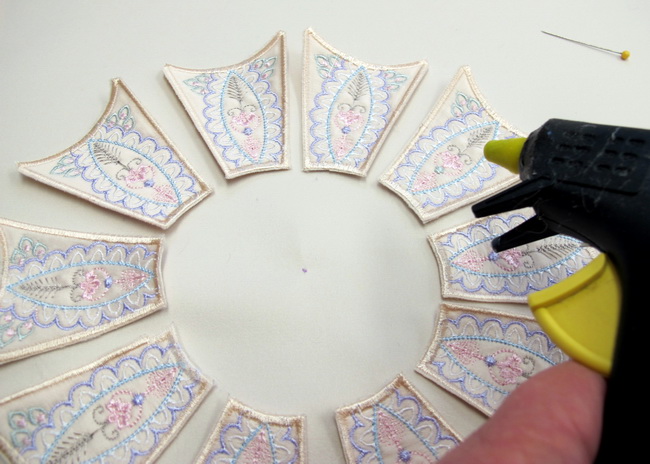
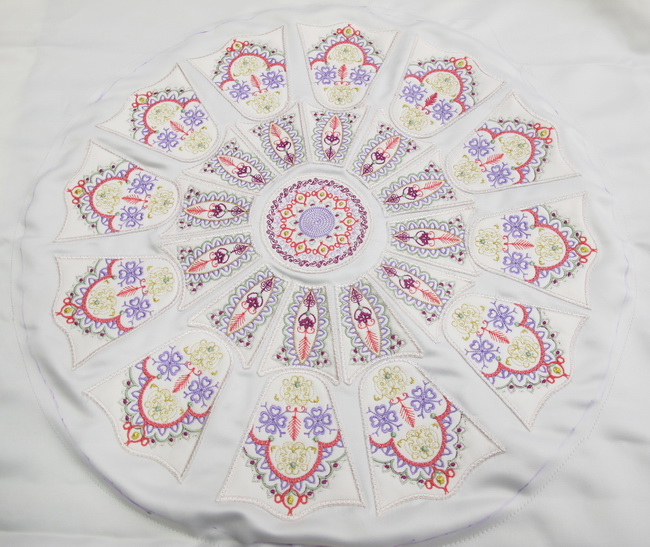
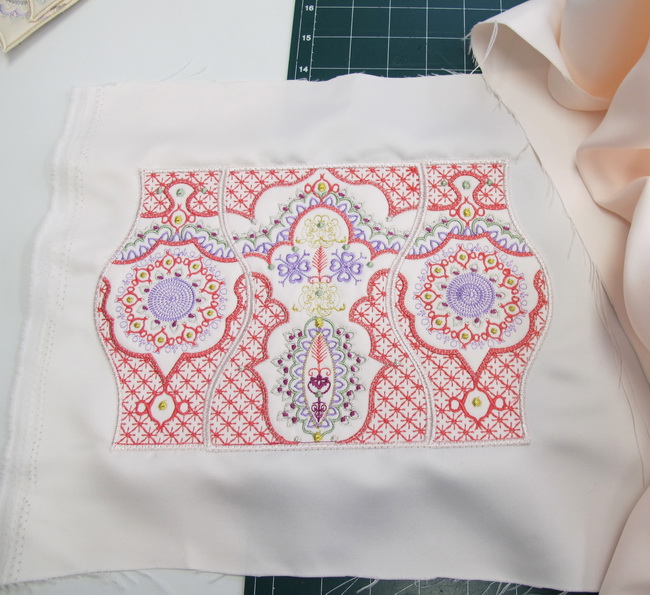
6. Place all of “Pale Scene Stealing_002” in a circle
7. Lightly hot glue each panel onto the pink fabric ( I use the hot glue very sparingly)
8. Lightly hot glue the centre panel “Pale Scene Stealing_001”
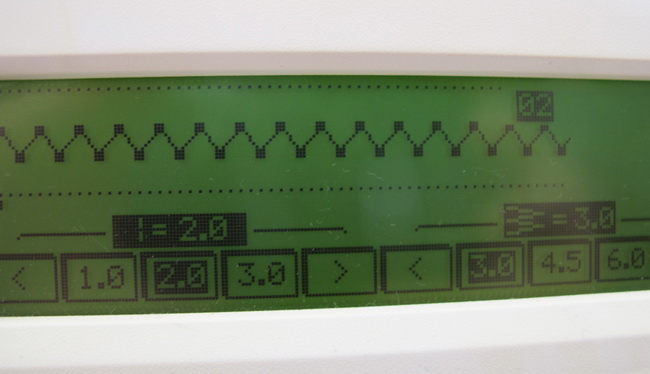
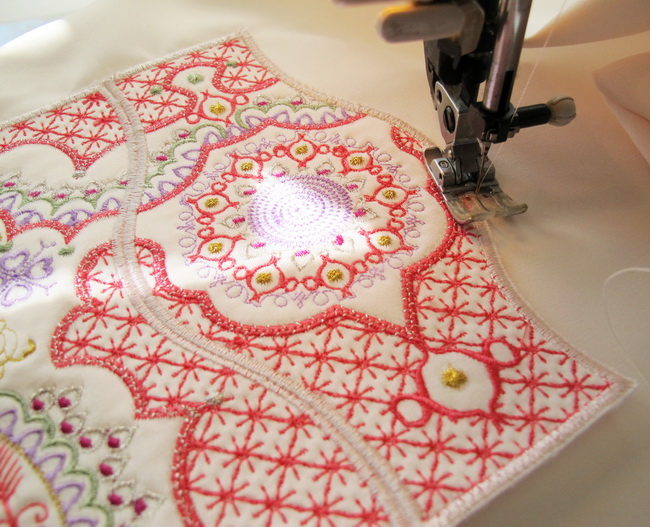
9. Stitch using a Zigzag stitch over the satin stitch border of each panel
10. Place all of “Pale Scene Stealing_003” at the top of “Pale Scene Stealing_002”
11. Lightly hot glue each panel onto the pink fabric ( I use the hot glue very sparingly)
12. Stitch using a Zigzag stitch over the satin stitch border of each panel
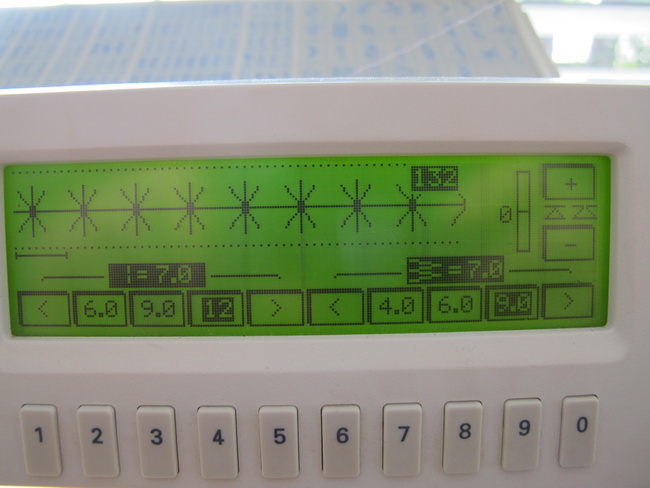
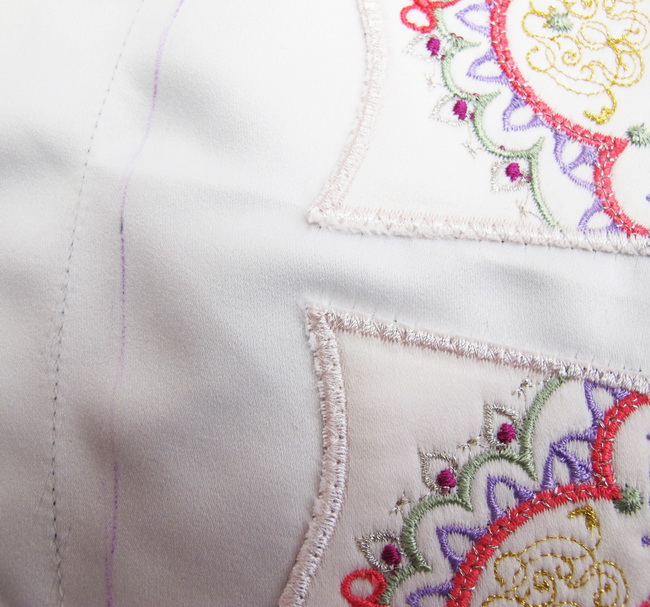
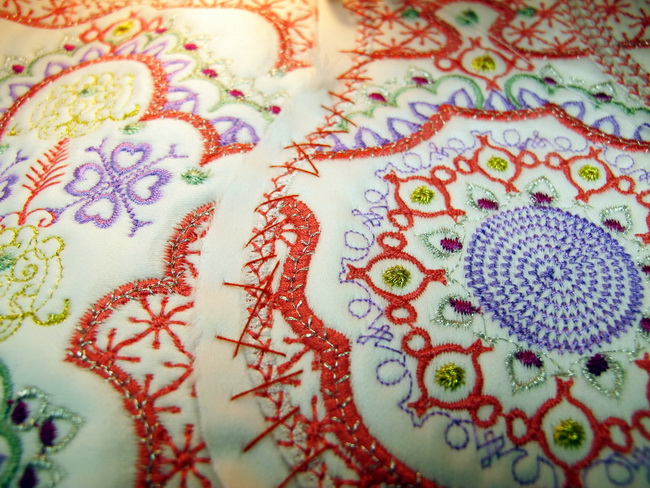
13. Over the satin stitch around each panel, I stitched a flower type stitch or you can choose another of the decorative stitches that you have in your machine, there are so many to choose from, this helps to blend all the designs together
14. Hand stitch the pearls on each of the panels
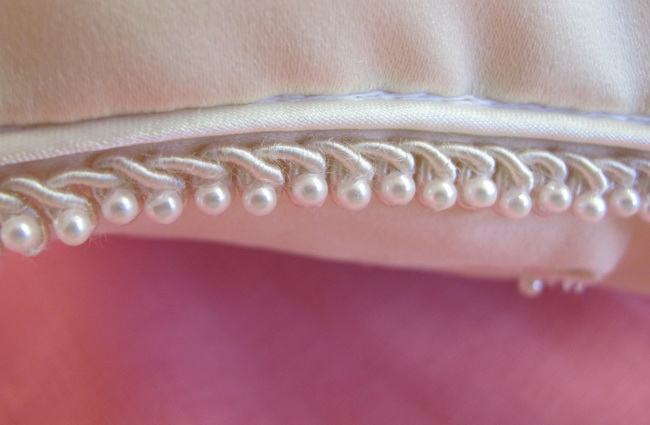
15. Hand stitch the braid
16. Sew the piping onto your cushion
17. Put a zipper into the back of the cushion
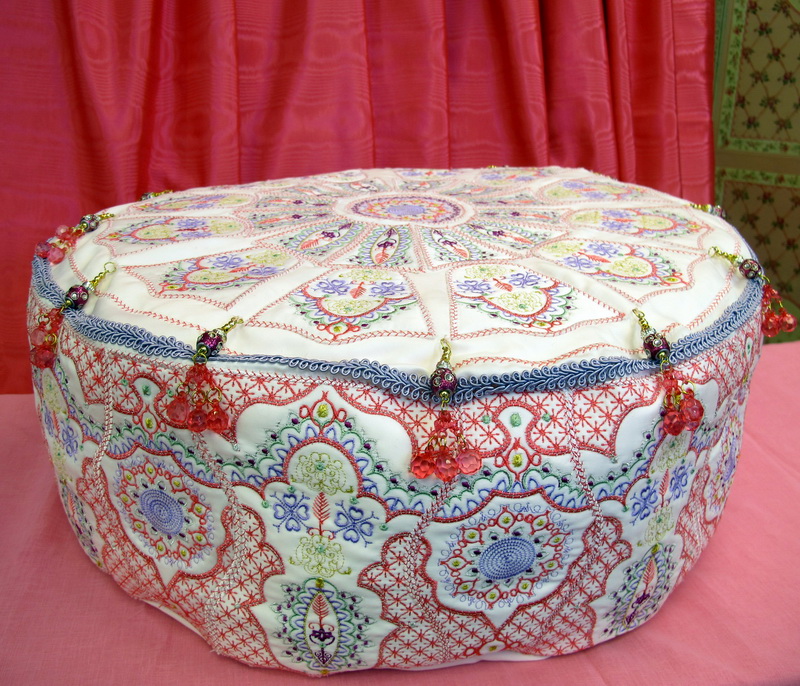
Instructions for the Scene Stealing Poof
Requirements
- Stabilizer Tear Away 2 meters or 2 yards
- Thin wadding 2 meters or 2 yards
- Pale pink fabric 4 meters or 4.5 yards (I always purchase more than I need, 4 meters or 4 yards should be fine)
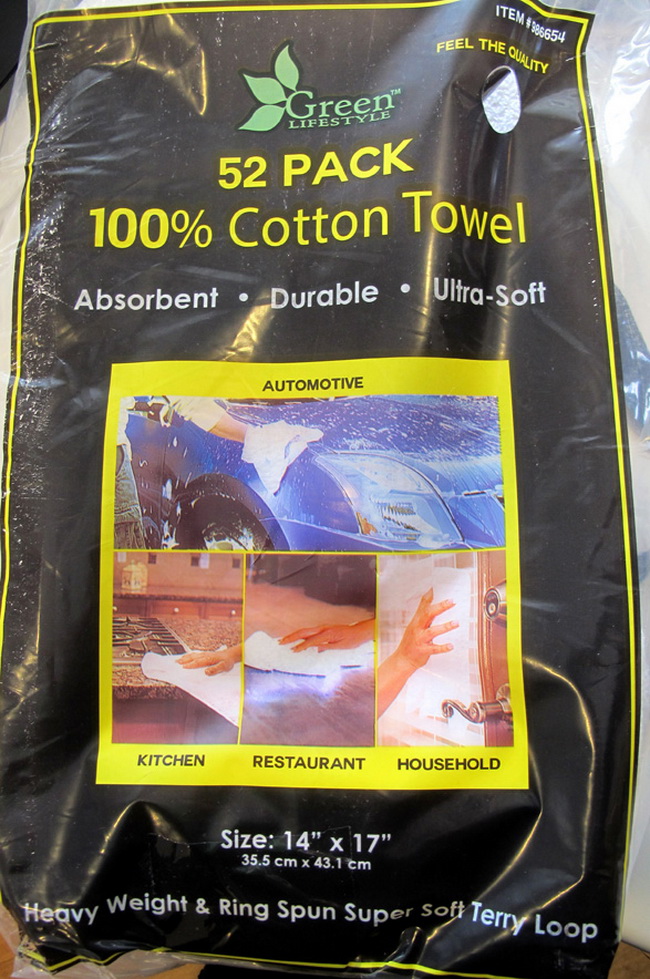
- 2 packs of the following to fill the Poof. 100% cotton towel 52 in the pack purchased from Costco. I recommend you use whatever you find available. Another suggestion would be old clean rags etc.
- 2 meters or 2 yards of mauve braid
- 12 pink tassels
Stitch out the following
- 10 Scene Stealing_002
- 10 Scene Stealing_003
- 9 Scene Stealing_004
- 9 Scene Stealing_005
- 1 Scene Stealing_001
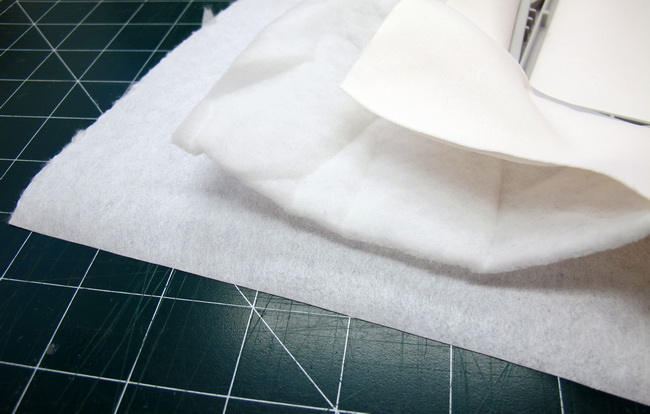
1. Hoop pink fabric and thin wadding
2. Once you have hooped the fabric and wadding slide the “Tear Away” stabilizer under the hoop
3. Stitch out all the panels
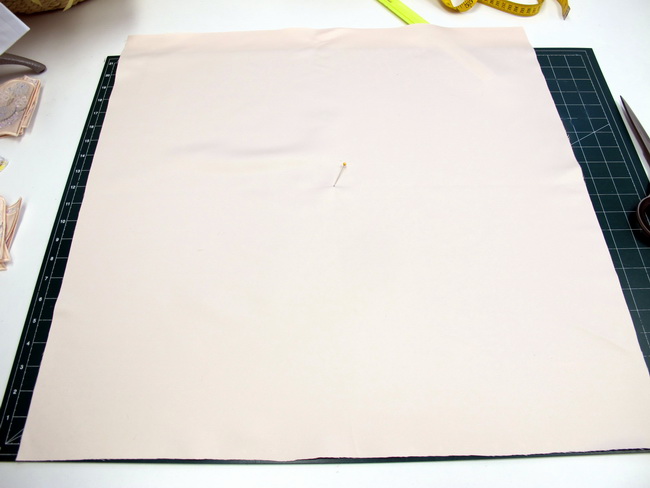
4. Cut a the pink fabric 60cm or 23.5 inches square
5. Mark the centre
6. Place all of “Scene Stealing_002” in a circle
7. Lightly hot glue each panel onto the pink fabric ( I use the hot glue very sparingly)

8. Lightly hot glue the centre panel “Scene Stealing_001”
9. Stitch using a Zigzag stitch over the satin stitch border of each panel
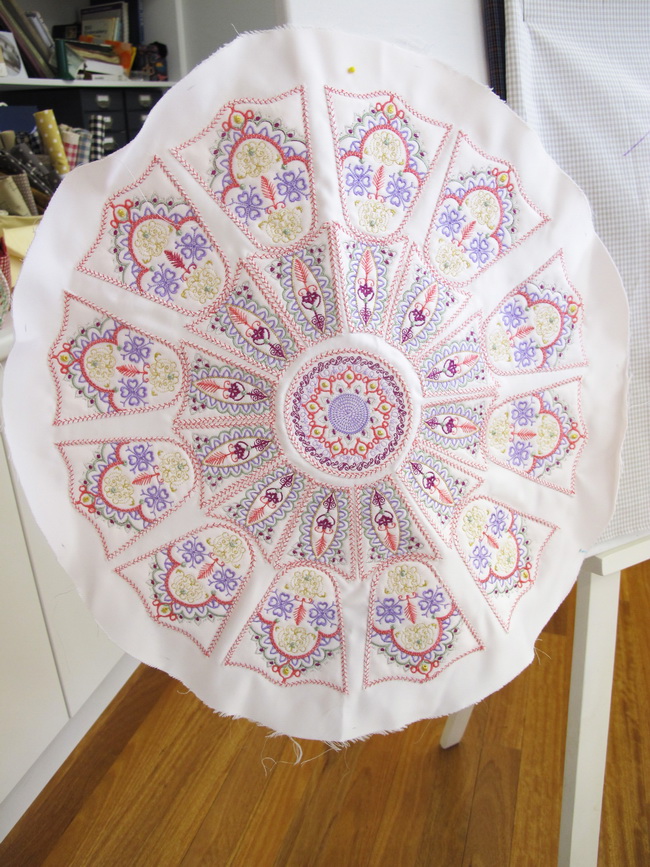
10. Place all of “Scene Stealing_003” at the top of “Scene Stealing_002”
11. Lightly hot glue each panel onto the pink fabric ( I use the hot glue very sparingly)
12. Stitch using a Zigzag stitch over the satin stitch border of each panel
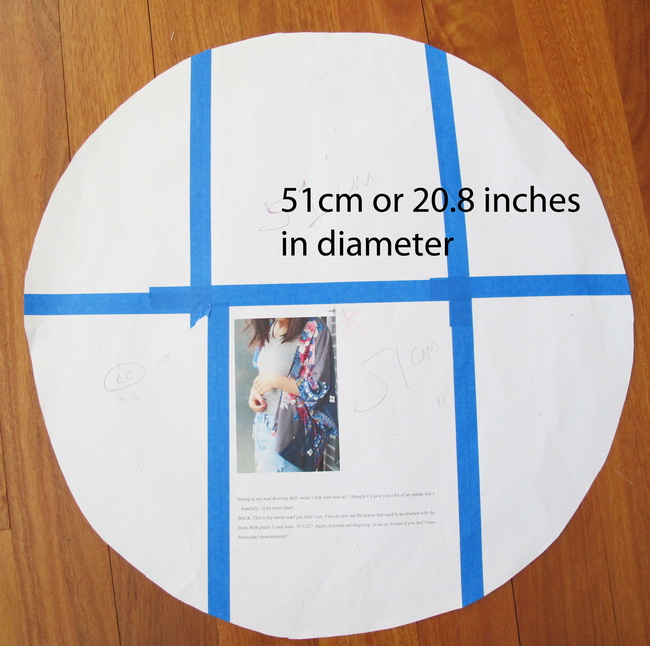
13. WARNING these are my dimensions you can make the dimensions either larger or smaller and the dimensions can also very, due to the weight and type of fabric you have used for your background fabric
- I just cut up a number of used printed paper for the template and stuck them together with painters tape
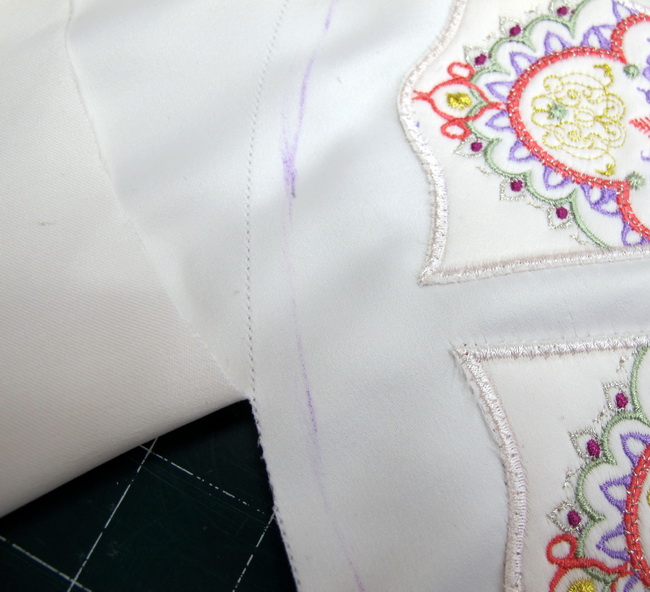
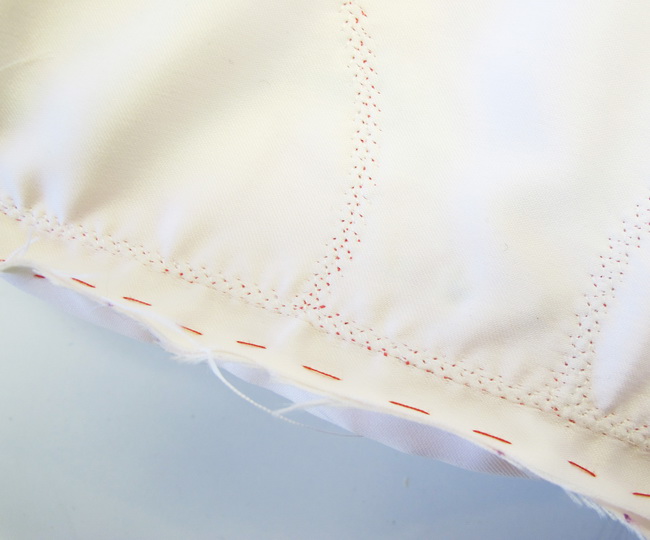
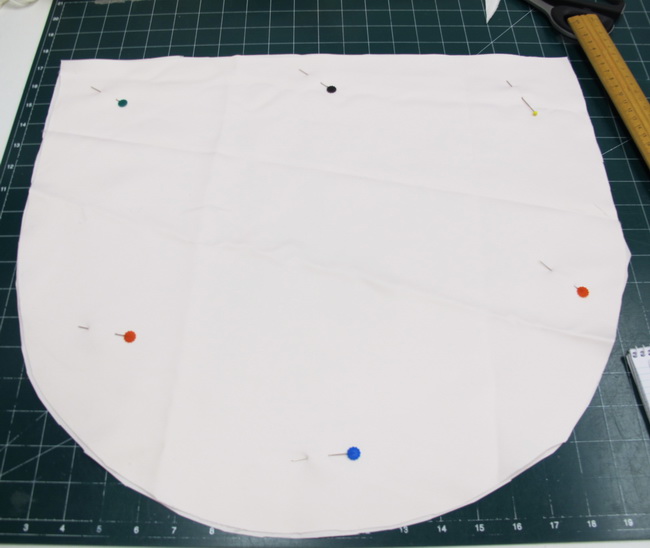
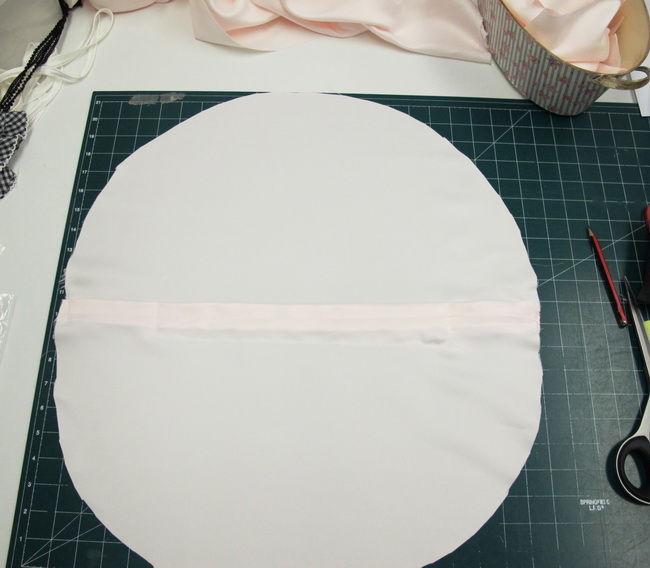
14. Mark your circle using chalk or fabric pen
15. Then stitch 1cm or .4inch from your chalk line, this helps the fabric not to stretch when you will be doing the seam in the future
The above photo showing you the fabric pen and seam line
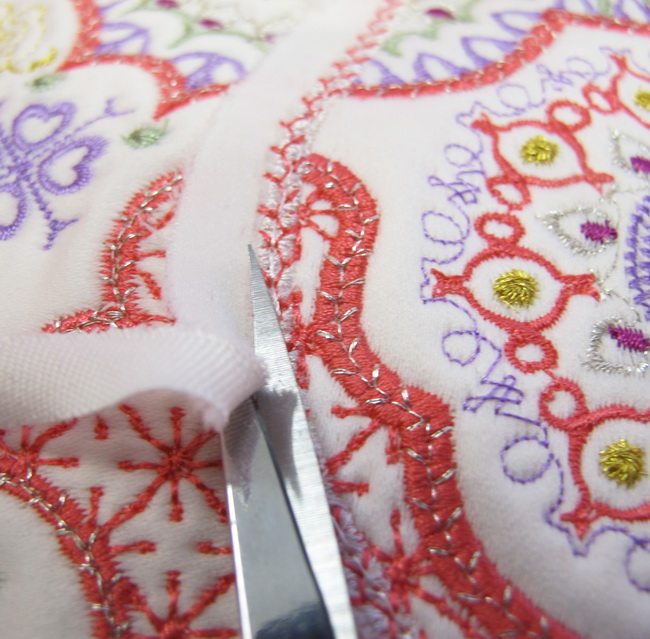
16. Cut as close as you can to the stitched area using your scissors
17. Cut out the bottom panel for your poof at this time
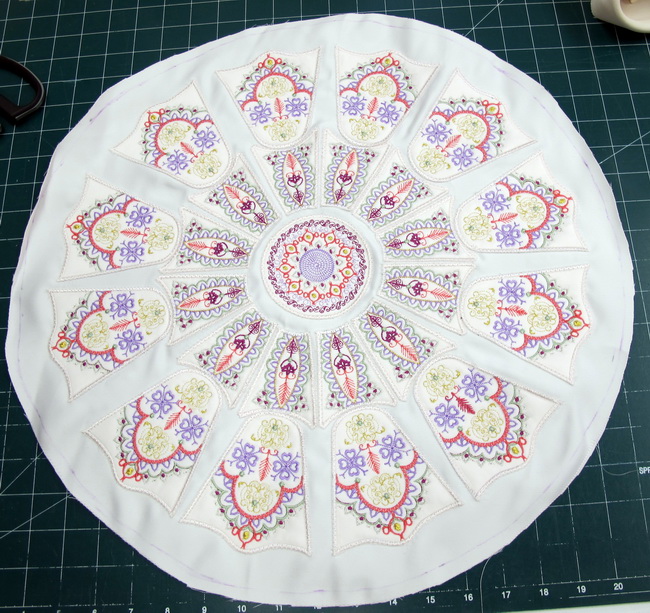
The above photo showing the circle all cut out
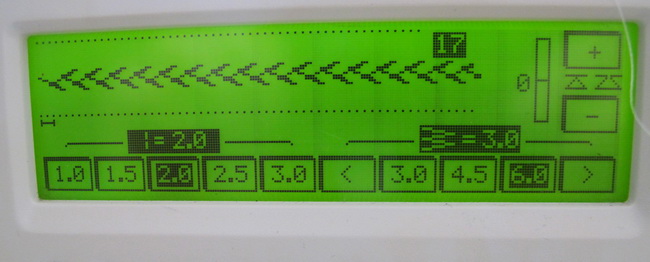
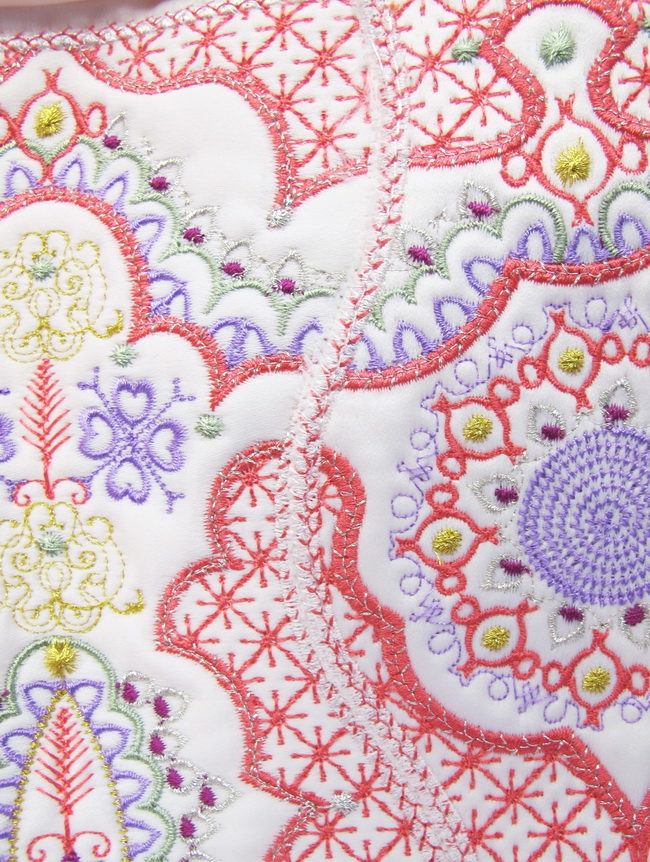
18. Over the satin stitch around each panel, stitch a feather stitch or another of the decorative stitches that you have in your machine, there are so many to choose from this helps to blend all the designs together
- I also satin stitched around the circle and then over the top of the satin stitch I stitched the feather stitch, this just gives a nice finish
19. For the side of the poof measure 164cm or 64 inches in length and 24cm or 10 inches width
20. Lightly hot glue a panel onto the pink background fabric ( I use the hot glue very sparingly)
21. Stitch using a Zigzag stitch over the satin stitch border of each panel
The above photo showing you gluing each panel down separately and then zigzag stitch over the satin stitch border
Over the satin stitch around each panel, stitch a feather stitch or the same decorative stitch that you had used on the top of the poof
23. Hand stitch the side panel to the top of the poof, this way you can manipulate the fabric so the two panels will match up perfectly, leaving where you matched up the panels, excess fabric as you will be hand stitching the two panels to interlock and you will need that extra fabric
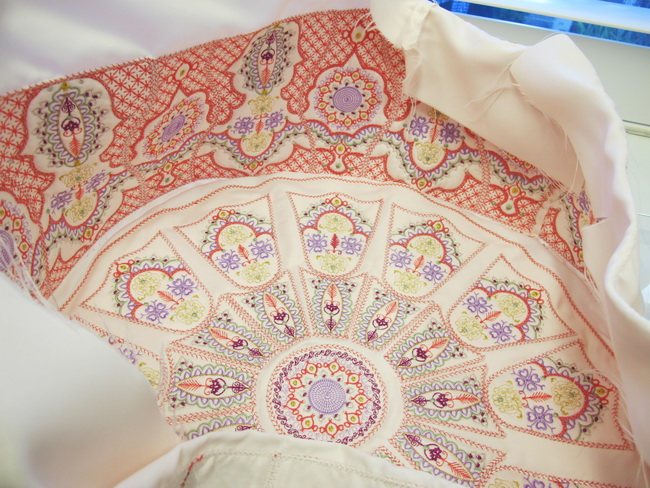
Photo showing you the finished hand stitching for the side panel to the top of the poof
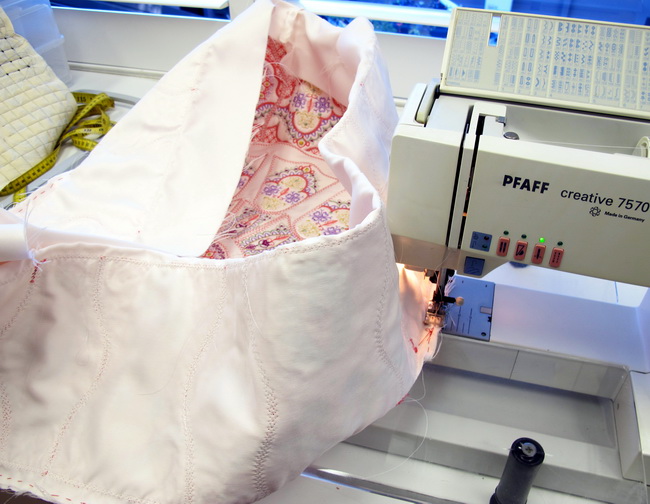
Machine stitch over your hand stitching but do not machine stitch towards the end of the panel as you need to hand stitch the two panels together, the following photo will show you

25. Hand stitch the two last panels so they can interlock, notice the excess fabric I recommend you use a coloured thread that you can easily see, so it will be easy to cut the threads after you have machined stitched the panel together
Zigzag stitch over the your hand stitching
27. Cut away the excess fabric
28. Photo above showing the panels interlocking
29. For the base of the poof cut the panel in half, having enough excess fabric for the zipper
30. Stitch the zipper into the base of the poof
31. Open up your zipper before doing the following. I sometimes forget this stage!
32. Stitch the base to the side panel
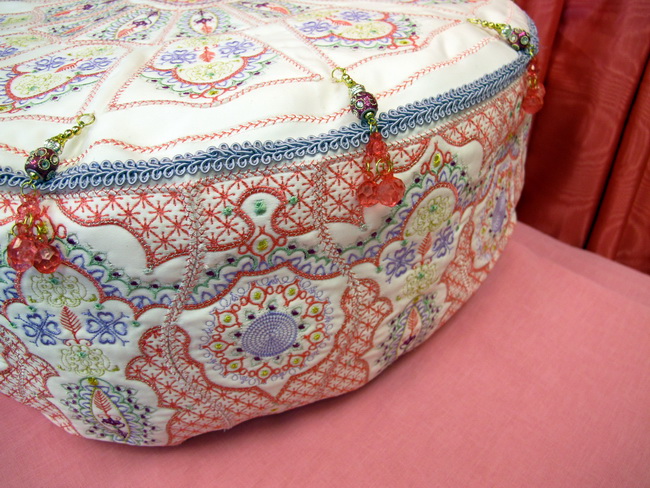
33. I added along the edge a mauve braid. Which I hand stitched on
34. I then added the pink glass tassels, I purchased these gorgeous tassels when I was in India, so pleased I could finally use them
Scene Stealing Pin Cushion
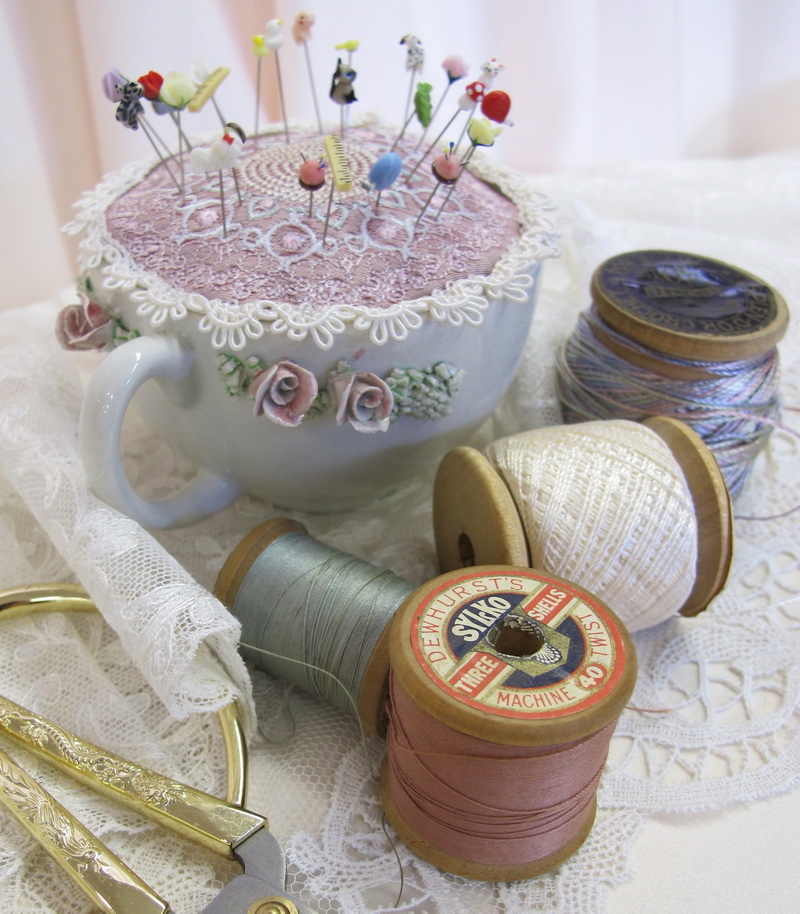
I do not have step by step instructions as I have never made one before. I saw this idea on Pinterest, thought I would give it a go
- Silk .5 meter or .5 yard

Steel wool ( I read that steel wool is very good for your pins as the steel wool sharpens the pin and needles)
- .5 me0ter or .5 yard of scrap fabric to make the bag to put the steel wool into
- Glue the bag of steel wool and silk fabric to the base of the cup


