


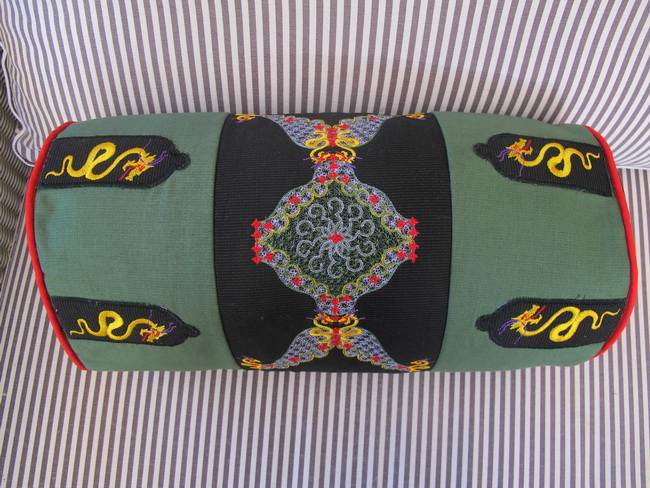
Manchu Robes Tubular Cushion
Notions
- ½ a meter or ½ yard of fabric
- ½ meter or ½ yard of contrasting fabric
- 1 metre or 1 yard of felt for backing of fabric, this keeps the structure stable, you do not need to use the felt, but I felt as the fabric was cotton the fabric needed to be stabilized
- Zipper 36 cm or 14 inches in length
- 1 metre or 1 yard of contrasting coloured bias binding
- Two tassels
Stitch out the following designs
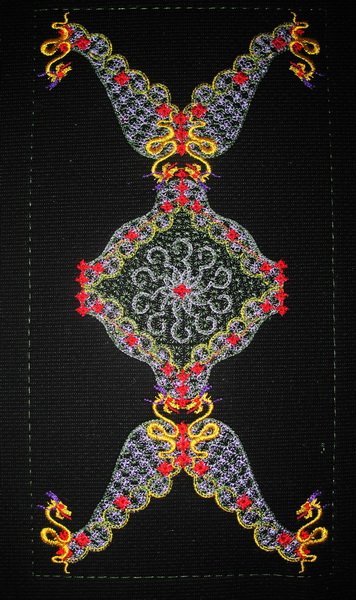
- Manchu Robe_04 this is the centre design, I suggest you stitch this design out first
- Manchu Robe_10 twice
- Manchu Robe_12 stitch 8 of the designs out
For a hoop size, 240 x 150 or larger you can sew out the following design
- Manchu Robe_11 then stitch out Manchu Robe_10 Mirror the design in your machine

- The fabric for the cushion, had two distinct sides, I was fortunate to be able to use each side of the fabric
- Before cutting and hooping the fabric for the middle panel make sure, there is enough length and width for making the cushion.
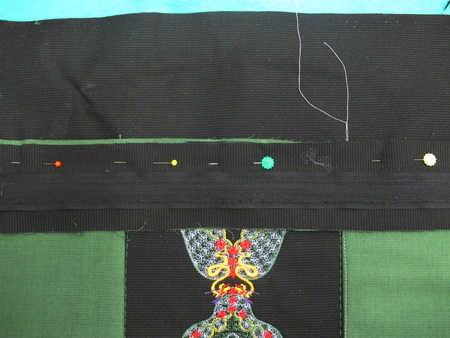
- For the middle panel where you will be stitching out the design, the fabric measurements 72 cm length or 28inches 20cm or 7.8 inches wide
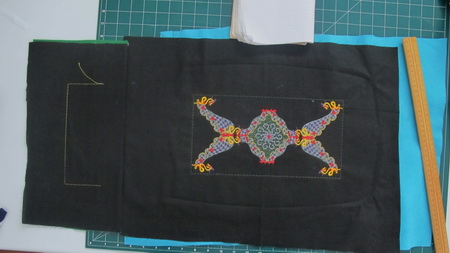
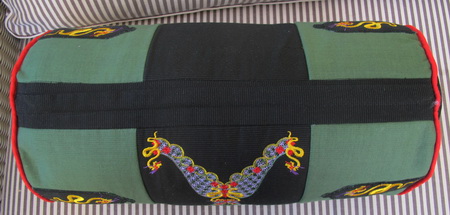
Place and stitch the designs onto the fabric at one end as shown in the photo above
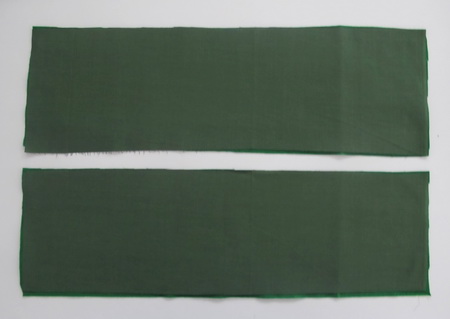
For either side of the middle panel, you want a contrasting fabric cut each panel 16.5 cm wide or 6.5 inches x 72 cm or 28.3 inches length

Stitch on either side of the middle panel the contrasting fabric
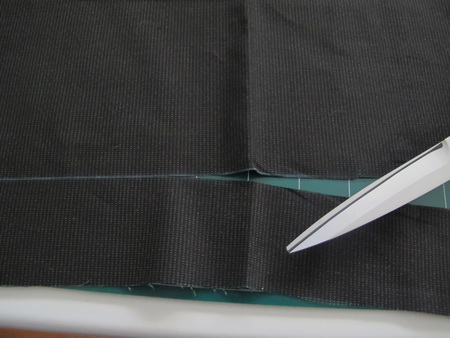
- For the zipper, cut fabric 5cm width or 1.5 inches x 50 cm or 19.6 inches length
- Cut another strip of fabric 10 cm or 4 inches width x 50 cm or 19.6 inches length
Fold each of fabric strip in half using an iron
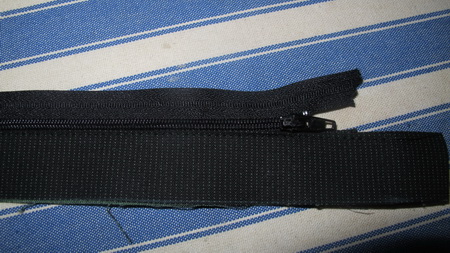
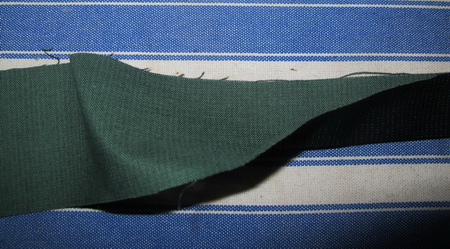
Stitch the folded 5 cm width x 50 cm length to one side of the zipper
Stitch the other strip of fabric to the other side of the zipper
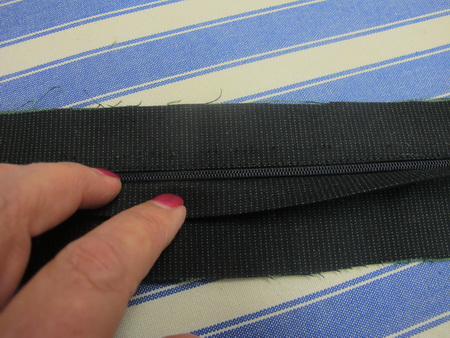
Pin and stitch the zipper to the top of the three panels
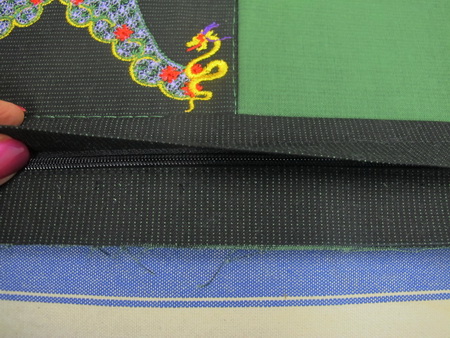
- Zipper stitched to the top of the three panels
- Cut out all eight Manchu Robe_12 panels
- Place the eight Manchu Robe_12 designs that had earlier stitched out evenly, four on one side of the middle panel and four on the other side of the middle panel.
- Lightly glue each panel down, using glue or a hot glue gun, sorry I forgot to take photos of this section the problem was, I was carried away zigzagging each of the eight panels down
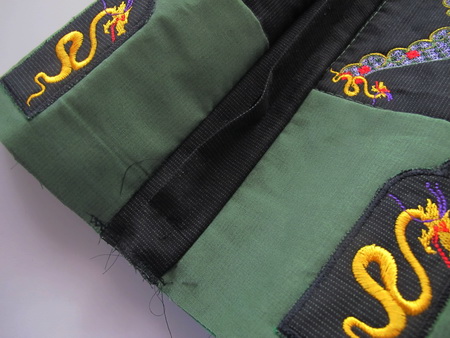
Join the other section of the three panels, pin and sew that area to the other side of the zipper
The photo showing both sides stitched to the zipper and creating the loop
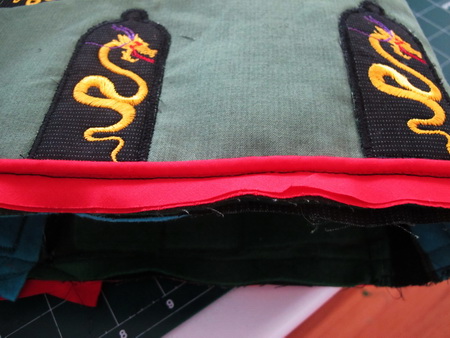
To get a little more impact for the cushion, sew a colour that stands out in the designs for the bias binding onto either side of the cushion
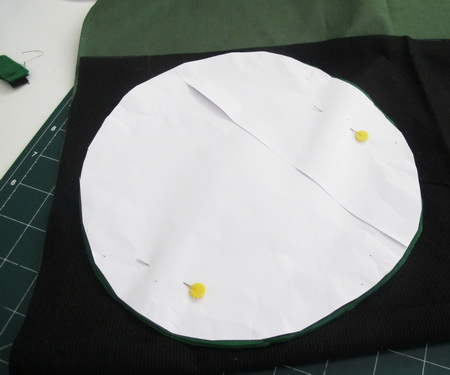
- Cut out a template the dimensions 22 cm or 8.6 inches circumference approximately, check your measurements as your cushion could be larger or smaller
- Cut out two cotton fabric
- Cut out two felt
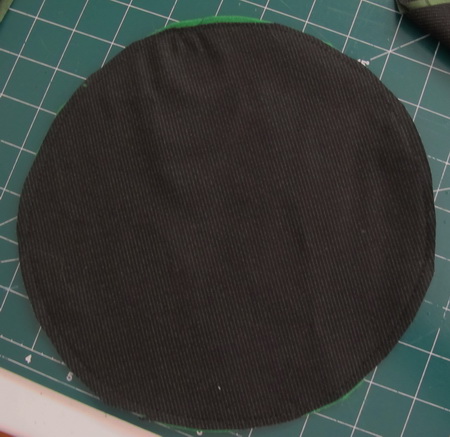
Stitch the felt to the round panel as shown in the photograph
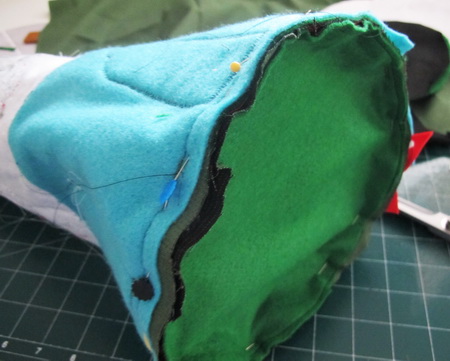
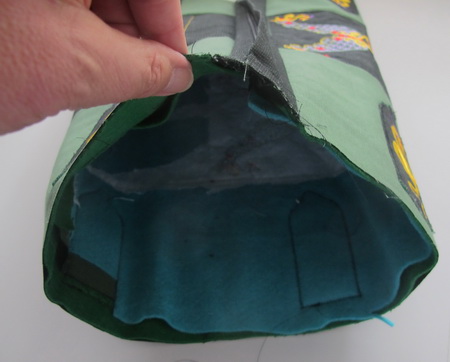
Pin and sew each round panel to both sides, please before pinning and stitching make sure the zipper is open
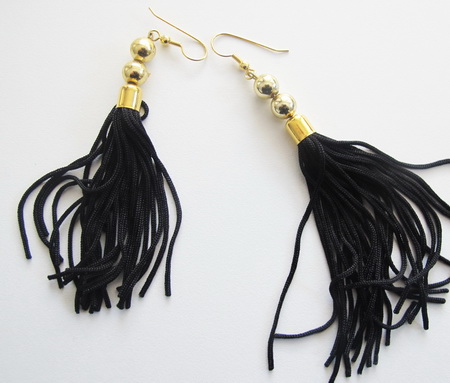
I purchased these earrings from a two dollar shop, the reason why I bought the two earrings as I thought they would make excellent tassels. Why I mentioned this as sometimes in those two dollar shops, the shops can have extremely appealing and practical items for your work
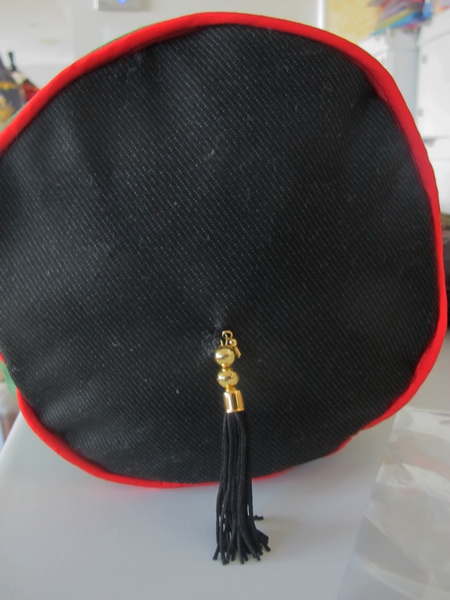
Stitch each of the tassels at each end of the round cushion
Showing you the finished cushion where the zipper was stitched


