


Love Bird Machine Embroidery Designs - Instructions
Stitch love_birds out on a good quality fabric.
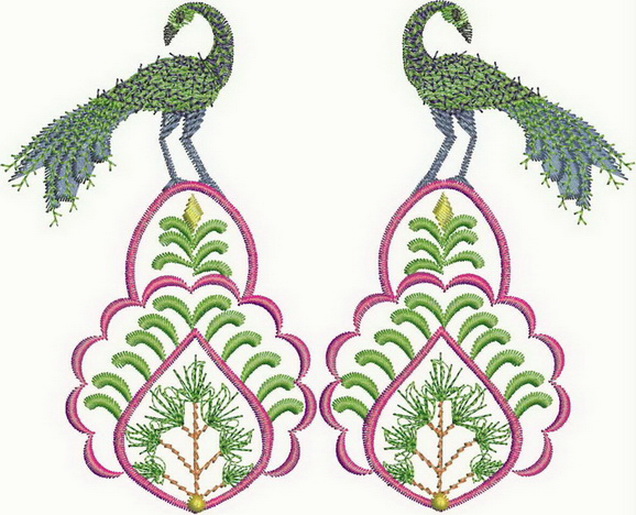
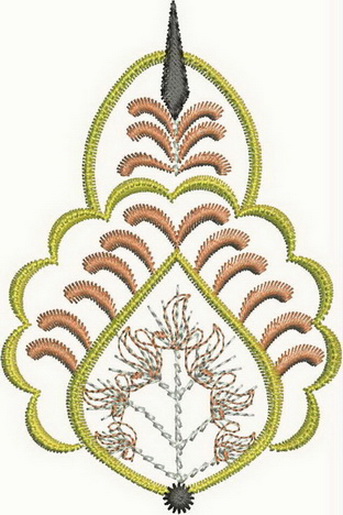
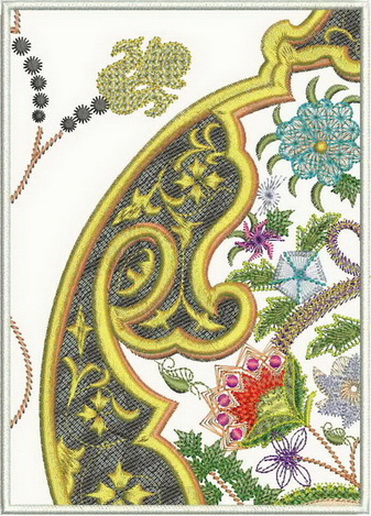
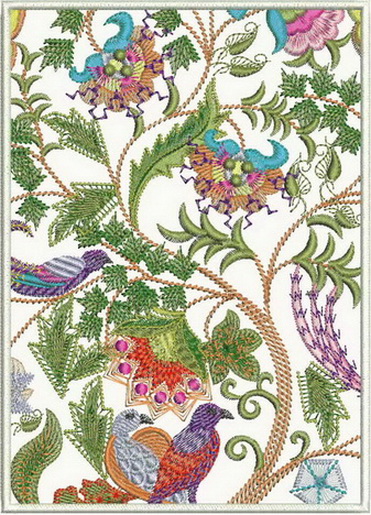
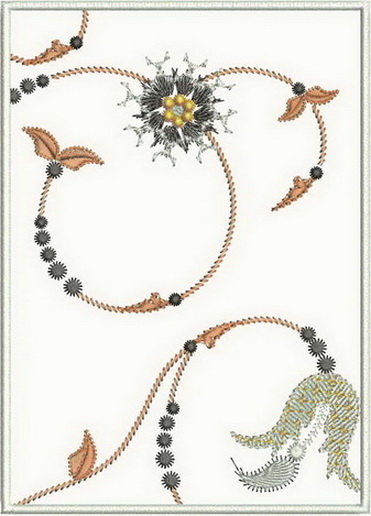
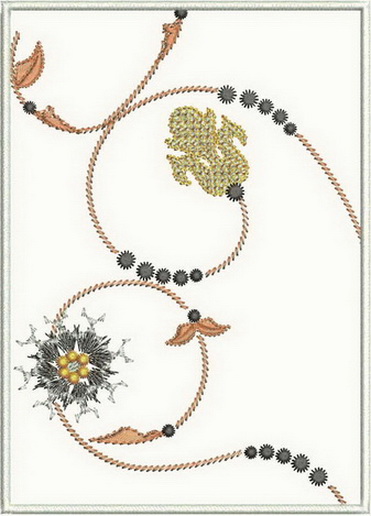
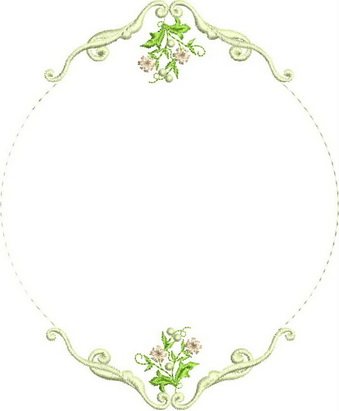
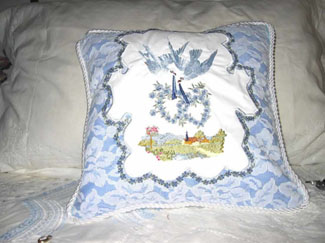
Make a template of the type of border you would like or similar to the one I have done, as seen in the photos. I used tracingpaper, draw a simple border then mirrior the other half.
Stitch a running stitch joining both the blue and lace fabric together .
Trace the design on the blue fabric (no this is not a mistake).
Stitch a small zig zag stitch over the design you just traced out on the blue fabric, making sure you use a slightly different coloured thread in the bobbin to the lace you are using for the top of your cushion.
Turn the fabric over and on the lace side where you have the zig zagged template of the design you satin stitch over the top of the zig zag, do a small satin stitch and not to dense a satin stitch.
Cut both the blue and lace fabric.
Sitch a satin stitch over the previous satin stitch you just did.
To finish the cushion beside the satin stitch I used a number of the decorative stitches from my sewing machine
Machine Embroidery Designs
Latest Releases
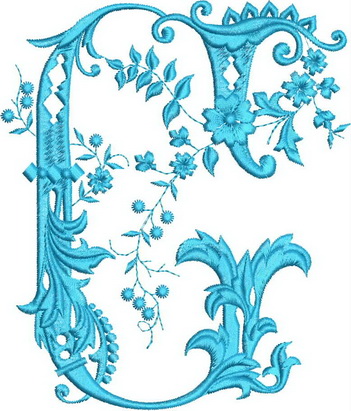
Folklore Machine Embroidery Designs
Released on the 25th June 2019

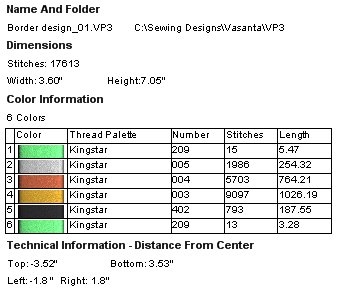
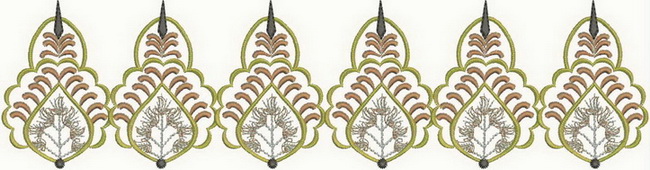
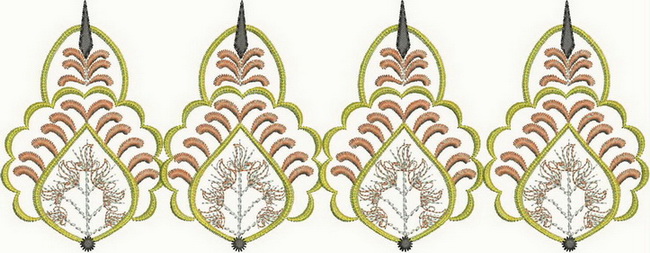
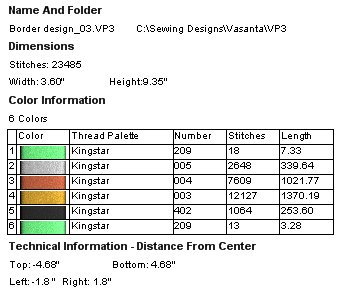
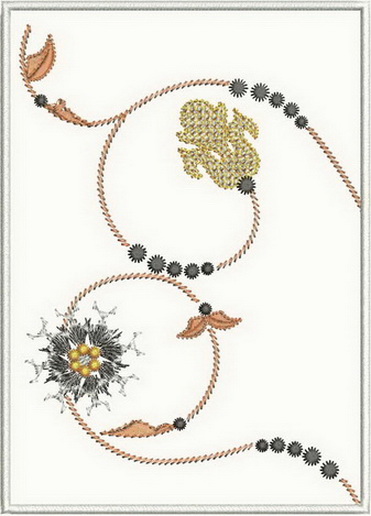
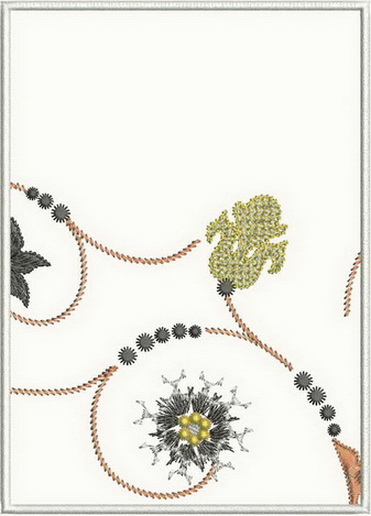
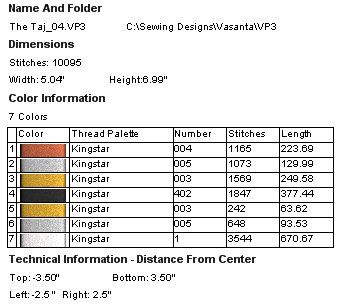
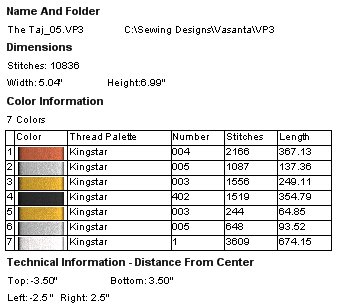
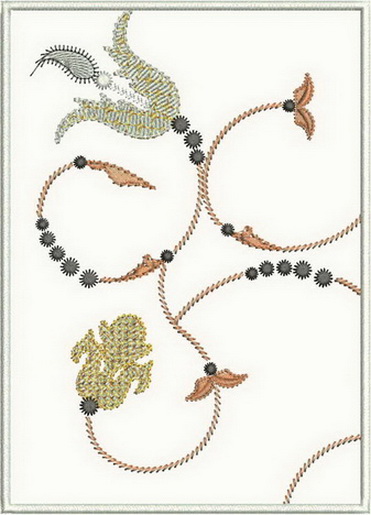
6 designs included in the Folklore machine embroidery design set.
The Folklore design is suitable for a 6 x 10 inch or 240mm x 150mm hoop.
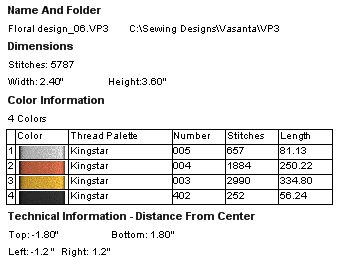
The Folklore design is available in DST, EMB, EXP, HUS, JEF, PES, VIP, VP3 and XXX.
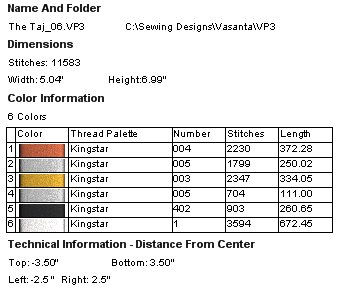
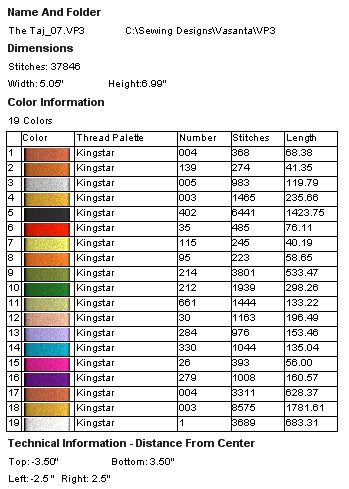
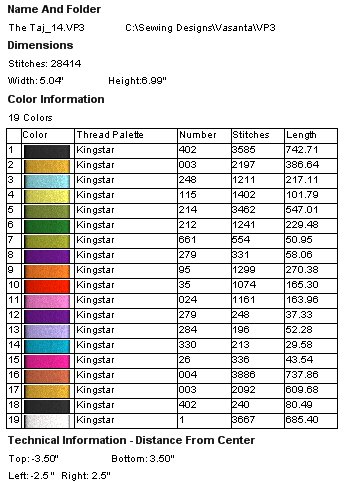
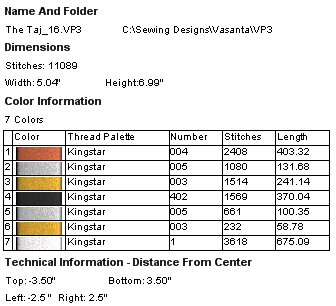
The colour chart is included in the design set
As I am now digitizing with Wilcom embroidery software (which is a commercial software) we are unable to convert files to ART format. Bernina embroidery machines will now need to purchase designs in EMB or EXP format. Sorry for the inconvenience.


