Fantasia Machine Embroidery Design Instructions
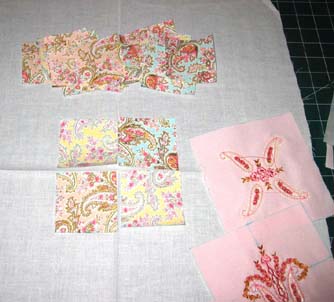
I backed the paisley and pink fabric with vlisofix before cutting out the squares.
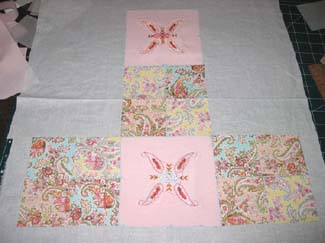
Each paisley square is 7 x 7 cm
Each of the pink fabric with the Fantasia designs is 14 x 14cm
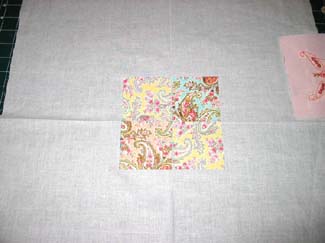
Iron the paisley fabric small squares onto a backing fabric as shown in the above photo. I started in the centre
Arrange as below in the photos
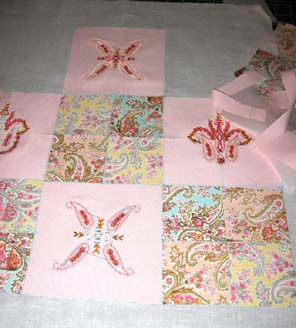
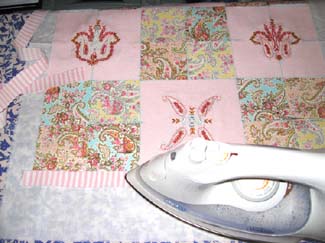
Once I had ironed all the squares onto the backing fabric. I ironed a pink striped fabric for the border, once again the pink striped fabric was backed with vlisofix
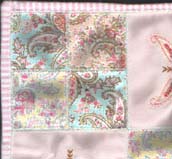
To hold all the squares down, I stitched the Heirloom decorative stitch from your sewing machine, a blanket triple stitch around each of the squares including the striped border. As shown in the photo to the left.
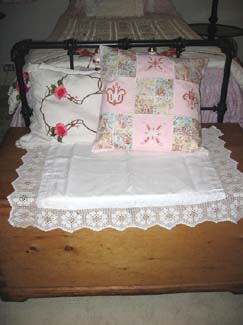
I made a cusion around 10 years ago using this method. The cusion has been sitting on a wicker chair on my patio in the full sun, for all that time. Of course it has been washed so many times due to the birds like to sit on the wicker chair and drop you know what!. The cusion is now starting to look a bit worn.