Hana Machine Embroidery Design Instructions
Hana Wall Hanging
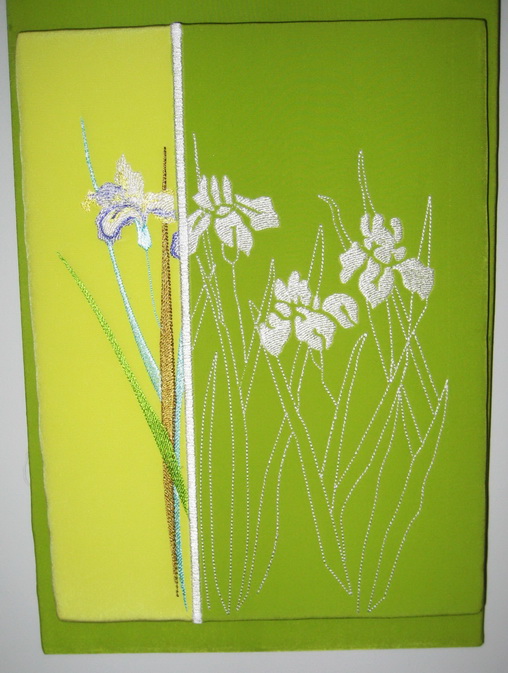
Use “Contemporary Lilly_01” “Contemporary Lilly_04 360 x 200” and “Contemporary Lilly_07 360 x 150” to make this wall hanging.
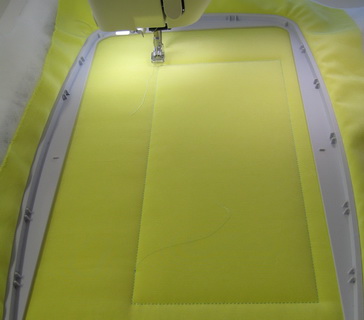
The No. 1 colour thread on your colour chart is to stitch out the outline of the appliqué fabric you need for the contrasting fabric.
Cut a piece of fabric of your choice larger than the outline. I suggest you use the colour thread that matches the appliqué fabric you have chosen for the contrasting fabric.
The second colour thread is to stitch out the outline once again.
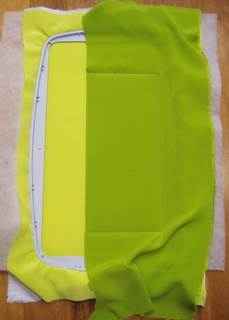
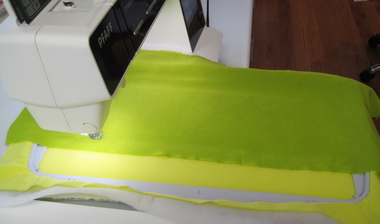
Slide your hoop out of the machine; do not take your fabric out of the hoop.

Using a sharp pair of scissors cut the fabric close but not too close to the outline stitches, leaving a small amount of fabric for the satin stitch border to completely cover the fabric.
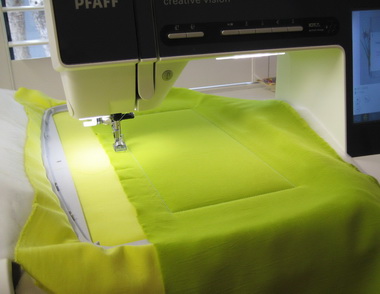
Insert the hoop back into your machine then start on colour No. 3
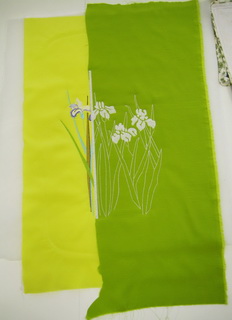
Once you have finished sewing the design out, press both the fabrics

Stitch the two fabrics at both ends using a straight stitch; this all depends on the length of the canvas board you will be covering.

Over the top of the straight stitch, stitch a zigzag stitch.
Over the top of the zigzag stitch; stitch a satin stitch matching the length and width of the satin stitch that is in the design
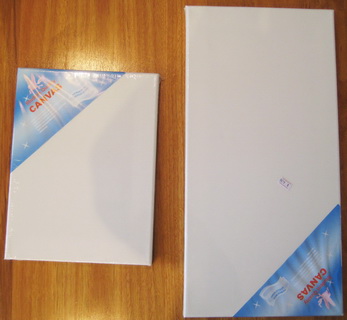
The dimensions of the two canvas boards I used
- 9 x 12 inches
- 10 x 20 inches
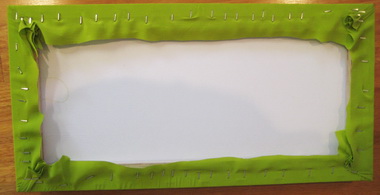
10 x 12 inch Canvas board covered in plain fabric that I had used in the design

Cover the back of the large board using either felt or some old fabric you may have lying around, this helps keep the dust at bay. I suggest you use venetian blind cording to hang your work
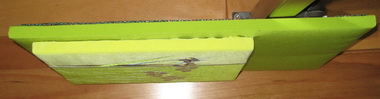
I then used one of those hot glue guns to glue the smaller canvas board to the larger canvas board
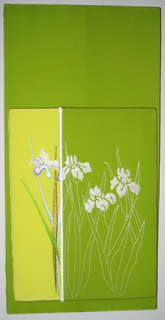
Close up of the two canvases hanging on the wall
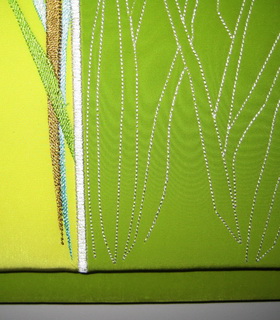
Close up of the white satin stitch, you may be able to see where I stitched at each end the satin stitch using a zigzag stitch manually
Hana Black Blouse
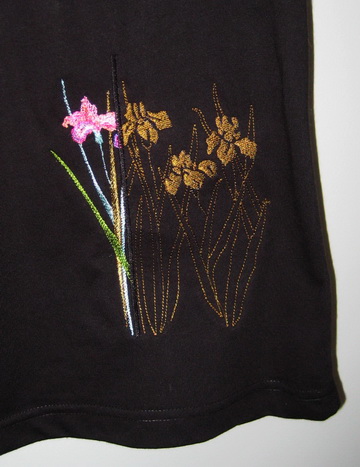
Close up of the “Contemporary lilly_01” design on a fine knit fabric. This blouse was done in a completely different thread colours that I recommend in the colour chart.
Hana White Blouse
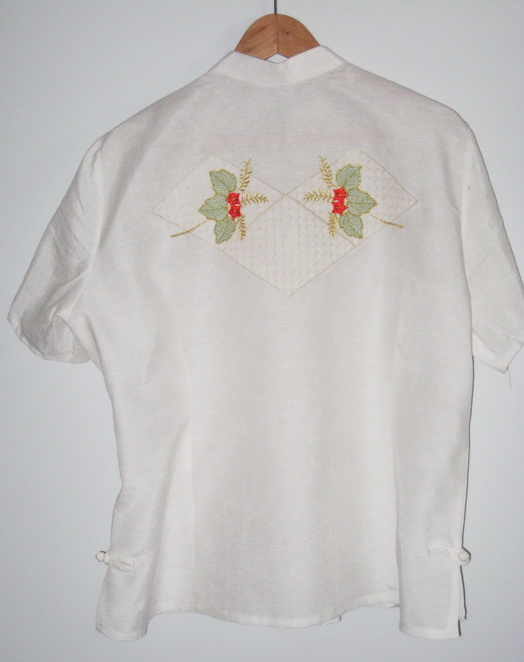
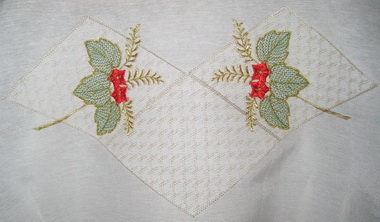
Stitch “Hanna_09” first
Stitch “Hanna_01” twice
This gives the back of the white blouse an interesting effect
Hana Table Runner
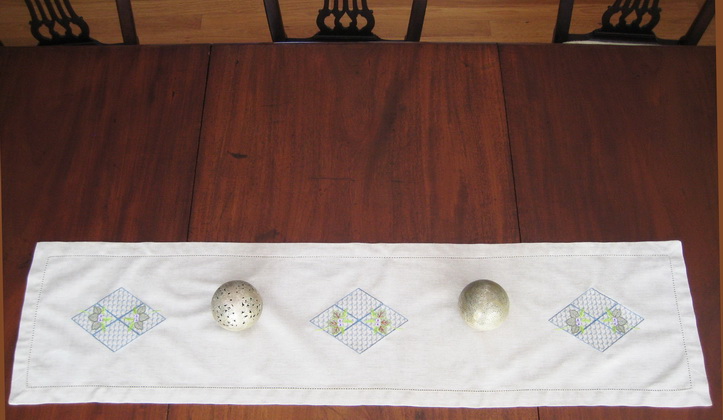
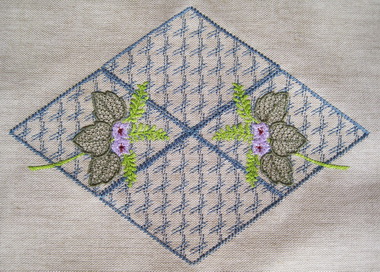
Stitch “Hanna_09” twice, side by side
Stitch “Hanna_01” twice opposite and mirrored