Harmony Machine Embroidery Design Instructions
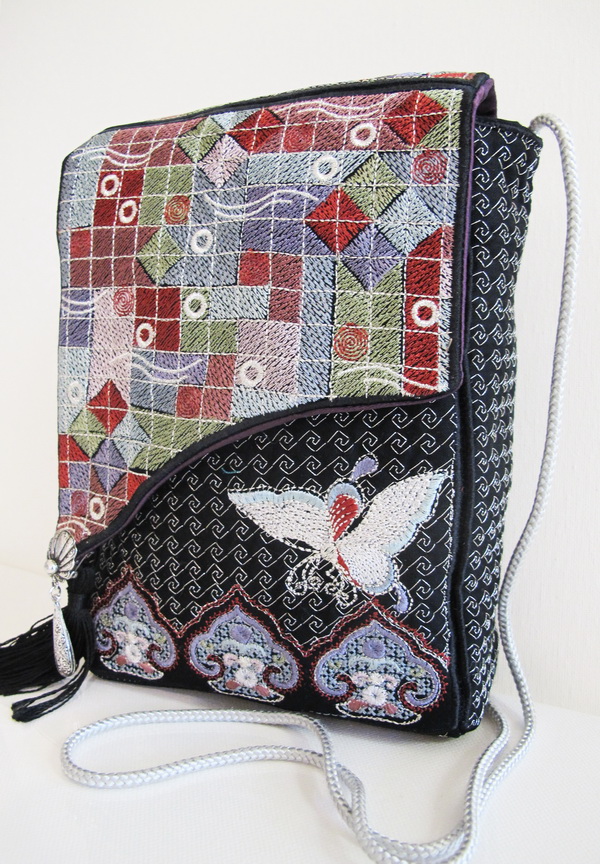
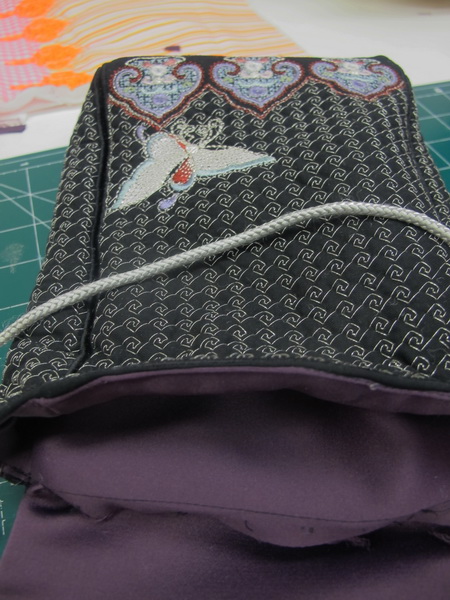
Harmony Black Bag

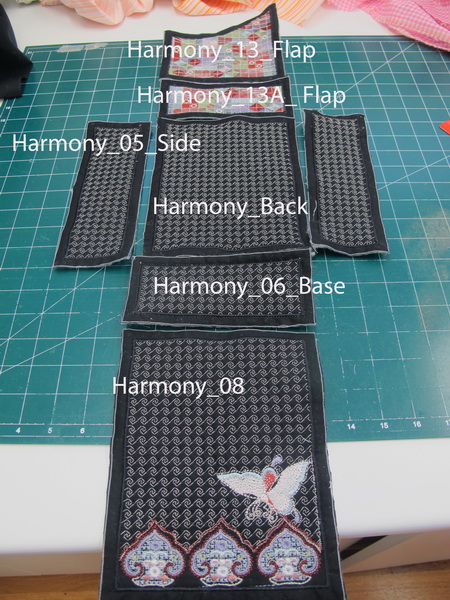
Stitch out Harmony_08.
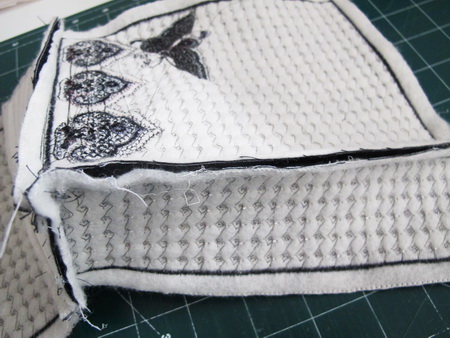
This is the front of the bag
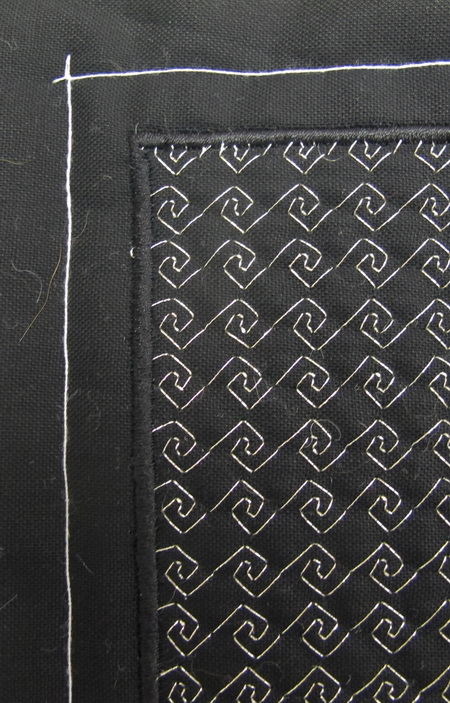
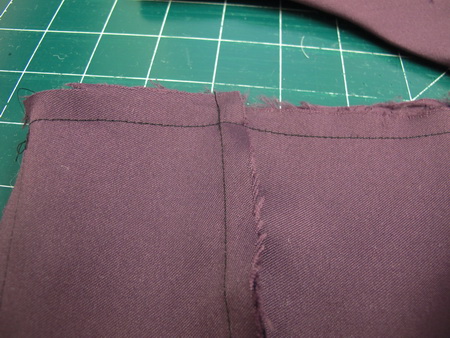
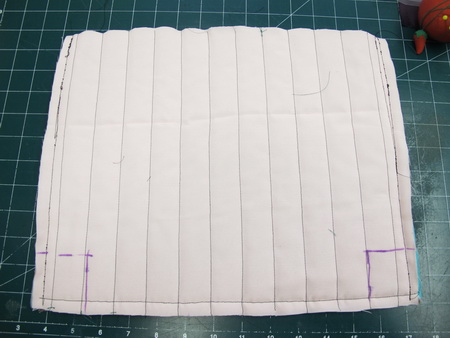
Stitch around each of the panels for your seam allowance, I find this is an easy way of marking the seam allowance especially on a dark fabric

Stitch out the following:
- Harmony_04_Back
- Harmony_05_Side, stitch two
- Harmony_06_Base
- Harmony_13A_Flap
- Harmony_13_Flap
Cut out each panel where you have marked for seam allowance
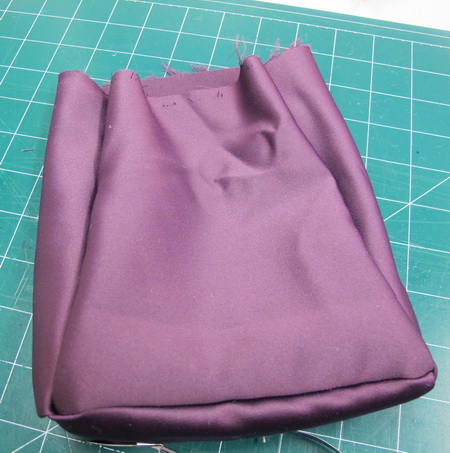
Using your panels that you have just cut for the lining of the bag
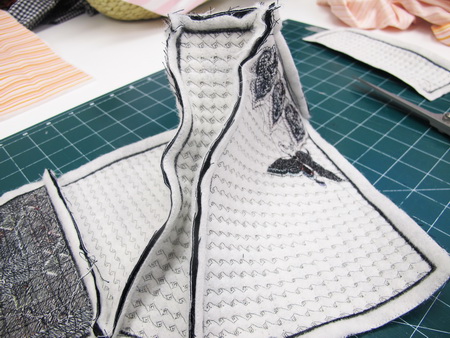
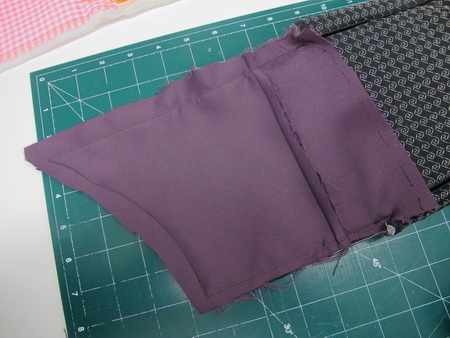
I like to lay out each piece of the bag to understand how I am going to stitch the bag together
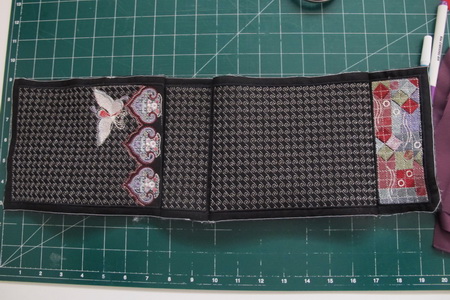
Stitch the front to the base
Stitch the base to the back
Stitch the back to the design Harmony_03A_Flap
Stitch the sides to the front
Once you have stitched both sides to the front and back panels, stitch the design Harmony_13A_Flap to the back of the bag.
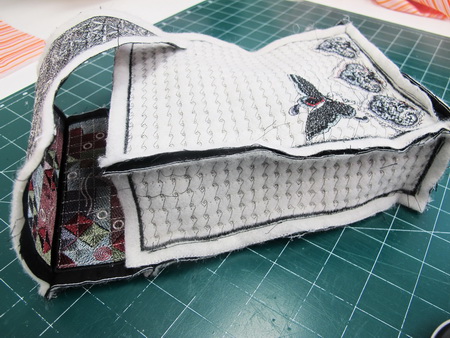
Stitch the design Harmony_13_Flap to the Harmony_13A_Flap
Stitch the following lining together
- Front
- Back
- The two sides
- Base
At the top of the lining stitch in your seam allowance
Stitch the following lining together
Harmony flap front and Harmony flap rectangl

Stitch the two lining flaps to the two black flaps
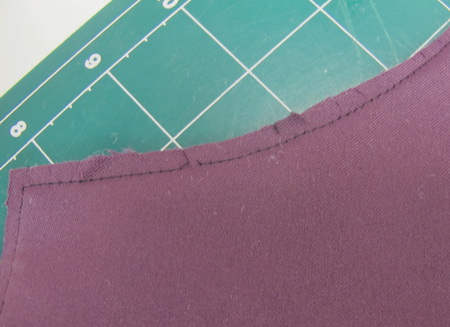
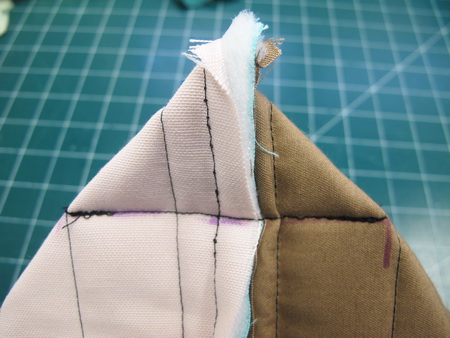
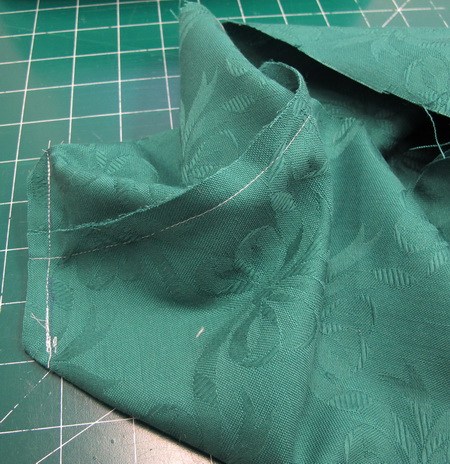
Cut away any excess fabric and snip using sharp scissors on the curve as you can see in the photograph
Glue and stitch in your bag strap to the side panels
Insert your magnetic studs to the flap and front panels (I forgot to do this part)
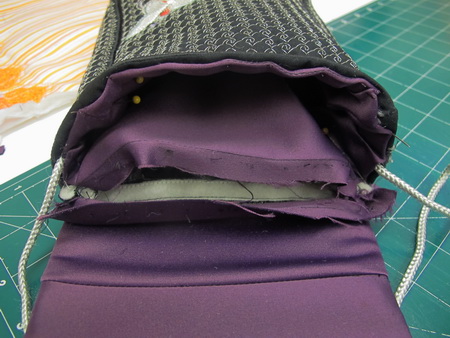
Pin the front and side lining to your bag
Stitch the front and side lining together, leaving the back of the lining
Hand stitch the rectangle flap to the back of the lining
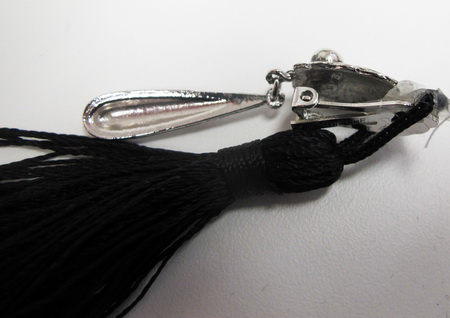
I kept many of mothers clip on earrings or if you do not have any you can purchase from the two dollar shops , stitch the clip on earring to a tassel and hand sew on the pointed front flap
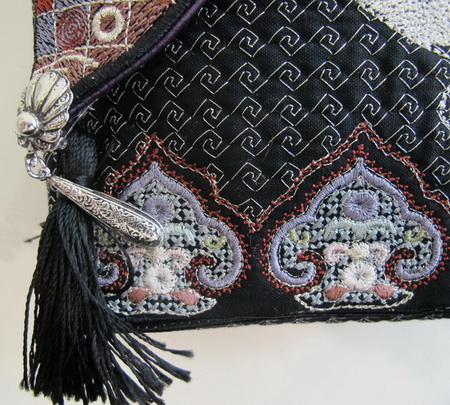
Earring and tassel stitched to the pointed end of the front flap
Harmony Aqua Crush Bag
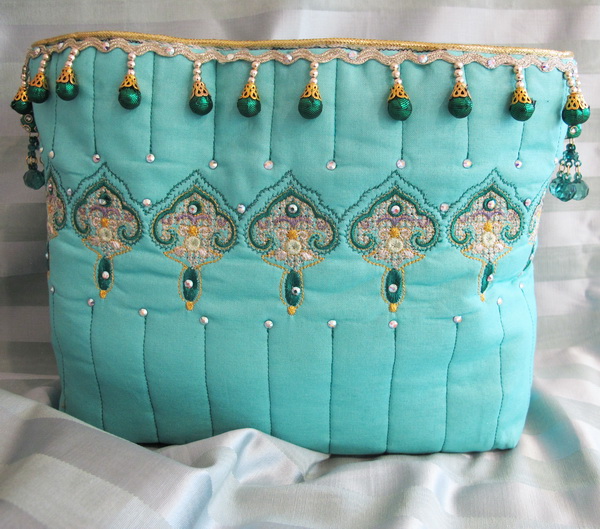
I like to make these for friends especially those who travel, these holders are great to throw odds and ends in rather than have all over the hotel room
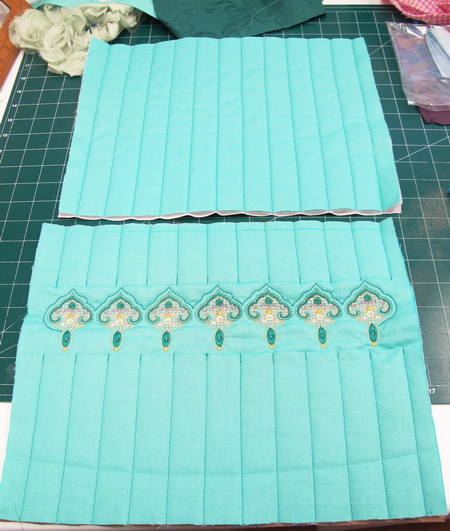
Stitch out Harmony_09
The size of the holder is 35 wide x 28 cm length or 13.5 wide x 11 inches length
Stitch using a running stitch on your machine for both the front and back
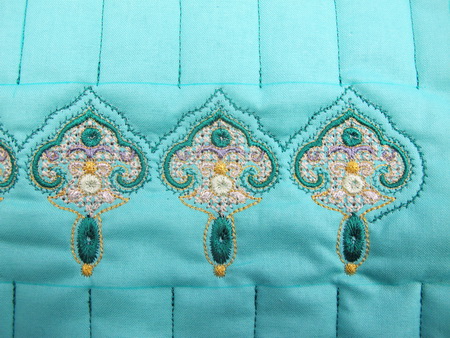
Photograph showing you a close up of the running stitch
Mark on each side front and back 5 x 5 cm or 2 x 2 inches
Before stitching match up the front and back seam, once you have matched the seams pin and then stitch across as you can see in the photo.
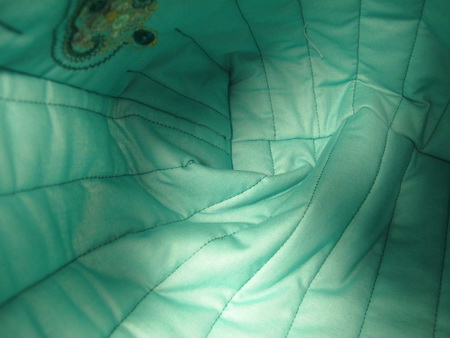
This photograph showing you the inside of the holder the two seams front and back joining

Cut what I call ears off so there will not be any bulk
Make the lining the same width and length
Follow instructions No. 3 to No. 6
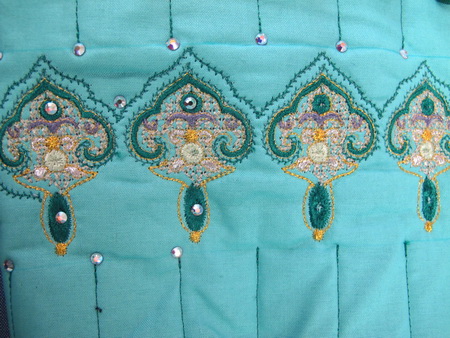
I added to the embroidery and the ends of the straight stitch those glue on crystals
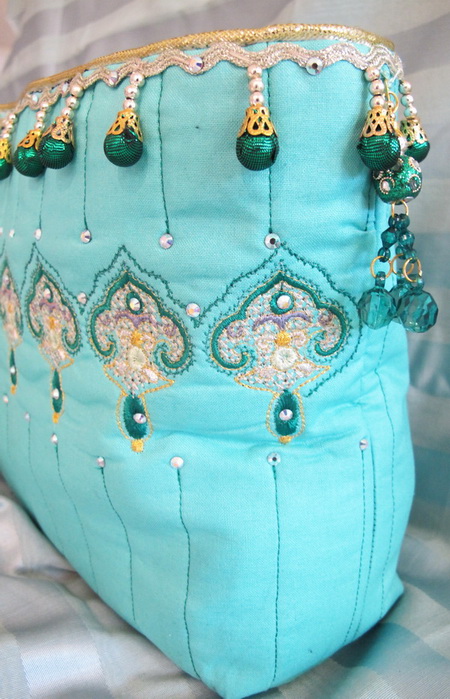
I had some gold cording and stitched it on the holder before I stitched the lining to the holder
While in India a couple of years ago I purchased many different types of haberdashery most were very Bollywood those, to give the holder that Bollywood look I added the dingle dangles, I think they look great on the holder, I stitched them on and then added a bit more glitz with the glued crystals that I had used on the rest of the holder