Jasper Machine Embroidery Design Instructions
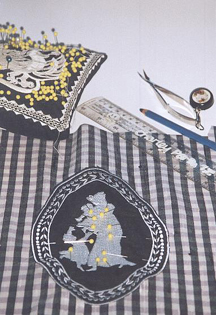
Jasper Bed Linen
Notions and colour chart
- 1 set of sheets “Cornflower” in colour.
- White Madeira thread No. 1001.
Instructions
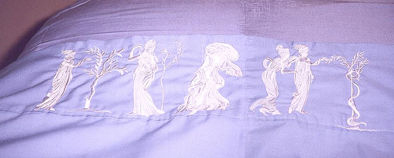
Fold the sheet in the centre. Use a hot iron to crease the centre line of the sheet.
After marking the centre line, align the centre of the hoop and the centre line of the sheet.
Then stitch out the herc_04 design.
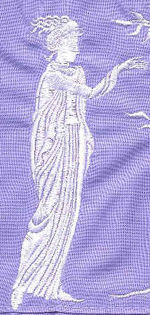
Stitch out the herc_02 design to the right of the herc_04 design.
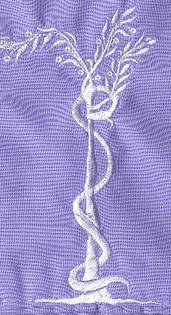
Stitch out the tresnake design to the right of the herc_02 design.
That completes is the right side of the sheet.
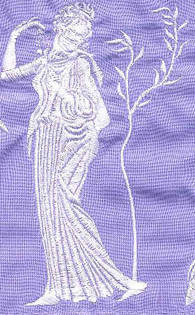
Stitch out the herc_01 design to the left of the herc_04 design (the first design stitched out).
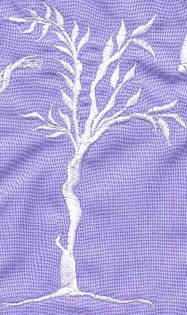
Stitch out the tree design to the left of the herc_01 design.
Sew the herc_03 design to the left of the tree design.
Jasper Pillow Case
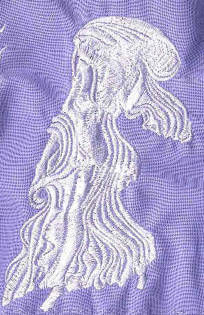
Stitch out the herc_01 design.
Draw an oval shape on a piece of cardboard. Cut out the oval shape to make a template.
Draw around the template with chalk or what ever else you like to use.
Sew satin stitch No. 02 L=.30 W=3.0 along the chalk line.
Sew stitch No. 17 L =1.5 W=4.0 over the top of the satin stitch.
Sew stitch No. 84 L=9.0 W=6.0 on the outer edge of the satin stitch. Whilst sewing this stitch on the oval, please press on your machine button “needle down” also “single stitch”. I realize that this is time consuming, but its well worth the extra time.
Sew stitch No. 02 L=.30 W=2.0 on the outside.
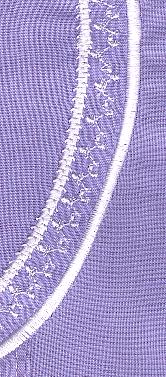
Magnified view of border on the pillow slip showing the stitches used.
Jasper Hercules Blouse

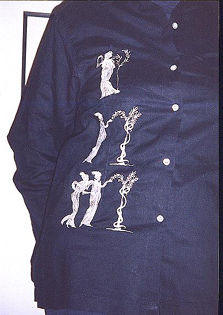
Navy blue linen blouse.
White Madeira thread No. 1001.
Draw a straight line down the right hand side of the blouse.
Use this line to centre your hoop.
The design at the top is the herc_01 design.
The design below the herc_01 design is the herc_tre design.
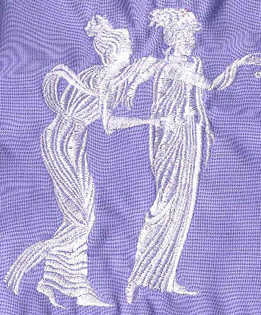
Below the herc_tre design is the herc_02 design and the tresnake design. Because two seperate designs are being used, move the hoop approximately 3cm or 1.25 inches to the left of the centre line which you have marked.
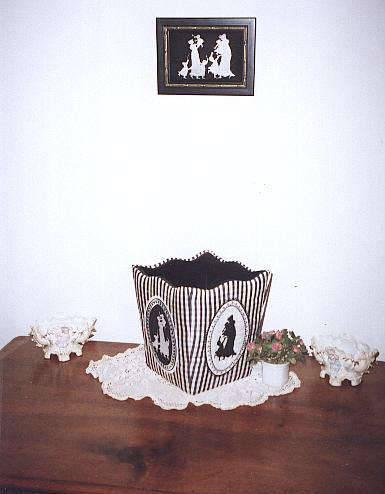
Jasper Waste Paper Bin
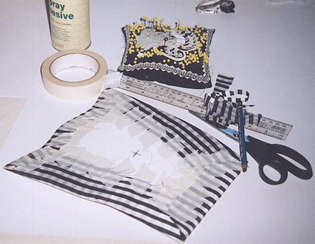
What you need:
Apart from your standard sewing tools, you will require –
Silk fabric of your choice.
Four jasper medallions.
A raw pinewood waste paper bin.
An aerosol can of matte spray paint.
A large sheet of strong artist’s cardboard.
A small roll of dacron wadding.
An aerosol can of craft glue.
A roll of masking tape.
A large tube of contact cement glue.
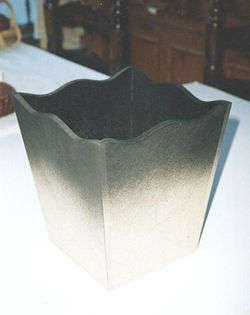
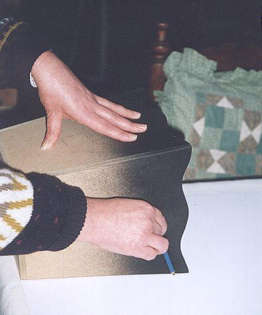
Take one basic, raw pinewood bin. I purchased this from my local craft shop. Spray the interior of the bin to improve its appearance and maintain its cleanliness. Again, the aerosol spray paint can be found at your local store. The color choice is yours. Hint: Target DH for another “special” project in his spare time, particularly if he enjoys woodworking.
Make templates of each side of the bin on a sheet of cardboard. Make sure that you clearly mark each side of the bin and the corresponding template. (e.g., A, B, C, D). Cut out each of the four templates.
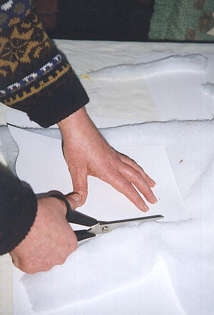
Using each of the four separate templates, cut out four panels of dacron wadding.
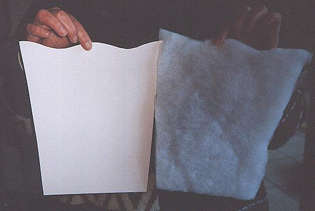
Ensure that you keep each panel and its template together. Again, mark the panels with an identifying letter. Don’t mix them up.
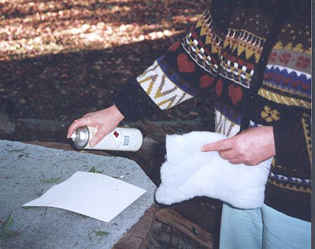
Lightly spray one side of each cardboard template with craft glue. Deal with each one individually. Carefully attach the wadding panel to the cardboard template. Allow each panel to dry before proceeding.
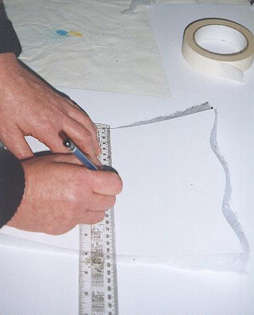
Carefully measure each panel. Mark the precise centre of each one.
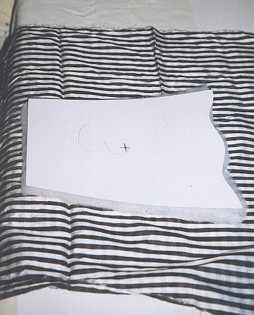
Lay out your chosen fabric. Ensure that you have sufficient material to cover all four sides of the bin.
Carefully cut your material for each individual panel using the four templates. Ensure that you leave sufficient edges on all sides so as to glue them to the back of each panel. This is a nice little upholstery exercise.
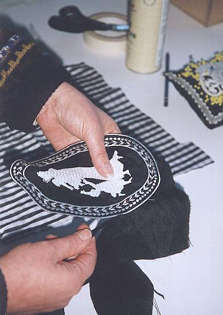
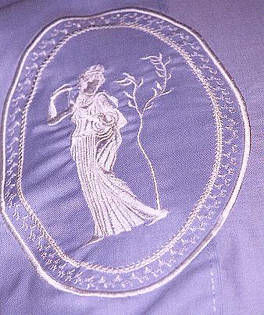
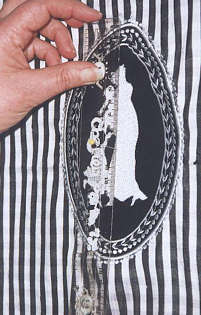
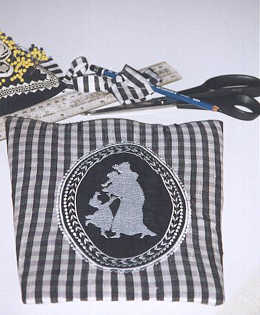
Take each of the four jasper medallions which you have created. Carefully cut around the satin stitched edges of each of the four medallions.
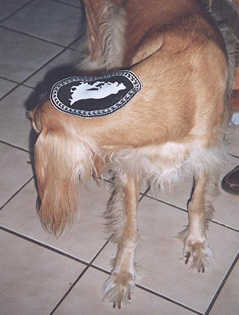
Oops! Where did he come from? My dog is such a sticky beak. He always wants to be part of the action, particularly when I’m using the camera!
Anyway, you should now have four jasper medallions cut out. . . . Now back to the project.
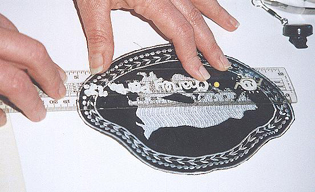
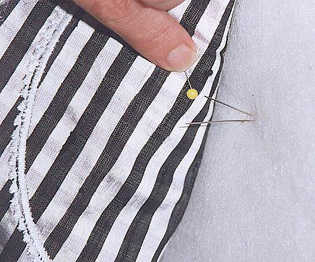
Carefully measure each jasper medallion and determine the centre point. Mark each one using a colored pin.
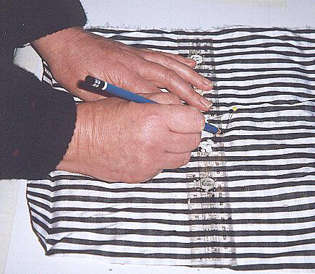
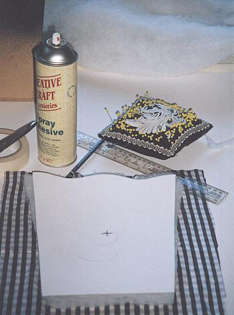
Carefully measure each of the four pieces of material and determine the centre point. Mark each one using a colored pin.
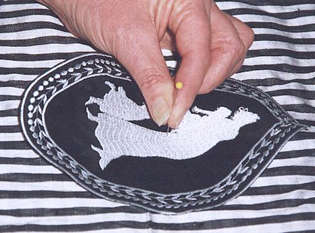
Individually, carefully align the centre of each jasper medallion with the centre of each of the four pieces of material. Ensure that the vertical alignment is accurate and that the medallion sits comfortably on your material.
Pin, pin, pin and pin again. Make sure that each of the four jasper medallions are securely pinned to each of your pieces of material.
When you are certain that the four jasper medallions are positioned correctly, sew each of them on to their respective material panels.
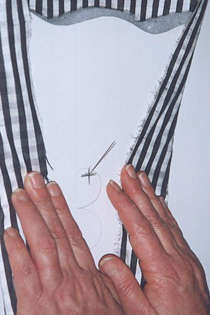
Once again, carefully find the centre of each jasper medallion. Mark each with a colored pin.
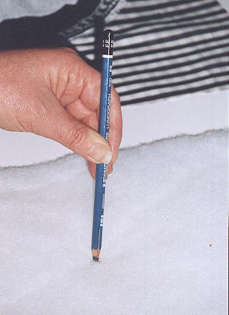
Working from the rear of the template, identify the centre. You would have already marked the cardboard in step 6, above. Push a colored pin through each template panel so that its point protrudes through the side covered with dacron wadding.
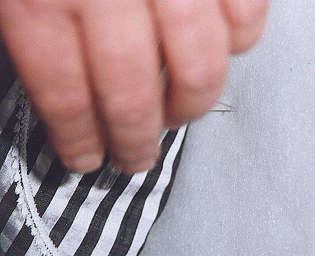
Locate the pin protruding through the centre of each jasper medallion.
Having located the centre of both the wadding template and the jasper medallion, smooth the material over the wadding. Ensure that the material piece is aligned correctly and that each jasper medallion is positioned accurately in the centre of each panel.
Working from the rear of each panel, fold over the edges of the material. Pull all edges firmly towards the centre.
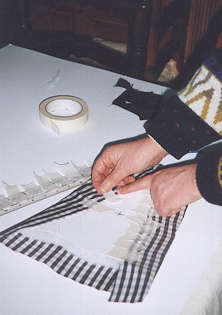
Working from the rear of each panel, securely tape the edges of the material to the cardboard of the template. Hint – Prior to this taping exercise, cut many short lengths of tape in preparation. I arranged them on my ruler, close to where I was working. This leaves both of your hands free for the awkward taping process.
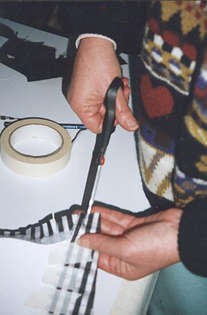
In order to produce a neatly folded appearance along the undulating top edge of each template, carefully make several vertical cuts in the material along its top edge.
Continue with the taping procedure on the back of each of the four panels. Ensure that the material is thoroughly secured to the cardboard of each template.
Each panel should be neat, clean and tidy when viewed from the front.
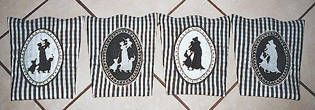
The four completed panels.
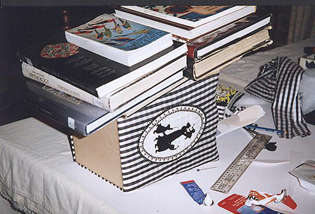
The gluing process is reasonably simple and is not shown. Apply a liberal amount of the contact cement glue to the rear of each panel and to the surface of the bin. Accurately position each panel on the face of each side of the bin. Apply a downwards pressure whilst the glue sets. A stack of books is a nifty idea. Allow at least three hours drying time for each panel.