Manchu Machine Embroidery Design Instructions
Manchu Bag
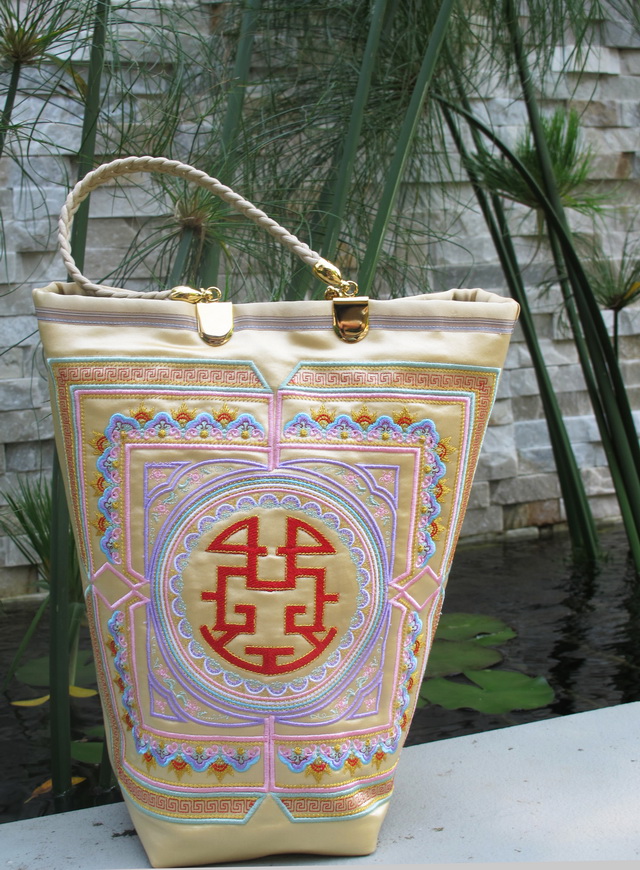
Bag dimension are
29.5 length x 28 wide cm approx
Or
12 length x 10.5 wide inches approx
What you need:
- 1 metre or 1 yard of fabric (I used pale gold Chinese silk which I purchased in China a couple of months ago wished I had bought meters of this silk …The silk is so beautiful to work with)
- 1 metre or 1 yard of lining fabric
- ½ metre or 1/2 yard of thin wadding
- ½ metre or 1/2 yard of felt (I used the felt as it would give this bag a soft look)
- Handles for the bag
- Magnetic clip
- 1 Chinese knot
Stitch out the following designs:
- “Manchu_01”
- “Manchu_02” 4 times
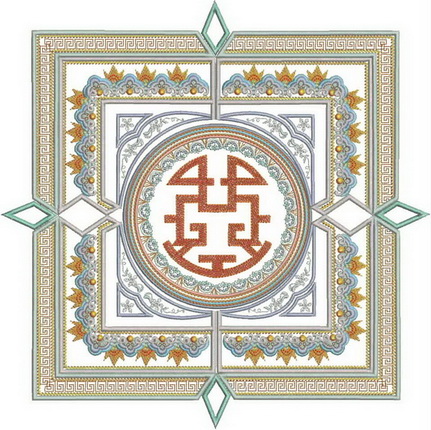
On the background fabric you have chosen zigzag stitch Manchu_01 in the centre
Zigzag stitch all four Manchu_02 as shown in the diagram
I did not stitch the 4 Manchu_03 as I did not want the bag to be to big
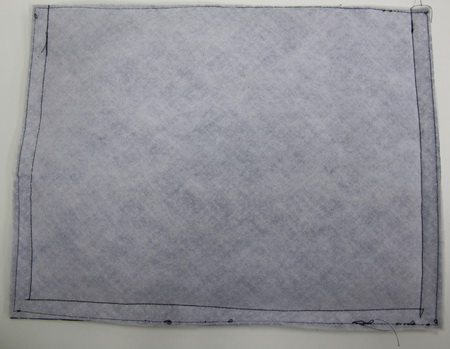
Once you have finished zigzagging each of the designs onto the fabric cut the front and back panels for the bag 39cm length x 28cm wide or 15.4length x 11 inches wide
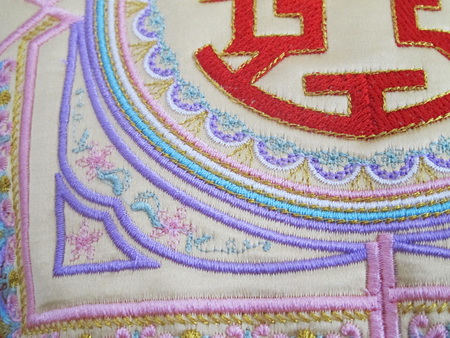
This is a close up of the detail in each embroidered panel
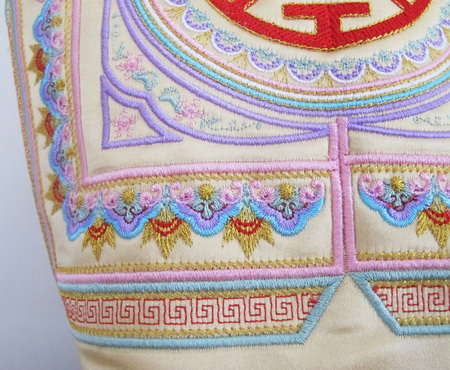
This is a close up of the detail in each embroidered panel
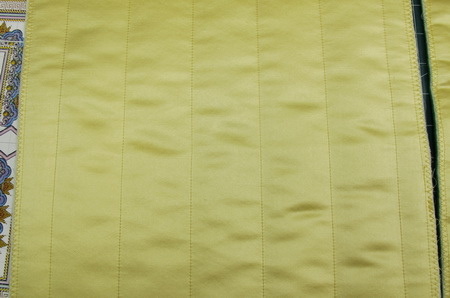
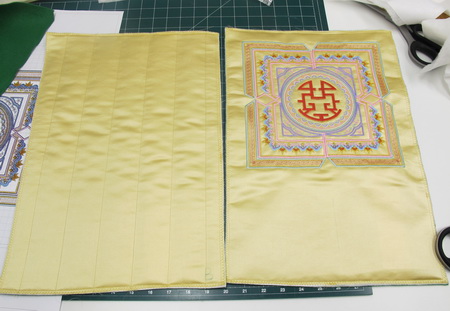
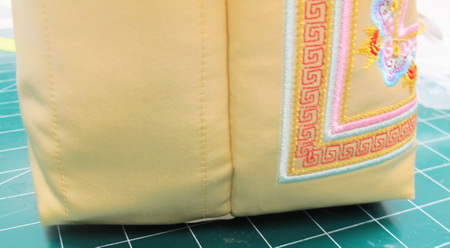
Use a straight stitch to make the lines for the back of the bag to give a soft quilted look each straight stitch line is 5cm apart or 2 inches
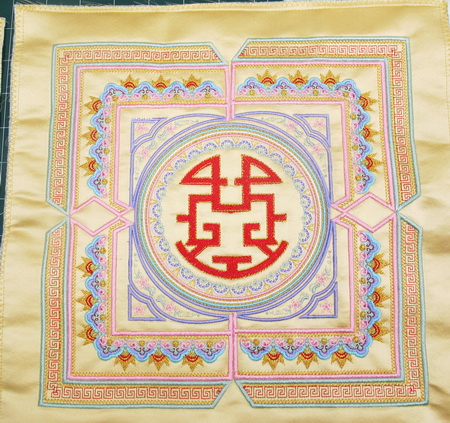
Front panel of the bag all stitched out
Zigzag stitch on all side of both the front and back panels
The following instructions will help show you how to make the base of the Manchu Bag.
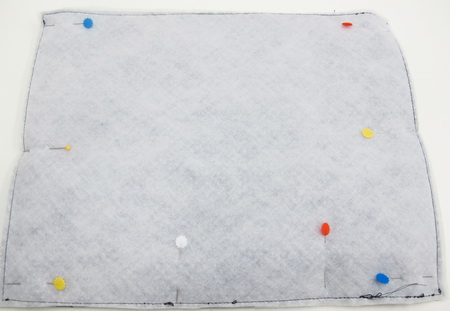
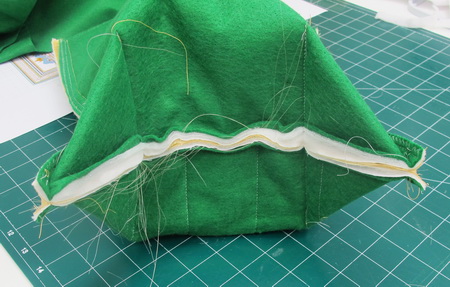
Pin all three sides of the bag together
All three sides stitched together
Flatten the bottom corner to make your bag bottom flat, hold one of the bottom corner of the exterior and match the side seam line with the bottom seam line (have a good look into your bag to see if the side seam and the bottom seams meet and flow into one another) Completely flatten the bag corner to form a triangle and pin.
You can make a mock up to see how you flat bottom will look on your bag, experiment with a piece of paper
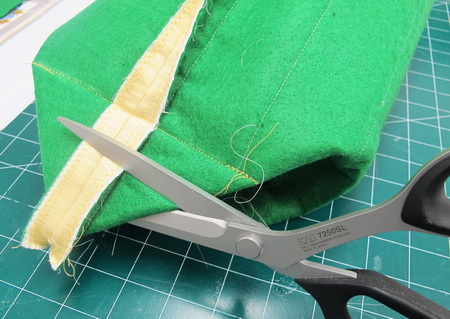
Measure and mark your chosen flat bottom depth…I would for example, if you want your bag bottom to be 9 cm (3 ½ inches) in depth. To make your bag bottom 9cm (3 ½ inches) deep all you have to do is measure and mark a line that is 90 degrees to the side seam and is 9 cm (3 ½ inches) long across the width of the triangle
Stitch flat bottom along the bottom line mark you made. Be sure to sew securing stitches at both ends to finish, trim off any excess fabric from the triangle, please not too close to the seam

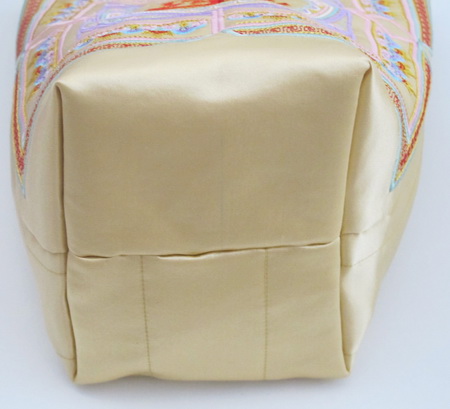
Showing you the base of the Manchu Bag
Press out all the seams using your hands
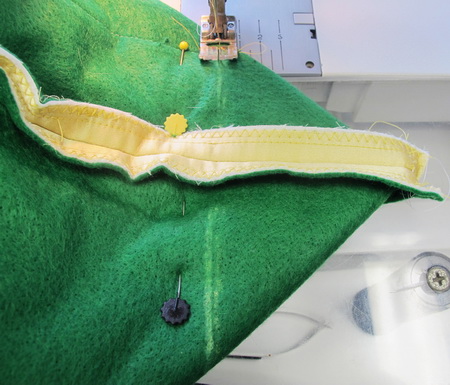
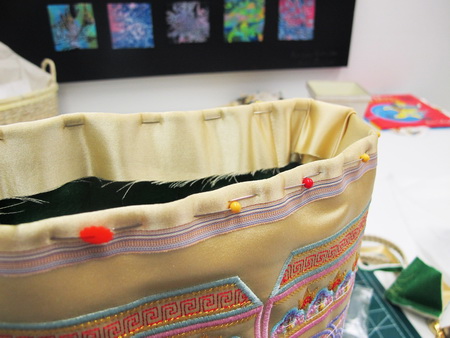
Around the top of the bag pin matching fabric or some sort of nice binding over the edge of the bag. I used the selvedge that was on the end of the Chinese silk and stitch the binding onto the bag
Make the lining the same as the bag (I would suggest you make the width of the lining slightly larger than the bag as you can pleat the lining nicely when it is too large)
At this stage you should also attach the magnetic clasp to the lining
If you are using bag handles that are not similar to mine you also need to stitch the handles on at this time
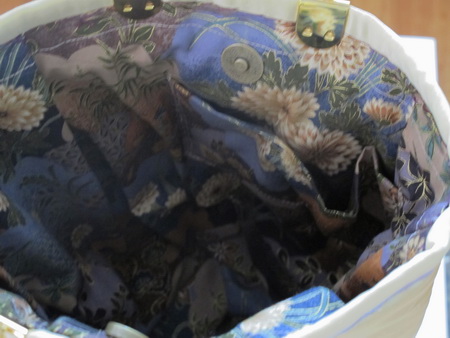
Attach the lining to the bag I slipped stitch the lining to the bag
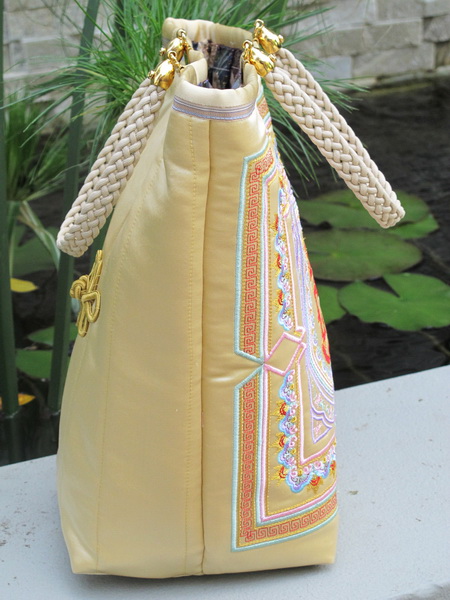
This is the side of the bag
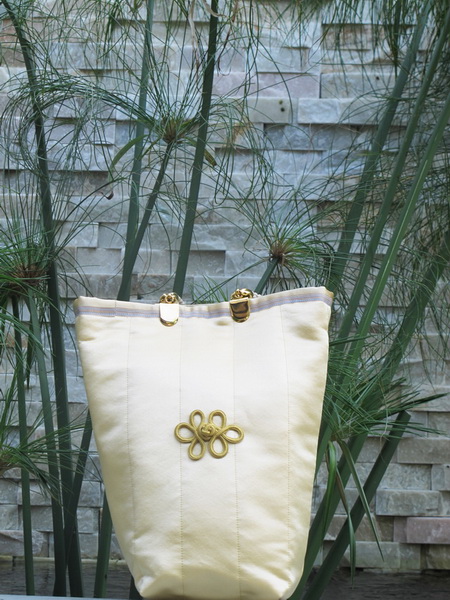
Back of the Manchu bag
Manchu Top
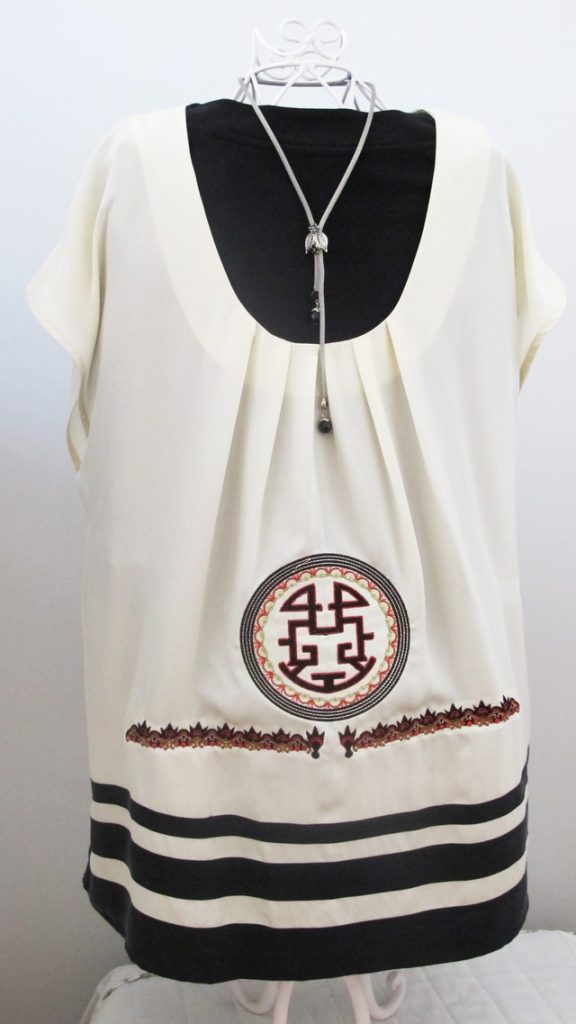
Stitch the following designs onto a top
- Manchu_01
- Manchu_04 either side of the circle
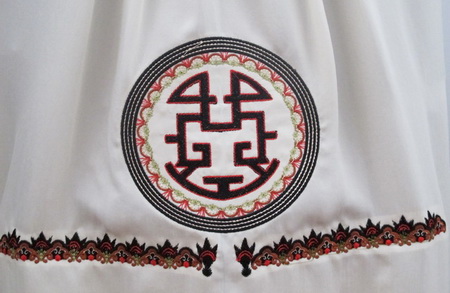
Close up of the detail in the design