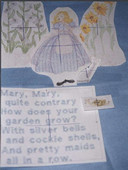
Mary Mary Machine Embroidery Design Instructions

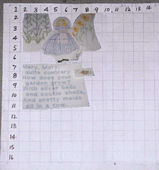
Print each of the Mary, Mary designs. I used the Buzz Tools™ program. Select the “Actual Size”
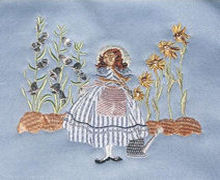
Cut out the shape of all the designs. Lay the jumper, face up on a flat surface. Arrange each of the designs on the front of the jumper.
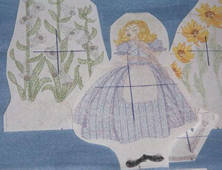
Locate the marked centre of each printed design. Select the first design. Insert a pin where you have marked the centre. Hold the pin firmly and lift the printed design. Carefully mark the centre point on the jumper with either chalk or soft pencil. Repeat this process, marking the centre of all the printed designs on the jumper.
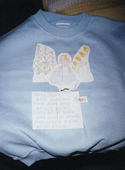
Commence stitching the designs on the jumper, using the marked centre points on the fabric as your references. Start with the mary_silver design. Follow this design with the sequence of designs which you have selected. Ensure that you stitch the overlayed designs first, followed by those designs which overlay them.