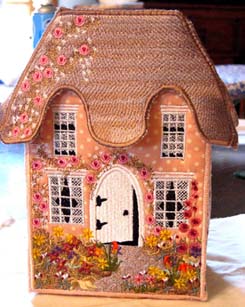
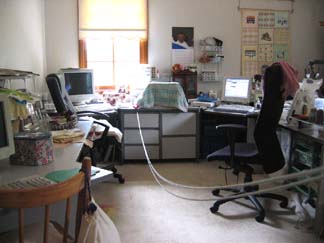
Rose Cottage Machine Embroidery Design Instructions
Rose Cottage Box
Sticky type paper with a wax sheet on the top, which you peel away once hopped (have no clue what it is called)
Flexifirm from
http://www.Stirling Embroidery.com
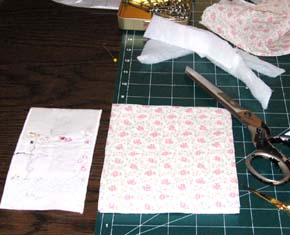
2 layers of pellum (very thin wadding)
Fabric which you have decided to use for the Rose Cottage
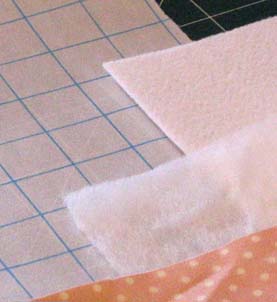
To fasten the three layers to the sticky paper use a basting design for your hoop type
Hoop the sticky type paper
Iron the Flexifirm, pellum (wadding) and fabric together
Lay all three layers that you have just ironed on to the sticky paper
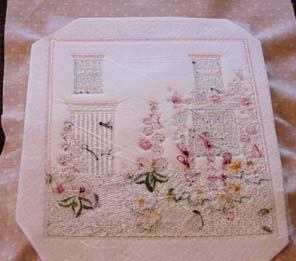
This is back of a panel after you have completed stitching one of the designs out
After you have completed each panel and to make Rose cottage pretty inside the box
2 layers of Pellum (thin wadding)
Pretty rose fabric for the lining
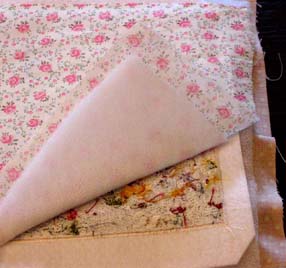
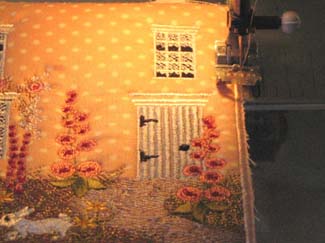
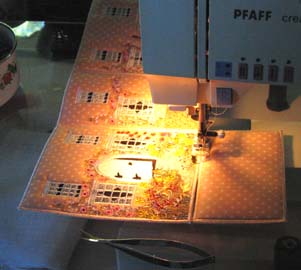
Lay over the stitched design your pellum (wadding) and lining fabric, as seen in the photo opposite
This photograph opposite showing you that I am about to lay over one of the panels the pellum (wadding) and lining fabric

Over the top of the satin stitch border that is part of the panel. On the under side you have your pellum (wadding) and lining fabric
Stitch a zigzag stitch to hold the wadding and lining fabric together. I used length 1.5 Width 2.5
Cut away the excess fabric from the zigzag stitch you just stitched
snip away all the frayed edges from the satin stitch border
Zigzag stitch over the top of the last zigzag stitch that you just did. I used Length .40 Width 2.5
Once again snip all the frayed edges from the satin stitch border
Zigzag stitch over the top of the last zigzag stitch that you just did. I used Length .40 Width 3.5
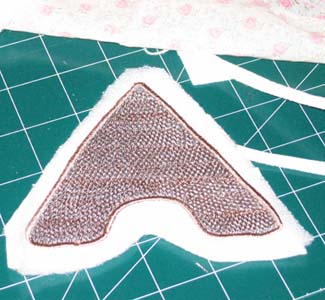
The thatched roof section of the design you do the same as the front and side panels of the Rose cottage.
If you notice the thatched roof is different from the design you have. I had an engineering problem 🙂 and had to re-do the thatched roof section

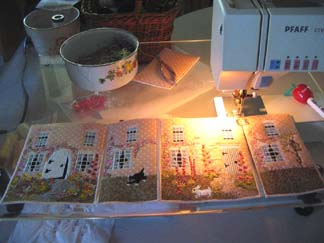
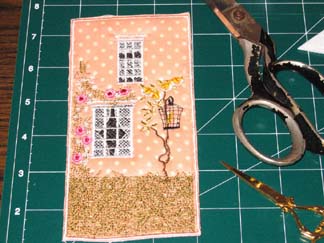
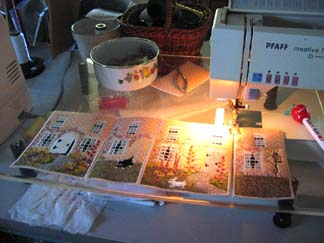
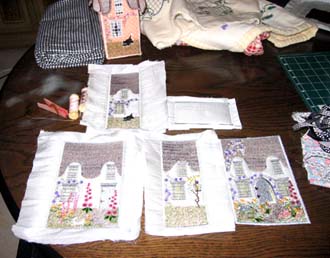
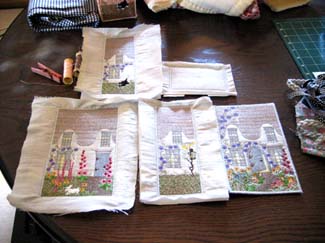
Stitch front panel, side panel with cat, back panel and side panel with the cage and bird. As seen in the photograph opposite.
Zigzag stitch Length 1.0 Width 4.0 all the panels together as seen in the photograph opposite
Stitching the last side panel together
Stitching the base to the front panel

I ended up stitching as many of the panels as I could using my sewing machine but there comes a point where you have to do some hand stitching.
Hand stitch the base to the side panel with the bird cage
Hand stitch the side panel with the bird cage to the front panel
Once again stitch as much as the thatched roof together using your sewing machine, the same also applies to the the thatched roof, there comes a time when you have to hand stitch the rest together
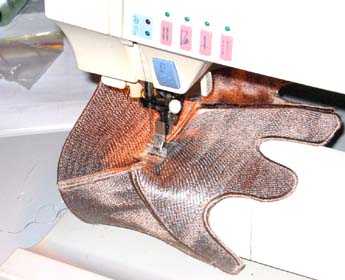
Trying desperately to get that machine to stitch as much of the thatched roof 🙂
It was not that bad doing the hand stitching, I sat back and watched a movie and found it very relaxing
To help get the needle through the layers of stitching I used the end of a plastic clothes peg.
The peg I used is in the first photograph for the instructions for making the bag, directly below
Rose Cottage Bag
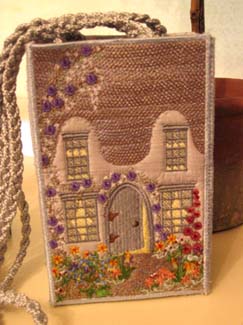
Follow the Instructions for making the Rose cottage box. You do not have to do the thatched roof for the bag as the thatched roof is part of the design.
I used pale blue silk to make the bag
For the lining I used a pretty floral cotton fabric
Instructions for making the Handle for the Bag
For the handle of the bag I used fine cording. I bought the cording from my local haberdashery shop
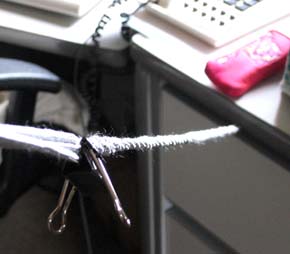
I cut the fine cording into 3 lengths. Bound one end with cellatape as seen in the photograph opposite put the cording into a good solid draw and slammed the draw shut on the cord
Make sure you have a dog clip handy
Start plating
I found when plating the cording it is best to plat 30cm or 1 foot at a time.
Stop
Put the dog clip at the end of your plating and unravel the end of the cording

As you can see in the photograph opposite you end up in a tangle at the end of the cording
Unraveling the cording
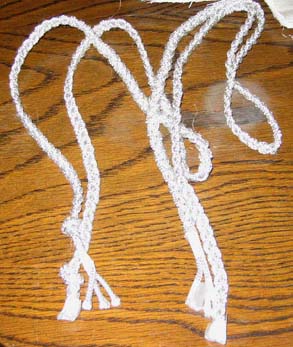
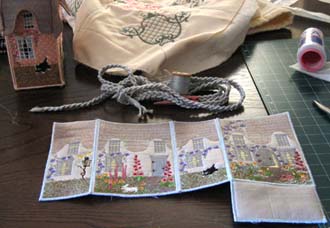
The cording finished
I made the cording 210cm or 3ft 6ins
Find the centre of the cording and where you would cut the centre with your scissors, put cellatape around the cording. Once you have put the cellatape around the cording, cut with the scissors. The reason for putting the cellatape around where you are going to cut the cording, the cording will unravel slightly.