Summer Blooms Machine Embroidery Design Instructions
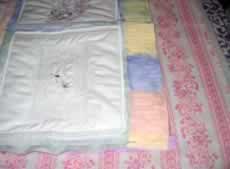
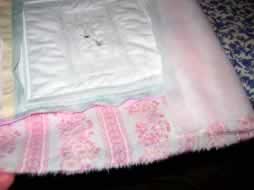
Summer Blooms Afternoon Cushion
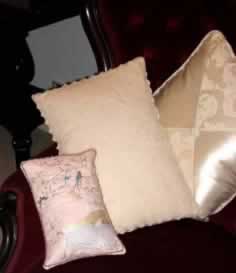
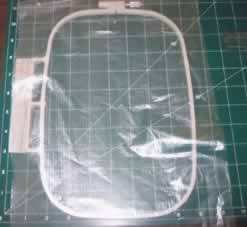
The reason why this cushion is on the small side was due to my trying out “The Giant Hoop It All” I bought this hoop over 12 months ago and only took it out of the box a couple of months ago. I was so busy trying to get all the instructions correct etc. and forgot that I only had a limited supply of the pink linen left and had layed all the linen in the hoop and had no pink linen left to even do a border to make the cushion larger. I do think it looks cute amongst the other cushions.
I first stitched out “Afternoon01” then placed and stitched “Afternoon02” this is how I orignally drew the design to be used this way
Putting a pretty floral border around the Afternoon designs
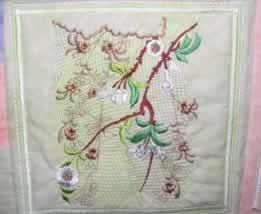
Summer Blooms Floral Dance Picture
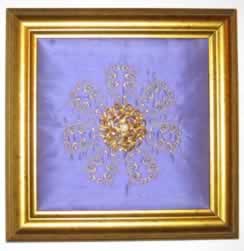
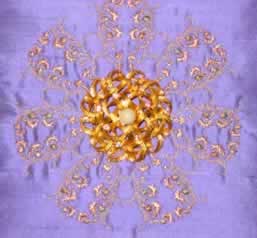
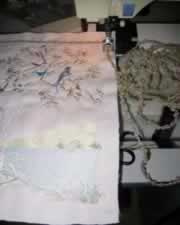
I stitched ” Floral Dance_05″ I purchased this piece from an Antique Shop for $4.80 (which was very cheap) I should imagine many of you have a jewelry box full of old brooches, clip on earrings etc. why not incorporate the jewelry you never wear into your embroideries. It is a lovely way of displaying your work and reclying your old jewelry
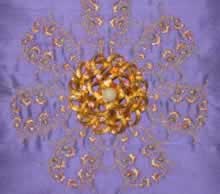
I stitched “Floral Dance_05” on a mauve silk and then stitched the design using King Star thread No. MA2. If you can purchase this gold do so as it is such a lovely gold. I then used a Madeira variegated metallic “Astro-2” I must have bought this thread about 10 years ago, as I had to take all the top thread off the spool as it had discolored and had a lot of dust on it…I thought the thread would break about every 20 stitches, would you believe the thread did not break!!!
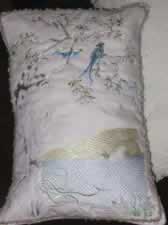
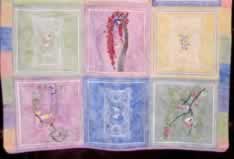
Summer Blooms Quilt
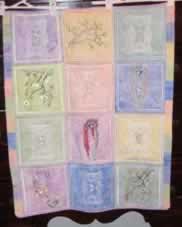
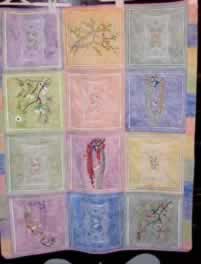
I bought the fabric for this quilt 2 years ago at a Craft Show in Queensland from Country Dye Works if you are interested in the fabric just visit the URL below
countrydyeworks.com.au
They hand dye their own fabrics. What drew me to the fabric at their stall was the lovely way all the swatches blended so well together. This fabric was my inspiration to design this set
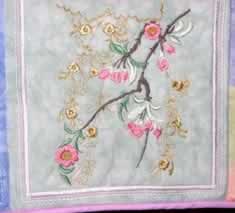
Afternoon dreaming01
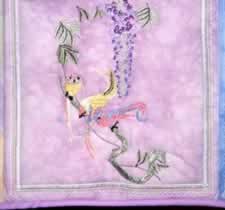
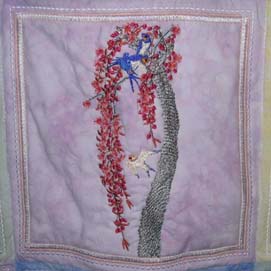
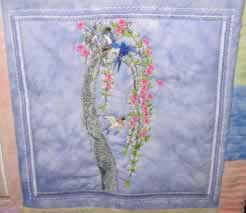
Love among the Wisteria
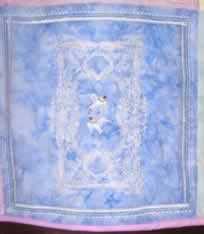
Happiness
Happiness once again, this time I used different colour’s
Afternoon dreaming

Afternoon dreaming02
Surround
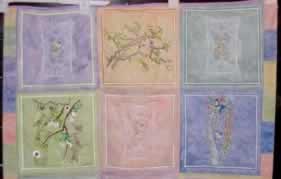
Photograph of the 6 top panels of the quilt
Photograph of the 6 bottom panels of the quilt

Using the decorative stitches from my machine I designed a lovely border, I kept the border rather simple as the quilt did not need much in the way of to many colour’s and decorative stitches
Over the top of the satin stitch you had just stitched use the stitch that I had scanned in Length 3.0 width .30. I know this is a utility stitch for knits etc. but I use the utility stitches all the time as decorative stitches. They look great in combination with other stitches
Mark a square around each panel for the decorative stitch border
Stitch a straight stitch first on the border you have marked for the decorative stitches, this helps to stabilize the stitches and avoids puckering
Over the straight stitch which you had just stitched zigzag stitch length 1 width 2
Over the zigzag stitch you had just stitched zigzag stitch again length .60 width 4.0
Over the zigzag stitch you had just stitched once again zigzag stitch length .35 width 5.0

I stitched all the designs onto two layers of thin wadding and behind the wadding I used a heavy white cotton fabric all this made an excellent stabilizer for the designs. As I did not want this quilt to be to stiff. I wanted it to be soft just like the colour’s of the fabric
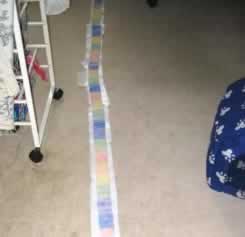
I used once again the pleater and I am getting more proficient at doing the pleating, I do love the effect of the pleating as a border to the quilt. The pleating gave the border a lovely rainbow effect. You can purchase the pleater if you click on the URL below
http://www.punchwithjudy.com.au
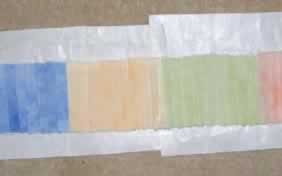
Close up of pleating
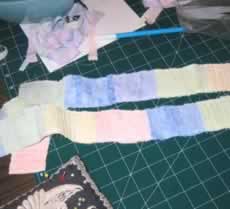
After pleating I then stitched either side of the fabric to hold the pleating together once I had taken the pleating away from the freezer paper

Stitching all the panels together
Putting the backing fabric onto the quilt
I ironed thin wadding onto the backing fabric of the quilt
Summer Blooms Jacket
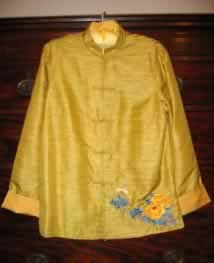
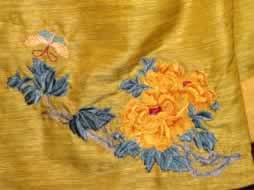
I purchased this jacket and took the front of the jacket away from the lining and stitched both “Late Afternoon” and “Late Afternoon_01” to the bottom of the jacket rather at the top of the jacket. I feel this makes the Jacket more balanced
Close up of designs on the jacket
Summer Blooms Bag

I have no affiliation with the author of this book. John selected the book while at a craft show here in Sydney about a month or so ago. I love taking John with me to craft shows as he finds interesting things that I would just pass by. I used one of the designs out of the book. The design is called “All that Jazz”
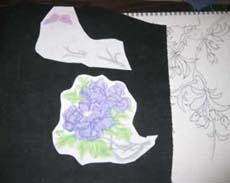
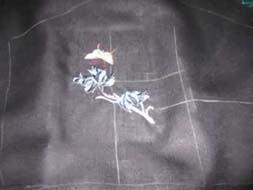
Print out the “Late Afternoon” and “Late Afternoon_01″in Actual size. Mark the centre of each design. The type of fabric I used for the “Summer Blooms” bag was a black linen
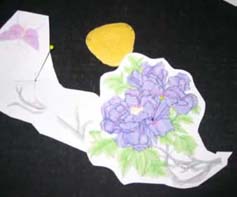
After marking the centre of each design. Mark the fabric as to how you would like the designs placed for the bag
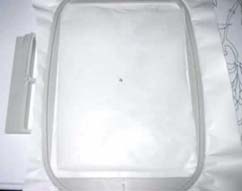
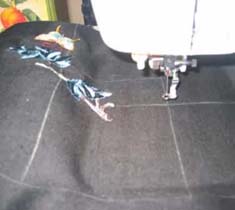
I hooped “Hydro Stick” for easy placement of the designs for the bag. Hydro Stick is like a thick paper which you peel away, revealing a sticky type paper underneath. This type of backing makes it very easy for placement of design.
You can see in this photograph after stitching “Late Afternoon” on the fabric I am now ready to move the fabric in the hoop so I can stitch out “Late Afternoon_01”
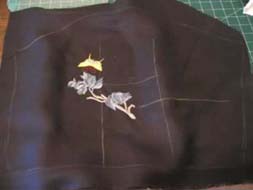
Moved the fabric across on the “Hydro Stick”
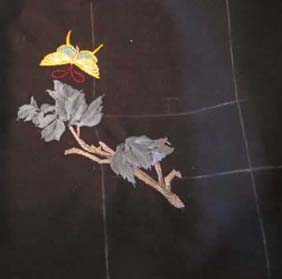
Aligning the machine to the centre of the “Late Afternoon_01”
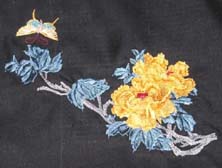
Both “Late Afternoon” and “Late Afternoon_01” combined
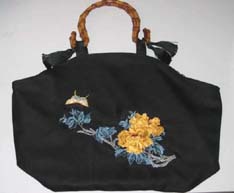
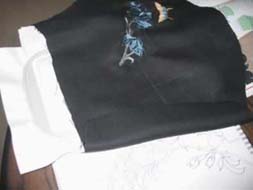
Summer Blooms Bag
Summer Blooms Table Cloth
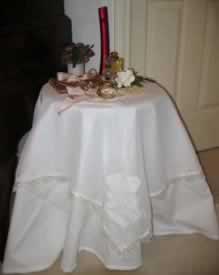
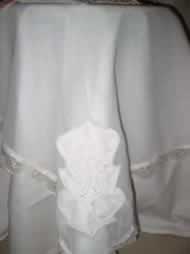
Years ago I bought an inexpensive little round table. You would think I would have made a beautiful tablecloth for the table within that time. No, I never managed to get around to it, well I finally have!!! I stitched “Floral Dance” at each corner of the tablecloth on Swiss Cotton
Close up
I used 2 layers of “Melt Away” I purchased this from http://www.stirlingembroidery.com I had never used this product before, so I was a bit nervous. It turned out very well. I did run out of the Melt Away on the last corner (it is always the way) I had another product from Stirling Embroidery which was called “Water Soluble Vilene” it worked very well but not as well as the “Melt Away”
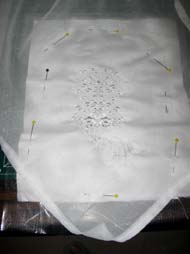
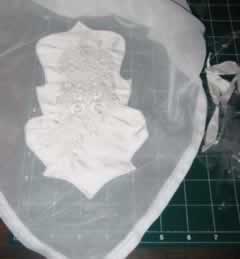
I hooped the melt Away and pinned the silk and swiss cotton onto the top of the melt away, I did not hoop either of the silk or swiss cotton. Stitched out “Floral Dance” on both the silk and swiss cotton
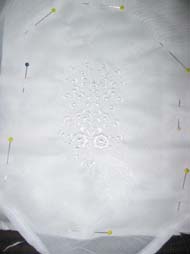
Close up
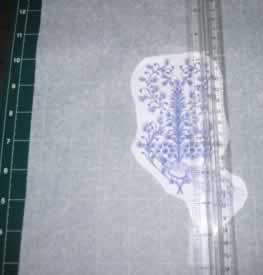
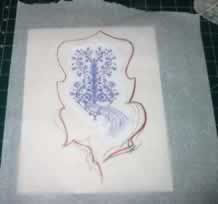
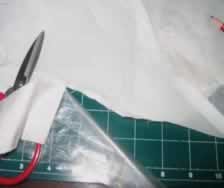
Print “Floral Dance” in “Actual Size” cut the design out as seen in the photograph
The paper I used is “Grease Proof Paper” we buy it in Australia in our Supermarkets on a roll, it is used for cake lining, lunches etc. I have many rolls of this paper in my sewing room as the Grease Proof Paper has many uses.
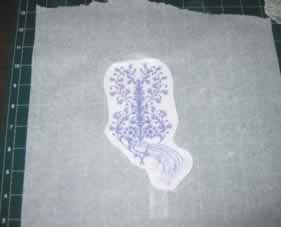
Tape the paper down and then tape the “Floral Dance” onto the paper
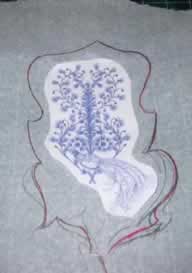
Draw a simple design onto the Grease Proof paper using a pencil, as you can see I fiddled around with the design till I had it right.
Lay cardboard under the paper
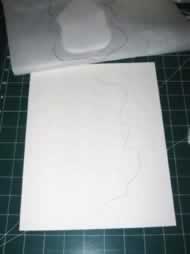
Trace the design you have just designed onto the cardboard
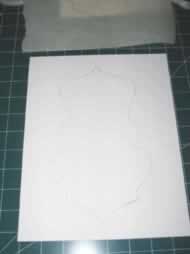
Design traced onto the cardboard
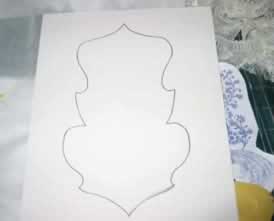
Draw the outline that is in pencil with a black marker pen so you can easily see the design through the swiss cotton Trace the design from your cardboard under the swiss cotton and silk onto the swiss cotton using either a pencil or one of those blue marker pens (do not use these marker pens unless you have washed the fabric previously) I could never understand why the marker pen sometimes comes through especially after you ironed the fabric, well, it pays to read the instructions that comes with the marker pen 🙂
Stitch using a straight stitch around your border first, this helps to stop puckering
over the top of the straight stitch you just stitched, zigzag stitch Length 1.0 Width 1.5
Over the top of the zigzag stitch you just stitched, zigzag stitch once again stitch Length .35 width 2.5
Over the top of the zigzag stitch, stitch a feather stitch Length 2.0 width 3.5
Cut the Melt Away and the silk fabric from the swiss cotton fabric. I found it best to cut close to the design but not too close and then proceed to cut with small scissors up against the satin stitching
Close up
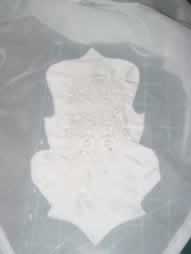
Close up

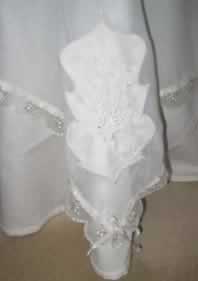
I finished the tablecloth with pretty lace and then threaded white ribbon through the lace and tied a bow at each end.
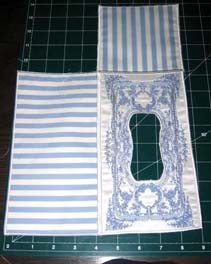
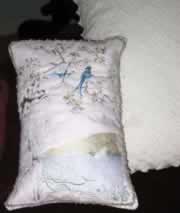
Summer Blooms Tissue Box

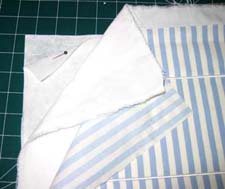
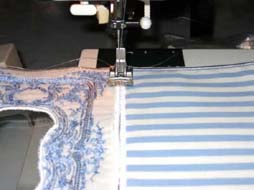
Photo of the backing I used for the top and side sections of the Summer Bloom Tissue box
Striped fabric
2 layers of tear away (heavy)
White fabric
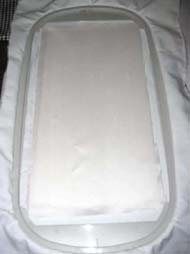
Hooping the tissue
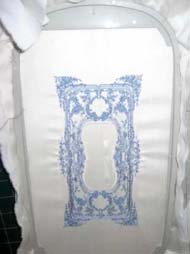
Take the hoop away from your machine
Keep the tissue top in the hoop
Cut in the centre with your scissors, still using your scissors cut close to the satin stitch border, not to close
Now cut very close to the satin stitch, as close as you can so as not to cut the satin stitch
Put your hoop back into your machine and stitch the next colour
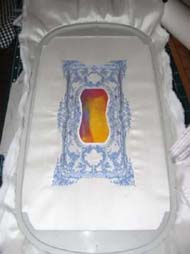
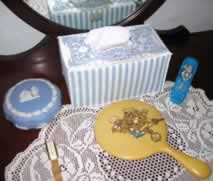
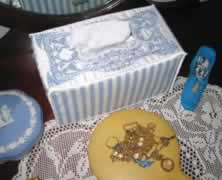
All finished
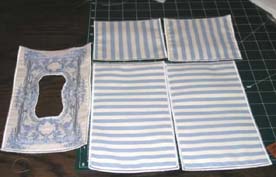
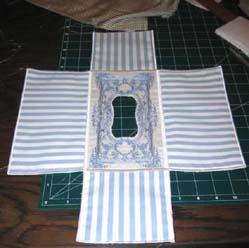
Using a Zig zag stitch to sew all four sides together