Adorabelle Fairy Machine Embroidery Instructions
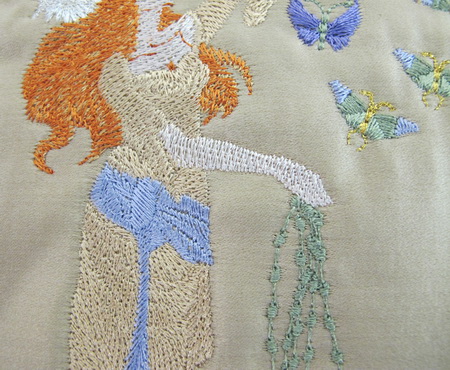
Adorabelle Fairy Cushion
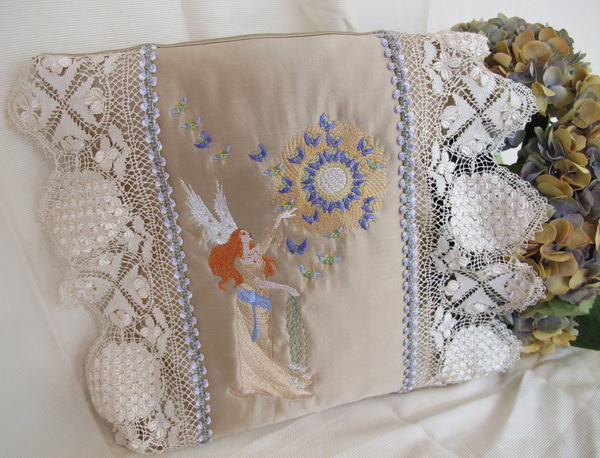
I stitched this design on silk that I had purchased in Beijing, China, it was such a beautiful silk to work with.
The design I used was “Adorabelle Fairy_01” for the hoop size 9 x 6 inches or 240 x 150mm
You can also stitch this design for the 5 x 7 inch or 180 x 130 hoop by stitching “Adorabelle Fairy_02” and then placing “Adorabelle Fairy_03”.
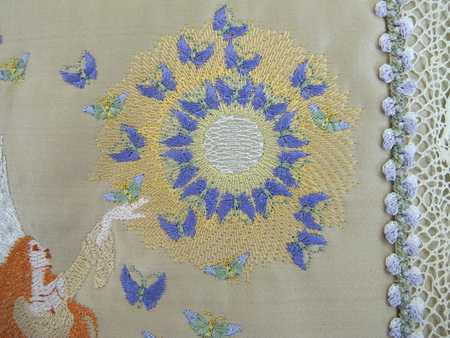
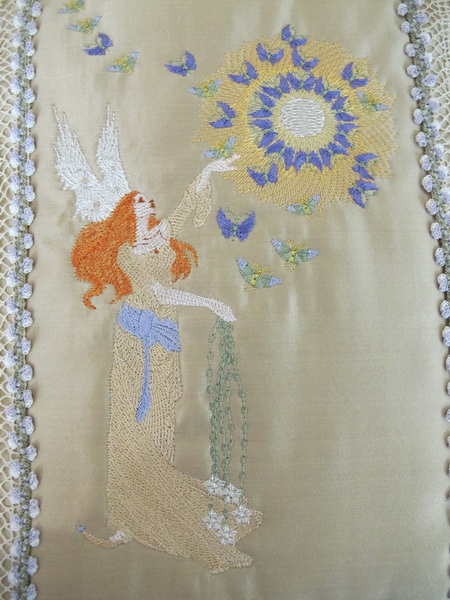
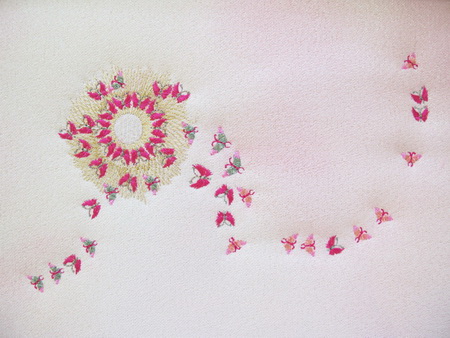
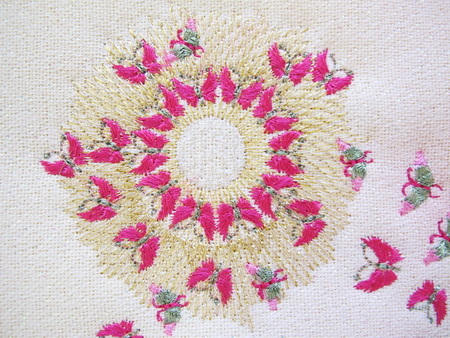
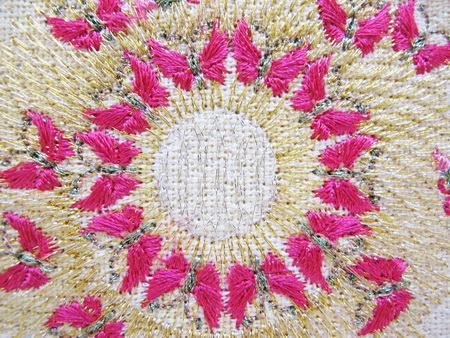
Close up of the stitching
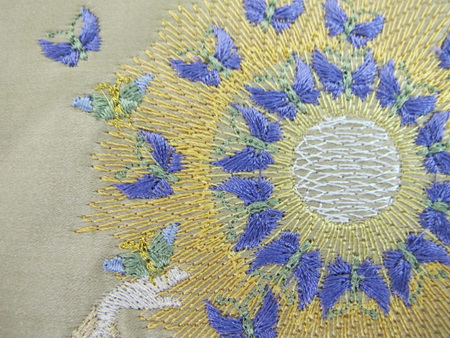
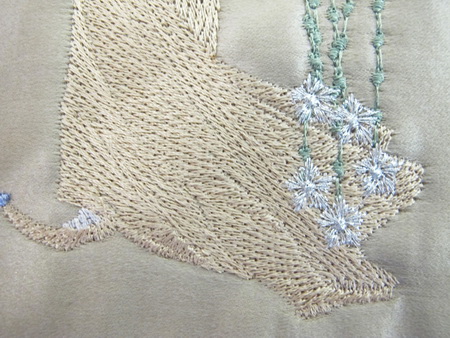
Close up of the stitching
Close up of the stitching
Close up of the stitching
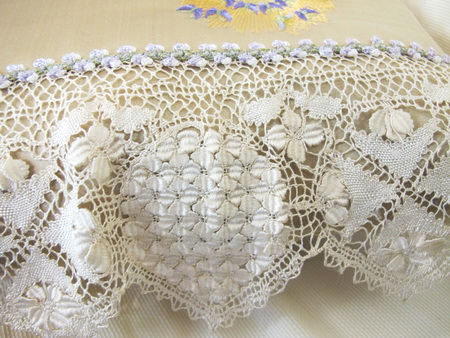
I have many antique laces that I have collected over the years and thought this was a nice way of using the lace and over the top of the lace where I stitched the lace to the silk I stitched little mauve flowers.
Adorabelle Fairy Frame
I just love this “Aida” fabric as it has little iridescent pieces all through it and graduating colours through the fabric, so lovely for this type of work.
This “Aida” fabric I had purchased many years ago it is called Shimmering Jelly Bean Opalescent from www.peppermintstiches.com.au
I went on the website to see if they still have this fabric but was unable to obtain the fabric but if you email them they may know where you can purchase it.
I framed this work as I thought it would be lovely in a girl’s room
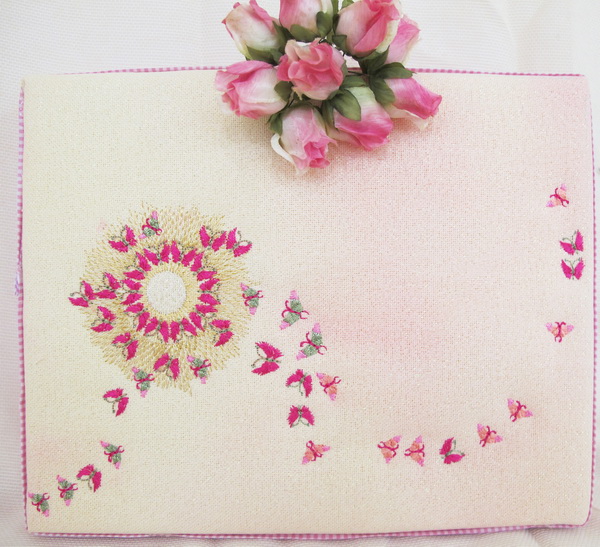
Adorabelle Fairy Bag
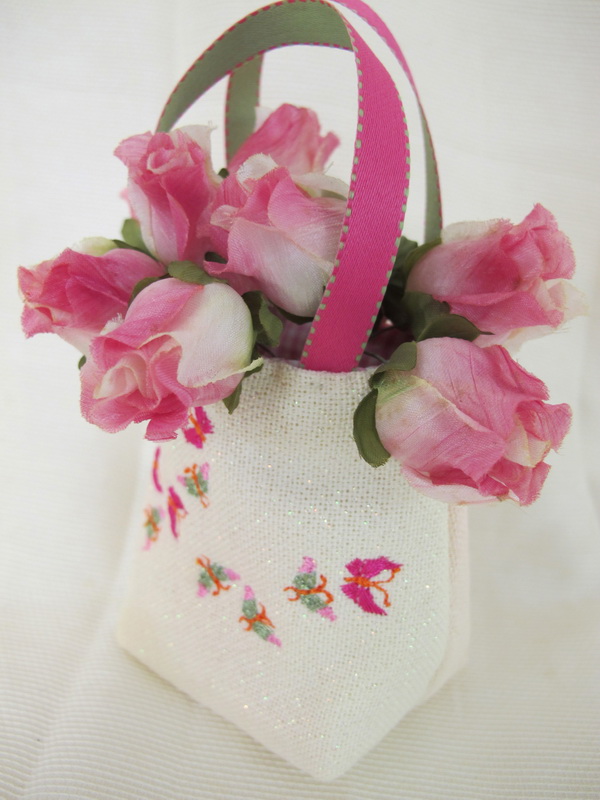
This tiny little bag I thought would be lovely for a little girl.
I had some of the “Aida” fabric left over and thought I would make a little bag, it did not take long to make.
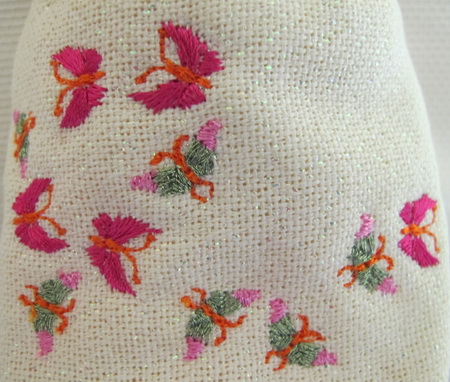
I stitched “Adorabelle Fairy_08” for the little bag
Ethan’s Spider Shirt
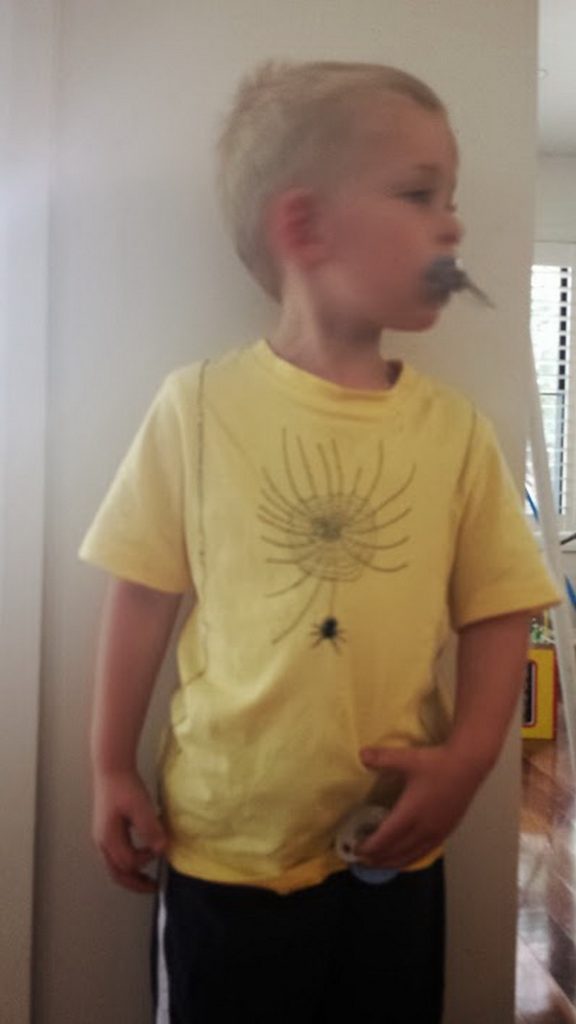
My three year old Grandson Ethan asked if I would put a spider on a T-Shirt for him that is why this design is in this set.
I cut with scissors each side of the T-Shirt and stitched the spider design onto the front, this way. I could have the design close to the neck line.

Showing the cut ‘T’ shirt with the spider design stitched
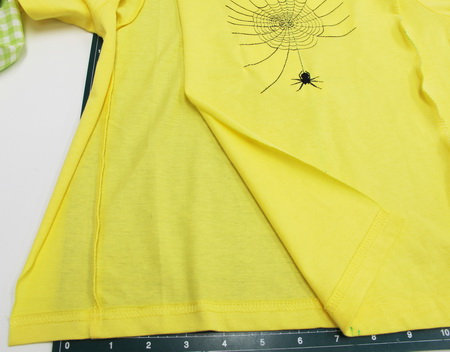
I used a zigzag stitch on either side of the T-Shirt.
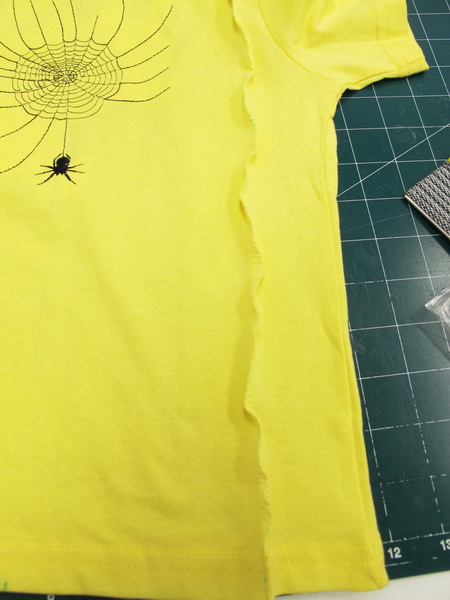
A black thread to zigzag stitch both sides of the T-Shirt.
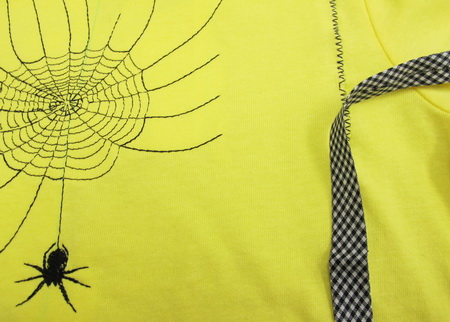
Originally I was going to stitch a gingham bias binding down either side of the zigzag stitches but I preferred the black zigzag stitches.