Art Deco Machine Embroidery Design Instructions
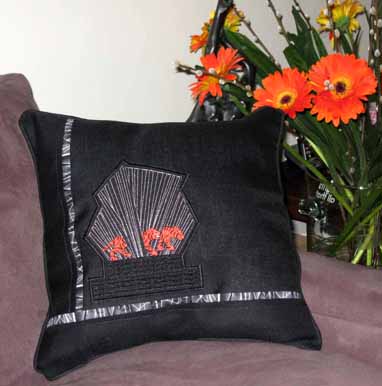
Art Deco Cushion
Notions
- 1.5 yards or 2 meters of black linen
- 1/4 yard or .5 meter of contrasting fabric
- zipper
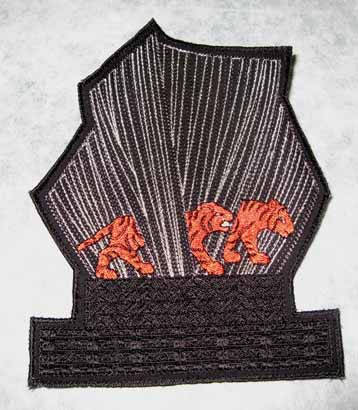
- Stitch out Streamline
- 2 layers of “Cut Away” for the design Streamline

Fold and Iron 2 lengths of contrasting fabric 12 cm or 5 inches wide the strip of fabric once folded should measure 6 cm or 2.5 inches Iron a deep hem on the 2 lengths of plain fabric. I used black linen fabric
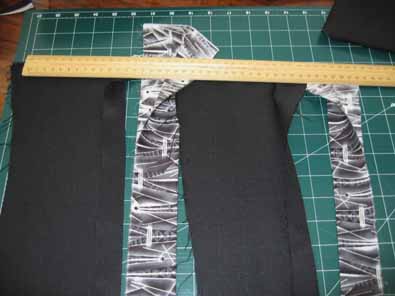
Showing you the contrasting fabric folded Showing you the black linen fabric with a deep hem
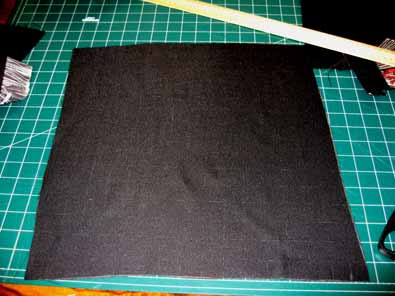
Cut the size cushion you would like for the front panel, I always cut more than I need.
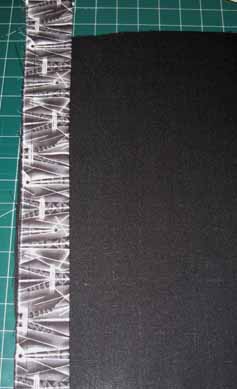
Stitch one of the contrasting strips to the cushion front panel.
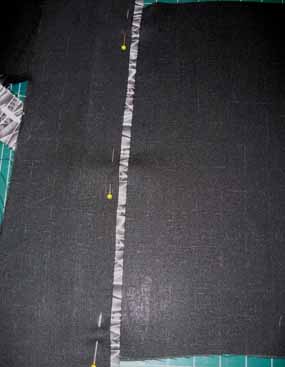
Lay one of the black panels that you had ironed with the deep hem over the contrasting panel and pin in place.
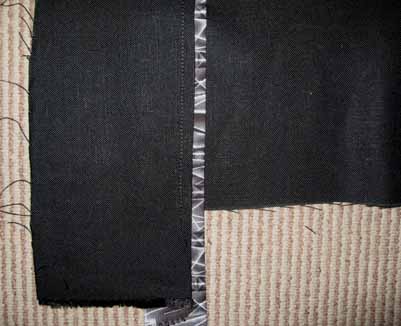
Stitch a triple stitch to hold the black linen and contrasting fabric down. The triple stitch gives the cushion a lovely finish.
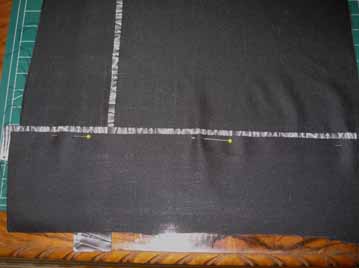
Pin the other contrasting fabric and black linen fabric the same way as you did for the diagonal as for the horizontal.
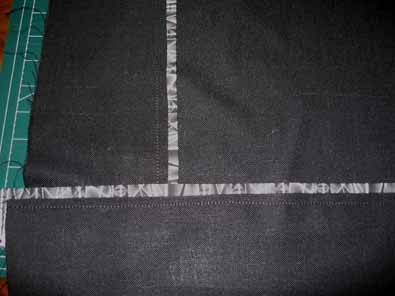
Once again, stitch the tipple stitch to hold the piece down.
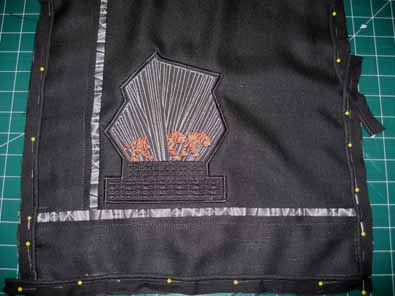
I made a mistake when I stitched this deign out, I did not cut enough fabric for the cushion, so I cut out the design out. I cut around the design but I left enough hem around the design to satin stitch at a later time
I then went around the design using a straight stitch, this helps stabilize the area you will be satin stitching
I then zigzaged over the straight stitch then over the zigzag stitch, stitch a zigzag stitch again. This gave the edge a lovely finish.
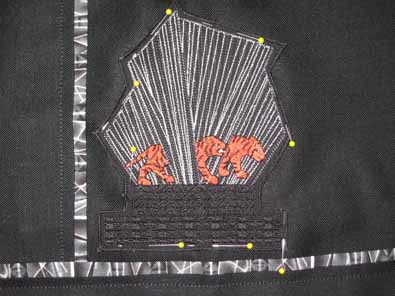
Pin your design to the cushion, If you would feel more comfortable doing it the way I have just shown you or mark where you would like your design to go using a template of “Streamline” and put it in your hoop with your stabilizer and stitch out “Streamline”
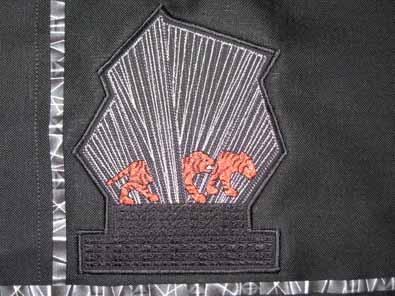
To place “Streamline” on the cushion I used a straight stitch beside the zigzag stitch to stitch the design down onto the cushion. Satin stitch the design down onto the cushion, I recommend you satin stitch twice.
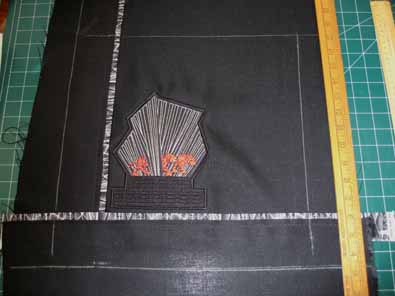
With your “square ruler” mark in chalk how big you would like the cushion, my cushion was about 14.5 inches or 36cm by 14.5 inches or 36cm
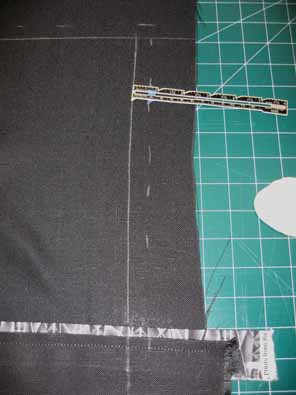
Marking the seams. I have used these little rulers for years for seams and other things, they are brilliant!!! I always purchase mine at my local sewing dealer or Haberdashery Store, I always buy 3 at a time as these rulers are rather fragile.
Pinning the cording around the cushion.