Blooming Lovely Machine Embroidery Instructions
Blooming Lovely Table Runner
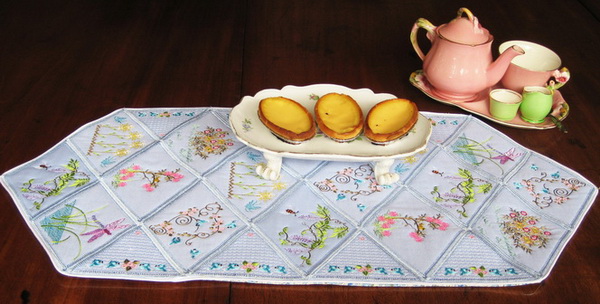
Measurement of table runner
74 x 36 cm or 29 x 14 inches
- Stitch out 3 x “Daisy_01”
- Stitch out 2 x “Dragon fly_01”
- Stitch out 3 x “Wisteria_01”
- Stitch out 3 x “Singing bird_01”
- Stitch out 3 x “Love birds_01”
- Stitch out 2 x “Sung flowers_01”
- Stitch out 8 x “Love birds_02”
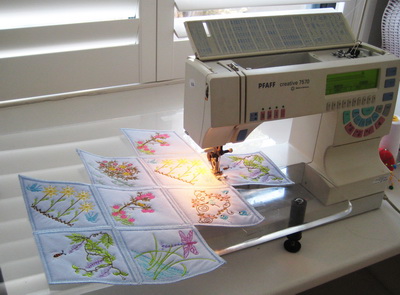
Join each of the triangles together using a zigzag stitch
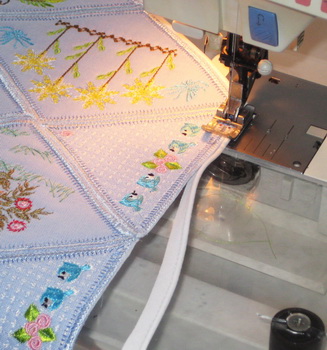
Stitch along the edge piping
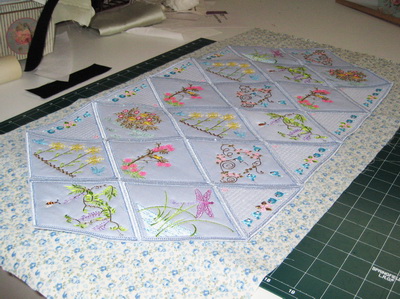
Stitch to the back a pretty fabric
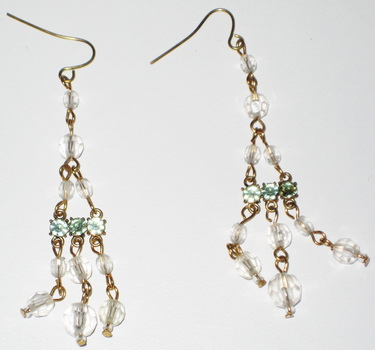
These are earrings purchased at one of those cheap $2.00 type stores, if you take the piece that goes through the ear of the earrings; you then have a very unique tassel.
Stitch a tassel or a pair of new or old earrings at each end of the table runner.
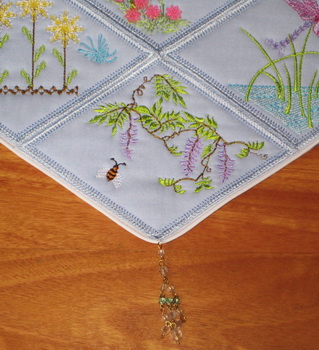
Earrings stitched at each end of the table runner.

Close up of “Wisteria_01” stitched out.

Close up of “Daisy_01” stitched out.

Close up of “Singing bird_01” stitched out
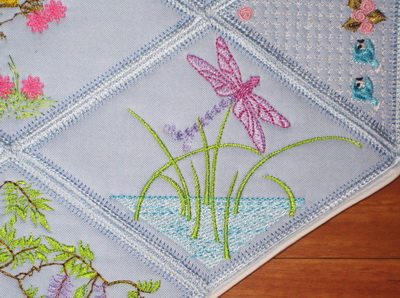
Close up of “Dragon fly_01” stitched out
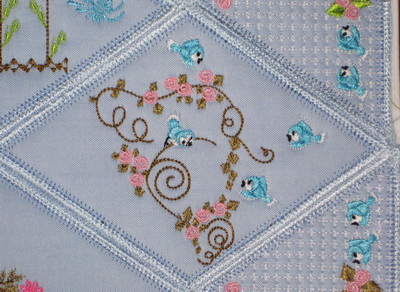
Close up of “Love birds_01” stitched out.
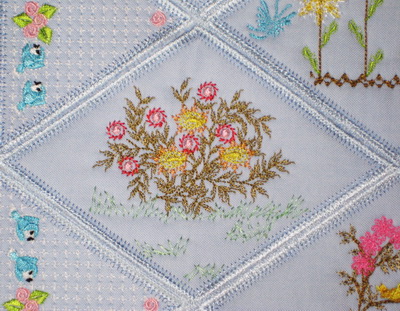
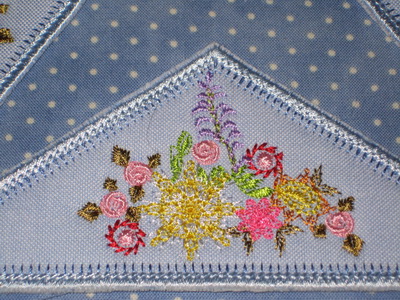
Close up of “Sun flowers_01” stitched out.
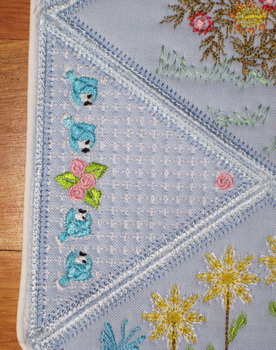
Close up of “Love birds_02” stitched out
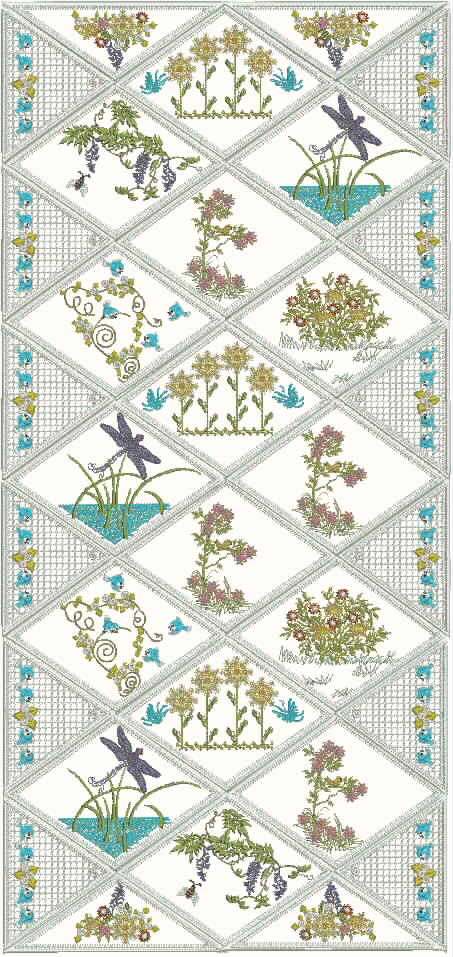
This is another idea of how to use the designs
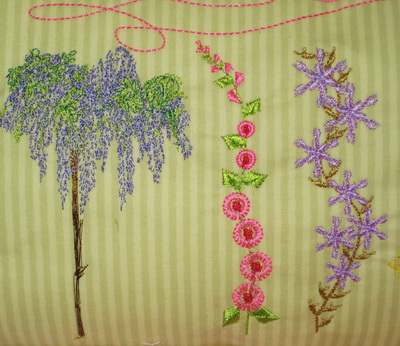
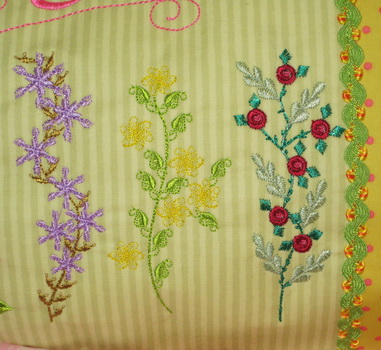
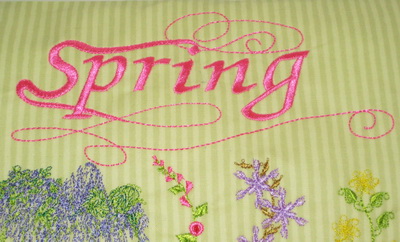
Blooming Lovely Spring Cushion
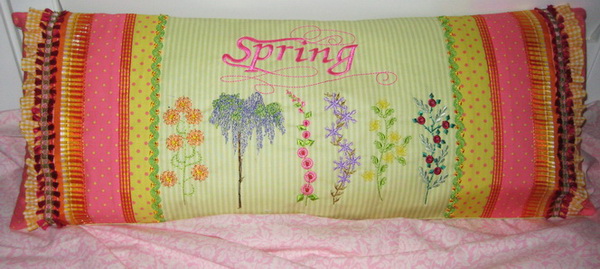
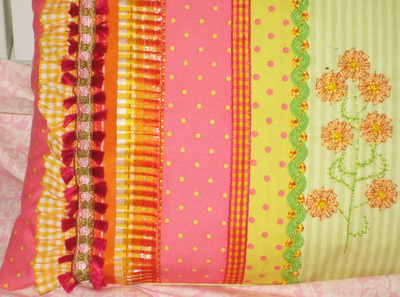
Measurement of Spring Cushion 62 x 26 cm or 24 x 10 inches
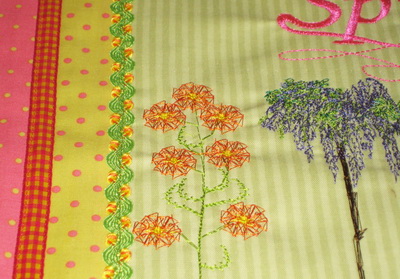
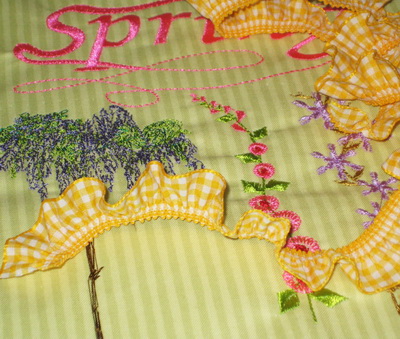
- Stitch out “Flowers_01” “Flowers_02”
- Stitch out in the centre “spring”
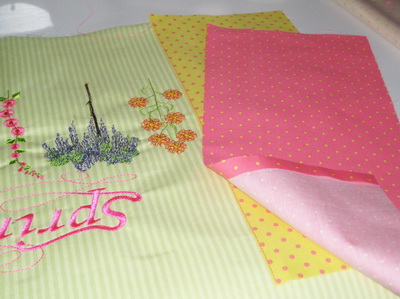
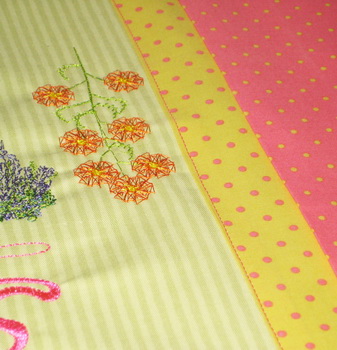
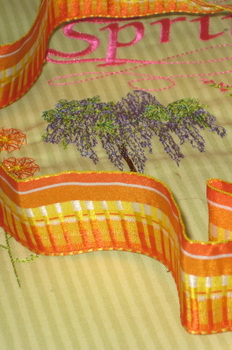
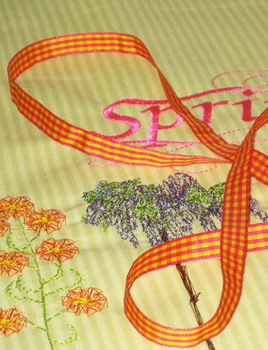
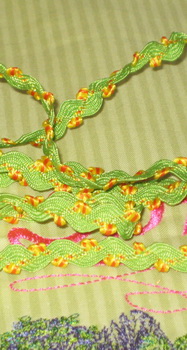
The Photographs below are of all the fabric braids and ribbon used to make this combination.
Blooming Lovely Book Cover
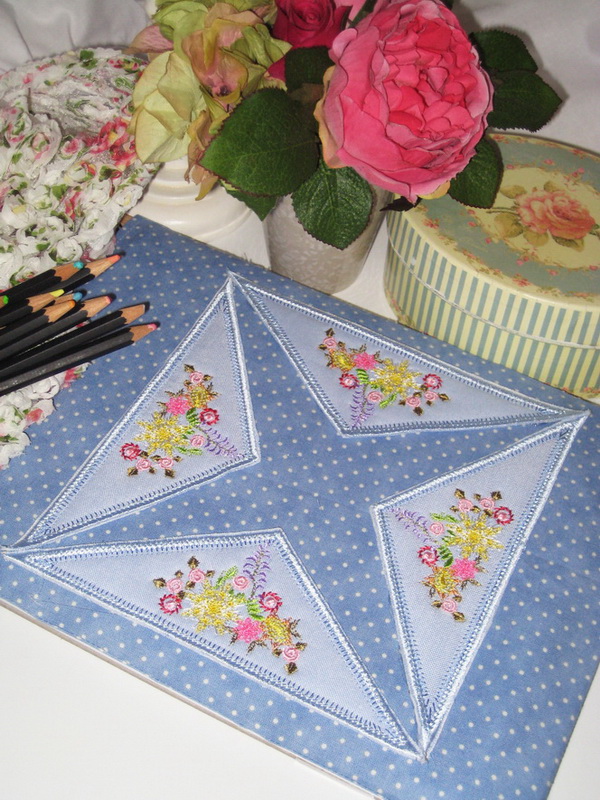
Stitch out 4 x of “Posey_01”
