Bright and Beautiful Machine Embroidery Instructions
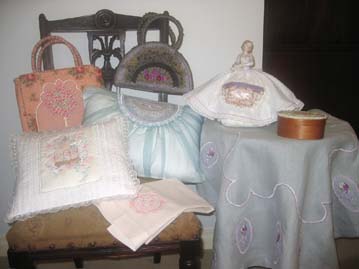
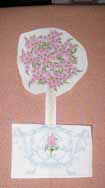
Bright and Beautiful Birdcage Cushion
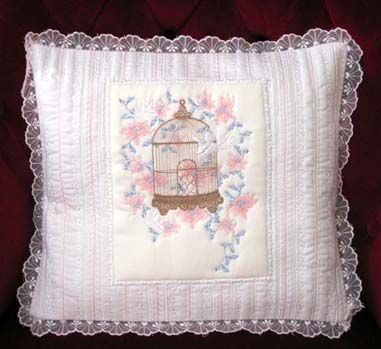
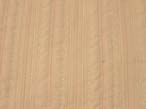
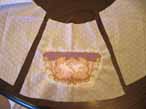
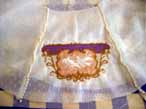
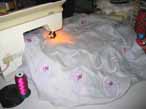
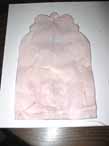
I could not find the right fabric from my fabric stash to match the “Birdcage” design that I had just stitched. So I made my own fabric by using white cotton fabric and then stitching decorative stitches using the same colour thread that I used in the “Birdcage design.
What you need:
Stabilizer
White cotton fabric
2 layers of medium weight batting
White cotton fabric
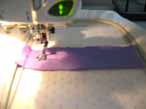
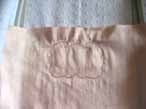
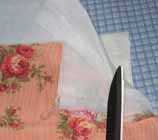
I ironed the centre which gives you a good base to do your first stitch the stitch I used was Triple straight stitch in a pink thread
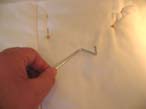
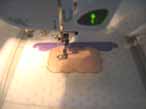
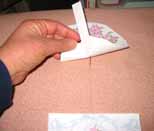
This is a great tool which comes with your machine to measure the distance between each line of your decorative stitches.
Attach this now.
I used the No. 3 on your machine stitch plate as this is the distance I wanted for the next and following triple straight pink stitches.
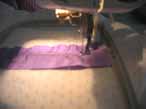
This photograph explains how I use the tool for the exact distance between each triple straight stitch.
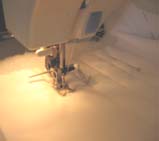
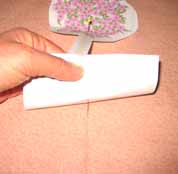
Still going with the triple pink straight stitch.

Using the same tool in photograph above
I used the No. 1.5 on the machine stitch plate as the distance I wanted for next stitch as seen in the photographs.
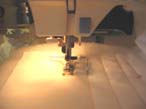
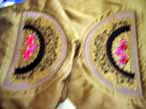
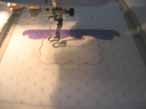
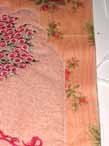
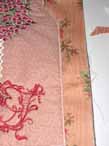
I used the stitch No. 132 L=12 W=6.0 as shown above in a white colour thread.

Over the top of the triple straight stitch in pink colour thread I stitched No. 18 L=1.0 W=6.0 in a cream colour thread.

I then stitched using the zigzag stitch a satin stitch in a cream colour thread 02 L=.35 W=2.5.

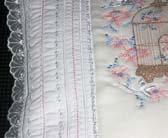
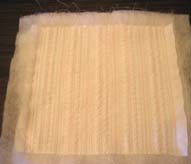
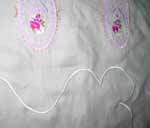
A better photograph of the decorative stitches.
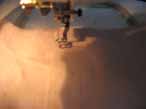
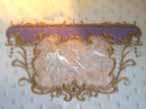
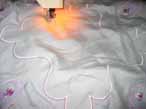
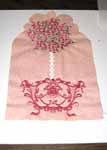
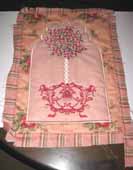
Applique the “Birdcage” design over the decorative stitches using a zigzag stitch and then satin stitch over the zigzag stitch.
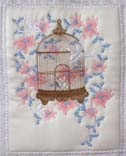
Once I had satin stitched and appliqued the “Birdcage” design I then stitched on top of the satin stitch No. 132 using white colour thread No. 132 L=12 W=6.0
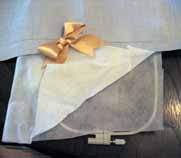
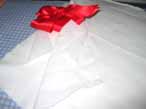
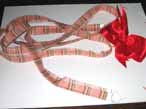
Bright and Beautiful Bow and Shaker Box
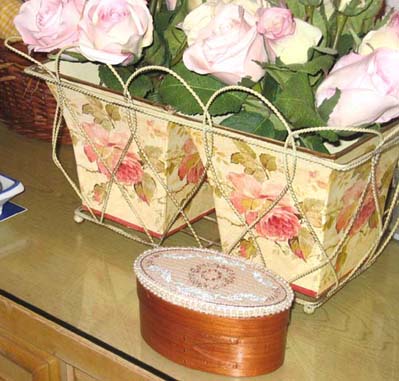
I stitched “Bows and Things” design on a very fine cream silk and I used as a stabilizer the following
cotton fabric
2 layers of very fine wadding
once again cotton fabric
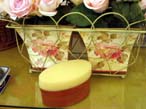
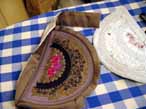
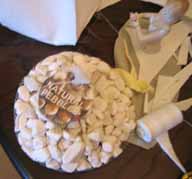
I purchased the oval Shaker Box from a Museum in the States
I looked up on the net and you can purchase the box or boxes. Click on the URL below
I also found another place where you can purchase the most gorgeous boxes http://www.shakerworkshops.com

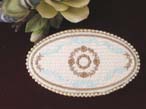
The instructions showing you how to cover the lid came with the box.
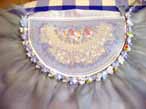
Bright and Beautiful My Lovely Handbag
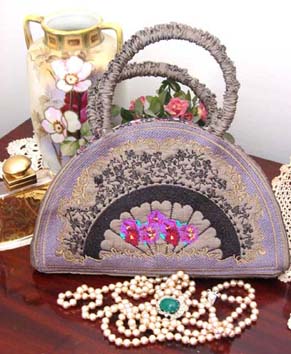
I stitched “My Lovely” on a smoky gray silk.
What you need:
Stabilizer
2 layers of very fine wadding
Flexifirm I like using this type as it is not rough. I purchased it from http://www.stirlingembroidery.com
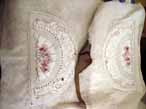
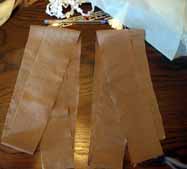
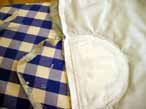
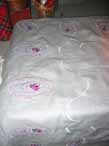
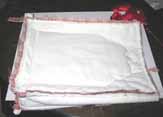
Stitch out of both sides.
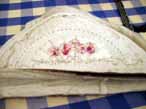
Stitch out of both sides sorry about the photograph. I stitched around each of the “My Lovely” designs. This gives you an exact place to put the two sides together.
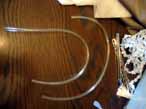
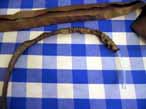
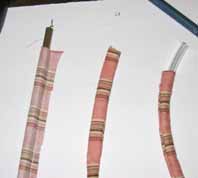
Handles for the purse. I purchased the plastic tubing from the Hardware shop in the pool section
Use the same silk as the purse for the handles. I cut 3 times the length of the plastic tubing.
Using your iron press edges on both sides.
Stitch the pressed sides together.
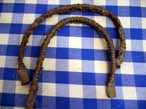
Gather the pressed silk fabric through the tubing.
Mark the centre of “My Lovely” purse and then mark from the centre where you would like the handles placed.
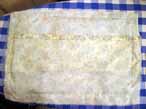
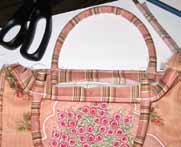
Stitch a panel onto each of the “My Lovely” stitch outs.
Both stitch outs stitched to the panel.
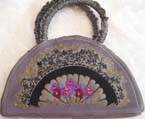
Stitch the handles onto purse and then hand stitch your lining inside the bag.
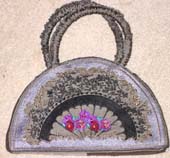
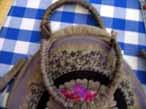
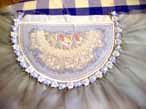
Close up of finished purse with the lining inside.
Another close up.
Bright and Beautiful Porcelain Doll
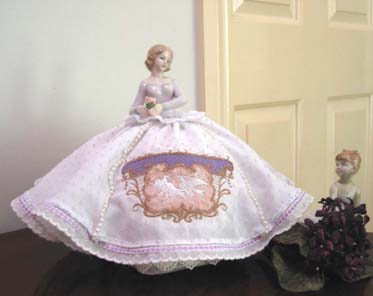
I purchased the half doll at a Stitches and Craft fair a few years ago in Sydney but it came without any instructions. If anyone has better instructions, please email me. As I would like to make more of these half dolls
I did find using Goggle this web site below if you are interested in making a half doll. Click on the URL http://www.brierrose.com/halfdoll.htm
What you will need:
- Very fine Swiss Cotton for the dress
- Measure the waist of the half doll
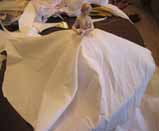
- place the half doll on the fabric you wish to use for her dress.
- Using either chalk or fabric marking pen draw around her waist

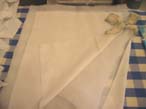
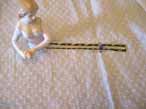
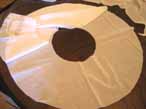
From the measurements you just took of the half dolls waist measure from the circle. 3 times the width of the waist as you can see in the photo
You can see in photograph where I marked the circle using a marker pen, which is 3 times the waists width

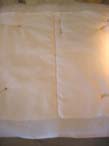
From this photograph you can see the length of the dress that I had wanted.
Actually, I made a rough guess
I made the length 19 cm
Measure from the inner circle
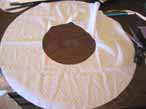
Cut out the inner circle
Cut out the outer circle
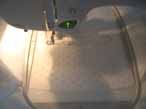
Hoop the fabric you chose for the dress with the stabilizer that best suits your fabric
Stitch out the first colour as you can see in the photo I used a gold thread
Note: The best gold thread I have found and have used for over 15 years is King Star. I belonged to the local Pfaff Club and all the ladies raved about this gold thread. Have used it ever since
Place the fabric of your choice over the stitches you just stitched out
Set your machine back to the first colour once again
I used a very fine mauve silk
Stitch the first colour once again over the contrasting fabric. I used gold thread
Take the hoop out of your machine.
Cut away the fabric very close to the outline stitches you just stitched. In the photo it shows you what I had done.
Put your hoop back in the machine.
Stitch No. 2 colour once again I used gold thread.
I placed over the gold stitches I just stitched a very fine silk but using a contrasting colour.
Smoky pink silk
Take the hoop out of the machine
Cut away the fabric very close to the outline stitches you just stitched. The photo shows you what I had done.
Put the hoop back in your machine
Change your thread to do the doves
Sorry the photo is a bit blurry

Just to add a bit of dimension I marked with my fabric marker pen where I wanted to cut the fabric to use the pearls
Cut the fabric
Stitch the pearls or what ever you may wish
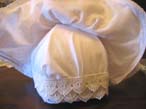
As I used a very fine Swiss Cotton fabric I needed to cut out a fine cotton for the petticoat
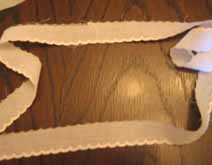
I used a lovely scolloped cotton edging for the petticoat
Stitch on the scolloped cotton edging
Could not help myself had to use those decorative stitches 🙂 so over the top of the stitches I had stitched for the scollop edge I used the round stitch in a lavender to match the dress
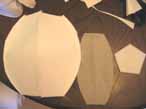
I made a template out of paper
Cut 5 of the template using Flexifirm (which is ideal for making this bag) you can purchase Flexirim through Stirling Embroidery, click the URL below http://www.stirlingembroidery.com
Stitch the 5 together
Sew the bottom to the 5 you just sewed together
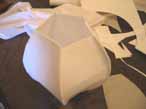
All the sides stitched together
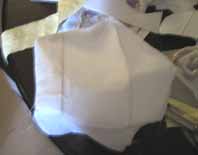
Bottom panel stitched
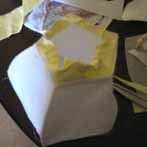
Stitch a strip of fabric onto the panels. I used an old brushed cotton sheet
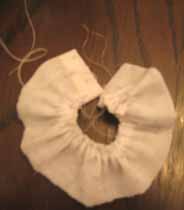
Gather the edge, I just stitched a quick running stitch around
I purchased from those $2.00 shops two bags of pebbles
This I will use to stabilize the base of the doll
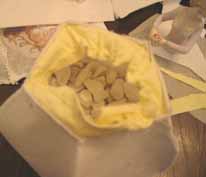
I put the two bags of pebbles into the base
Put the half doll and lay on top of the pebbles
Using the holes in the half doll stitch the gathered fabric and holes as tight as you can
Once you have finished stitching through the holes and fabric. Place fibre fill (the fill you use for cushions) stuff as much as you can
Using your hot glue gun, glue everything down so the half doll will not move
Cut a small hole in your fabric so you can slide it over the half doll
Wrap all the fabric to the bottom and cut off the bulky bits and glue the rest to the bottom of the pebble bag
I put felt over the ugle bottom where you just glued, this just makes it neat, clean and tidy
Glue a few layers of lace, which finishes it off nicely
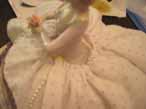
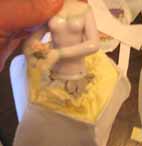
Gather both the petticoat and dress
Glue the gathered dress and petticoat onto the pebble stand
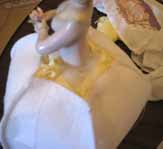
I put over the gathered section of the dress and petticoat a small gathered piece of fabric
I glued this on and then glued the back section
Gathered section back
Gathered section front and side
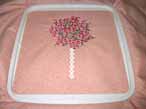
Bright and Beautiful My Lovely Cushion
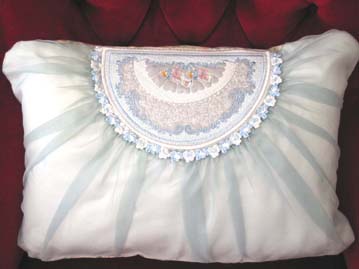
I sometimes like to go to bridal fabric shops and will often find silk voile in various colour’s and in small lengths in the cheap bins which are perfect for this type of work.
I like using silk voile as it is a great way of making a cheap fabric look like a very expensive fabric.
Lay the silk voile over the cheap fabric
What you need:
Heavy stabilizer
3 thin layers of wadding
Cotton fabric
Ice blue coloured linen
Zigzag where you wish to cut your fabric
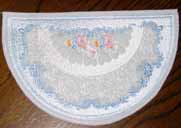
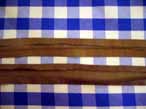
You can see in this photo where I zigzaged and cut the blue linen fabric
Where I had zigzaged and cut the fabric I then satin stitched over the zigzag
I satin stitched one after the other 3 times, this gives the work a nice finish
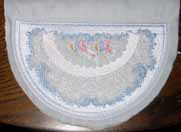
I then stitched the design onto a plain white cotton fabric leaving enough space at the top for the seam
Stitch a very fine hem on the silk voile where you will be gathering. As the silk voile tends to frey easily, you will have lots of threads coming out when you gather the silk voile
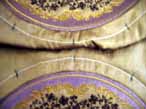
I gathered the silk voile and positioned around “My Lovely” design
Stitch the pale blue silk voile where you had pinned the voile.
I had some lovely blue and white flowers to put around the gathering which matched perfectly but you can use lace etc.
Pin the flowers or lace etc over your gathers
Stitch the flowers, lace etc
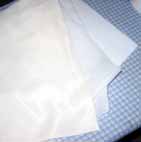
This is the back of the cushion turned inside out and ready to cut the excess fabric on the seams
Cutting away all the excess fabric from the seams
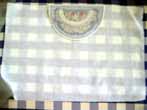
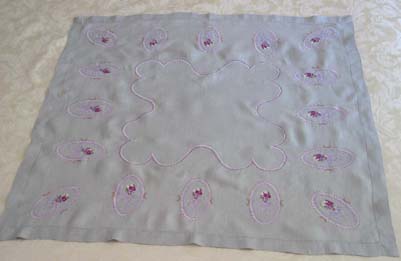
Bright and Beautiful Tablecloth
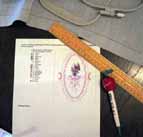
Print out “Actual Size” of the design “Ellipse”
Mark the centre of “Ellipse” print out
Cut around the print out as this will be your template for placing the design around the table cloth
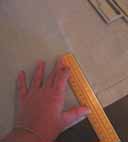
Work out where you would like all the “Ellipse” designs to be placed on your table cloth
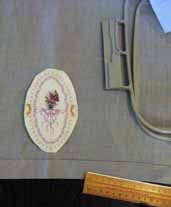

Mark with a pin the centre of the “Ellipse” design and then use a fabric marker pen where the centre pin is, as this will be the placement for your sewing machine needle
Use a wash away stabilizer I suggest 2 sheets
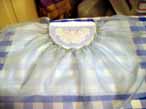
Design a very simple pattern for the centre of the table cloth
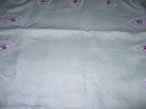
Overall centre design
All ready to start using your decorative stitches
The decorative stitches I have used you will find most machines do have the stitches but if not, use a similar type of stitch or experiment and have fun with those decorative stitches When experimenting with your decorative stitches also change the lengths and widths.
To enable for you to get a raised satin stitch this is what I suggest
No. 02 L=1.0 W=1.5
No. 02 L=.35 W=3.0
No. 02 L=.35 W=4.0
I used a white coloured thread
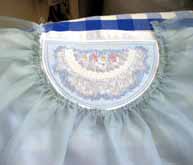
You can see in the photo the raised satin stitch
On the outside of the satin stitch using the same coloured thread that is in your “Ellipse” design I used the same stitch. All the machines have this decorative stitch.
No. 156 L=6.0 W=4.0
Over the top of your white satin stitch use the same colour threadas you have used in the “Ellipse” design and stitch No. 114
No. 114 L=3.0 W=4.0
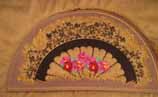
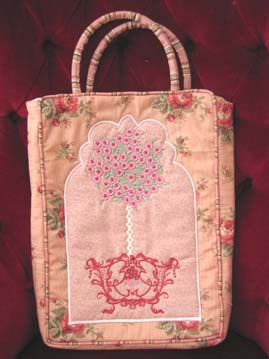
Bright and Beautiful Essence Bag
What you will need:
Stabilizer
White cotton fabric
Cotton batting
2 layers of thin wadding
White cotton fabric
Your choice of fabric for the design
Print out in “Actual Size:
Essence_a1
Essence_a2
Mark the centre points on each of the templates
Where you have marked the centre of each template put a pin through the centre and mark your design fabric with a fabric marker pen
Showing you both templates being marked on your choice of fabric for the design
Hoop your fabric
Where the pins are in the above photograph is where you have marked with your fabric marker pen, this is where you put your machine needle
Stitch Essence_a1 out first
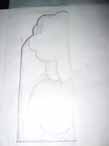
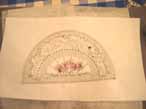
On a piece of tracing paper you will see I played around with a design to frame the “Essence” design
As you can see I played around a lot until I came up with what I was satisfied with
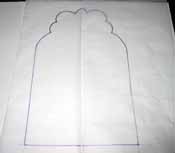
On a new piece of tracing paper I traced out the final design from the tracing paper.
Then I creased in half the tracing paper and copied the other side to make a mirrored image of the frame
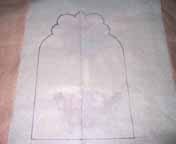
Put the tracing paper frame over the Essence design Pin the tracing paper over the design
Cut out the frame
All ready to stitch
I have used a similar fabric as the framed Essence design
Cotton fabric
2 layers of medium weight wadding
Bag fabric
Applique the Essence design frame onto the bag fabric using your zigzag stitch
Stitch once again the zigzag stitch, so you now have two layers of zigzag stitch
This forms a good base to make a nice satin stitch
Satin stitch over the zigzag stitch
I made bias binding in a contrasting fabric
Stitch the bias binding to the front of the bag as shown
To make a nice clean edge to your corners cut close to the bias binding as shown
Sew the bag together
I have a number of “Fasturn” tubing’s which I recommend as a necessary tool for any sewing room
For the handles of the bag. Make a cloth tube using the contrasting fabric that I used for the bias binding
Put the plastic tubing in the fabric tubing you just made
Sew the handles on the bag