Bubbles Machine Embroidery Design Instructions
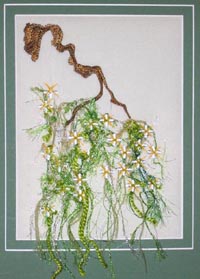
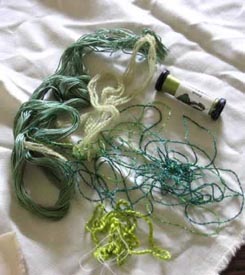
Many of you over the years have collected many beautiful threads especially those who used to do hand sewing, this is a great way to use those beautiful threads.
I have a combination of wool, silk, cotton and synthetic threads, as shown in the photograph to the left.
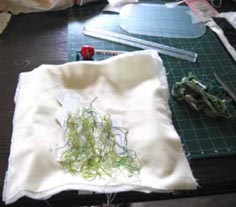
Put the sticky paper in the hoop.
Lay over the sticky paper your backing fabric (I always use an old bed sheet for my backing fabric).
Put 2 layers of very thin wadding.
The fabric you have decided for Bubbles.
Stitch out in large stitches around your frame as seen in photograph No. 7.
Print out an “actual size” of Bubbles this will be your template.
Cut with your scissors all around the Bubbles template as seen in the photograph.
Lay all the threads over the template placing the threads in a creative way.
Take the paper template very slowly and carefully away from your threads.
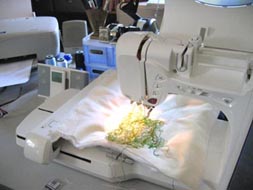
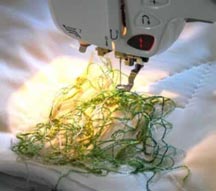
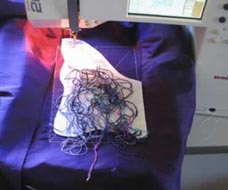
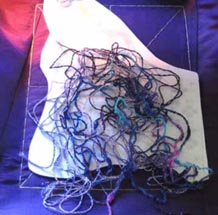
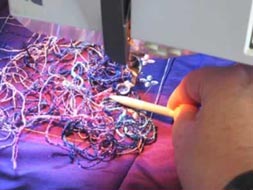
As you can see in the photographs I used a plastic implement to hold the threads down while the machine was stitching out the branches and flowers.
I also did one stitch at a time using the foot pedal. Do not worry about stitching one stitch at a time, as the whole work only took me 1 hour for each of the green and purple Bubbles
If you should get some thread tangled in the foot just cut the threads, do not worry as that gives the work another dimension.
Another way is to put Viline over the threads. I do prefer the way I have done it, as you can move the threads around the way you would like while stitching. I will leave that up to you
