Cherry Blossoms Machine Embroidery Design Instructions
Cherry Blossoms Cushion
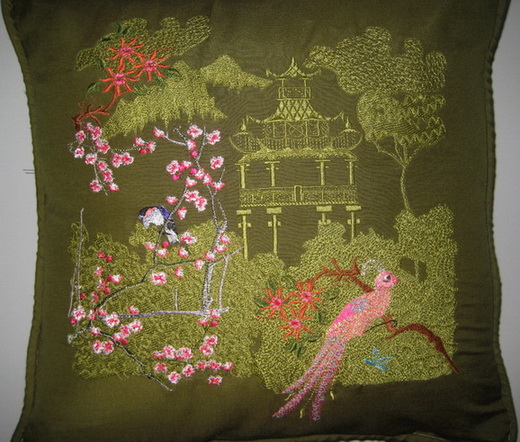
Print out all of the designs below in “Actual Size”
- A section cherry_01
- A section cherry_02
- A section cherry_03
- A section cherry_04
- A section cherry_05
- A section cherry_06
- A section cherry_07
Mark the centre clearly using a pen using the markers from your print out for the centre.
Cut out each design as you can see in the photograph, this makes easy placement.
Lay your print out of “A Section Cherry_03” on your fabric and put a pin through the centre marker through to the fabric.
Next lay the print out to the right of the tea house “A Section Cherry_01” on your fabric and put a pin through the centre marker through to the fabric.
Lay the print out to the left of the tea house “A Section Cherry_02” on your fabric and put a pin through the centre marker through to the fabric
Below “A Section Cherry_02” lay “A Section Cherry_04” on your fabric and put a pin through the centre marker through to the fabric. Making sure that the posts of the tea house are covered by the bush
To the right of “A Section Cherry_04” lay “A Section Cherry_06” on your fabric and put a pin through the centre marker through to the fabric
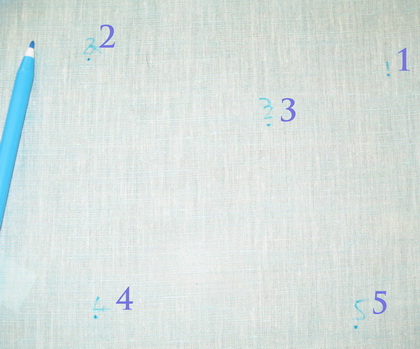
Mark using your fabric marker pen all of the 5 designs where you put the pin through the fabric to mark the centre of the design and then with your fabric marker pen number on the fabric the design number as you can see in the photograph.
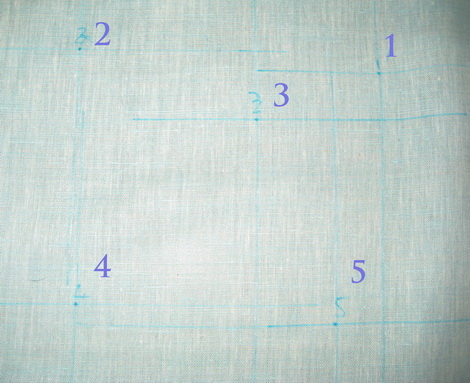
Place a line though each of the pen markings for the centre of each design. This makes it easier for hooping. Make each of the lines different for each design by using a squiggle or something.
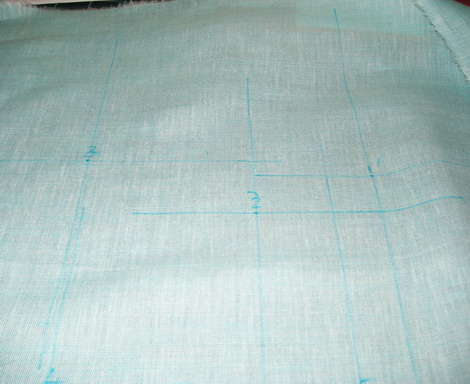
This is a close up of how I made the fabric ready for hooping by putting lines through the centre for each of the designs.
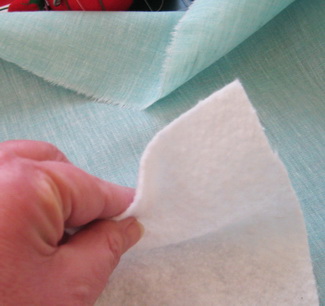
I used a beautiful coloured Teal German cotton fabric for the cushion under the teal fabric I put a thin wool batting under the batting I used a very old cotton sheet fabric ( I keep all my old sheets for doing this type of work).
Sorry the photo is not great.
Pin the Teal fabric, wool batting and under fabric (cotton sheet) together.
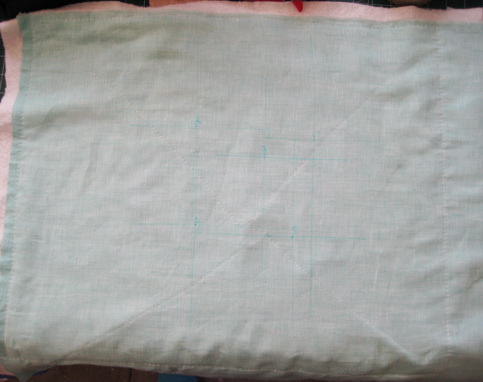
From the centre and move out diagonally to each corner. Use a long stitch so the stitch is easily removed when need be. Do this to all four corners, you have then made an X. I always go from the centre out as this eliminates puckering.
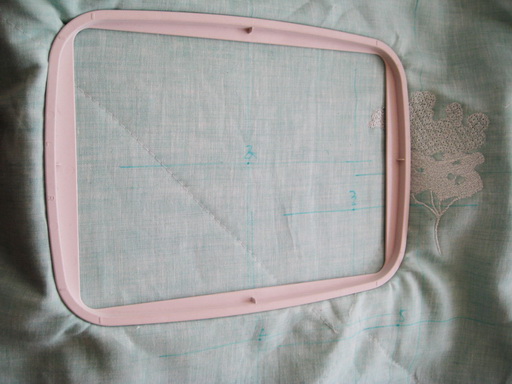
This photo shows you how I line up the hoop with the lines I had drawn previously.
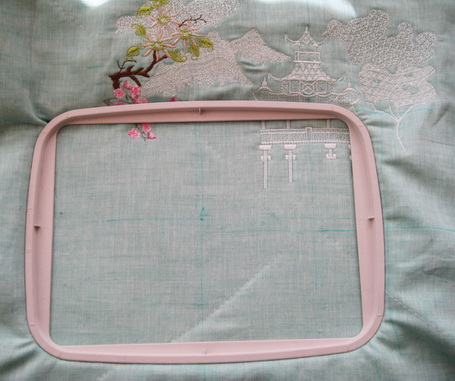
This photo shows you again how I line up with the hoop.
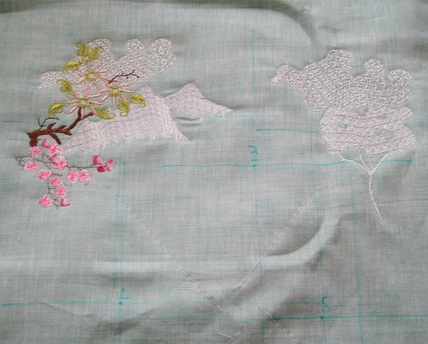
Getting ready to stitch out “A Section Cherry_04”.

Stitch out “A Section Cherry_04”.
Sorry I do not have any more photos as I got carried away with stitching out the designs, I forgot to take photos. Anyway, I will guide you through the next part.
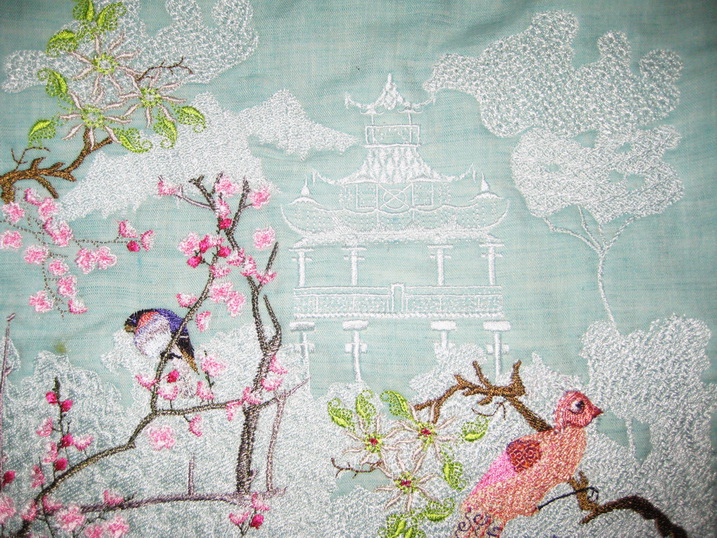
If you take a close look at this photo you will see how I positioned “A Section Cherry_05” get the position you would like 05 to be in and mark the centre over “A Section Cherry_04” then hoop.
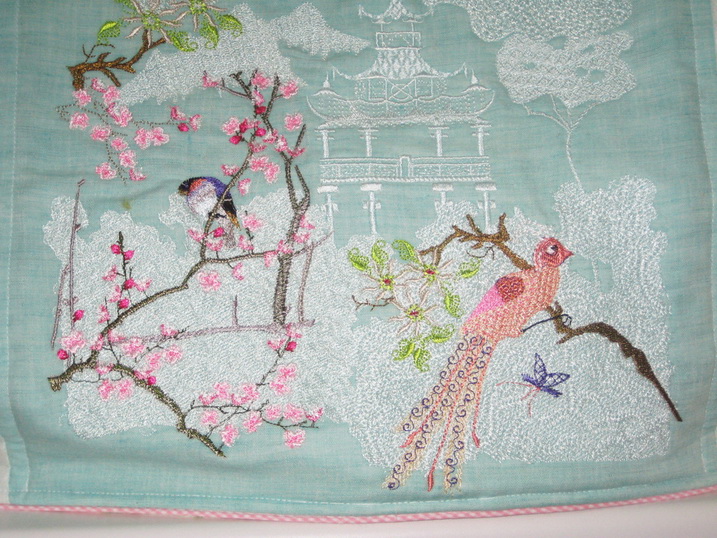
You can see how I positioned in this photo “A Section Cherry_07 over 06
Now you have a fabulous piece of work, please once you have finished your work please send a photo as I love showing everyone what others have created using my designs.
Cherry Blossoms Bag
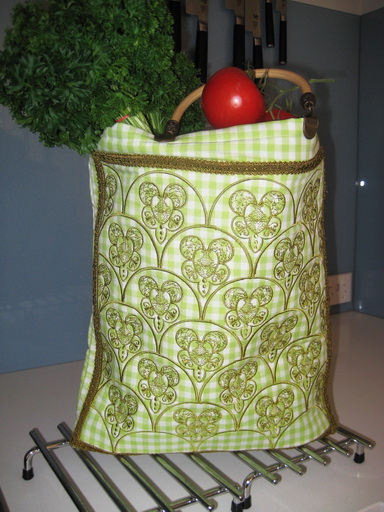
I made this bag using the design “Cherry Square_04” I stitched this out using the Pfaff Grand Dream hoop, it worked well, as this was the first time I ever used it, you do have to stabilize very well….Anyway you can do each one individually in a 4 x 4 inch hoop or in a larger hoop and you would still have the same effect.
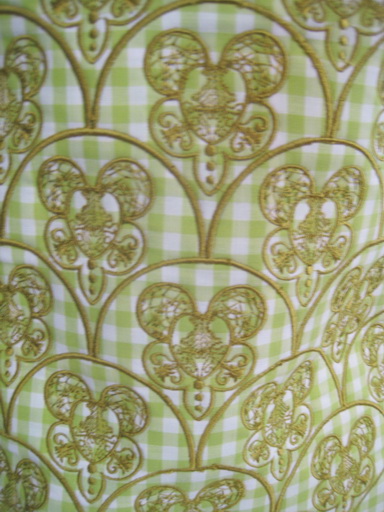
Close up of “Cherry Square_04”.
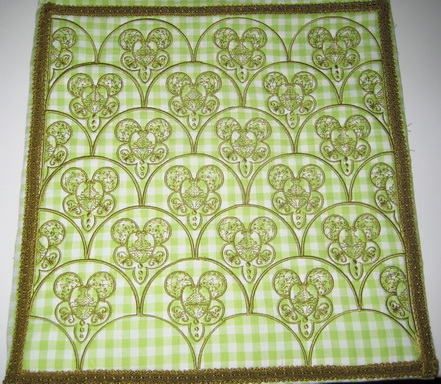
Close up again.
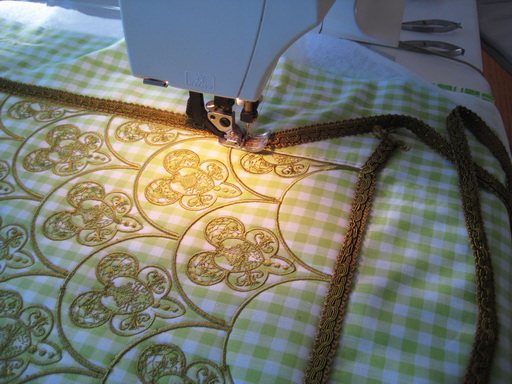
Putting a cording around the bag, this gives your work a nice finish or you can finish off by using your decorative stitches that are in your machine.
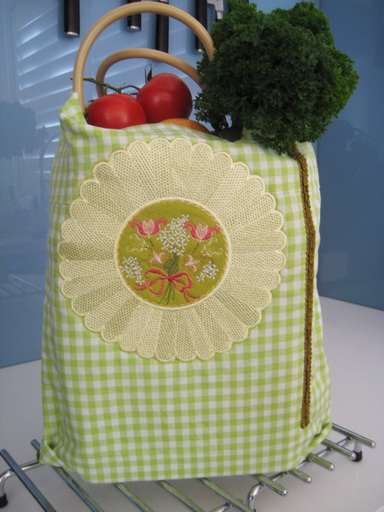
The back of the bad was made with the Ring of Grace design. I put this design on the back of the bag when I had finished zigzagging the design down I realized that the design was very much off centre. Goodness knows what I was doing anyway. To mask my mistake I used the braiding that I had used on the front just down one side. This masks the problem of having a design off centre.
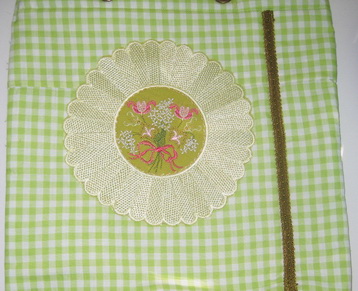
A close up of the mistake I made.
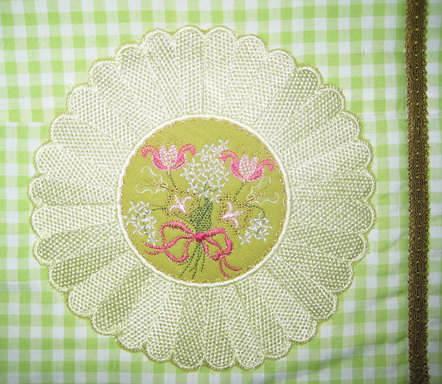
Another close up.
