Colour Burst Machine Embroidery Design Instructions
Colour Burst Bag
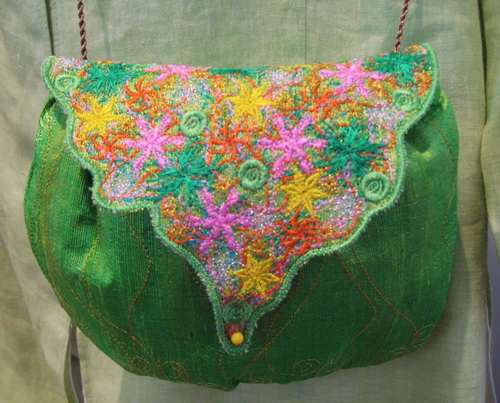
Front of Bag
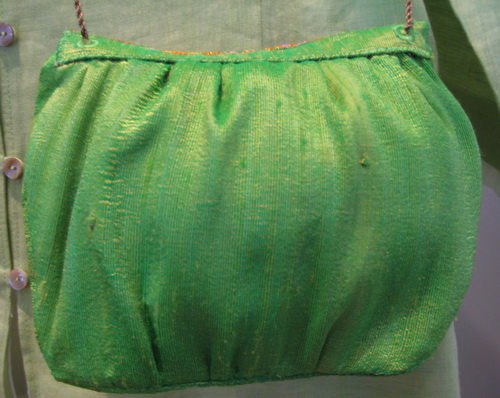
Back of Bag
What you need
- 1 metre or 1 yard of fabric (I always write more than you need in the way of fabric length)
- ½ metre of lining fabric or ½ yard of fabric
- ½ metre of stabilizer
- Small magnetic clasp or hand sew a snap
- Gold chain 140cm or 55 inches (I used an actual gold chain that I never use and just sits in my jewellery box) or you can purchase a gold chain from your local hardware shop
Stitch out the following designs
- Colour Bust_01
- Colour Burst_02 (Front of Bag)
- Colour Burst_03 (Back of Bag or if you wish you can stitch out 2 of “Colour Burst_02” and eliminate stitching out “Colour Burst_03”)
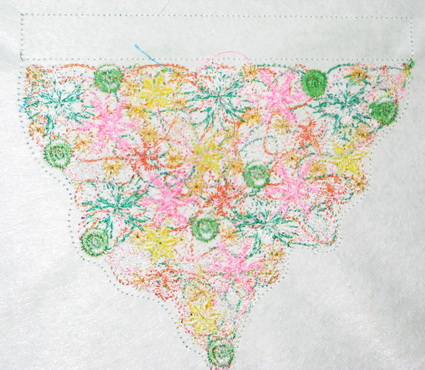
Stitch out “Colour Burst_01” I used a very fine silk.
Take the hoop out of the machine.
Please do not take the design out of the hoop
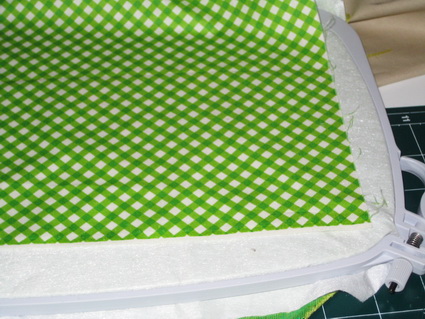
Before you lay the lining onto the hoop:
- Turn the hoop over so the wrong side of the design is facing you and lightly spray glue on the back of the design “Colour Burst_01”
- Lay over the design the lining fabric. I used a cotton fabric and press the fabric firmly onto the glue (this helps stop any movement of the lining fabric when you insert the hoop back into your machine)
- Insert the hoop back into your machine
- Stitch the outline stitch which is No. 14 on your colour chart
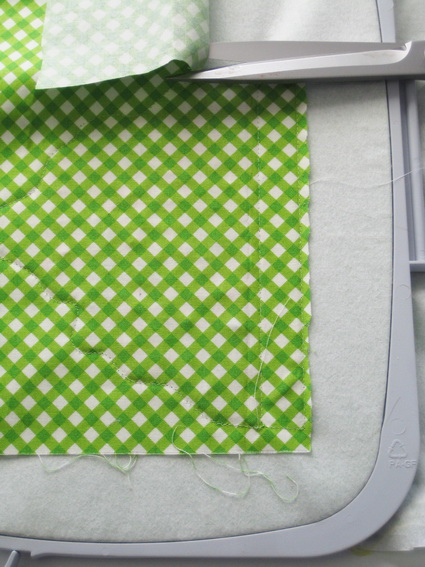
With a sharp pair of scissors cut away from the design any excess fabric
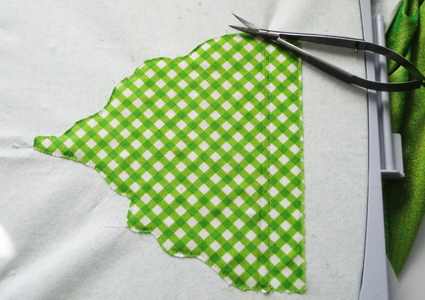
All the excess fabric cut away from the main design. I never cut to close to the outline stitches
Insert the hoop back into your machine so the satin stitch can be sewn with your machine.
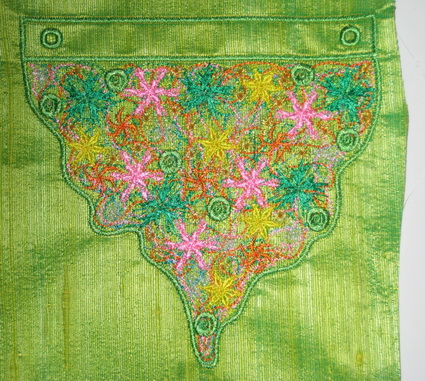
This section of the bag is now finished and you can take the design out of the hoop
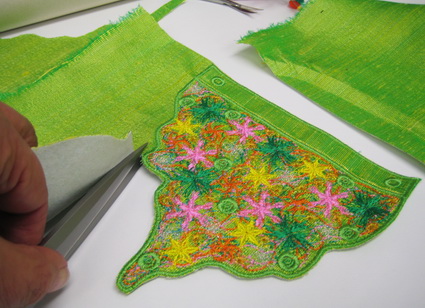
Using a very sharp pair of scissors cut as close as you can to the satin stitch border.
Start of by cutting with a large pair of scissors and then change to a very small pair of scissors. The smaller scissors can cut into the rounded area more easily.
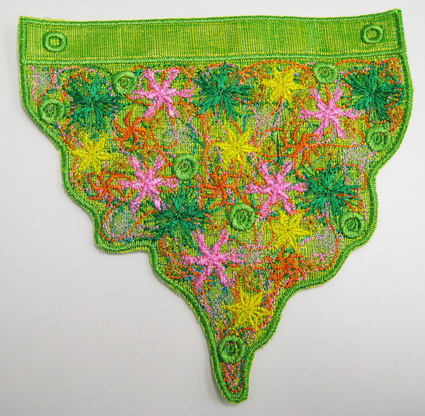
All the fabric cut away from the satin stitch border
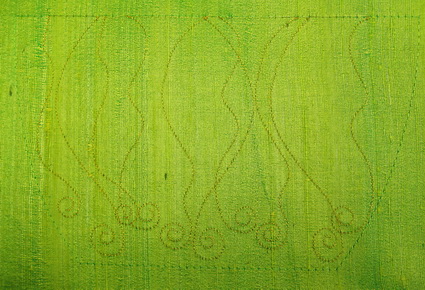
Once you have finished stitching out “Colour Burst_02” take the design out of your hoop
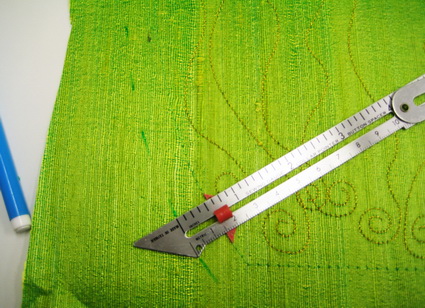
Measure all around the design “Colour Burst_02” 1.5 cm or 5/8 inch seam allowance
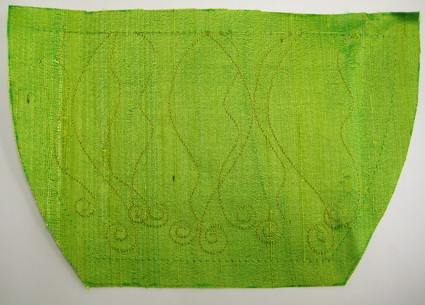
Cut away any excess fabric from your seam allowance
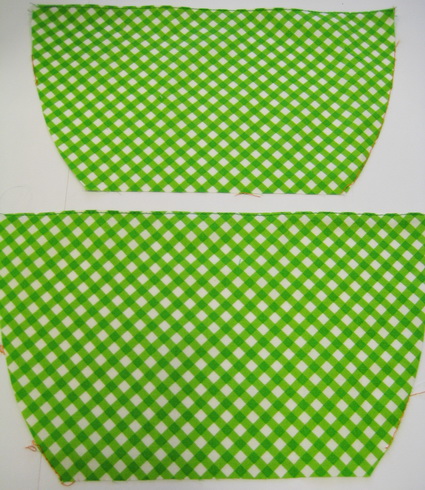
At this time cut around both the front and back panels of your lining
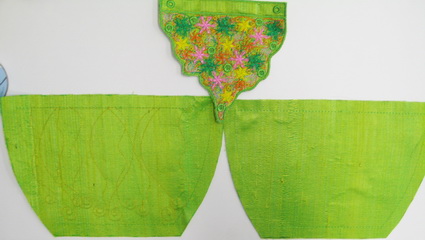
Measure all around the design “Colour Burst_03” which will be the back of the bag 1.5 cm or 5/8 inch seam allowance
Cut away any excess fabric from your seam allowance
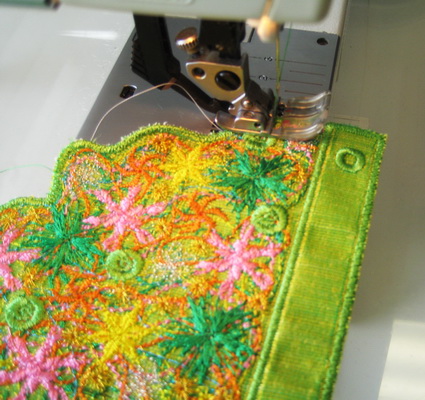
On the flap of the bag stitch over the satin stitch border a very close zigzag stitch but not quite a satin stitch this just gives the flap a nice finish
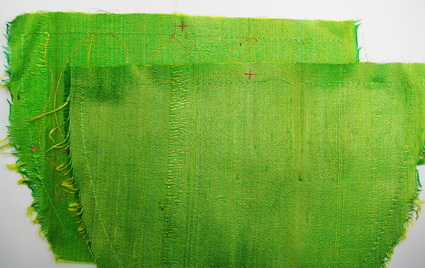
On the front and back panels mark clearly the centre of each panel top and bottom
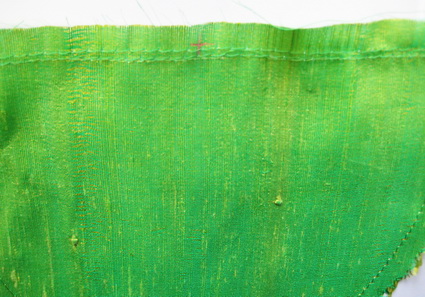
On both the front and back panels top and bottom stitch two rows of a large straight stitch so you can eventually gather the stitches
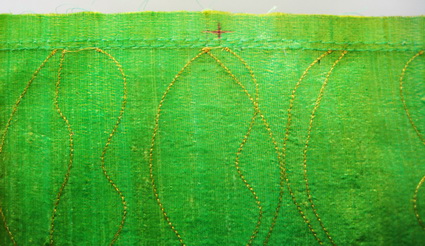
Showing you the two rows of straight stitches which will be your gathering stitches
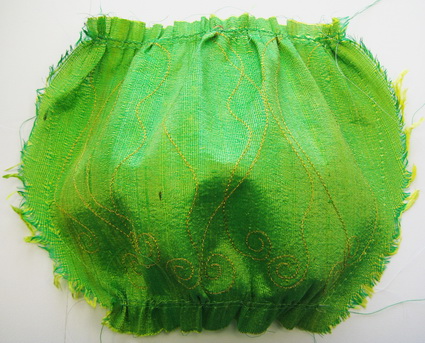
Gathering both top and bottom stitches on the front and back panel
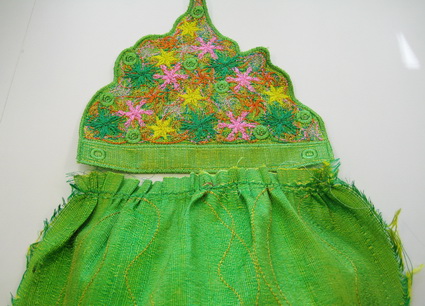
Gather the stitches front and back at the top panel to measure the same size as the flap of the bag
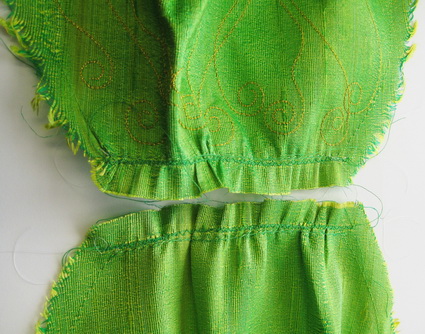
Gather the top and back panels at the bottom of each panel to measure the same width 5.9 inches or 15cm this includes the seam allowance
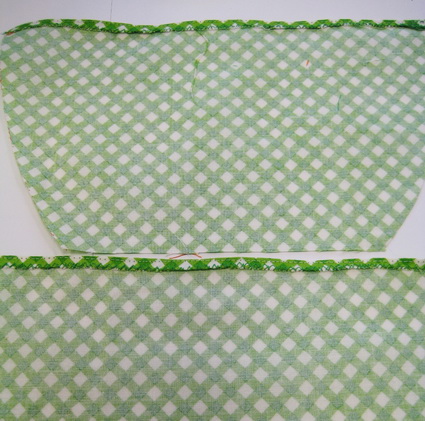
Stitch a hem on the top of each front and back panels
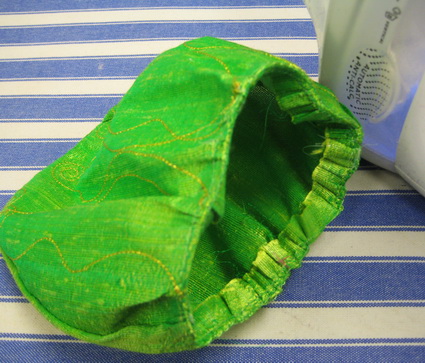
Press using your steam iron the seam at the top of the bag
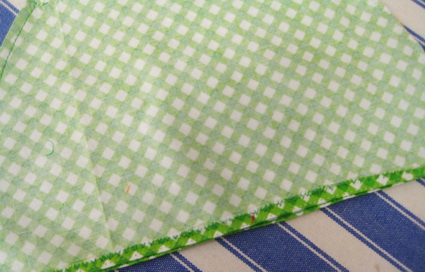
Mark each front and back panel the centre
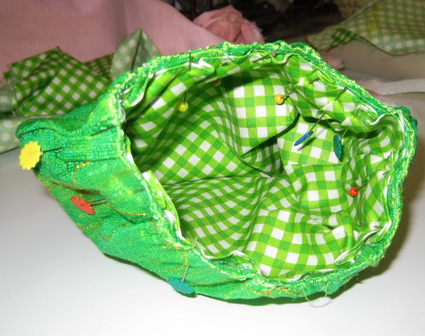
I did not bother gathering the lining fabric, I pleated, I find this a lot easier as I can keep the centre markings of the front and back panels matching the centre markings of the front and back lining
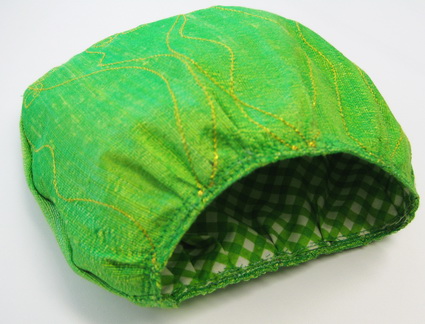
Hand sew the lining to the front and back panels of the bag
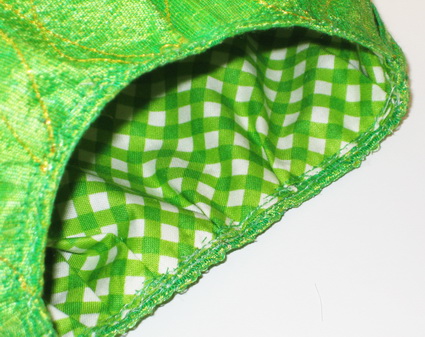
Using your straight stitch on your sewing machine, stitch over your hand stitching
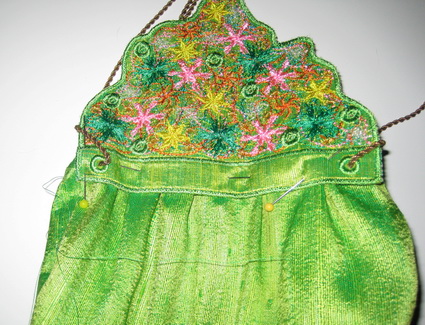
Cut a hole in the two satin stitch circles and stitch down your gold chain to the flap panel
Pin the flap onto the back panel of the bag
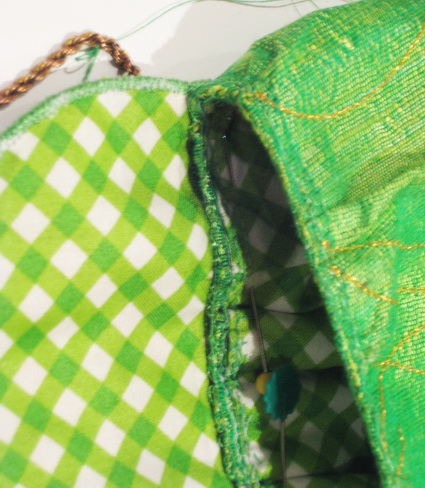
Showing you pinning the flap to the back panel of the bag
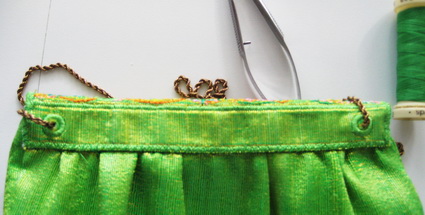
Hand stitch the flap piece to the back of the bag
