Delft Machine Embroidery Design Instructions
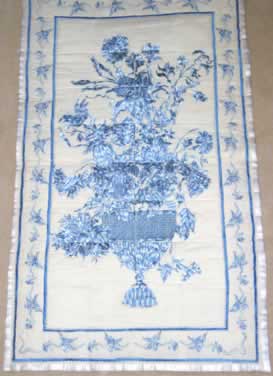
What you need:
36 Delft designs.
Fabric 118 inches (3 meters) – (This allows for some mistakes).
Pellum backing 79 inches (2 metres).
Lightweight stabilizer (same size as fabric).
Madeira blue and white variegated thread No. 2016 (200meters)
Royal Blue thread for the blue and white variegated quilt.
Backing fabric to fit.
Design placement for the Delft Wall Hanging
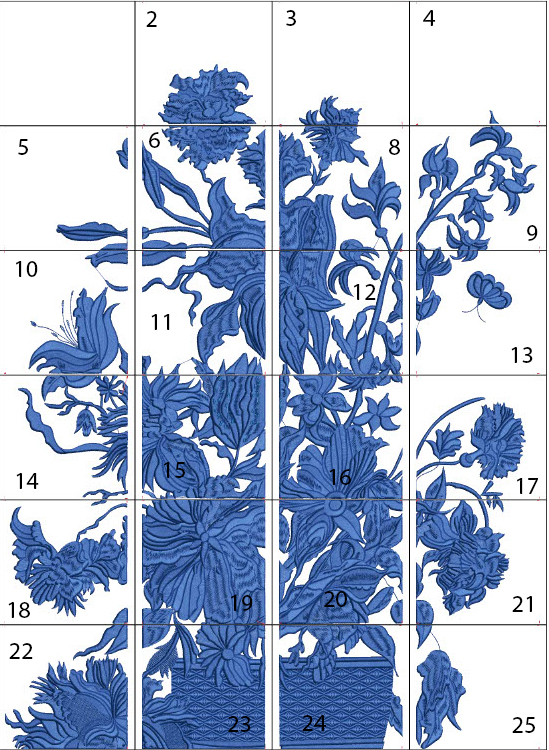
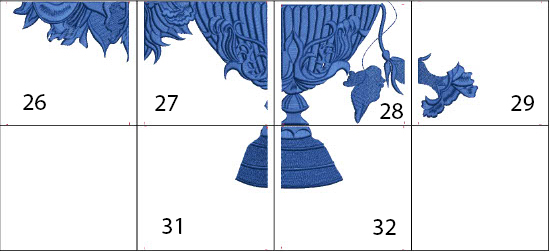
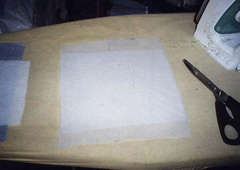
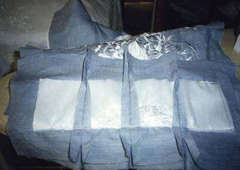
Two sheets of lightweight stabilizer are required. Lay one sheet of lightweight stabilizer over the other.
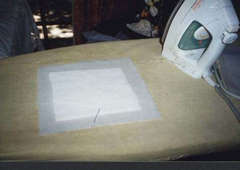
Lay a sheet of pellum on top of the two sheets of lightweight stabilizer. Pellium is a very thin wadding. I also sprayed starched the fabric. Hoop the combined layers of stabilizers, wadding and fabric.
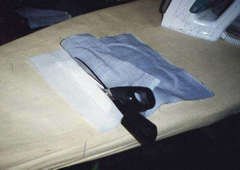
Cut both the pellum and stabilizer. Use the outside line that was digitized into the design as a guide as to where to cut the stabilizer and the pellium. Also use the outside line also as four points for you to pin the layers together.
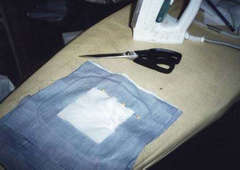
Pin two digitized squares together. Ensure that the squares are taught. Use both the stabilizer and the four points as a guide.
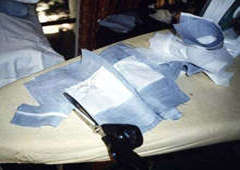
Stitch the digitized squares together a single row.
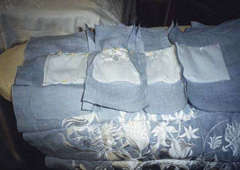
Cut away excess fabric to be ready to join up with the next row of digitized squares.
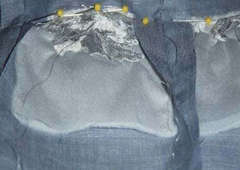
To join up with the next row, pin from the centre of the quilt out to the edge. This method should eliminate any problems of pulling and stretching and makes it easier to join the square up when stitching across the quilt.
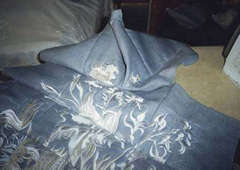
Ensure to match up the designs and the quilt squares while pinning.
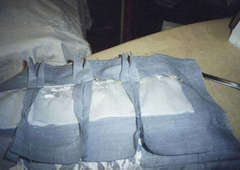
Starting from the centre of the quilt, stitch one side of the row of squares. Match up the other side of the quilt, again starting from the centre of the quilt.
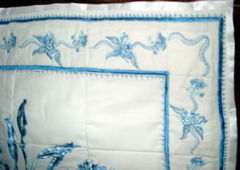
The border of the blue on white quilt consists of 28 repeated designs arranged along the edges and 4 square blocks, one in each corner.

I used a royal blue coloured thread for both the decorative stitch on the panels and the satin stitch to decorate the border
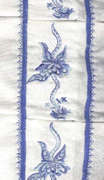
Use satin stitch No. 02 L=.03 W=6.0.
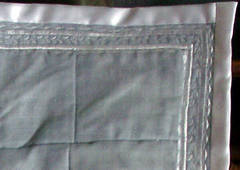
Sew stitch No. 156 L=8.0 W=6.0 on either side of the satin stitch.
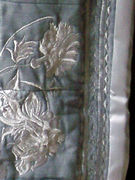
There are eight rectangular fabric blocks on each of the vertical borders. On There are eight rectangular fabric blocks on each of the vertical borders. On the fourth block, stitch the “bord_mirr” mirrored desogn, then all the cornersl will match up with the corner design. In summary, there should be eight fabric blocks decorated with the “bord” design and a further eight fabric blocks decorated with the “bord_mirr” design.
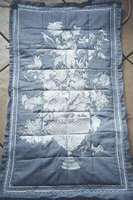
There are four rectangular fabric blocks on each of the horizontal borders. On the second block, stitch the “bord_mirr” mirrored design, will match up with the corner design. will match up with the corner design and a further four fabric blocks decorated with the “bord_mirr” design.
Starting from the centre of each side, follow the assembly proceedure detailed above for the assembly of the decorated blocks in the border.
The border of the white on grey quilt consists of the following decorative stitches
+++stitch No. 65 (diamond stitch) L=14 W=6.0
+++stitch No. 125 (leaf stitch) L=25 W=7.5
+++stitch No. 02 (Satin stitch) L=.03 W=6.0
