


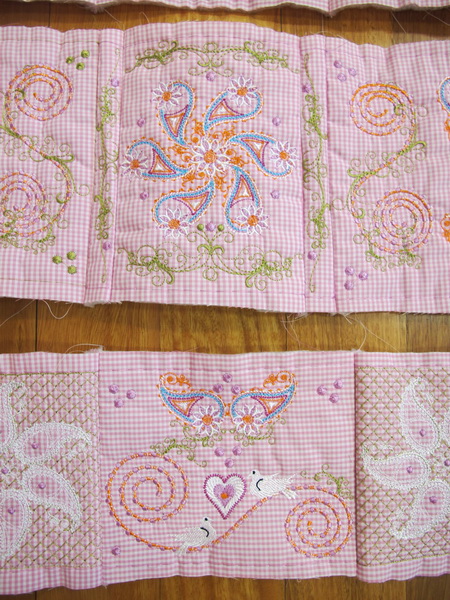
Paisley Quilt
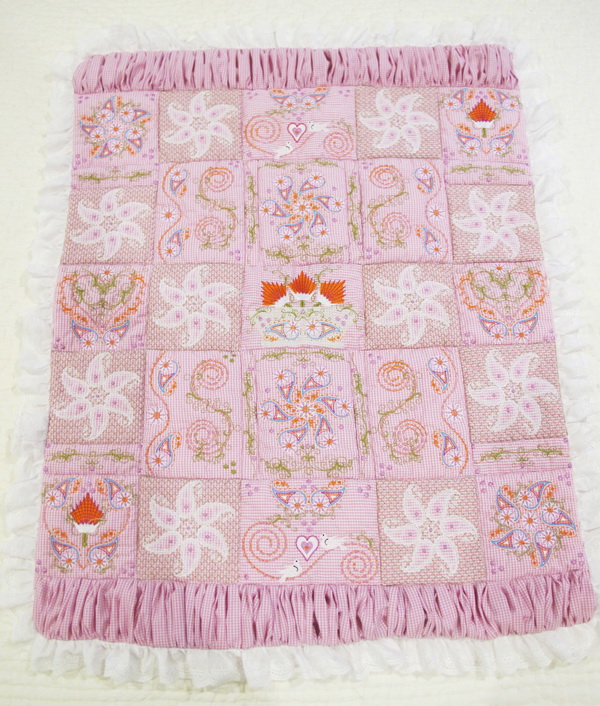
The photo above gives you the layout of the quilt
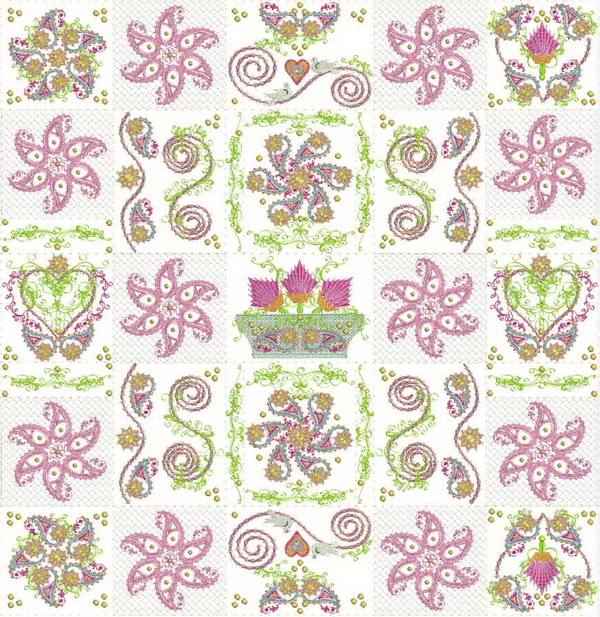
Layout of the quilt without the Paisley numbers
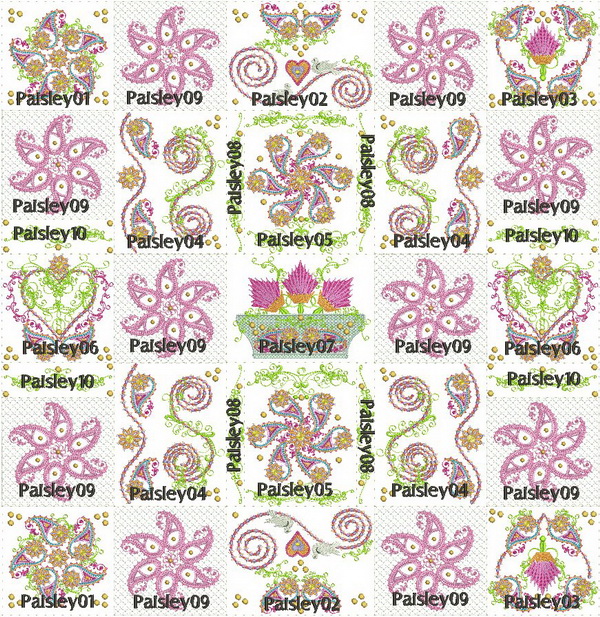
Stitch all the designs together as shown in the above photo
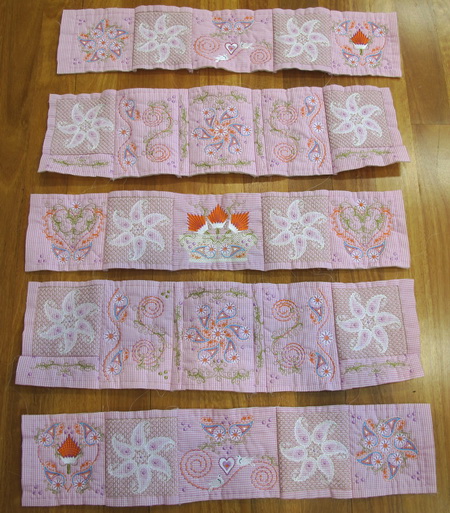
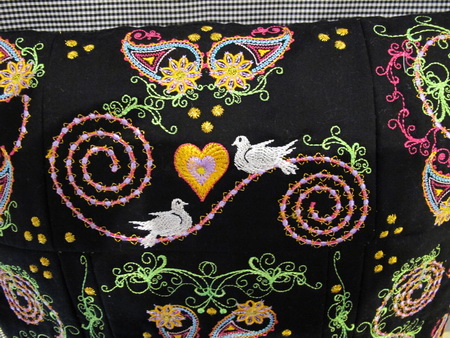
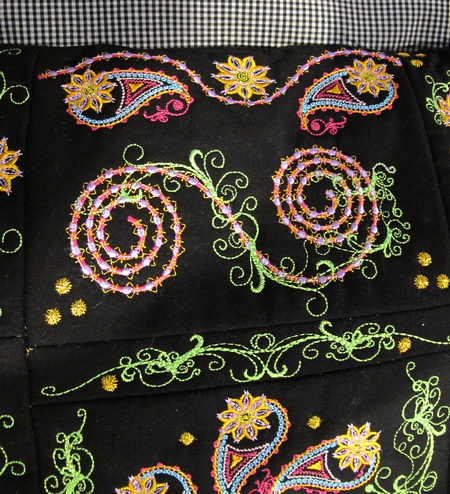
Close up of the designs stitched together
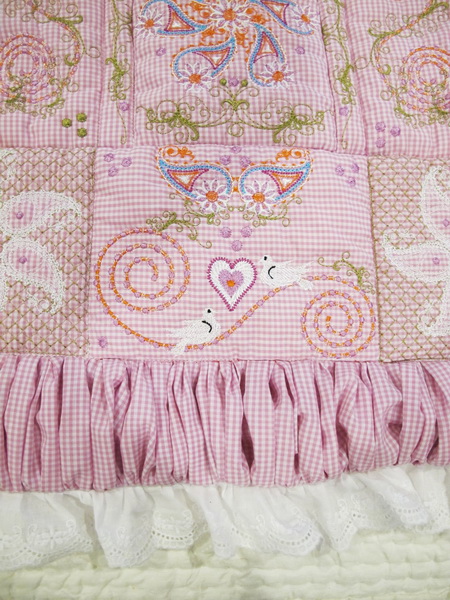
I gathered the gingham fabric both ends to give the quilt an extra dimension and then I added cotton lace
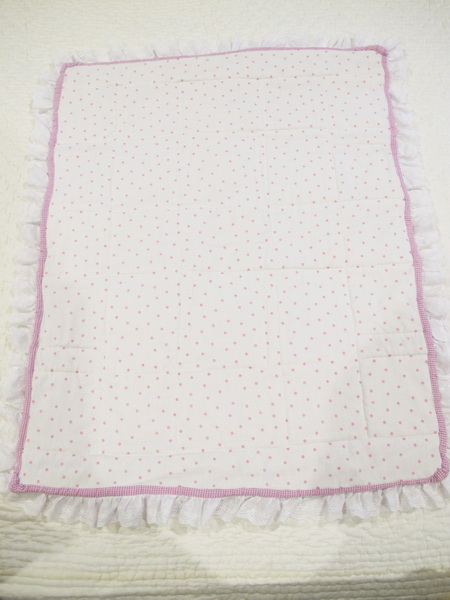
Showing you the back of the quilt
Paisley Cushion
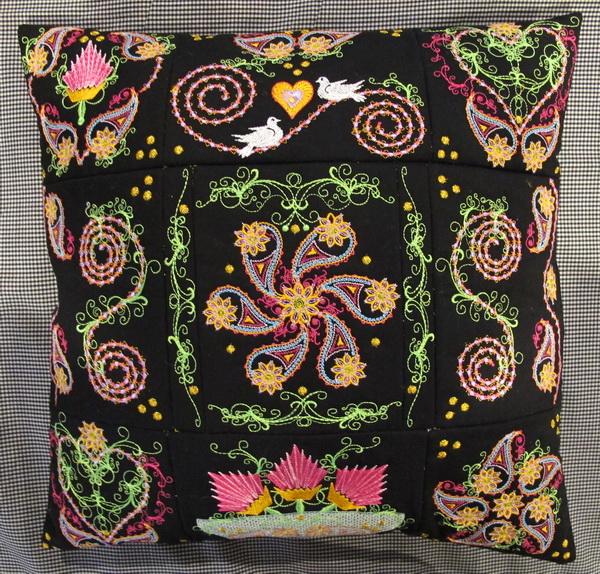
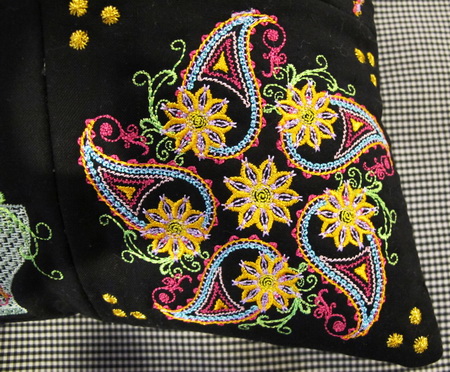
Showing a close up of the designs used for the cushion which are:
Paisley_01
Paisley_02
Paisley_03
Paisley_06
Paisley_07
Paisley_09
Close up of the embroidery detail of “Paisley_01”
Close up of the embroidery detail of “Paisley_02”
Close up of the embroidery detail of “Paisley_02”
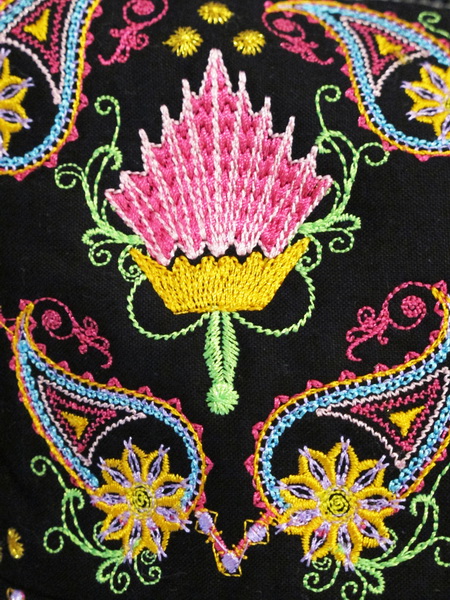
Close up of the embroidery detail of “Paisley_03”
Close up of the embroidery detail of “Paisley_01”
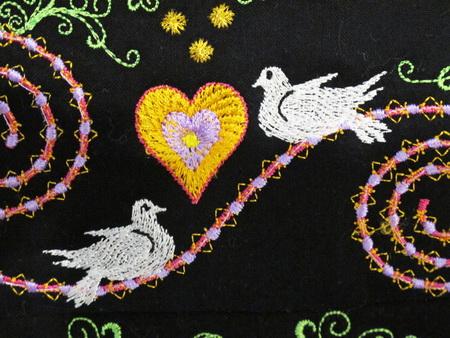
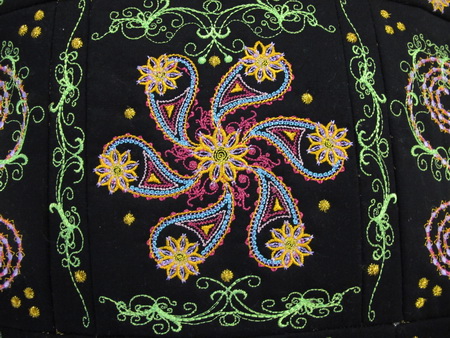
Close up of the embroidery detail of “Paisley_06”
Close up of the embroidery detail of “Paisley_07”
Close up of the embroidery detail of “Paisley_09”
Paisley Bag
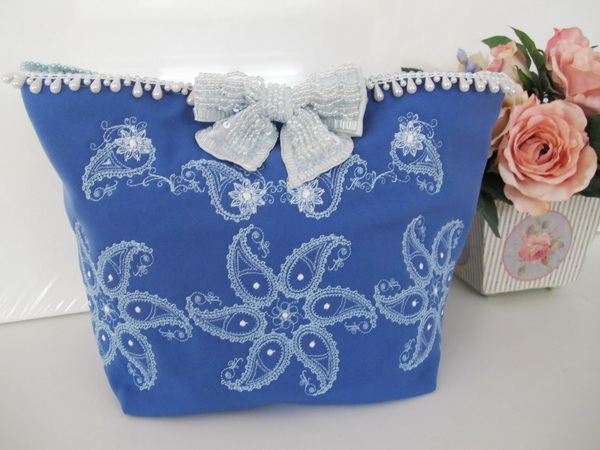
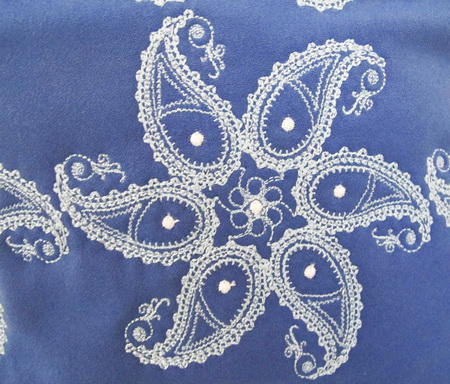
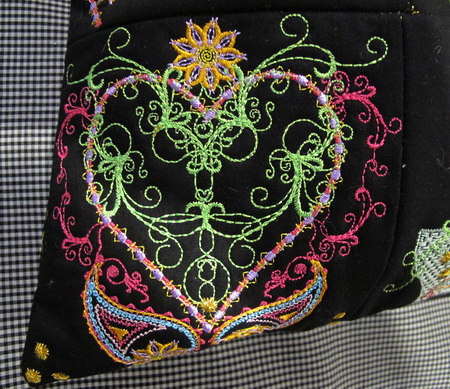
Close up of the embroidery detail of “Paisley_16”
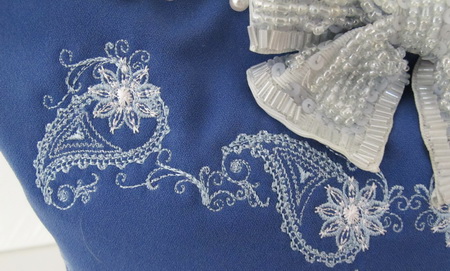
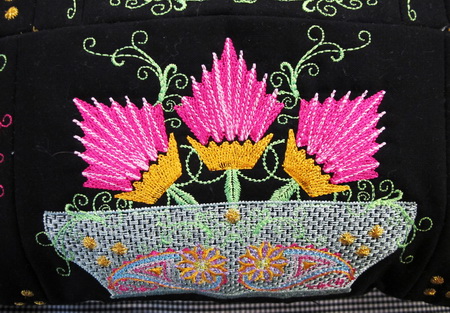
Close up of the embroidery detail
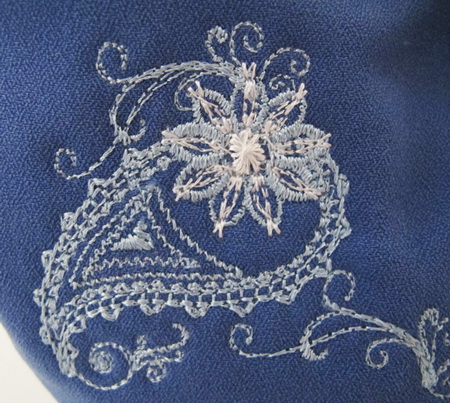
Close up of the embroidery detail
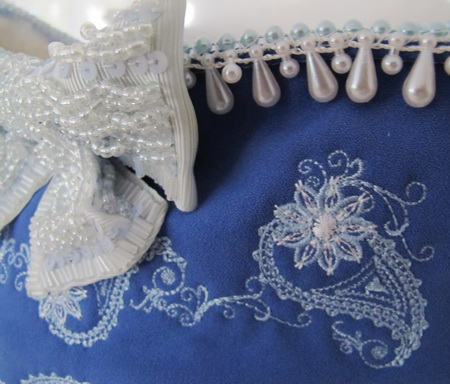
I used two type of beads for the edging a blue beading which I sewed along the inside edge and then the white beads on the front edge, mind you I did all the beading by hand!!! but I think the result was worth it. I had purchased around three years ago at a Sydney quilt festival the gorgeous sequined bow.
Paisley Shopping Bag
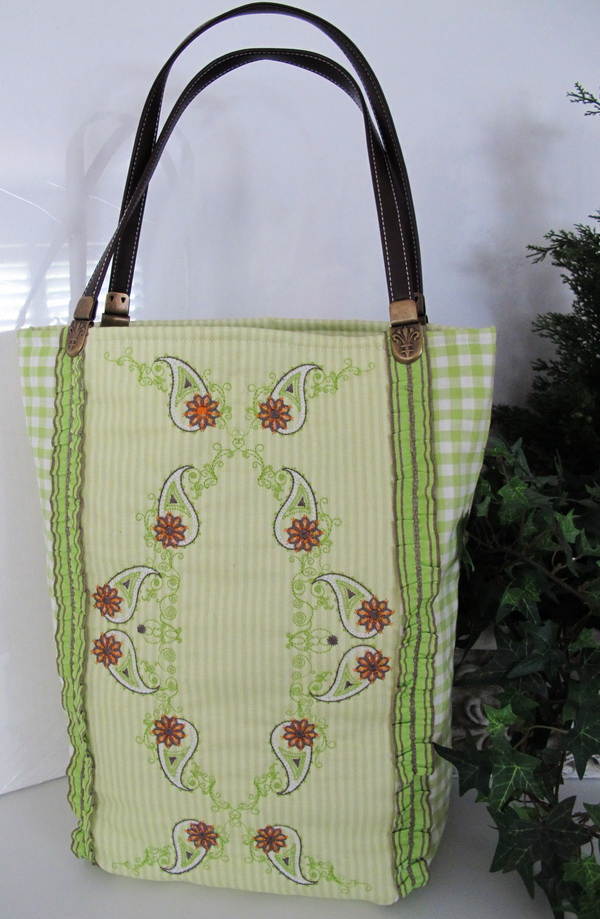
Showing you how many different way of using just one of the designs “Paisley_12” on the front of the bag
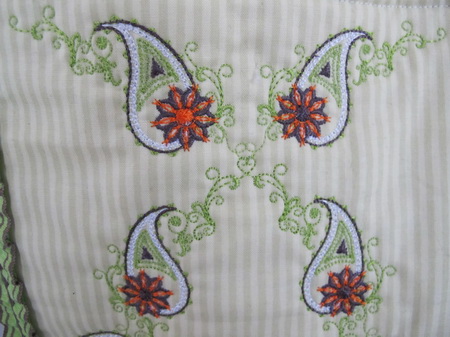
I stitched on the green stripe fabric “Paisley_12”
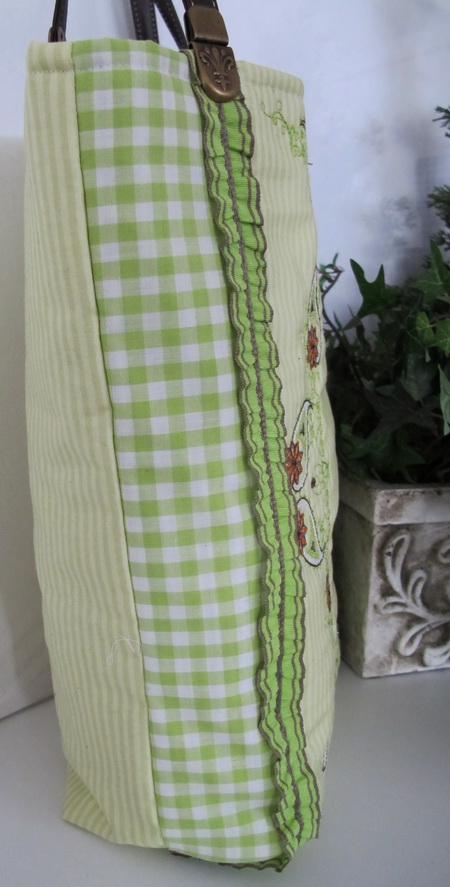
Showing the side and back view of the bag