Dream Moon Fairies Machine Embroidery Design Instructions
Dream Moon Fairies Wall Hanging
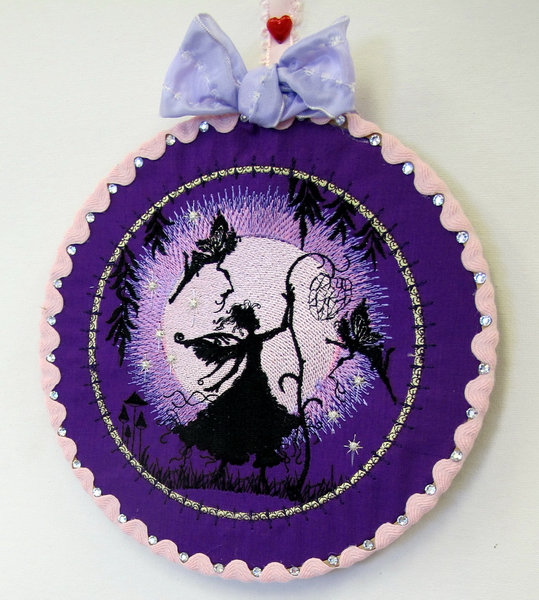
The design stitched was “Dream Moon Fairies_01”
The work was stitched on purple cotton fabric
2 sheets of Medium weight stabilizer
Wooden frame 19 cm or 7.5 inches in diameter
I glued on the edge of the wooden embroidery frame a large pale pink rick rack, then glued down the rest of the rick rack to the side of the embroidery frame
I used a Hot fixed wand to glue the glass jewels in between the zigzag
Dream Moon Fairies Cushion
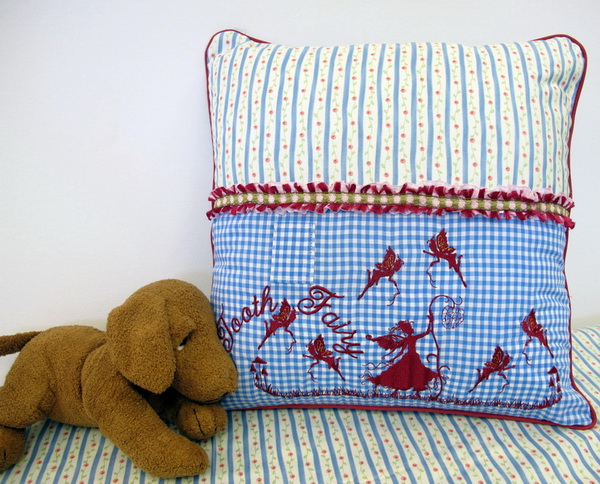
The designs used on this cushion:
- Dream Moon Fairies_05
- Dream Moon Fairies_06
- Dream Moon Fairies_04
The work was stitched on blue and white cotton gingham
You can do 3 hooping’s or if you have 360 x 150mm or 7 x 12 inches or larger hoop you can do all the embroidery in one hooping
The 3 embroidery designs together measure: Height 287.3 x Width 149.9mm or Height 11.3 x Width 5.9 inches
I made a little pocket above the embroidery of the writing “Tooth Fairy”
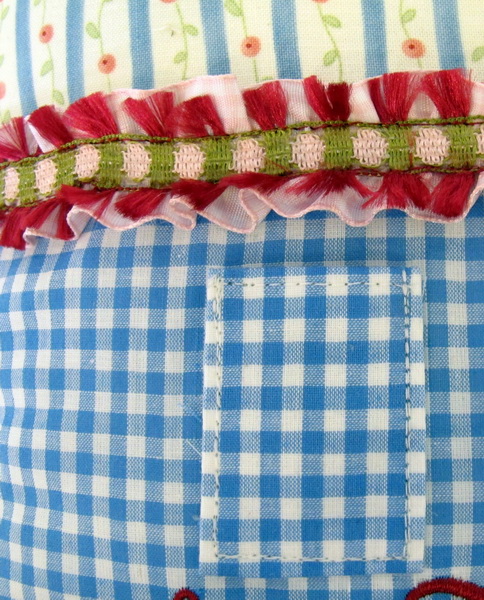
Showing you the little pocket for the tooth on the cushion
Dream Moon Fairies Coat Hanger Cover
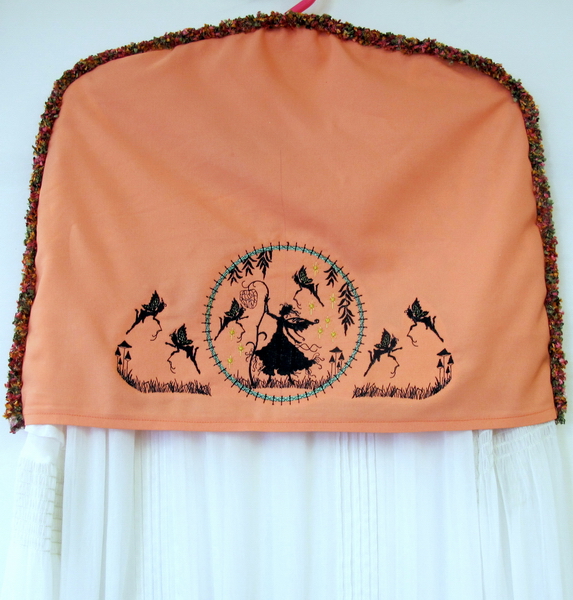
Fabric used to make the coat hanger cover was a man-made fabric, bought it years ago so have no idea what the fabric is
Designs used on the coat hanger cover
- Dream Moon Fairies_03
- Dream Moon Fairies_04
- Dream Moon Fairies_04 Mirrored
The 3 embroidery designs together measure:
Height 300.1 x Width 149.1mm or Height 12.9 x Width 5.8 inches