Four Seasons Summer Machine Embroidery Design Instructions
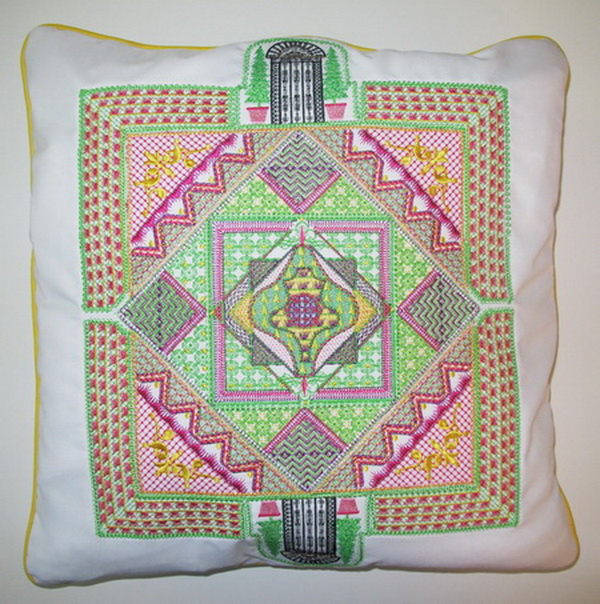
Design measurements 32 x 44cm or 12.5 x 17.3 inches
Stitch out the following designs:
- 1 x Summer Garden_01
- 4 x Summer Garden_02
- 4 x Summer Garden_03
- 2 x Summer Garden_04
- 2 x Summer Garden_05
- 2 x Summer Garden_06
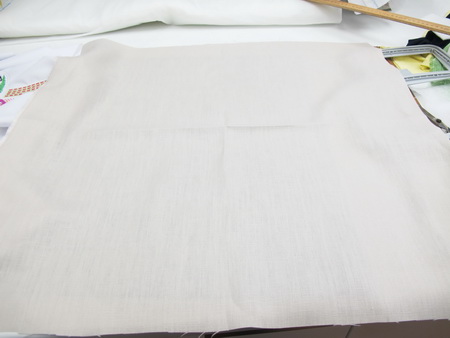
Cut out your background fabric 48 x 48 cm or 19 x 19 inch approximately
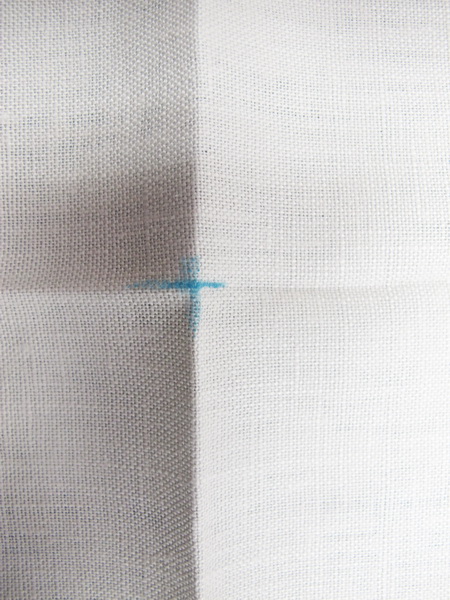
Mark the centre of the background fabric
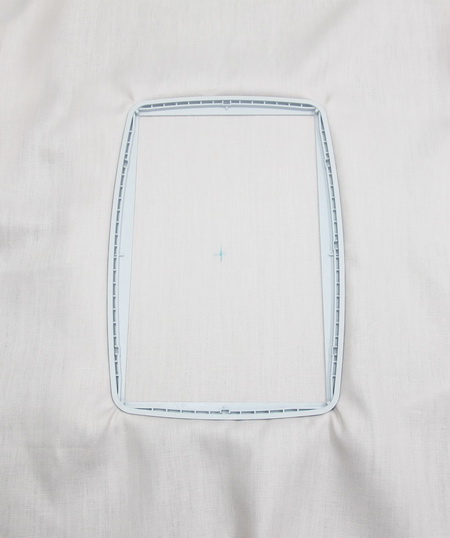
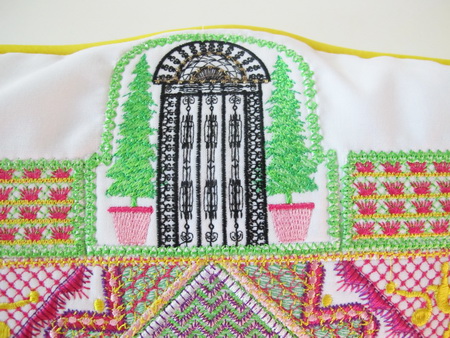
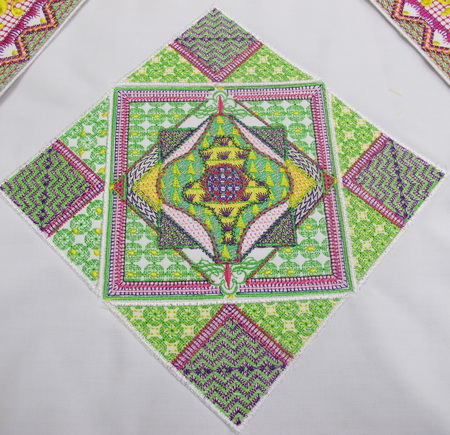
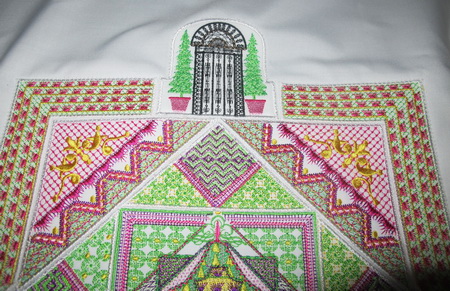
Hoop the background fabric in the centre and proceed to stitch out “Summer Garden_01”
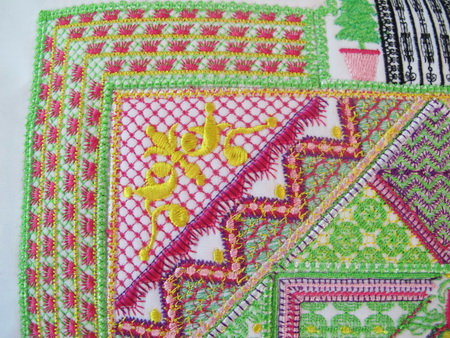
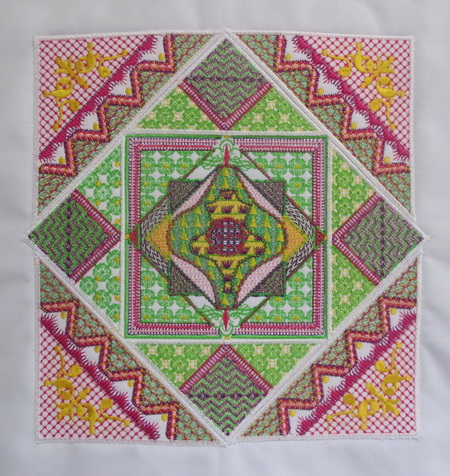
Once you have stitched out “Summer Garden_01” lightly glue down the four ”Summer Garden_02” down on the background fabric as shown in the photograph above Zigzag stitch each of the “Summer Garden_02” over the satin stitch borders
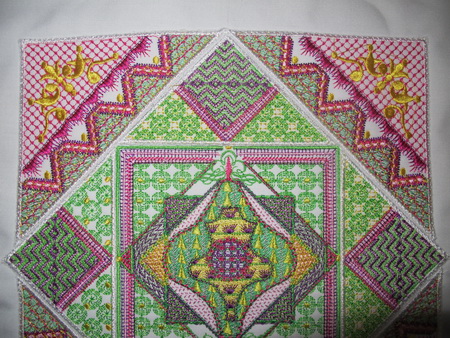
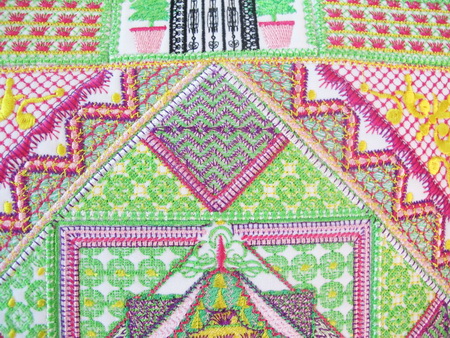
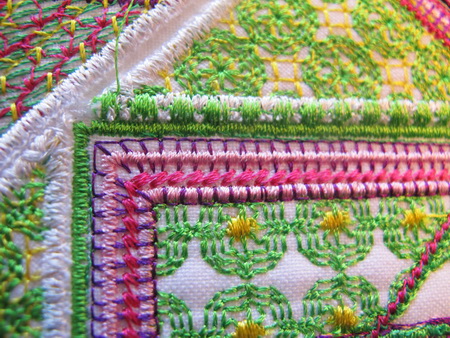
The photograph showing a close up of the satin stitch borders zigzagged stitched down to the background fabric Lightly glue each of the “Summer Garden_03”down as shown in the photograph above Zigzag stitch each of the “Summer Garden_03”over the satin stitch borders
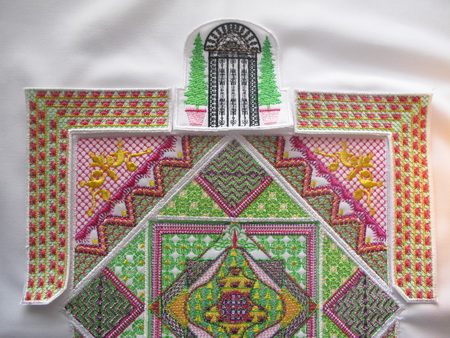
The photograph showing you “Summer Garden_04, Summer Garden_05 and Summer Garden_06”lightly glued down to the background fabric
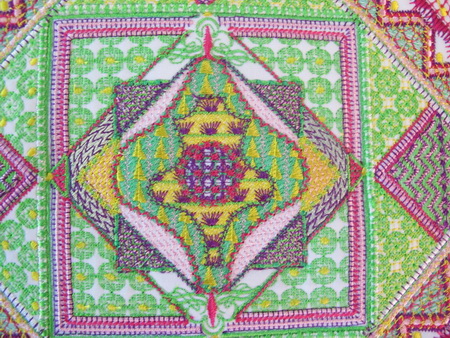
The photograph showing you all the designs zigzagged stitched over the satin stitch borders
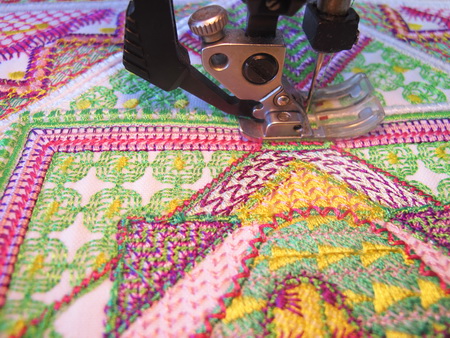
To bring all the designs together and have a bit fun using your decorative stitches that you have in your machine, stitch over the satin stitch borders that you had zigzagged down. As you can see in the above and below photographs