Four Seasons Winter Machine Embroidery Design Instructions
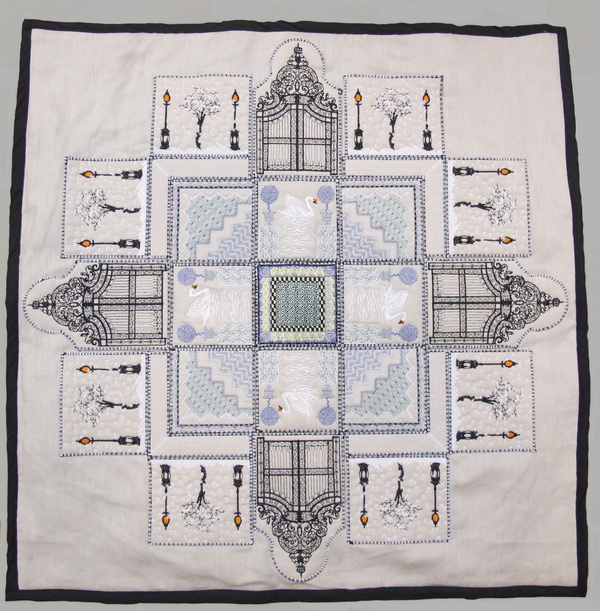
If you wish to make a “Four Seasons” Quilt using these designs only I have included the tree with leaves and where there was snow there is grass, all you need to do is change the colour thread for the different seasons
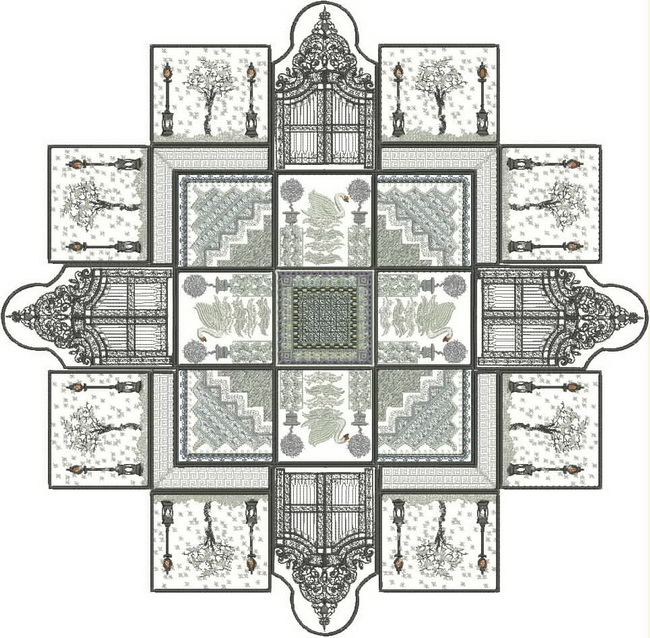
Layout of the winter designs
- Stitch out once Winter_01
- Stitch out four times Winter_02
- Stitch out four times Winter_03
- Stitch out twice Winter_04
- Stitch out twice Winter_05
- Stitch out eight times Winter_06
- Stitch out four times Winter_07
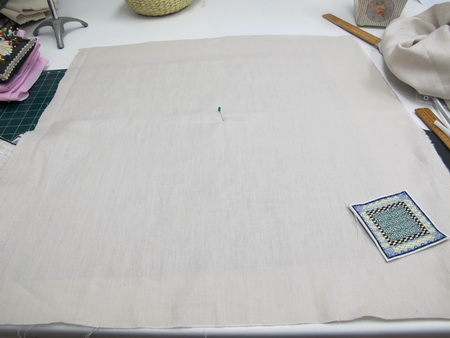
Cut out your chosen background fabric, I cut out approximately 90 x 90cm or 35 x 35 inches the fabric used was beige linen for the background fabric and all the stitch outs.
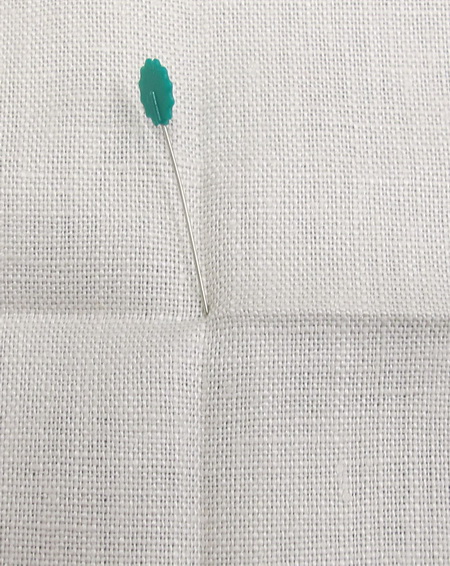
Mark the centre of the fabric you have just cut out
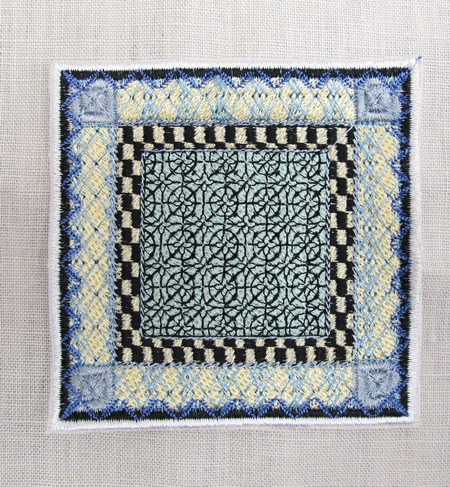
Where you marked the centre on the background fabric place Winter_01 panel and lightly glue the fabric down, I used a hot glue gun
Zigzag stitch Winter_01 panel.
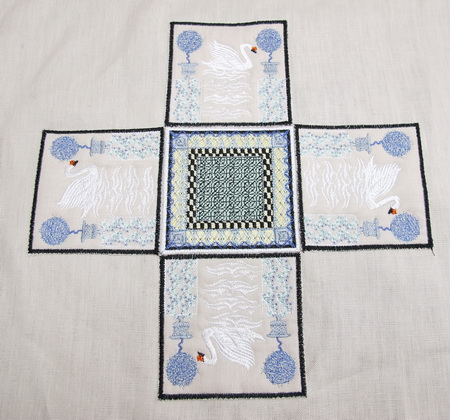
Lightly glue each of the four Winter _02 panels
Zigzag stitch each of the four panels down
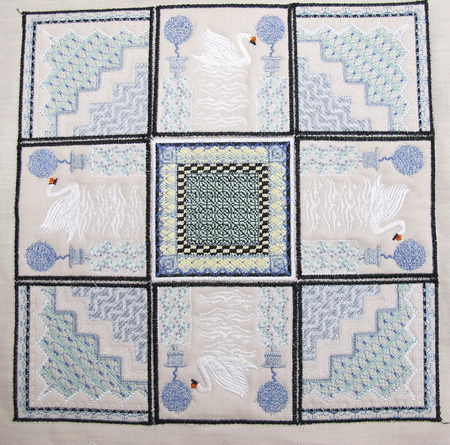
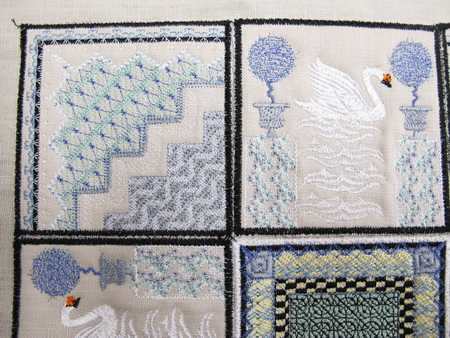
Lightly glue each of the panels Winter_04 and Winter_05
Zigzag stitch each of the panels
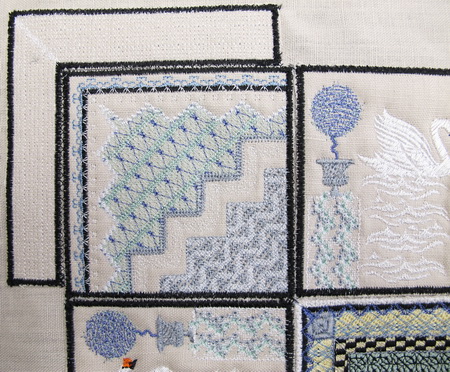
Glue each of the Winter_03 down
Zigzag stich each of the panels down
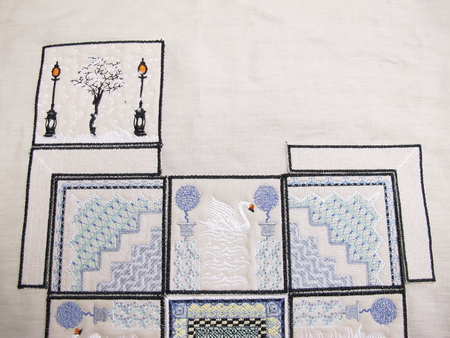
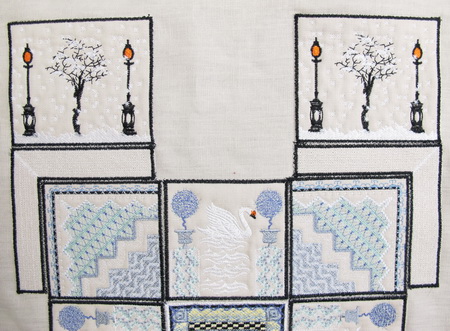
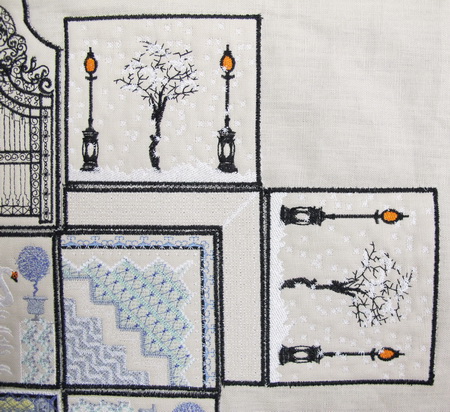
Lightly glue each of the Winter_08 panels down.
Zigzag stich each of the panels down
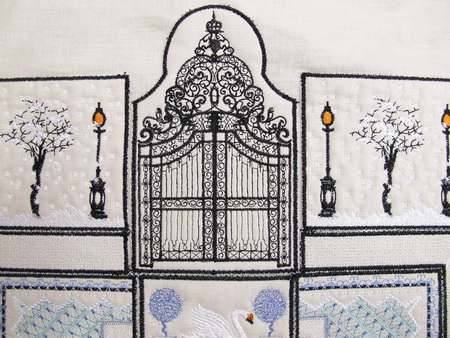
Lightly glue each of the panels Winter_07 down.
Zigzag stitch each of the panels
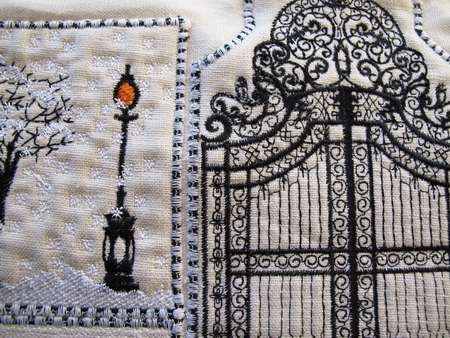
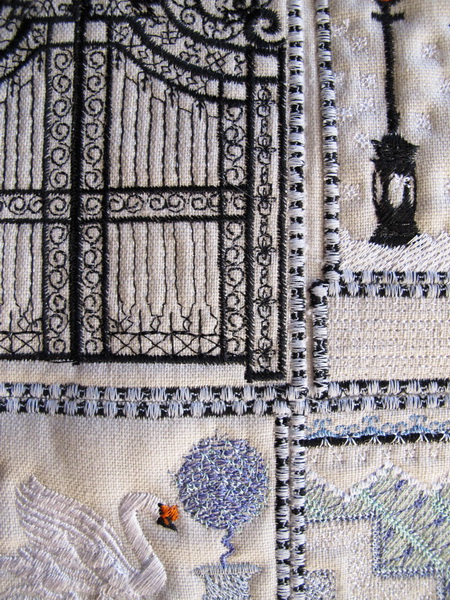
Over the top of the black satin stitch border, stitch the round stitch that is in your decorative stitches that is contained in your sewing machine, this gives a lovely finish to your work and also blends your work together
