Instructions and Ideas for the Centaur Set of Designs
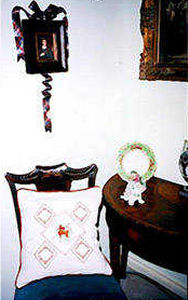
I have included some ideas, suggestions and instructions for decorating two casual cushions using the Centaur Set of designs. The finished results were very satisfying and rather stunning, despite another disaster!!
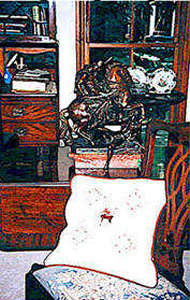
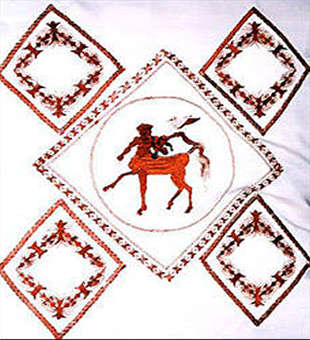
What a disaster!!!!
 |
Just take a look at the photo shown to the left. I must have had PMS the day that I commenced decorating the first of the cushions!!
|
How I saved this disaster . . . .
|
1
|
I sacrificed the project by cutting out each of the five designs. |
|
2
|
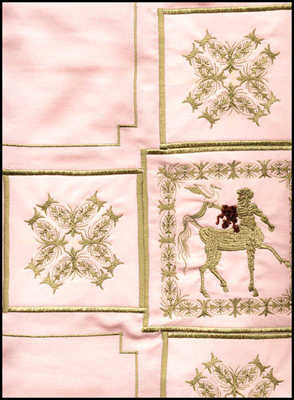
I then satin stitched each of the designs onto a new piece of fabric, using stitch |
| No. 02 L = .30 W= 4.5. | |
|
3
|
To provide a nice, attractive outer border, I then used stitch No. 02 L=.30 W=2.0, sewing |
| around each of the designs. | |
|
4
|
I decided that the cushion did not need any decorative stitches from my sewing machine as |
|
5
|
the digitised designs bunched together were quite enough. |
|
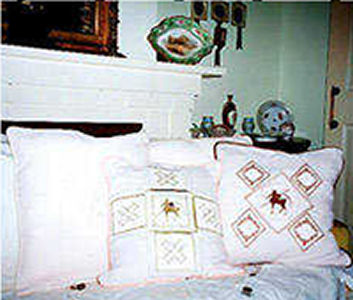
6
|
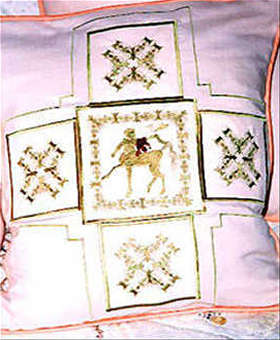
The finished cushion is shown below |
|
Notions for Disaster Cushion
|
|
centau02 and centau14 designs.
|
|
light pink coloured silk fabric.
|
|
|
| Colour Charts for Centaur Designs |
| Detailed colour charts for each of the Centaur Set of designs are listed seperately on the bottom of this page. |
| A small tip |
When commencing to stitch a new digitized design, always bring up your bobbin thread with your first stitch.
- Stitch a few stitches.
- Cut both threads.
- This should help to eliminate bird nests.
|
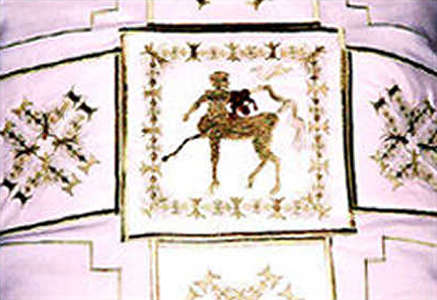
Notions for Second Centaur Cushion
|
|
centaur and centau06 designs.
|
|
light peach coloured silk fabric.
|
| Colour Charts for Centaur Designs |
| Detailed colour charts for each of the Centaur Set of designs are listed below in the colour chart. |
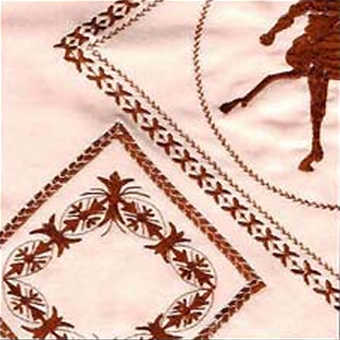
Instructions for border around centuar design
| 1 | Carefully locate the centre of the design. | ||||||||||||||||||||||||||||
| 2 | Using a soft pencil or coloured chalk, draw a circle on the back of the | ||||||||||||||||||||||||||||
|
|
design. I used a round tea cup which fitted around the design as a |
||||||||||||||||||||||||||||
| template. | |||||||||||||||||||||||||||||
| 3 | Whilst still on the back of the design, sew around the circle using a | ||||||||||||||||||||||||||||
| straight stitch. | |||||||||||||||||||||||||||||
| 4 | Turn the fabric over so that the outline stitch is showing on the right | ||||||||||||||||||||||||||||
| side of the design. | |||||||||||||||||||||||||||||
| 5 | Sew the decorative stitch No. 17 17 L=1.5 W=2.0. Refer to the photo | ||||||||||||||||||||||||||||
| shown to the right. | |||||||||||||||||||||||||||||
| 6 | Draw a triangle in pencil on the back of the design. | ||||||||||||||||||||||||||||
| 7 | Whilst still on the back of the design, sew around the triangle using a | ||||||||||||||||||||||||||||
| straight stitch. | |||||||||||||||||||||||||||||
| 8 | Turn the fabric over, face up. | ||||||||||||||||||||||||||||
| 9 | Sew the two decorative stitches - stitch No. 17 L=1.5 W=2.0 and | ||||||||||||||||||||||||||||
|
stitch No. 80 L=9.0 W=6.0. Refer to the photo shown below
|
|||||||||||||||||||||||||||||