Grand Entrance Machine Embroidery Design Instructions
Grand Entrance Jewellery
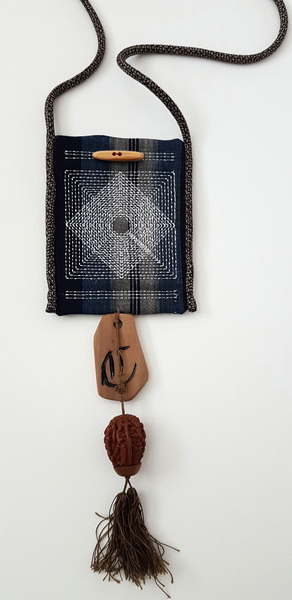
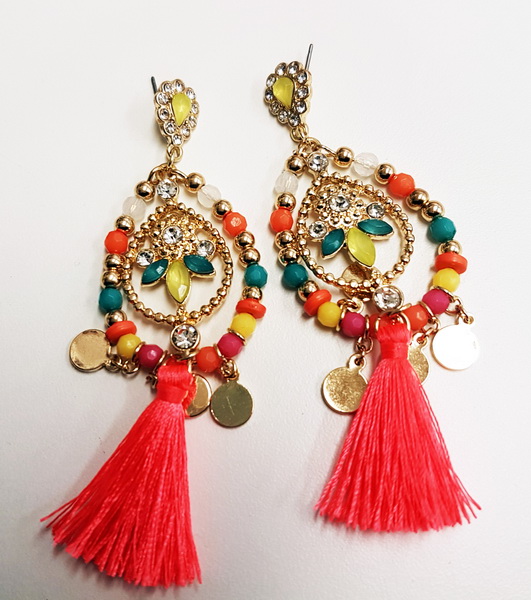
I used these old earrings that I purchased in South America on one of the necklaces.
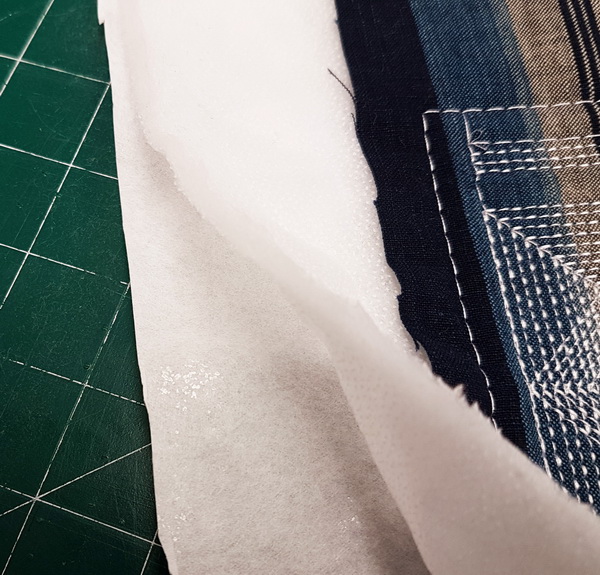
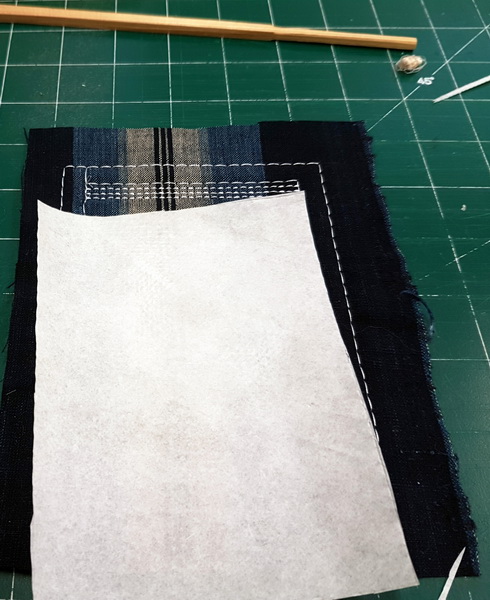
For the backing of each piece of jewellery I use a thick heavy weight tear a way, medium weight wadding.

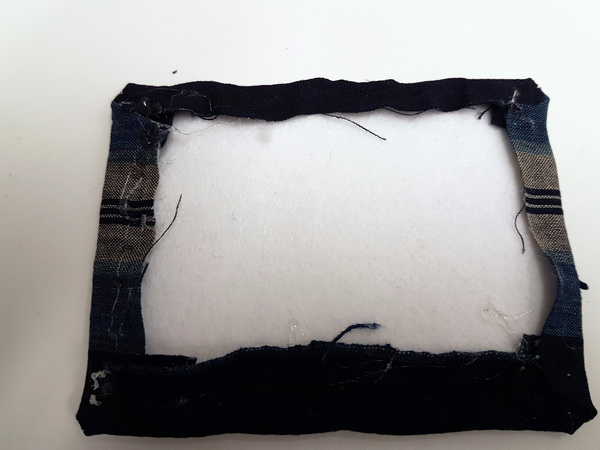
Cut away the tear a way and wadding from the border
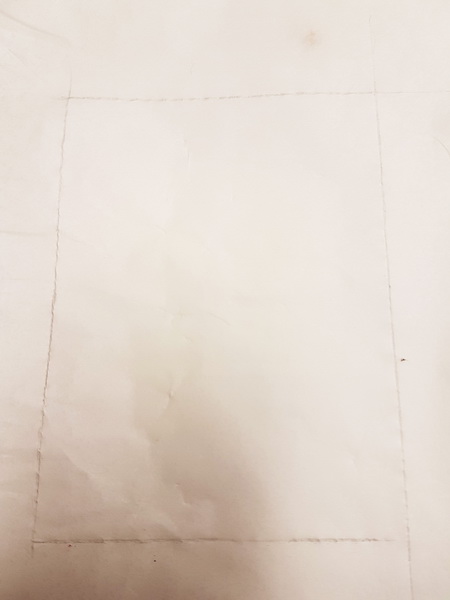
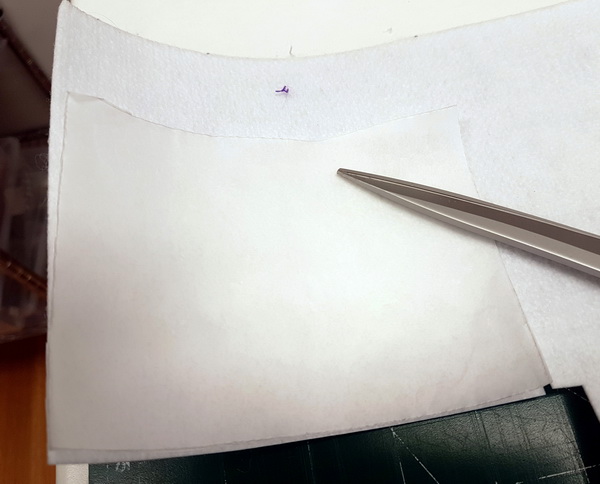
Trace on grease proof paper the outer border to make a template
Cut the grease proof paper for your template
I used a very thick water resistant cardboard for the backing board (I only used this as I had some on
hand) but you can use ice cream plastic buckets as it is easy to cut and it is a good excuse to buy your favourite ice cream.
Cut the backing board using the template
Hot glue down the fabric to the backing board or ice cream plastic
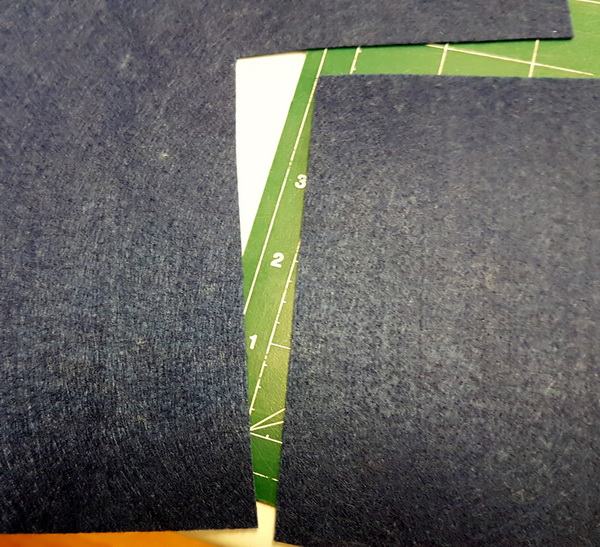
From your template cut felt to cover the back plate
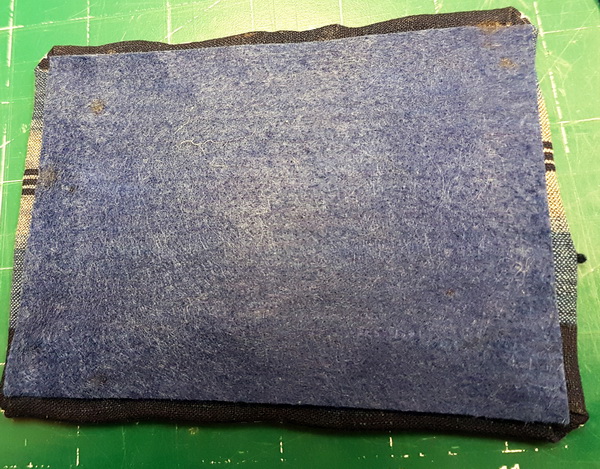
Hot glue the felt onto the fabric, this gives your work a nice clean finish
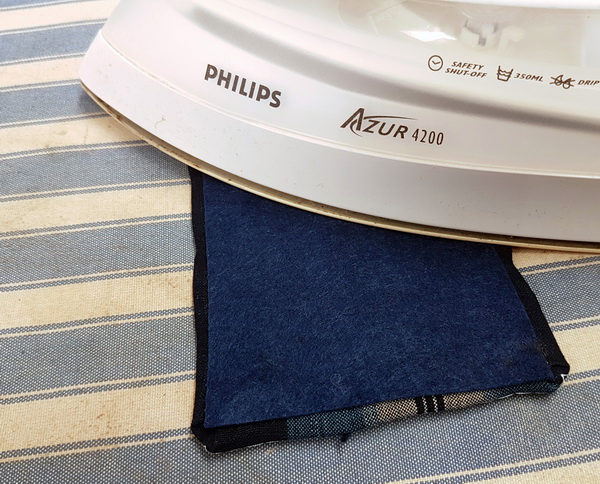
Press with your iron on very hot (No steam) over the felt this makes the hot glue spread so the glueis not lumpy