Home Sweet Home Machine Embroidery Design Instructions
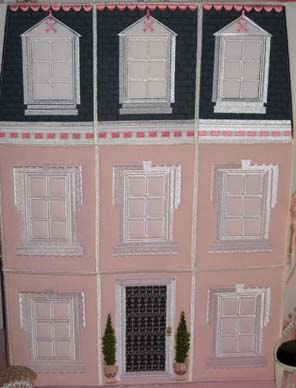
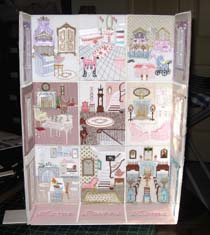
Close view of Home Sweet Home
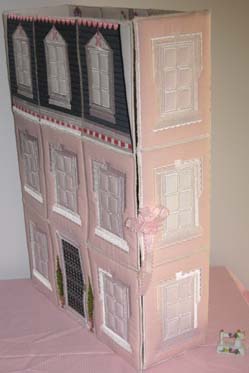
Side view of Home Sweet Home
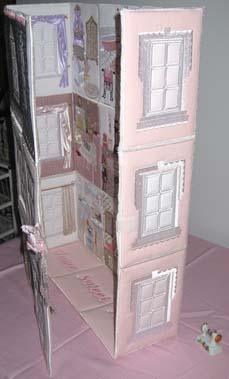
Inside Home Sweet Home with the door slightly open
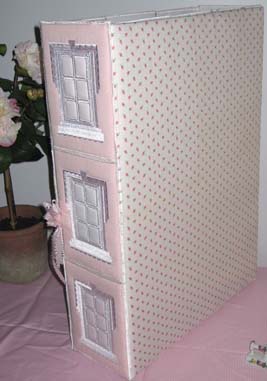
Back view of Home Sweet Home
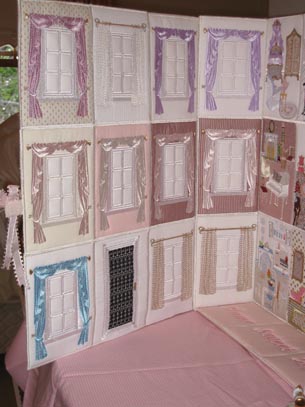
Inside the door
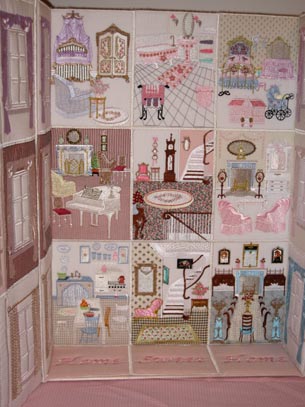
Back
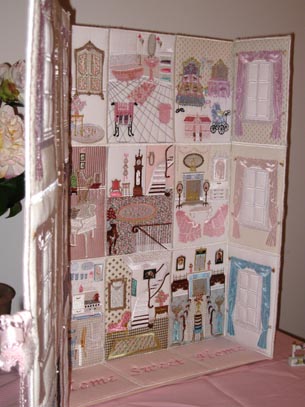
Back and side
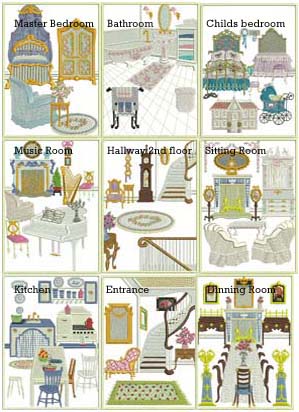
Instruction a is the placement of designs for the back panel
- Master Bedroom
- Bathroom
- Child’s bedroom
- Music Room
- Hallway 2nd floor
- Sitting Room
- Kitchen
- Entrance
- Dinning Room
What you need:
- Fabric approx 4 yards or 4 meters white
- Fabric approx 3 yards or 3 meters pink
- Fabric approx 1 yard or 1 meter for cover of Balsa wood on the back
- Thin wadding 7 yards or 7 meters
- Flexifirm or Timtex 7 yards or 7 meters (Flexifirm you can purchase by clicking one the URL http://www.stirlingembroidery.com
- TIP I would suggest you use Flexifirm if you can purchase the product, as I did use Timtex half way through making the house and found that Flixifirm is a far supperior product
- 3 sheets of Balsa wood each sheet is 3.0 x 150 x 1220mm
- Glue gun
- Spray glue
- Hook and loop tape
- Small pieces of fabric for wallpaper or carpet
- I might be over doing it regarding the thread as I was not sure as to how much I used. I went through 2x 2,000 meter spools. I am not to sure how much I had already used on each of the white spool threads.
Instructions for hooping each of the panels:
White or pink fabric
Wadding
Flexifirm or Timtex
I would hoop the fabric and wadding and then slide under the hoop the Flixifirm or Timtex

Curtain left side panel
Instruction b is the placement of designs for the Curtain left side panel
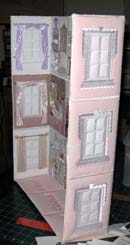
Photo of the finished panel

Curtain right side panel
Instruction c is the placement of designs for the Curtain right side panel
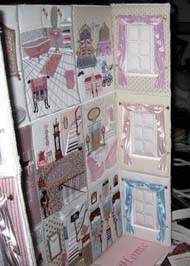
Photo of the finished panel
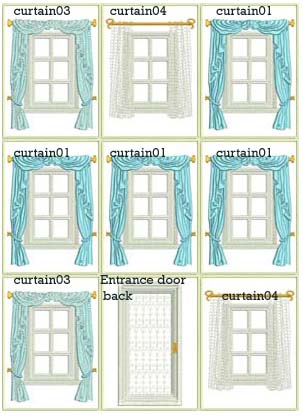
Front inside of curtain panel
Instruction d is the placement of designs for the front inside curtain panel
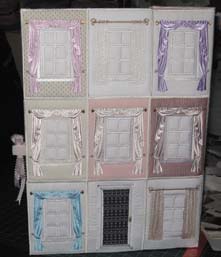
Photo of the finished panel
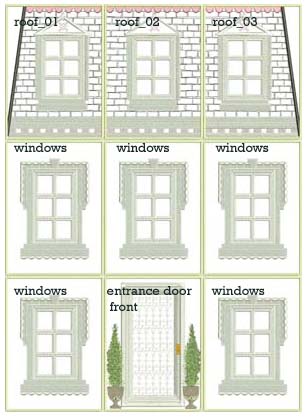
Front panel
Instruction e is the placement of designs for the front panel
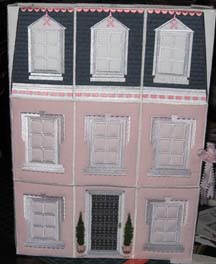
Photo of the finished panel

Windows left and right side panels
Instruction f is the placement of designs for the side left and right window panels
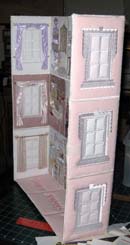
Photo of finished panel
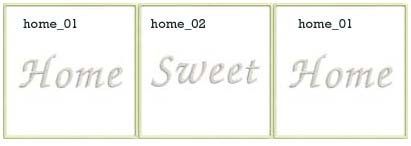
Bottom panel – Instruction g
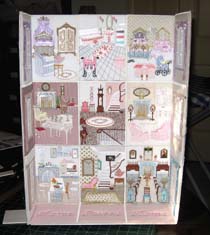
Insruction g is the placement of designs for the bottom panel
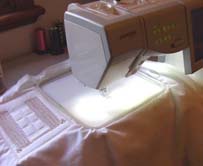
Instructions for Entrance doors front and back “Roof_01” “Roof_02” and “Roof_03”
Stitching out the design “Entrance door back” the same will apply for “Entrance door front” and “Roof_01” “Roof_02” and “Roof_03”
I had stitched the room design called “Entrance” on a white background fabric. When stitching“Entrance door back” that you use the same coloured background fabric as you had used for “Entrance”
Make sure when stitching out the “Entrance door front” that you use the same coloured fabric you wish to use for the front of the whole house
Stitch the first colour out as shown in the photo.
Photo 1
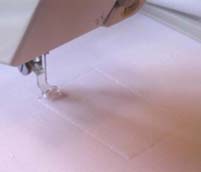
First colour stitched out.
Photo 2
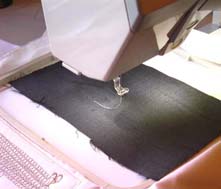
This will apply to both “Entrance door back” and “Entrance door front”
Lay your fabric over the stitches you just stitched on your machine.
Photo 3
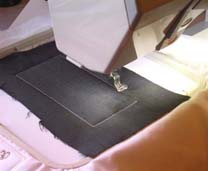
Go back to the first colour on your machine and re-stitch again as shown in the photo.
Photo 4
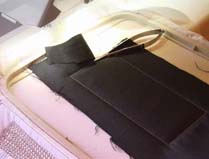
Once you have stitched out colour No. 1 as you can see in the photo, I carefully cut the excess fabric away from the outside of the stitches.
Photo 5
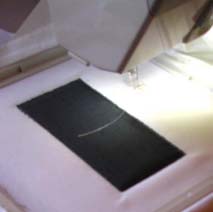
All excess fabric cut away leaving a clean finish.
Photo 6
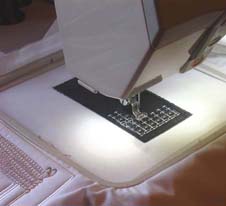
Stitching out the second colour for both the Entrance door designs.
Photo 7
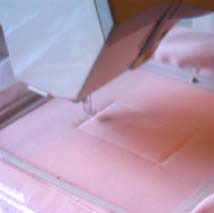
Instructions for Windows and Curtains
Select the type of fabric you wish for the front of the house. I chose a pink fabric.
For the “curtains” designs I matched the same wallpaper fabric as for the room as you can see in photo No. 15
Stitch the first colour from the colour chart for “Windows” and “Curtains” as you can see in photo No. 8
Lay fabric over the stitches you just stitched out.
Photo 8
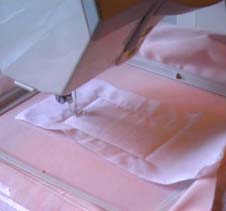
Re-stitch the first colour of the colour chart for “Windows” and “Curtains” over the fabric you have chosen for the windows as you can see in photo No. 9
Photo 9
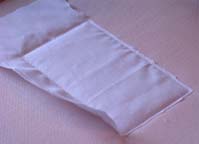
Cut away excess fabric for the window or curtain design.
Photo 10
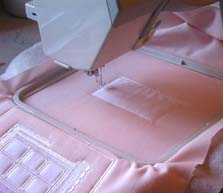
Start stitching the window or curtains.
Photo 11
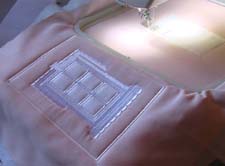
Completed window.
Photo 12
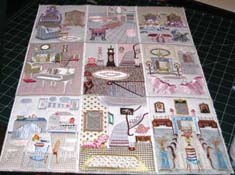
This is an example, but of course you can put your house together any way you wish
Stitch “Kitchen” “Entrance” and “Dinning Room” together using a zigzag stitch, I stitched each panel twice with the zigzag stitch as I have done with all the panels
Stitch together using your zigzag stitch the following panels “Music Room” “Hallway 2nd floor” and “Sitting Room” the same as above
Join both large panels of the rooms together using your zigzag stitch then do the top floor as you have done previously.
Photo 14
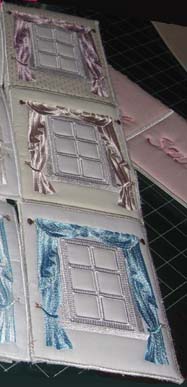
Two side panels
You have a choice of 3 types of curtains for all the rooms
Here you will have to be careful when doing the two curtain side panels that you match carefully with the rooms from the back panel when joining the three panels to make up the larger side panels. As seen in photo No. 15
Photo 15
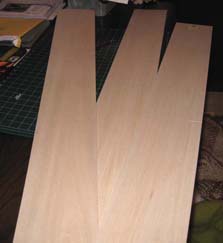
I purchased from a Hobby Shop or you can purchase from your Hardware store the following
3 sheets of Balsa wood each sheet is 3.0 x 150 x 1220mm.
Photo 16
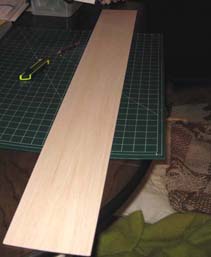
To cut the Balsa wood it is very easy. I found it easier to cut with a knife. It was even easier than cutting fabric as it is such a very soft wood.
Photo 17
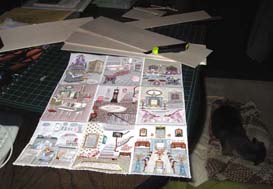
Cut 3 panels to fit on the back panel.
Photo 18
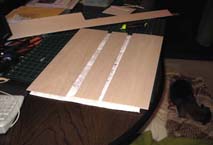
I made a mistake when cutting the Balsa wood. I realised my mistake when I started stitching the back panel to the side panels
DO NOT cut the Balsa wood up to the edges of the back panel leave at least on all four sides 1.5 cm or 1/2 inch this should apply to all the panels with the Balsa wood, this will make life a lot easier when joining the house with a zigzag stitch 🙂
Photo 19
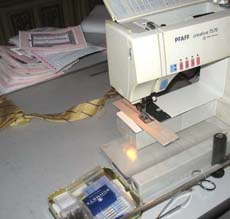
I tried my machine stitching on a small piece of the Balsa wood, stiched with no problems as you can see in the photo.
Photo 20
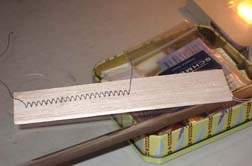
Close up photo.
Photo 21
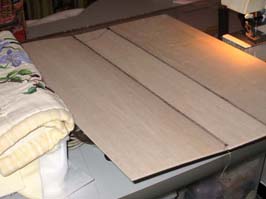
Stitch the 3 panels together using a zigzag stitch that had been cut out in photo No. 19 for the back panel.
Photo 22
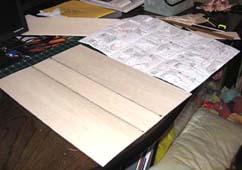
Photo of the Balsa wood and back panel. The Balsa wood will eventually be layed over the back panel.
Photo 23
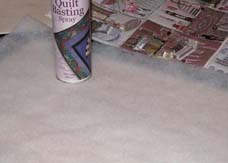
Spray glue on the Balsa wood and lay a medium weight wadding over the glued Balsa wood, this helps keep the wadding in place.
Photo 24
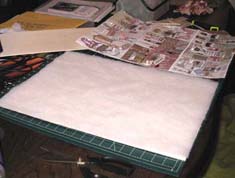
Once you have glued the wadding over the Balsa wood then cut with your scissors the wadding which overlaps the Balsa wood, as shown in the photo No. 25
Photo 25
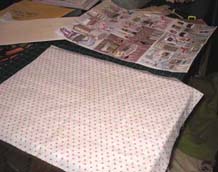
Select a fabric which will blend with the house, this fabric will go over the wadding
Photo 26
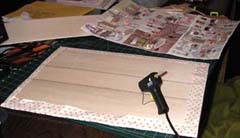
Use your hot glue gun for laying the fabric over the wadding and covering the very back panel of the house.
Photo 27
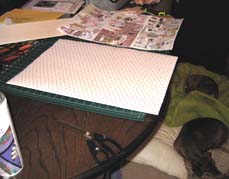
Pretty fabric covering the balsa wood.
Photo 28
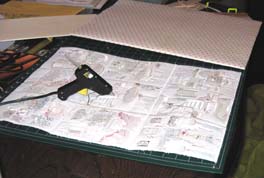
Using your hot glue gun, spread the glue all over the Balsa wood so you can attach the back panel.
Photo 29
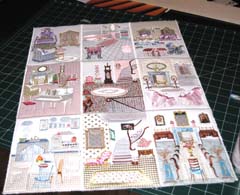
Back panel glued to the Balsa wood.
Photo 30
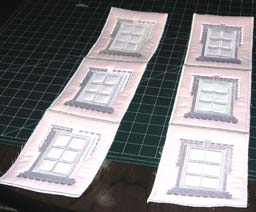
2 side window panels joined
Photo 31
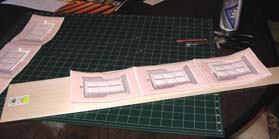
Measure the balsa wood for each of the window side panels.
Photo 32
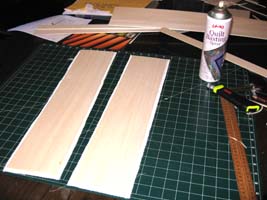
As you can see in the photo I have not cut the balsa wood right to the sides of the window side panels as I had done for the back panel of balsa wood.
Photo 33

Repeat the same for the bottom panel “Home Sweet Home” as you have just done with the Balsa wood for the side panels.
Photo 34
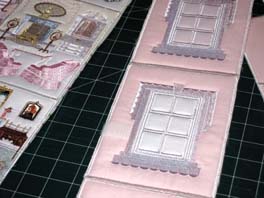
Before you glue the curtain side panel to the right Balsa window side panel, postion hook and loop tape in the centre of the window side panel as you can see in Photo No. 35.
Photo 35
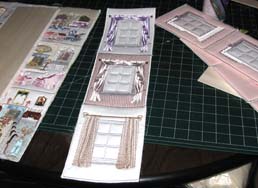
Curtain side panel ready to be glued to the Balsa wood curtain side panel.
Photo 36
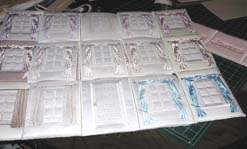
I have layed all the curtain panels that match each room over the top of the back panel and side curtain panels, in this way I cannot make any mistakes when sewing the curtain panels together. I feel this is the best way as it would be so easy at this stage to match the wrong curtains to the wrong room.
Photo 37
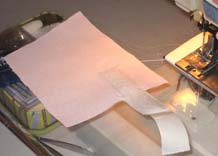
I covered the hook and loop tape with the same pink fabric that I used for the front of the house.
Photo 38
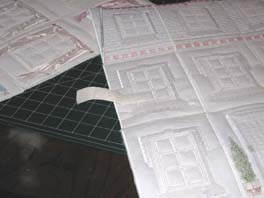
Position hook and loop tape on the back of the window front panel.
Photo 39
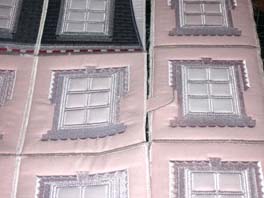
Checking to make sure the hook and loop tape is in the correct position.
Photo 40
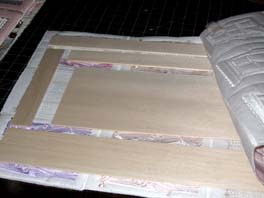
I ran out of Balsa wood but realised if I layed all the left over pieces of Balsa wood as in Photo No. 41, the panel would be very sterdy for the door. Glue the Balsa wood down onto the curtain front panel then glue the window front panel over the Balsa wood.
Photo 41
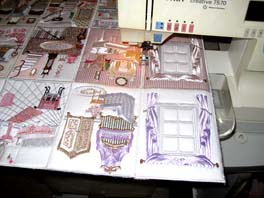
Stitching the curtain, window side panel to the back panel. Stitch the panels together using your sewing machines zigzag stitch.
Photo 42
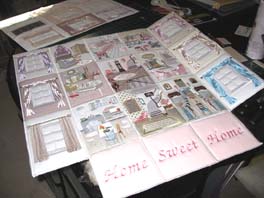
All these panels were stitched together using the machines zigzag stitch.
Photo 43
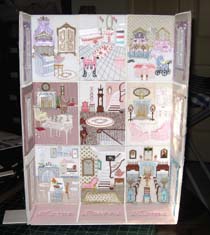
I did have to hand stitch the window, curtain left and right side panels to the bottom panel.
Photo 44
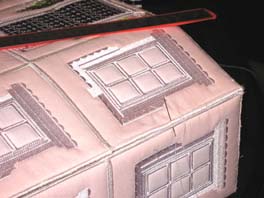
I then had to hand stitch the front panel to the left window, curtain side panel, might be best also to use a thimble, I could not find one so I used the metal ruler to get the needle through in places.
Photo 45
