Modern Classic Machine Embroidery Design Instructions
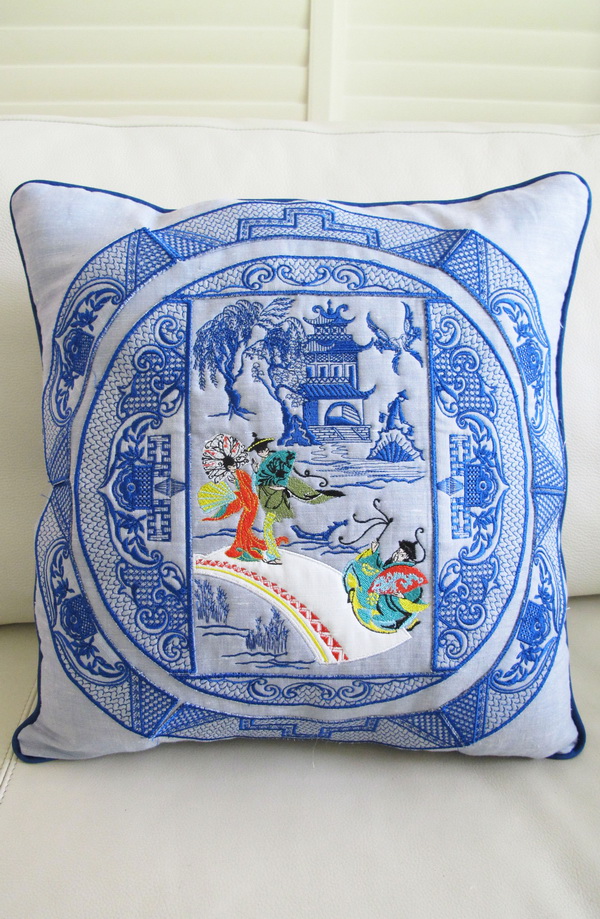
Width and length of finished cushion is approximately 44 x 44 cm or 17 x 17 inches
What you need:
½ meter of fabric (I used a soft blue linen fabric)
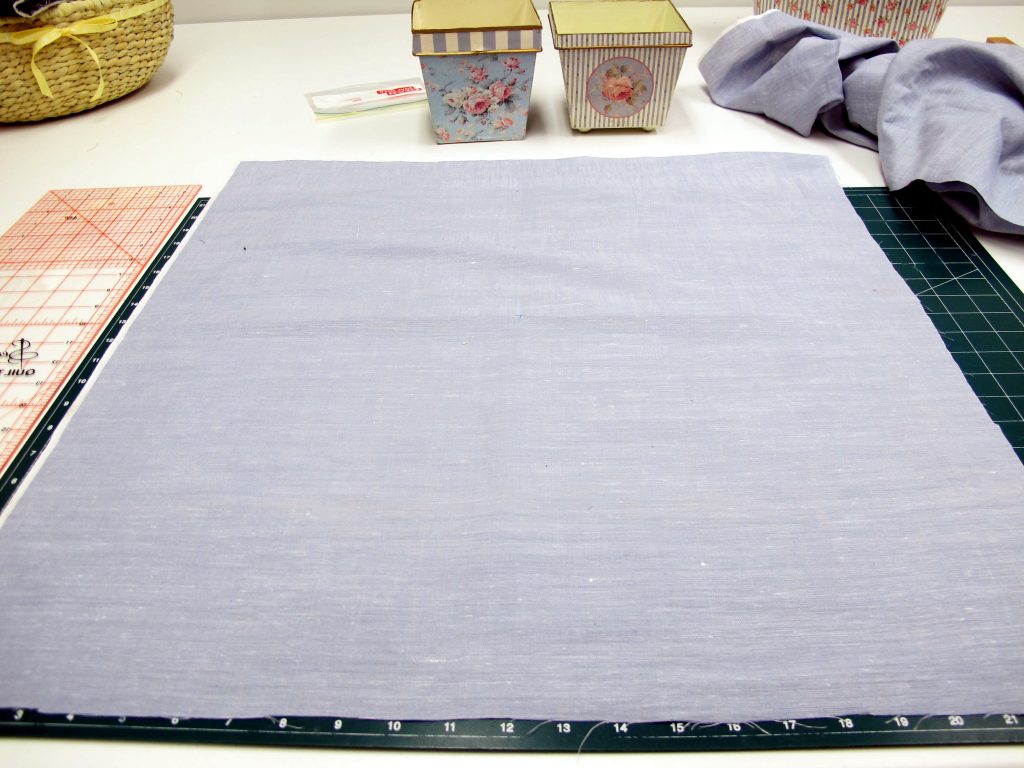
Cut a piece of fabric slightly larger than the actual cushion will be in size
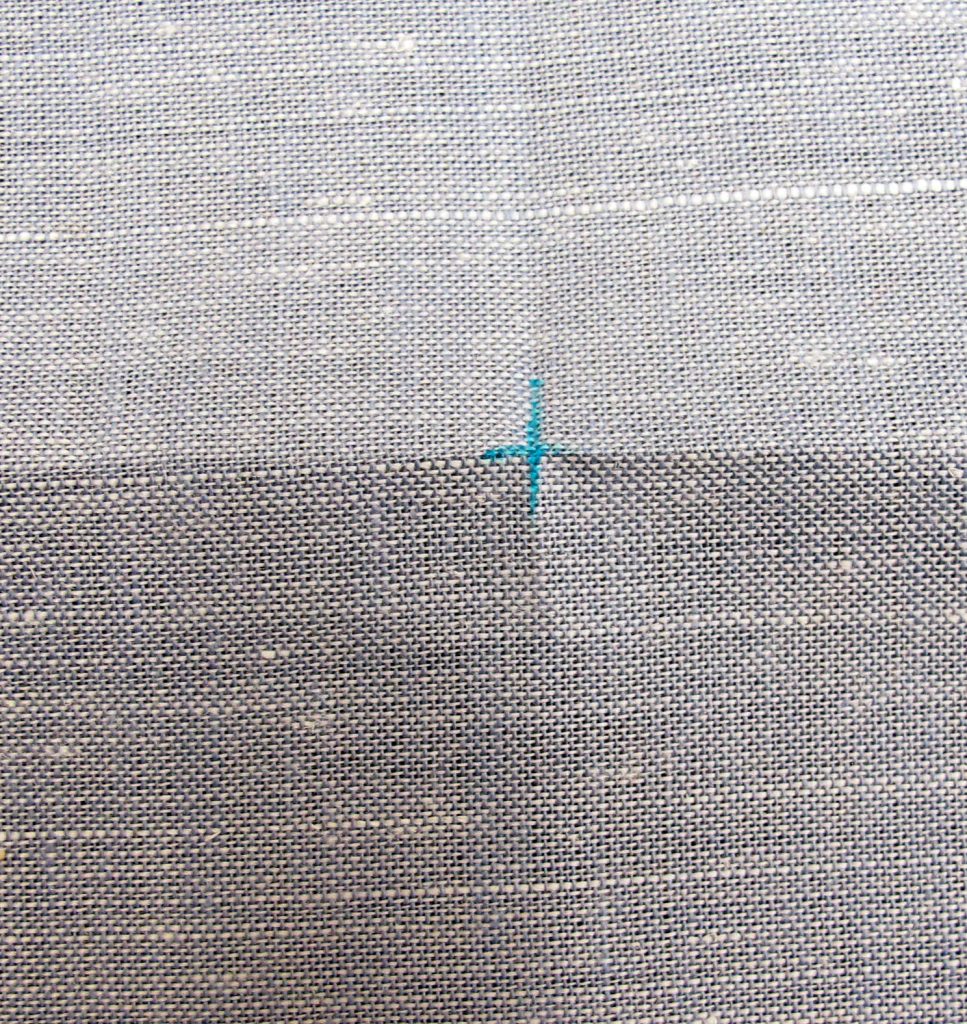
Mark the centre of your fabric
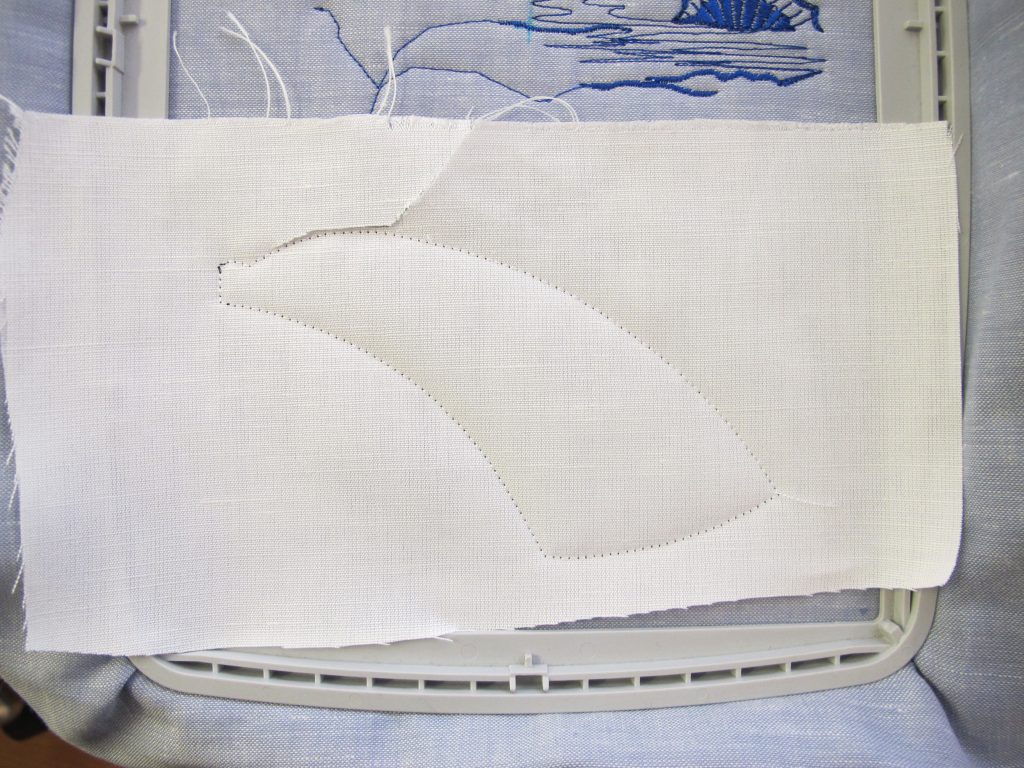
Start stitching design “Modern Classic_01”
Select the colour thread in which ever colour that would best co-ordinate with the fabric you have chosen for the bridge, I chose a white fabric.
Lay the fabric you have chosen for the bridge over the stitches you have just stitched.
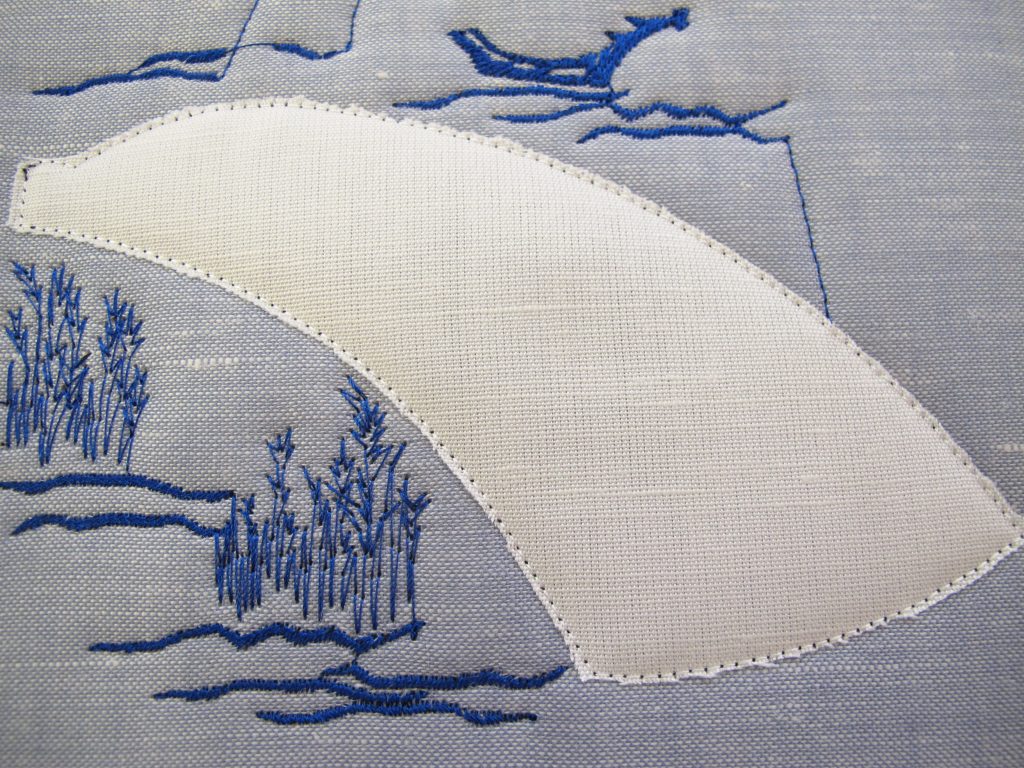
Take the hoop out from the machine and cut the fabric back to the stitches you just stitched out.
Put the hoop back into your machine
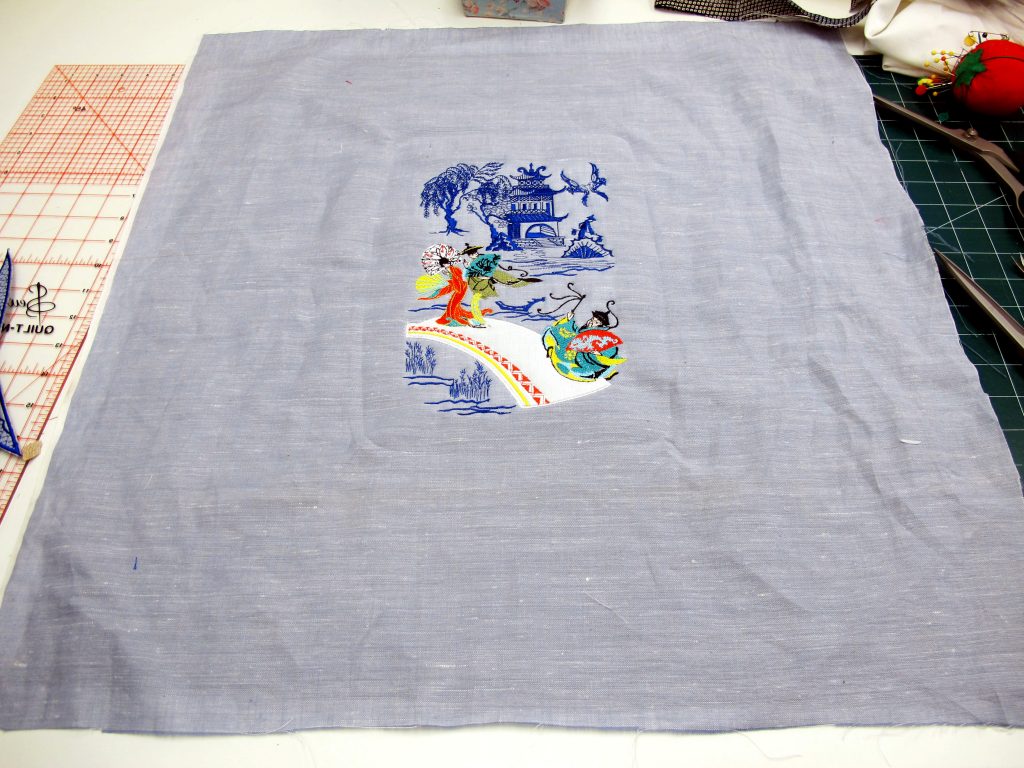
Take the design out of your machine
Stitch out the following designs:
Modern Classic_04
Modern Classic_05 (stitch out 2 of this design)
Modern Classic_06
Modern Classic_07
Modern Classic_08
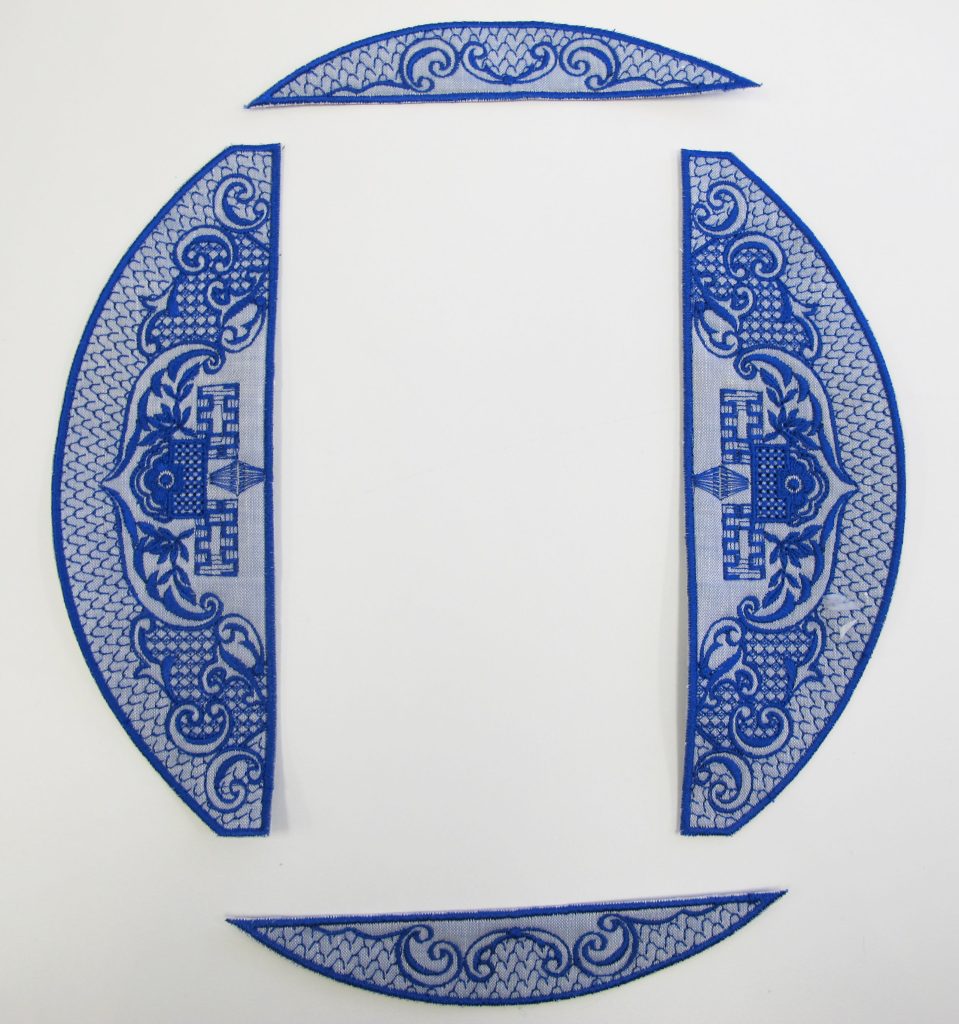
Once you have stitched out all of the above, cut very carefully with scissors around the satin stitch of each panel
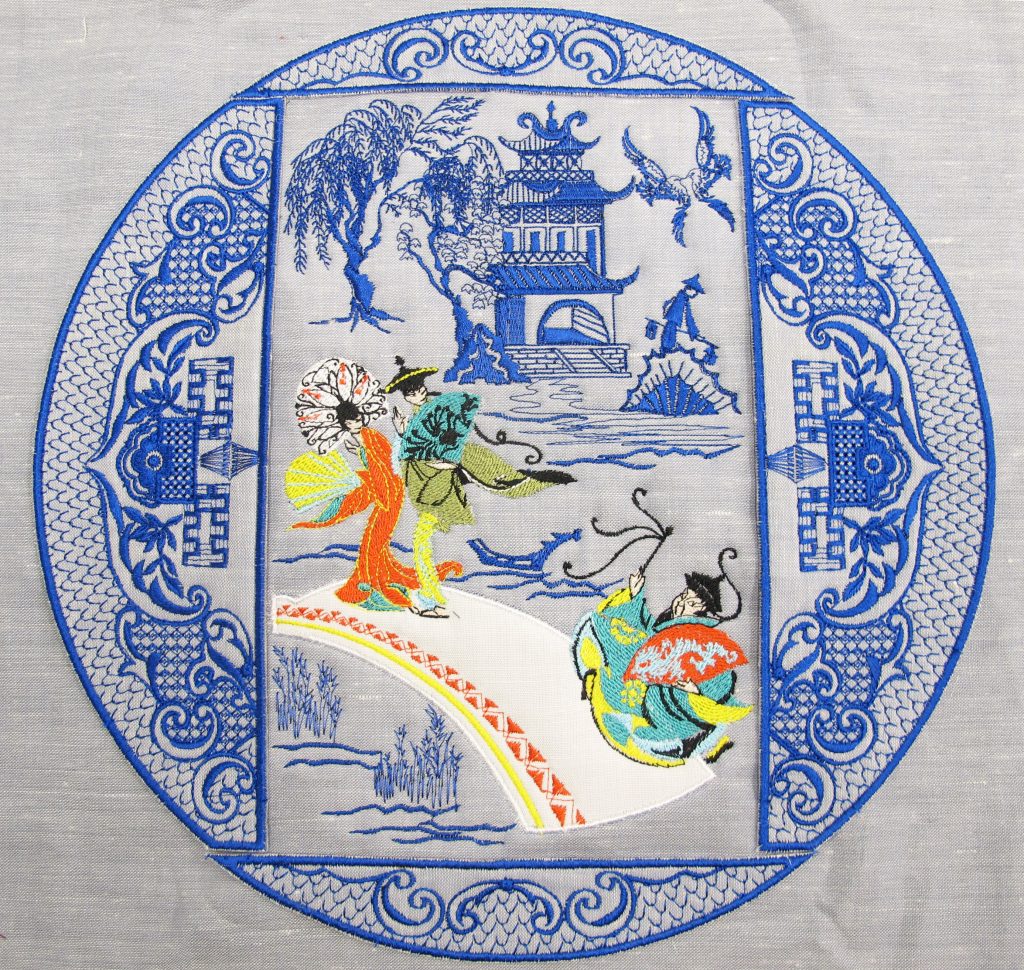
Place the above panels around the centre design and I like to hot glue in moderation the panels down so that they do not move
Zigzag each panel down in the same coloured thread as you used for the satin stitch border on each panel
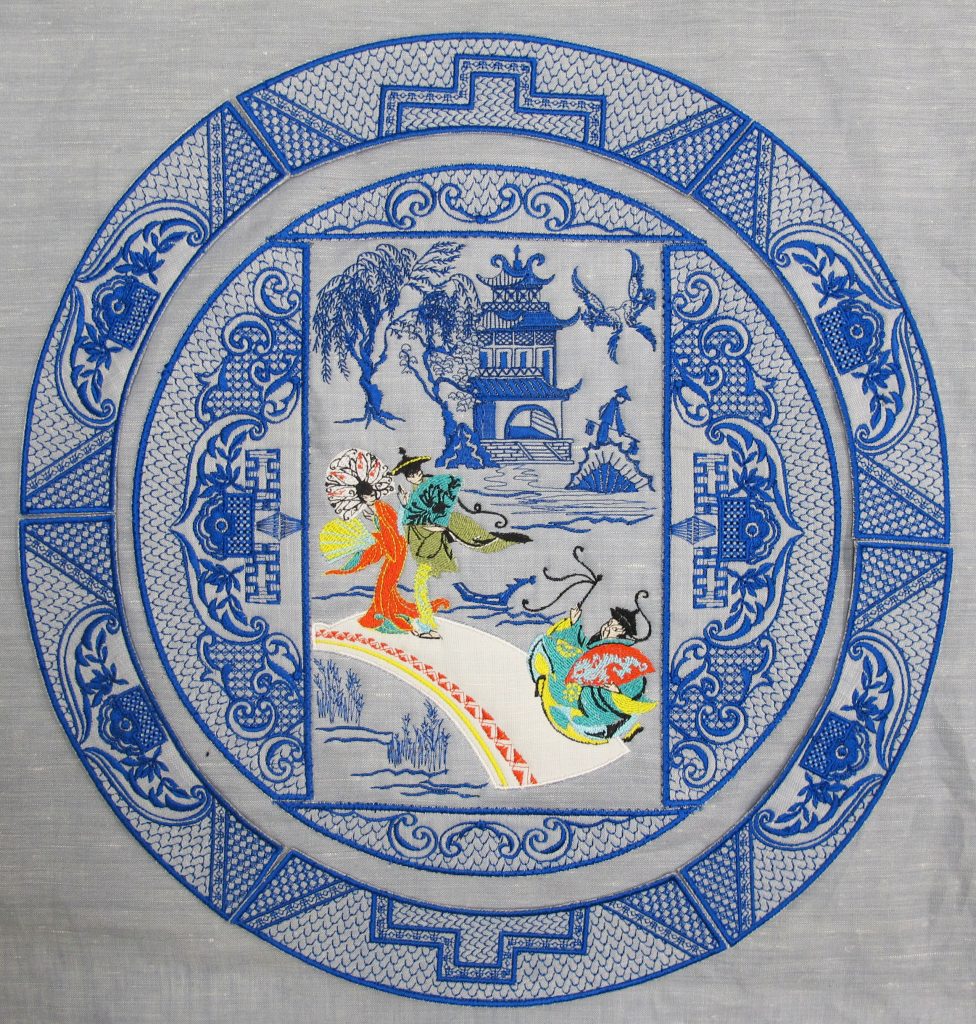
Place each panel as you can see in the above photo
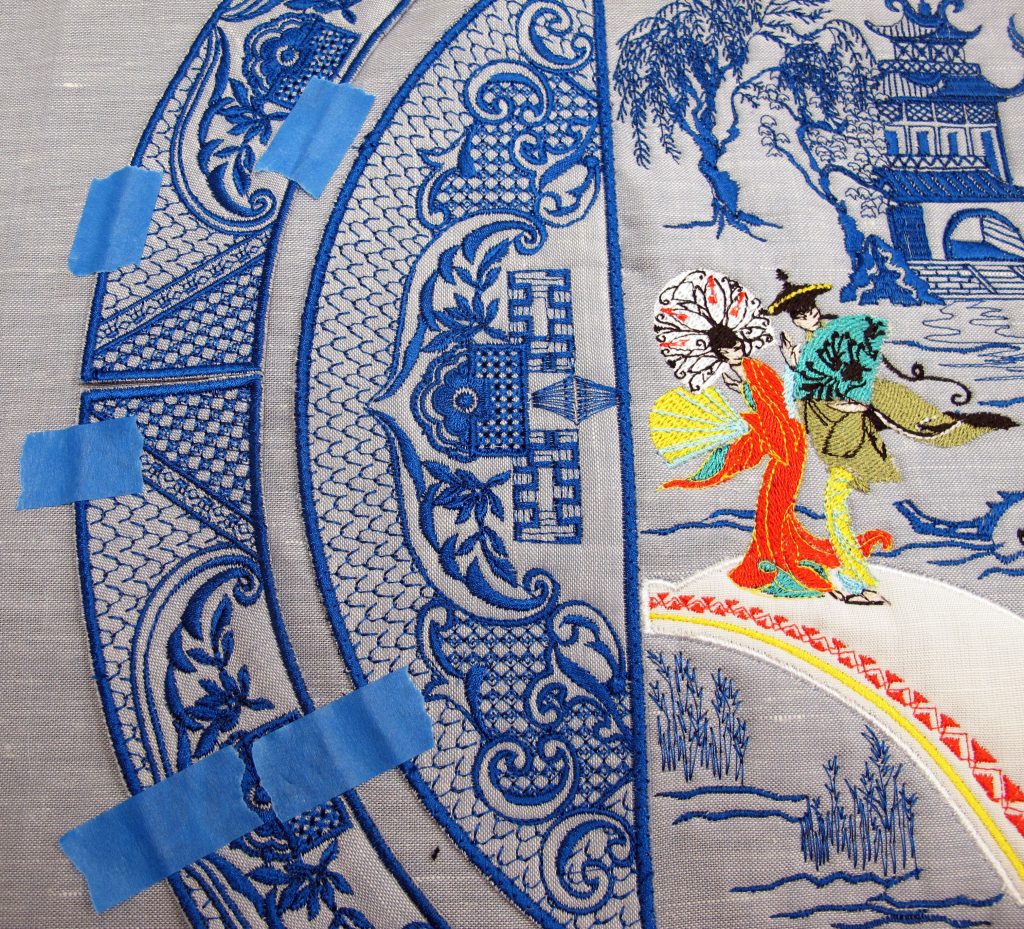
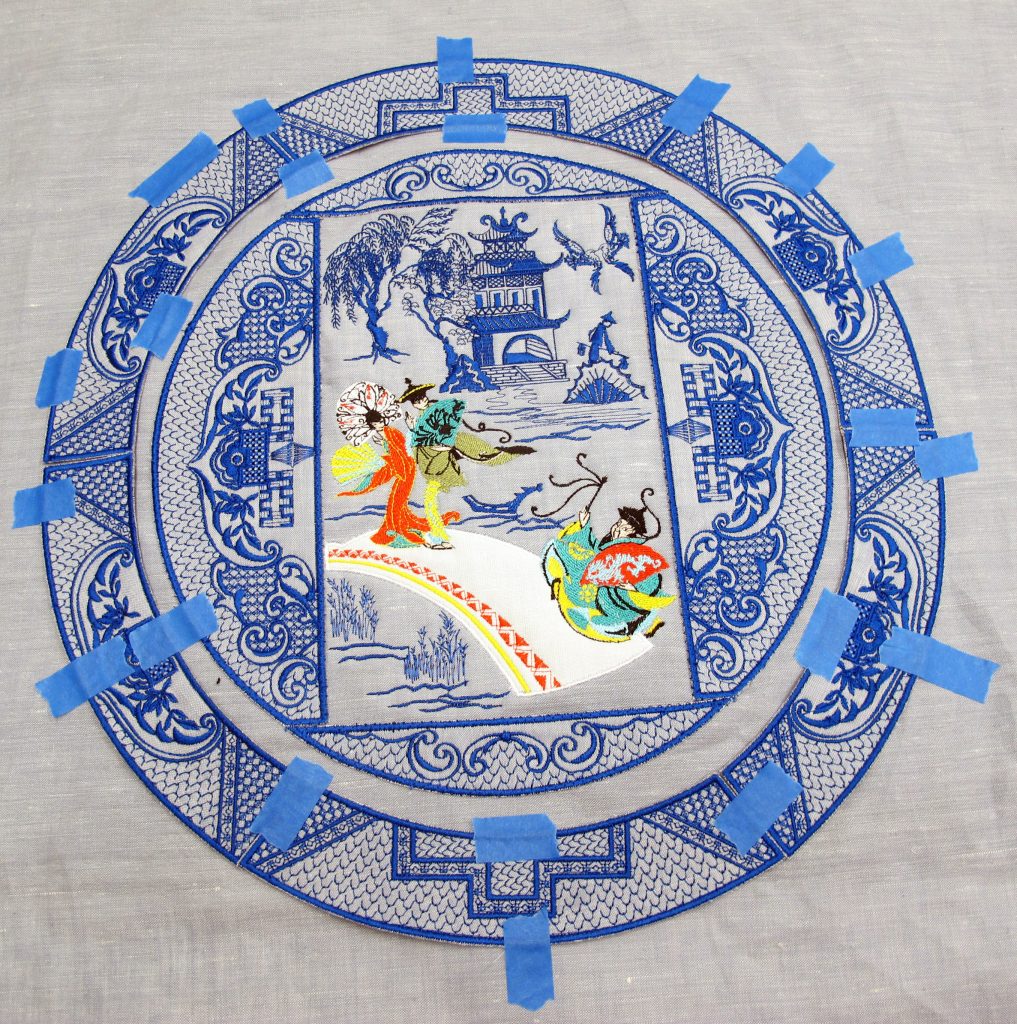
Once I have the circle the way I would like I then used “Painters Tape” to secure each of the panels down, then I lightly hot glue each panel down
Zigzag stitch each of the panels down
Finish the cushion
