Nordic Delight Machine Embroidery Design Instructions
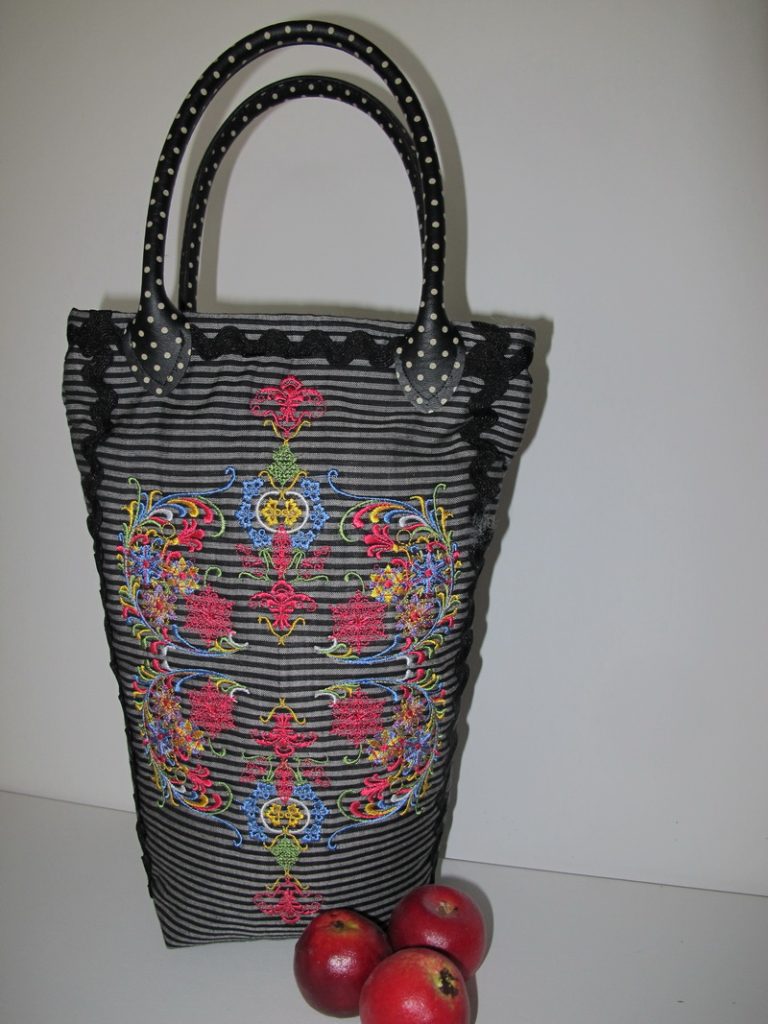
Size of Bag is:
30 length x 22 width cm Or 12 length x 8 ½ width inches
What you will need:
1 meter or 1 yard of black and grey stripped cotton fabric
1 meter or 1 yard of thin wadding
Tear Away or Stitch and Tear stabilizer
2 bag handles 38 cm or 15 inches in length
3 meters or 3 yards 1.5cm wide Black ric rac
1 meter or 1 yard of lining
Metal magnetic clasp
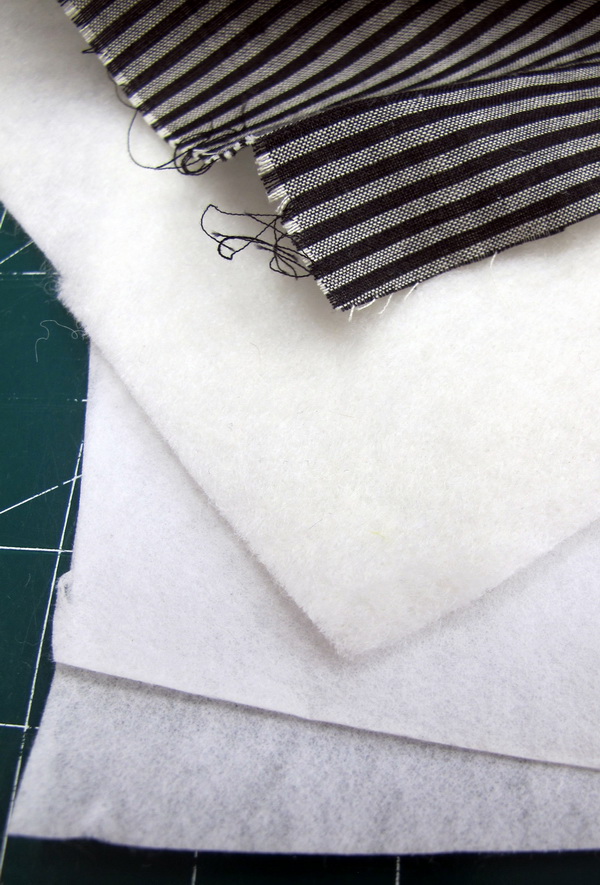
The photo above showing you
2 layers of stitch and tear stabilizer
Thin wadding
Black and grey stripped cotton fabric
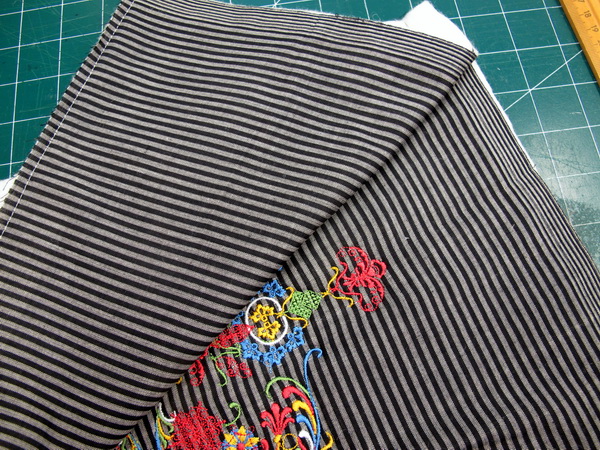
Stitch out “Nordic Delight_01” then mirror in either your sewing machine or software “Nordic Delight_01”
Cut the fabric for the top of the bag leaving 10cm or 4 inches from the top of the design and from the base 8cm or 3 inches
Cut fabric for the back the same length and width as the front of the bag
At this stage I recommend you also cut the lining for the bag
Add the black ric rac to either side of your design
Stitch the front, back and side seams together
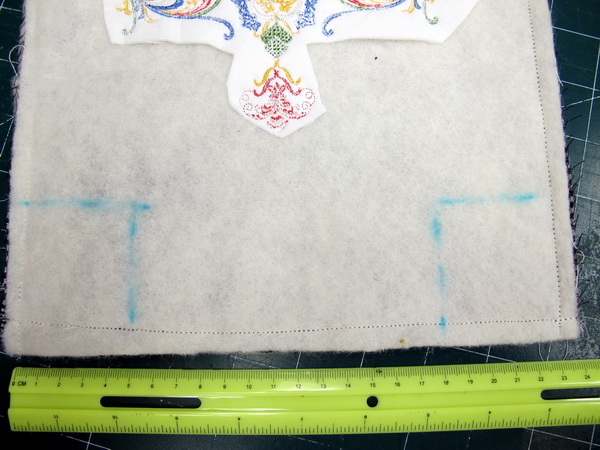
For the front of the bag measure 5 cm or 2 inches from the stitched seam as you can see in the photo above
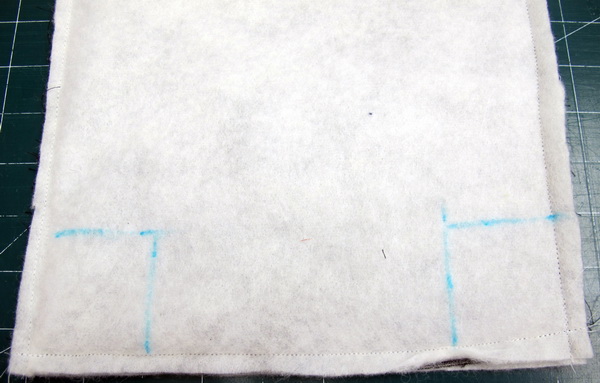
For the Back of the bag measure 5 cm or 2 inches from the stitched seam as you can see in the photo above
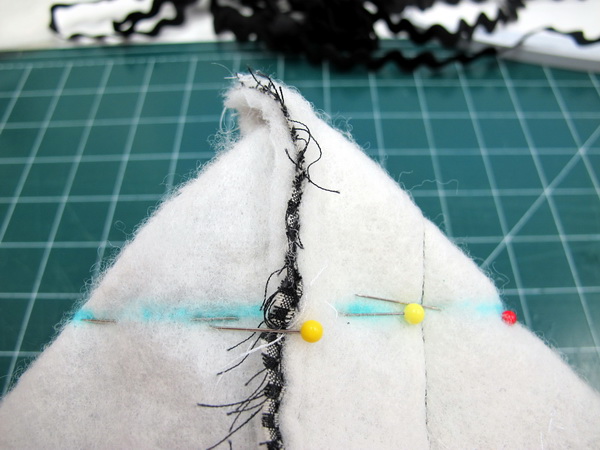
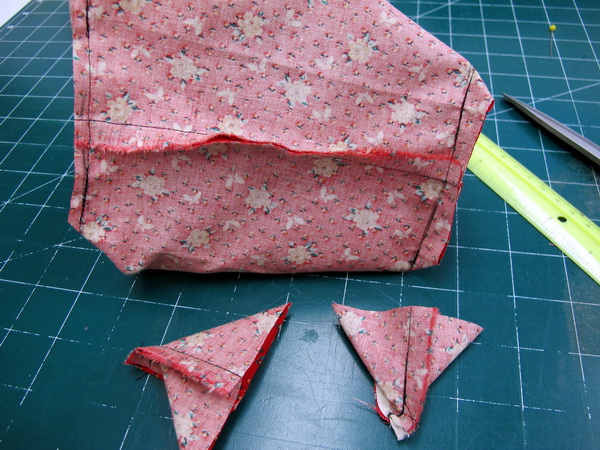
With the sewn fabric still right sides together, using both hands, pinch and pull apart the corner. While you keep pulling, the fabric will begin to make a little peak with the corner point at the top and the seam lines running down the middle of the front and the back. Match these side and bottom seams. Place a pin in the seams to hold them together. It is very important that you exactly match the seams; that is what will make the lines of your finished bag look great.
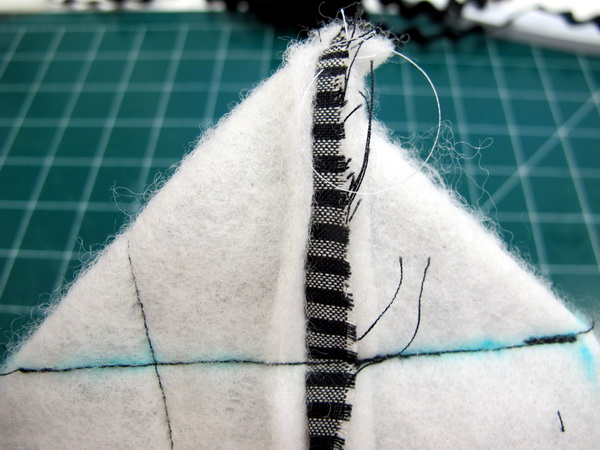
Sew across the peak on the drawn line. Be sure to backstitch at the beginning and end of the seam.
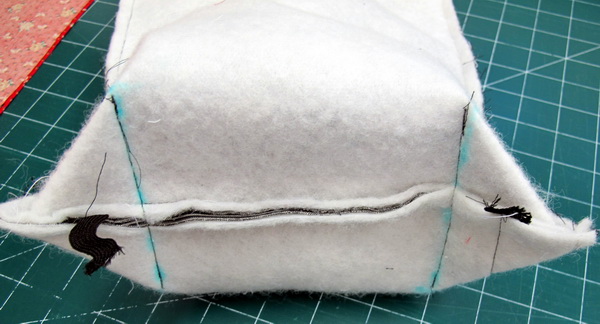
Trim away the peaks
Repeat for the lining the numbers from 7 through to 8
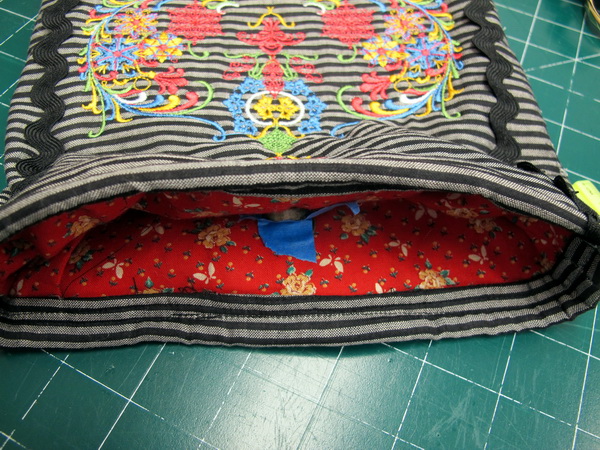
Insert the Metal magnetic clasp into your lining
So as the metal clasp do not clasp together I put painters tape over each of the clasps, this makes sewing the top of the bag so much easier
Insert the lining of the bag into the black and grey stripped bag
At the top of the bag fold the black and grey fabric down to make a small hem and then iron, once again fold over the fabric lining and re iron
Stitch the ironed fold that is over the lining down
To cover the stitching at the top of the bag I stitched the black ric rac, which also gives the bag a nice finish
Stitch the bag handles onto your bag