Obi Machine Embroidery Design Instructions
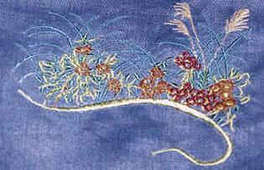
Obi Blue Linen Blouse (Back of Blouse)
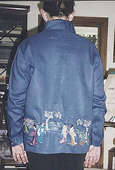
What you need:
Nine Obi designs (fullblos, blossom, trees, treesmir, orientg2, orientg, orientg6, g2mirr and orientg4 designs).
blouse
On the Blue linen blouse. Mark the proposed positions of each hoop centre on the shirt using chalk or a soft pencil.
Stitch out the fullblos design in the first position to the left.
Stitch out the blossom design to the right of the fullblos design.
Stitch out the trees design to the right of the blossom design.
Stitch out the treesmir design to the right of the trees design.
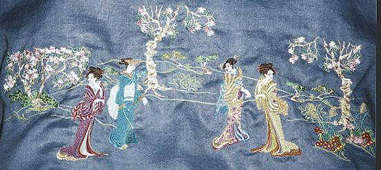
Stitch out the orientg2 design (the first lady) to the left.
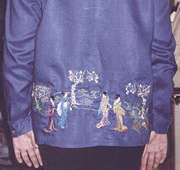
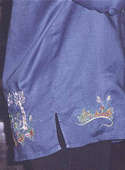
The designs look better when overlayed. Refer to the photos below.
Stitch out the orientg design (the second lady) to the right of the orientg2 design.
Stitch out the orientg6 design (the third lady) to the right of Stitch out the orientg6 design.
Stitch out the g2mirr design (the fourth lady) to the right of the orientg6 design.
Stitch out the orientg4 design (the first flower bush) to the right Stitch out the orientg4 design (the first flower bush) to the right.
Stitch out the orientg4 design (the second flower bush) to the right of the first orientg4 design, below the treesmir design.
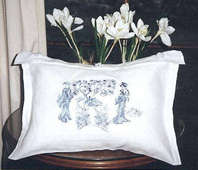
Obi Cushion
What you need:
Five Obi Series designs – fullblos, orietg, girlbush, ori4mirr and orientg4 designs.
White linen fabric.
Plan ahead. Draft the desired positions of the Obi designs.
Mark the proposed positions of each hoop centre on the pillow case using coloured chalk or a soft pencil.
Stitch out the fullblos design (distant tree) in the first position to the centre left.
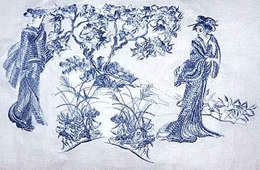
Stitch out the orientg design (first lady) in the second position to the far left. I used white thread for the face and hands, black thread for the eyes and lips and blue variegated thread for the face and hands, black thread for the eyes and lips and blue variegated
Stitch out the girlbush design (second lady) in the third position to the far right. Use the colour scheme as for No. 4.
Colour scheme as for No. 4, the two ladies, towards the front of the scene. Refer to the photo below.
Obi Quilt
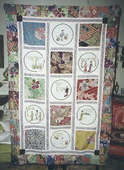
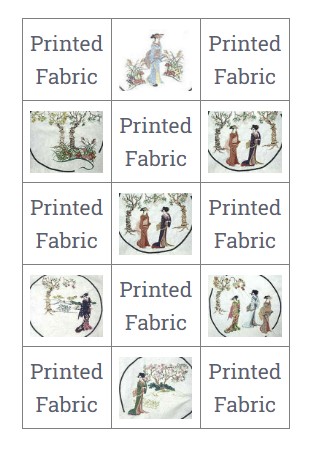
The quilt shown above was constructed using various designs from the Obi Series on seven white silk squares. These panels were alternated with eight lovely Japanese fabric squares which I purchased at a Craft Show. I had been aching for more than twelve months to use the fabric.
What you need:
Nineteen Obi Series designs – Please refer to individual notions for each quilt panel for the required designs, shown below.
Seven panels of white silk fabric, each 10 x 10 inches (25 x 25 cms).
Eight panels of printed fabric, each 10 x 10 inches (25 x 25 cms).
Eight panels of printed fabric, each 5 x 5 inches (13 x 13 cms).
Four panels of plain black fabric, each 3.75 x 3.75 inches (8.5 x 8.5 cms)..
Embroidered borders 3 inches (8 cms)wide
Important NOTE………
While stitching out the the orientg6 design change the sixth thread colour from black to gold after completing the hair.
Qullt Layout
Border Stitches
Embroidered borders using stitches from Pfaff 7570 3 inches (8 cms)wide

