Rhapsody Machine Embroidery Design Instructions
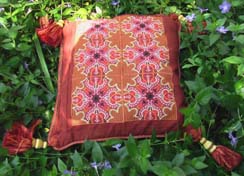
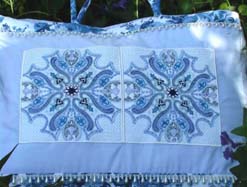
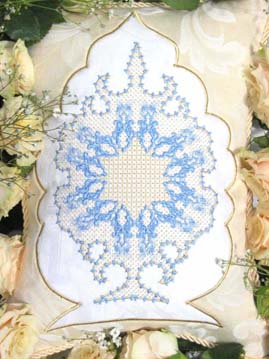
Rhapsody Cushion
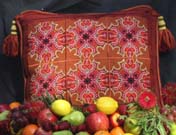
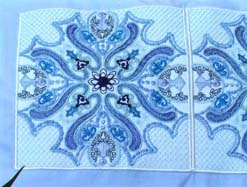
Size of the Rhapsody Cushion is 22 x 24 inches
Stitch out 6 of Rhapsody04 or for the 5 x 7 inch hoop rhapsody 04aaa
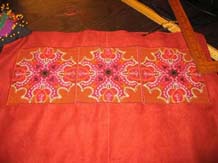
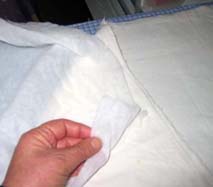
The fabric I used was the imitation suede. Centre your fabric using chalk
Using your chalk line to centre the design (I always start using the centre panel and working out from that design) pin the design securely
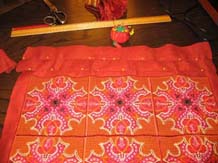
Design pinned securely
I then just do a quick zigzag stitch around the centre design just to make sure it is placed properly on the fabric. If the design does move slightly it is easy to unpick the zigzag stitch from the fabric and start again

Once you have stitched the quick zigzag stitch to the first design on the fabric and placed it properly then do the rest of the other 5 designs
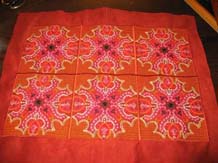
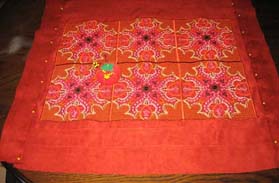
Satin stitch over the quick zigzag stitches to give the cushion a lovely finish. I usually go over the satin stitch another time, just to give a very good finish
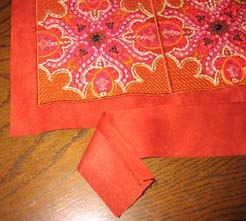
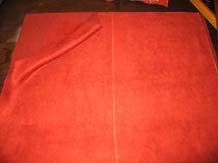
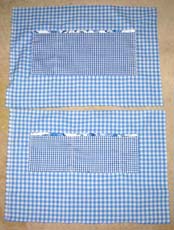
As I had a limited amount of the imitation swade fabric not enough to use the imitation swade fabric for the back. I decided to cut what I did have and make a border around the designs as shown in the photograph. Which is a good way of using up left over fabric
I ironed down the edge that will be on display on the front of the cushion and formed pleats as shown in the photograph
Pin all the horizontal pleats to the fabric and then stitch using the same colored thread as your fabric, as you do not want to overdo the cushion with to much going on
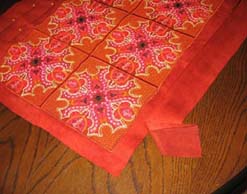
Now do the same with the cushion on the vertical, I only had enough fabric to do one pleat on each side
Stitch the vertical pleat
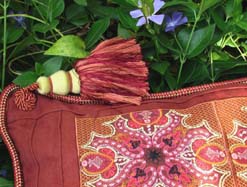
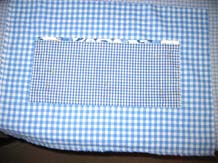
Showing you the edge where the pleats meet up. I purchased these gorgeous tassels over in the States last year which inspired me to design and digitize the Rhapsody set
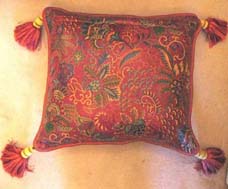
Back of the cushion using a contrasting fabric
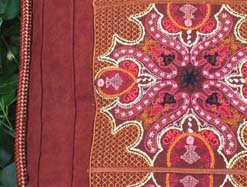
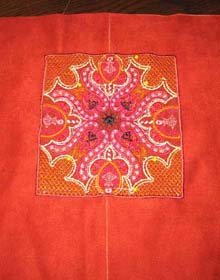
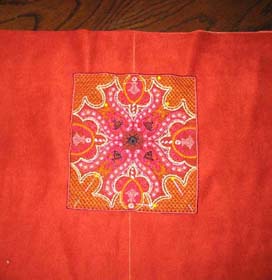
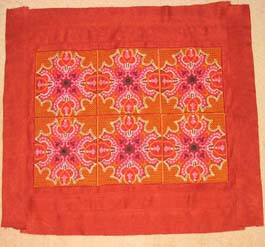
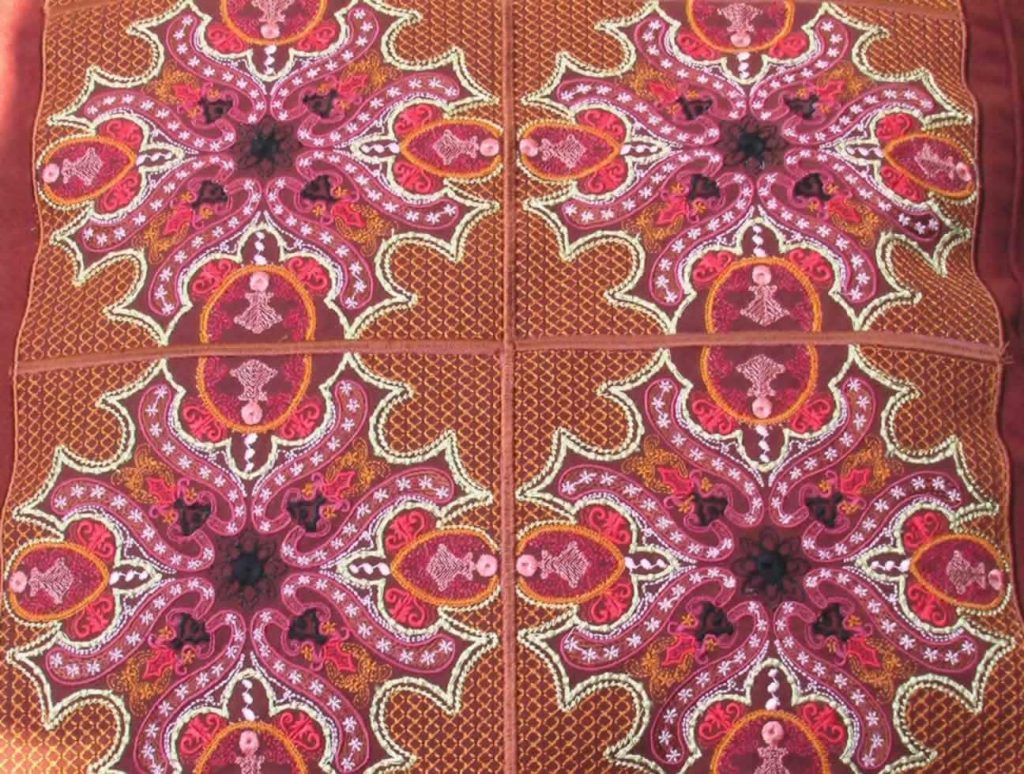
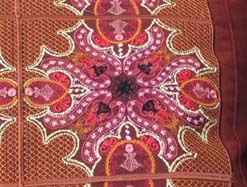
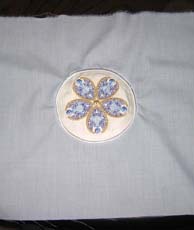
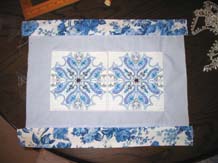
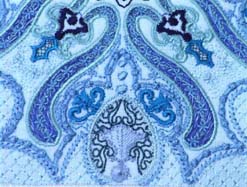
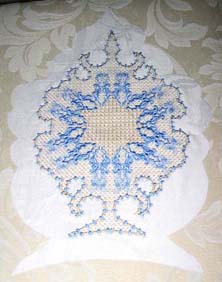
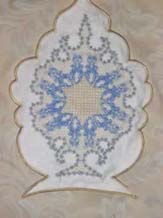
The following photographs are close ups of the design
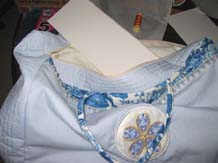
Rhapsody Everything Can Fit in this Bag

Size of the bag is width 17 inches x length 14 inches and the side panel is 4 inches wide
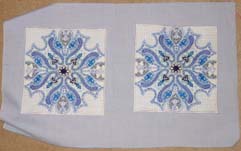
This is the same design as the Rhapsody Cushion but using different colored threads, which gives you such a different look
One of my sample stitch outs so I decided to use it for the back of the bag. Stitch a quick zigzag stitch around the design for proper placement (If you make a mistake in placement you can easy unpick the design and start again)
To give the design a nice round look to the bag at the back of the design I used a thick wadding and some left over fabric for the backing
Pin the backing and left over fabric to the back
On the front of the design stitch a quick zigzag stitch once again to secure the wadding and left over fabric. Cut the wadding and fabric away
Showing the quick zigzag stitch on the front of the design
Showing the quick zigzag stitch on the front of the design
Using satin stitch to finish the design off beautifully

I had this small piece of lovely fabric for many years, finally found a use for it. So I used similar colour threads in the design as the fabric so both the design and fabric would blend. Iron the hem at each end of the fabric. Cut 4 strips of fabric the same size, two for the front and two for the back. Iron each of the strips on both edges of the strip, as shown in the photograph
Stitch the strips to both the front and back of the bag

Stitched strips to the back
To give the bag a lovely soft appearance and soft to handle I used a thick wadding and old sheeting

Pin the wadding and sheeting to the front and back of the bag. Cut away the excess of wadding and sheeting. Stitch the front of bag, wadding and sheeting on all four sides close to the edge (inside ===) At this stage I also hand stitched the pearl type beading onto the bag
Measure the sides, bottom and top of the bag and add extra (I always add extra length, you never know you might just need the little bit extra) I stitched using the straight stitch on the side panel stitching through the wadding and sheeting, this just give the side panels a good finish
As you can see for the top section I cut the centre of the panel and stitched the zipper into the panel
Centre of the panel with the zipper stitched
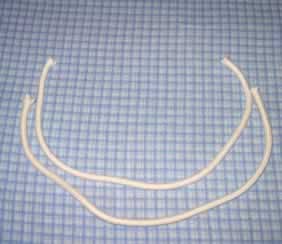
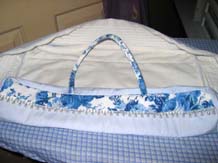
Rope used for the handles
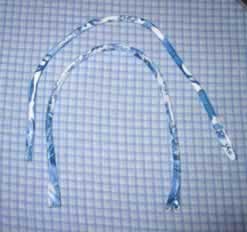
Rope covered with the floral fabric for the handles
This is the lining for the bag and in the lining I put a number of side pockets…I like putting lots of side pockets into my bags that way you should be organized 🙂 also a special one for your mobile
Lining and side pockets for both sides of the bag

Do not forget to place the handles before pinning (guess who forgot)
Pin the bag together and stitch it all together
I stitched to the front facing the side panel first, stitch the back to the side panel next
The bag including the handles is stitched together
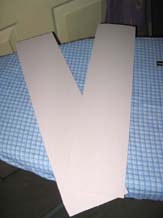
Before you put the lining into the bag I used two very thick pieces of cardboard ( I often pop into my local framer and sometimes they have off cuts of board which they are happy to give to you) I used the board from the framer
Putting the board into the bag. Now the bag is ready for me to put the lining in…I always make the lining slightly larger than the bag this allows for pulling. If the lining is to tight this make the bag pull into itself Stitch the lining the same way as you put the bag together. As you can see in the photograph I then hand stitched the top of the lining to the bag
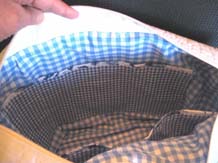
Inside one side of the bag…as you can see I do like plenty of pockets
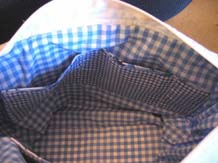
Inside the other side of the bag
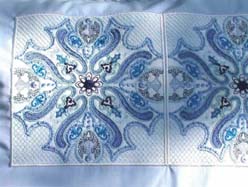
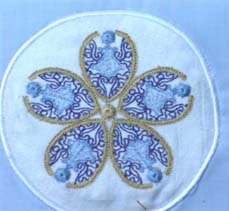
Close up of the designs stitched together
Another close up
Close up of design on the front of the bag
Close up of the bag once finished
Close up of the design on the back of the bag
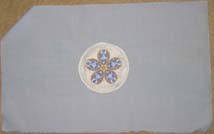
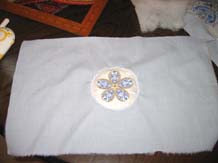
Rhapsody Refined Cushion
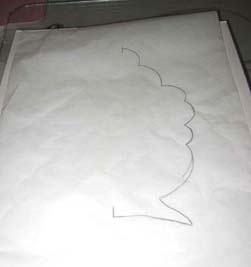
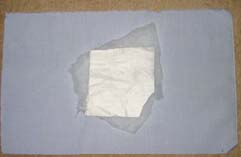
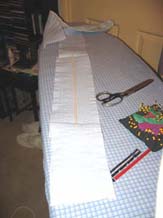
Put tracing paper over the design Rhapsody01 do a freehand drawing using a pencil (try keeping it simple) around the design. once you have it satisfactory, mark the centre points as shown in the photograph above. If you are not to experienced at applique and using a satin stitch just make the design very simple with out so many curves. I will leave that up to you.
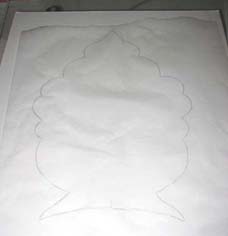
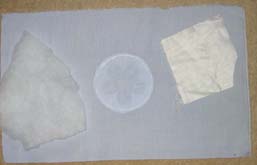
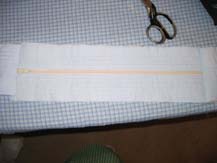
Once you have a pencil drawing you like then fold down the middle matching up with you centre lines and trace the design on the other side of the tracing paper.
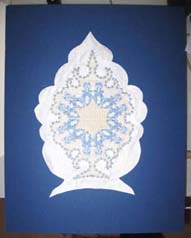
Draw the design onto a contrasting fabric I used a beautiful old Damask fabric. Cut with a fine pair of scissors around your drawing
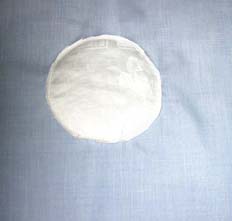
Glue or use that paper with the glue and iron the damask fabric onto your backing fabric
On the back of the backing fabric I used 2 pieces of wool wadding and an old sheet as backing fabric (I always put backing fabric under the wadding so the teeth of the machine will not get caught in the wool). Stitch using a zigzag stitch around your design. This is to secure your design to your background fabric. Once you have done this it will be so much easier for you to concentrate on doing a beautiful satin stitch around the design
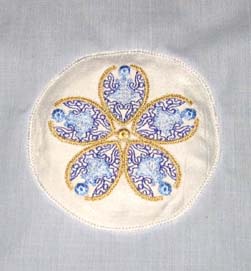
I used a contrasting thread colour to stitch the applique to the background fabric