Ring of Grace Machine Embroidery Design Instructions
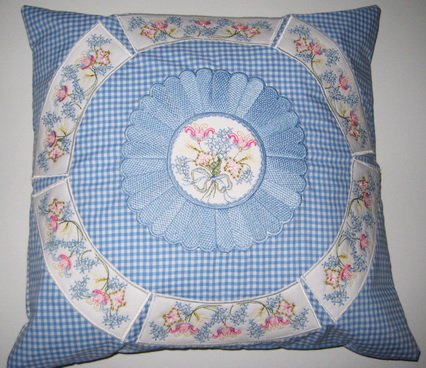
Ring of Grace Blue Gingham Cushion
What you need:
- 1 yard or 1 metre of white fabric
- 2 yards or 2 metres of pellon
- 2 yards or 2 metres of “tear away” stabilizer.
- 1 metre of blue and white gingham
Stitch out the following designs:
- 1 x Ring outer_01 with 2 layers of tear away. Number the back of the design as 1.
- 1 x Ring outer_02 with 2 layers of tear away. Number the back of the design as 2.
- 1 x Ring outer_03 with 2 layers of tear away. Number the back of the design as 3.
- 1 x Ring outer_04 with 2 layers of tear away. Number the back of the design as 4.
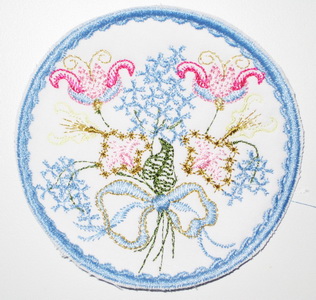
- 1 x Ring centre. Use two layers of tear away and pellon. (I hooped the white fabric with the tear away. Once the hoop was in the machine I slid the two layers of cut away under the hooped fabric).
- 6 x “Ring_06”. Use two layers of tear away and pellon. (I hooped the white fabric with the tear away. Once the hoop was in the machine I slid the two layers of cut away under the hooped fabric).
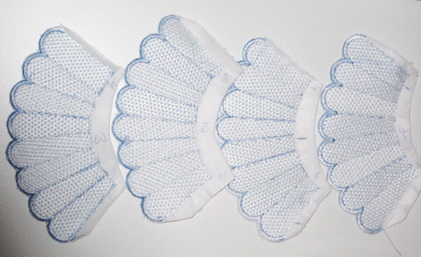
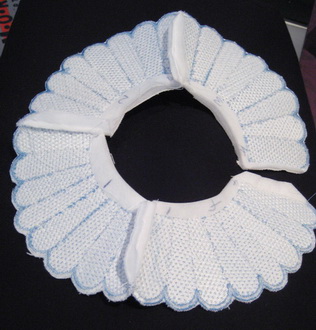
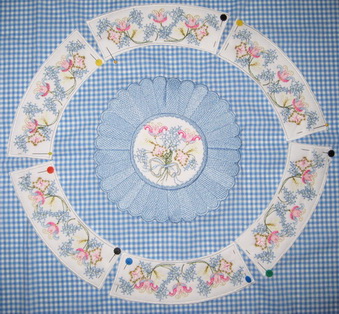
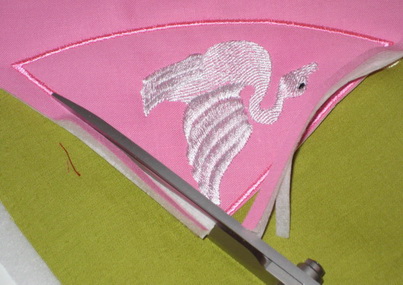
Before you cut away the ring outer designs leave enough fabric for a seam on both ends. Do not cut away on the round….As you can see in the photo.
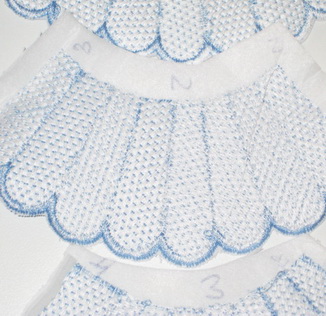
The photo shows the outer ring design and how I numbered each one. This will allow the outer ring designs to match corectly.
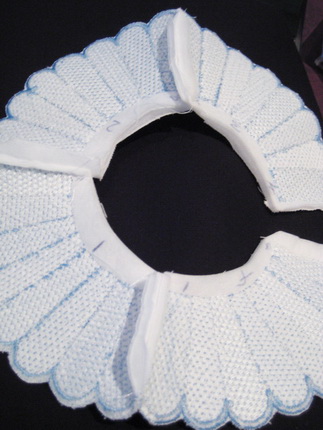
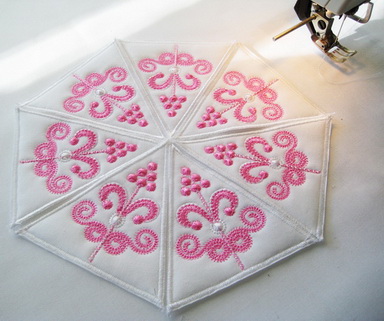
Stitch together each outer ring as shown above in the photo.
Showing you again how I stitched the outer ring together.
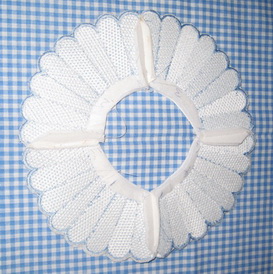
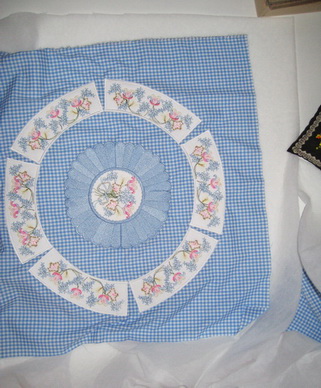
All stitched together and ready to be placed on the fabric.
Cut out a square piece of fabric. The square piece of fabric will create the face of the cushion. This will need to be the size that you would like the cushion to be.
Mark the centre using your chalk or marking pen.
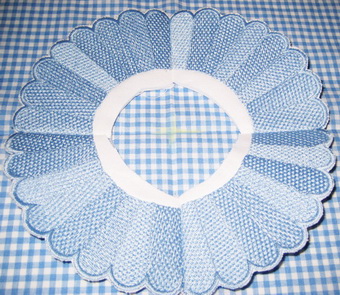
Place the outer ring in the centre as you can see in the photo.
Pin the outer ring down onto your fabric.

Zigzag stitch the centre down first.
Zigzag stitch the scalloped edge / outer satin stitched border using the same thread colour as the satin stitch.
Satin stitch over the zigzag stitch as this will give you a nice finish.
Cut away the excess fabric to the stitched out ring centre design. Make sure that you cut close to the satin stitch border.
Pin down the centre piece as shown in the above photo.
Using the same coloured thread as your satin stitch border zigzag stitch the centre piece down. Satin stitch over the zigzag stitch with the same thread colour.
Zigzag stitch
Close up of the satin stitch over the zigzag stitch.
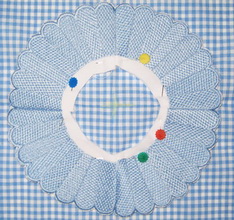
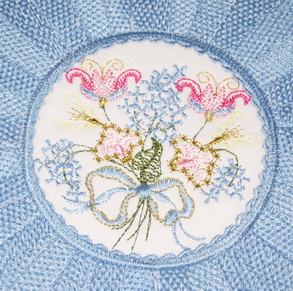
Cut away the fabric from around the satin stitch border on the “Ring_06” designs. Pin each “Ring_06” around the centre piece as shown in the photograph.
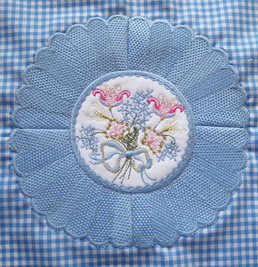
As gingham can be a very thin type fabric I cut a pellon piece to put under the gingham fabric for the cushion. Sew the pellom around the edges of the square piece of fabric to hold it together. The pellom gives the cushion a nice soft feel.
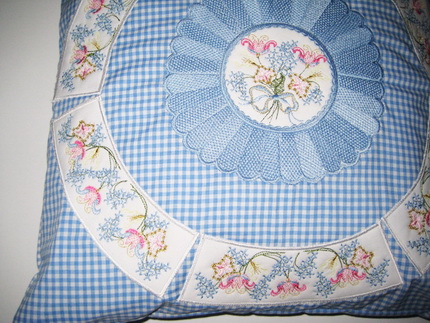
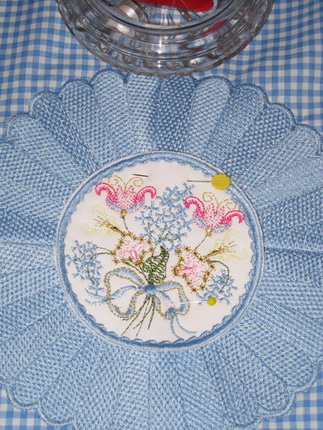
The photograph shows you a close up of all the panels stitched to the gingham.
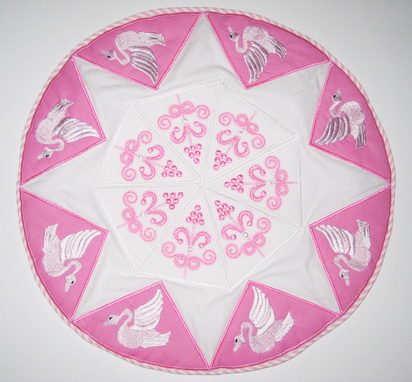
Ring of Grace Pink Cushion
What you need:
- 2 metres or 2 yards of white fabric
- 2 metres or 2 yards of pink fabric
- 2 metres or 2 yards of pellon
- 2 metres or 2 yards of “Tear away”
Stitch out the following
“Ring_03” 8 times
“Ring_05” 7 times
Cut around the satin stitch border of the “Ring_03” design.
Cut around the satin stitch borders for all of the “Ring_05” designs that you have stitched out.
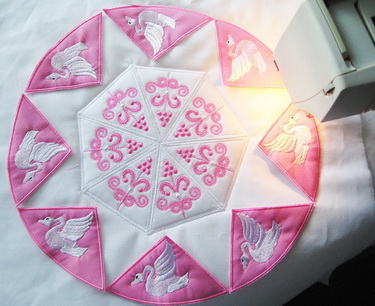
Place all the “Ring_05” designs that you have stitched out in the centre of the fabric
Zigzag stitch all the panels down.
Over the top of the zigzag stiches, satin stitch using the same thread colour as you used for the satin stitch border.
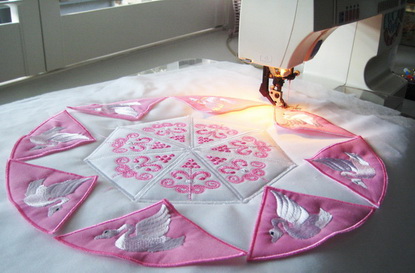
Place all the “Ring_03” panels down on the fabric. You can place them anyway you wish. I used a glue sparingly to place the panels down on the white fabric to temporarily hold them down. Zigzag Stitch around each of the panels onto the white fabric. Then satin stitch over the zigzag stitch.