Rock A Bye Baby Machine Embroidery Design Instructions
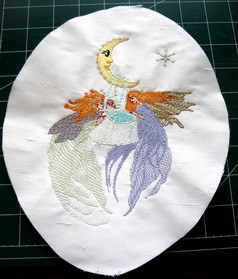
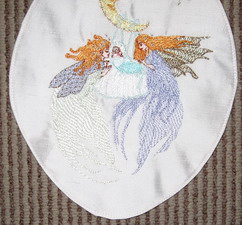
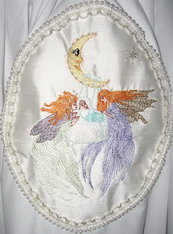
Stitch Rock-A-Bye, Baby on the white silk, I used for stabilizer 2 sheets of “Cut Away
Cut the silk into an oval shape
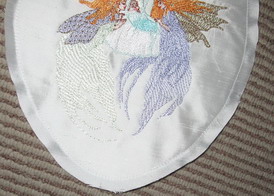
Stitch using your straight stitch 5/8 inch from edge
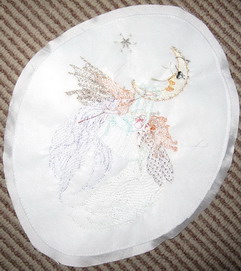
Cut the backing away from the edge to the straight stitch
Turn over the edge to leave a nice sharp edge and then stitch a straight stitch
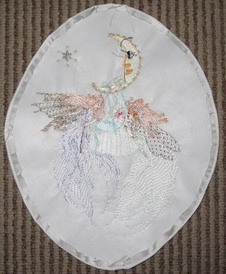
Showing you the back
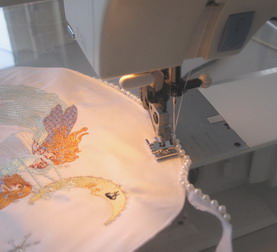
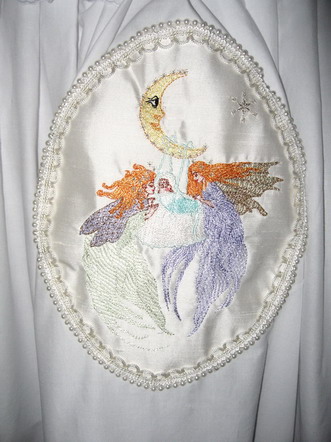
Using your zipper foot stitch the pearl beads onto the silk oval.
Over the stitching next to the pearls I then stitch a soft lace
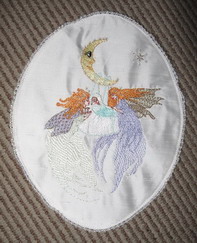
I then cut wadding slightly smaller than the silk oval and stitched the silk oval onto the dress of the Bassinet
Stitched oval on the Bassinet