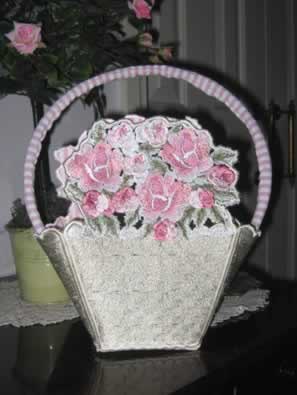
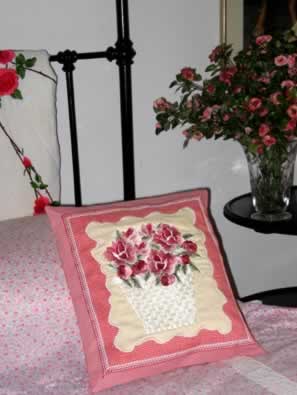
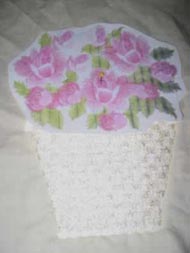
Romancing the Rose Basket Machine Embroidery Design Instructions

What you need:
Black fabric
Very thin wadding
Timtex or similar product
Very thin wadding

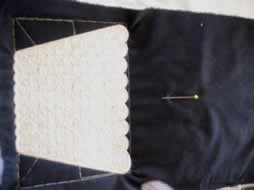
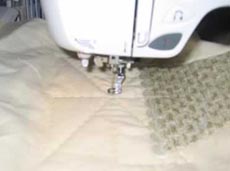
Hoop your backing fabric
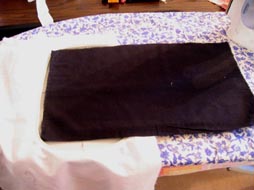
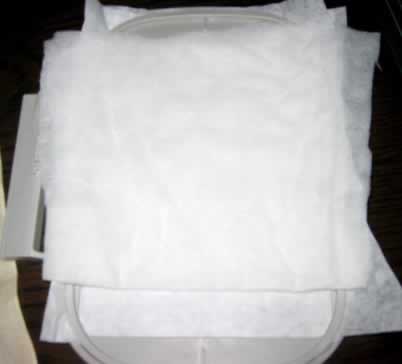
In the enlarged photograph you can see where I have hopped the backing fabric as you can see in Photo No. 2. Over the top of the backing fabric is the thin wadding, Timtex, wadding and black fabric as seen in photograph No. 1

Stitch out the hoped stitch to anchor down all the layers of fabric, wadding etc.

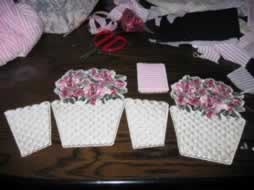
Stitch the basket out first
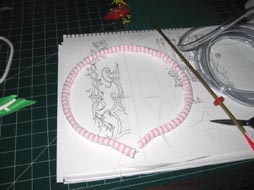
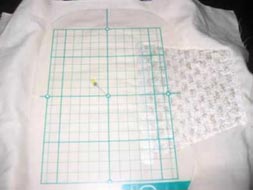
Print a template of the Roses
Mark the centre of the roses
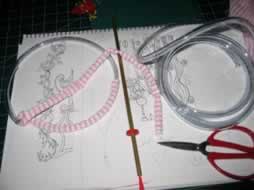
With your scissors cut out the printed roses as shown above in the photo
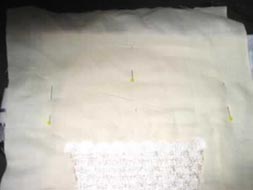
Find where you would like to place the roses over the basket
Once you have found the right place. Mark the centre of the roses, use chalk to mark the spot

As you can see I have used that tacky sticky paper in the hoop
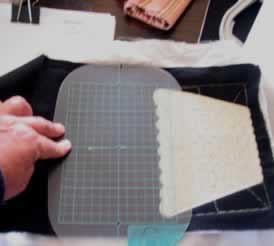
Place your black fabric, wadding etc. over the sticky paper and play around with the fabric until you have the fabric in the correct position in the hoop. Using your plastic hoop template as shown in the photograph above

Stitch out your hoop template
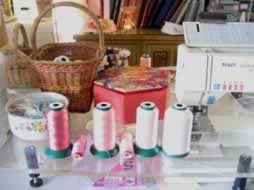
Before you start stitching the roses out, select your thread and have the threads in some sort of order and match your thread numbers with the colour’s as there are a number of colour changes in this design and you may start getting very confused.
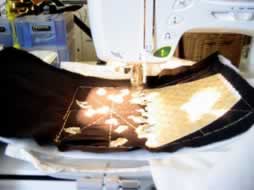
Stitching the rose design
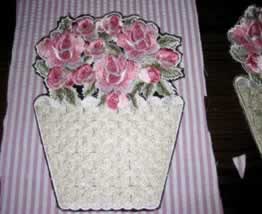
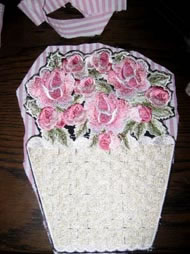
After you have completed the stitching of the basket and roses, cut with your scissors close to the satin border but not to close, you can see what I mean in the photos No. 14 and 15

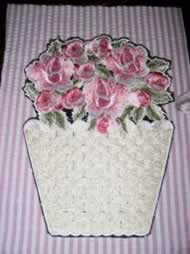
On the back of the roses and basket I used Glue stick as it is very easy to place the design onto the striped fabric which is the lining for the bag and to maintain the position
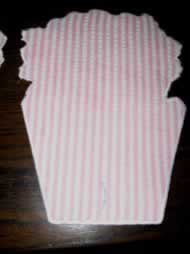
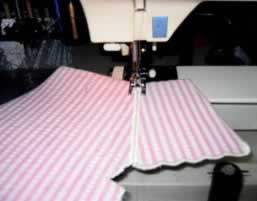
With your scissors cut the the lining as shown above

Cut with your scissors close to the satin border but not to close as you will be masking the fabric with your satin border

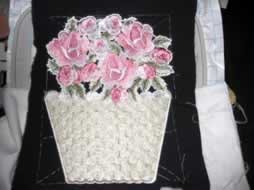
I satin stitched in the pale green border first (leaves) but what I did I would go about half an inch stitching the satin stitch and then press the reverse button back that half an inch then take my finger off the reverse button and go forward I did this all around the roses and basket. It give a beautiful finish. After I did the leaves I did the roses and then the basket
Close up of the satin stitch border
Another close up

Photo of the beginning of the base for the basket.
thin wadding
Thin wadding
Timtex
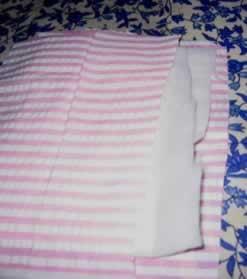
Photo of the base for the basket
Lining fabric
Lining fabric
Thin wadding
Timtex
Thin wadding

Edge of the basket base
All ready to start putting the basket together

Lining of the basket
I used a zigzag stitch on either side where I could to stitch the basket together
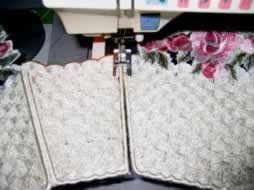
Zigzag stitch basket together

Still stitching the basket together

Still going 🙂

Stitching the base to the basket. I did have to do a small amount of hand stitching towards the end.
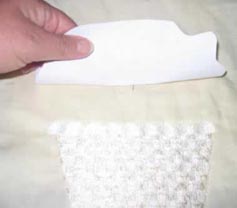
I went to the Hardware store and purchased from the Pool department clear tubing for the handle
Covered the clear tubing with the pink striped fabric which is the same as the lining striped fabric
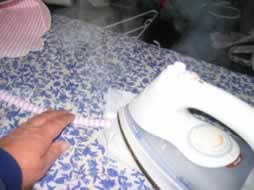
I softened the plastic covered tubing with my steam iron, as you can see I covered the tubing with paper before steam ironing
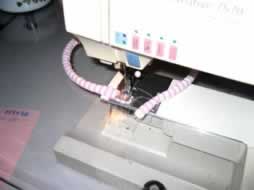
Once softened I flattened the tubing with my fingers and then quickly stitched the tubing with a straight stitch

Stitched the tubing onto the basket. You do not see the stitching due to the basket weave.

All finished
Romancing the Rose Basket Cushion
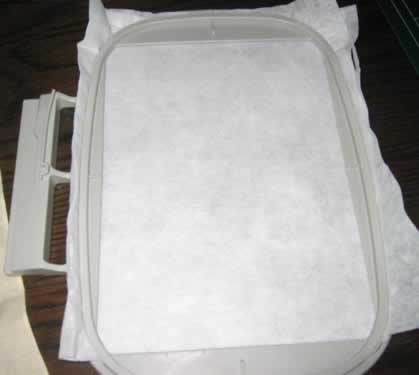
I used two layers of stitch and tear hopped
On top of the stitch and tear I put two thin layers of very thin batting or wadding depending on which country you are from
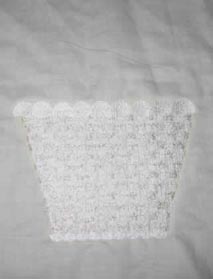
Stitch out the basket first
Print a template of the roses
Mark the centre with a pen as shown in the larger photograph
Put a pin through the centre mark you just made with your pen. Then with either chalk or a marking pen mark the centre on the fabric, as shown in enlarged photograph
v
Using your hoop guideline place the fabric on top of the hoop so you can get perfect placement of your fabric
Pin the fabric to your stabilizer that you had previously hopped
Place your hoop with the pined fabric carefully into your machine and then stitch out your hoop

Before you start stitching the roses out, line all the threads as there are a number of colour changes in this design