Sewing Angels Machine Embroidery Design Instructions
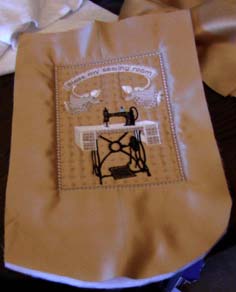
Stitched Sewing Angels_01 onto the gold silk satin fabric
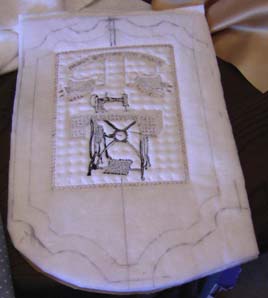
On the back of the design drawing on the stabilizer I drew a simple border
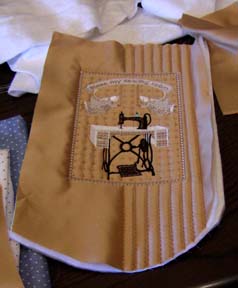
Starting from the centre of the fabric as you can see in the photograph above I used a decorative stitch, which gives the door wall hanging a nice finish
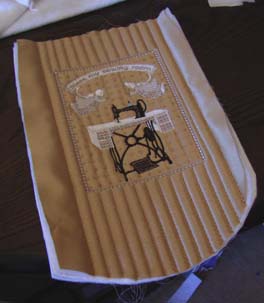
Finished stitching the decorative stitches
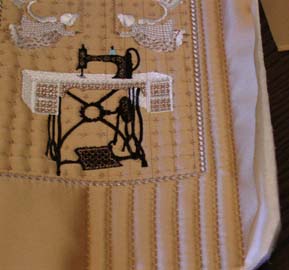
Close up of the decorative stitch I used
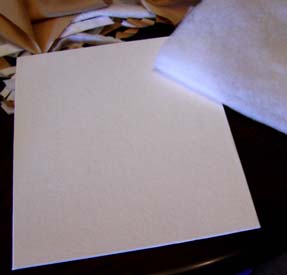
Purchase an Artist Panel Medium texture 10 x 12inchs or 254 x 305mm
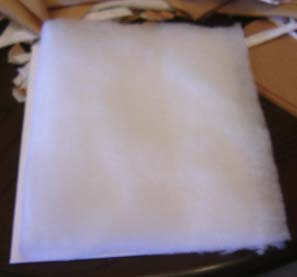
Glue double layer of thick wadding on to the Artist Panel
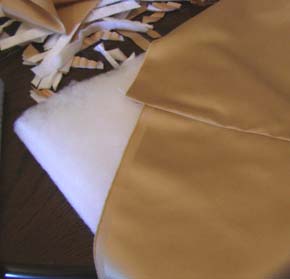
I used the same gold satin silk fabric to cover the Artists Panel
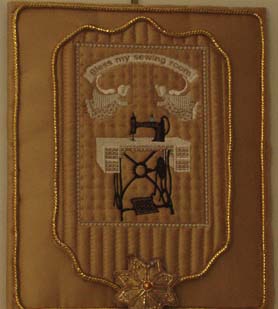
Cut the design using the drawing you did on the back of the stabilizer
Glue the piece you just cut out onto the fabric
Glue a lovely braid around the design and on the border
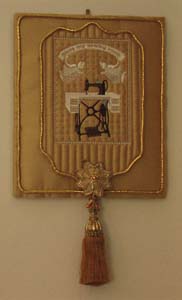
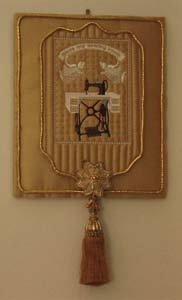
The gold star that you see in the photo above I had purchased a couple of years ago at Christmas time when all the decorations for the christmas tree arrive in the stores, it was so beautiful I thought it would come in handy one day for one of my sewing projects
