Show Off Machine Embroidery Design Instructions
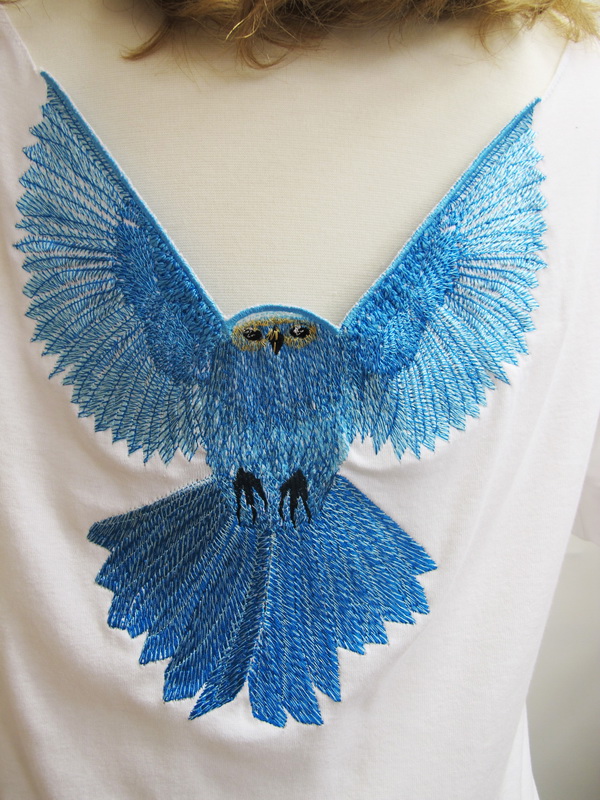
Show Off T-Shirt
Purchase a ‘T’ Shirt my advice is to purchase a ‘T’ Shirt of a rather thick quality, I used a very thin knit and had some difficulty with movement
½ meter of a thick backing
10 glass studs for the front of the ‘T’ Shirt
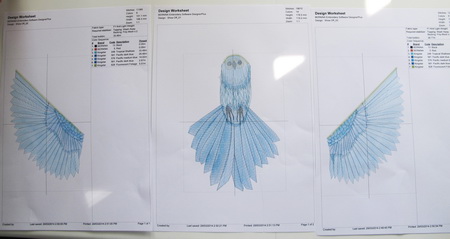
Print out “Show Off_01, Show Off_02 and Show Off_03” in “Actual Size” with the centre of each design
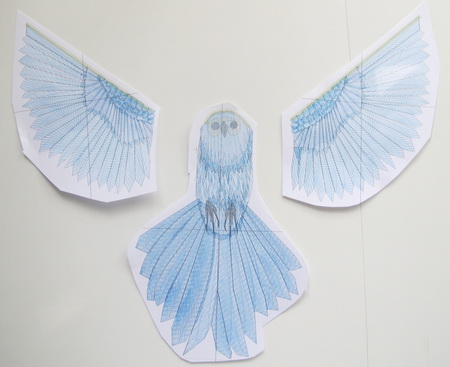
Cut out each of the designs for easy placement on the back of the ‘T’ Shirt
Find the centre of the ‘T’ Shirt.
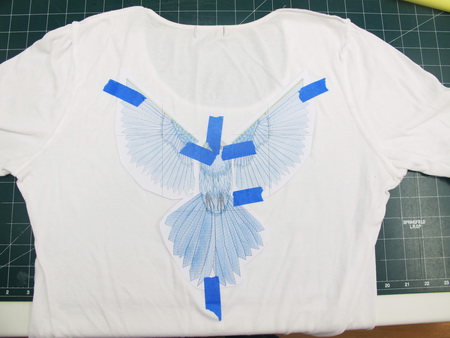
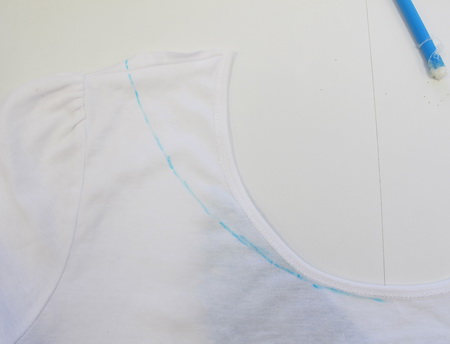
Place the three designs onto the ‘T’ Shirt as to where you would be happy.
TIP: The blue tape that I have used on the ‘T’ Shirt is “Scotch Blue Painters Tape” very good for placing designs on fabric; I always have it on hand since I was given this tip on Pinterest
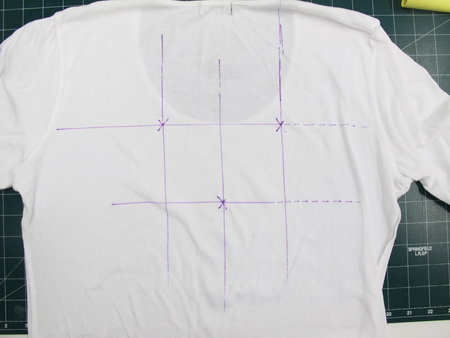
Mark on the ‘T’ Shirt the centre of each design
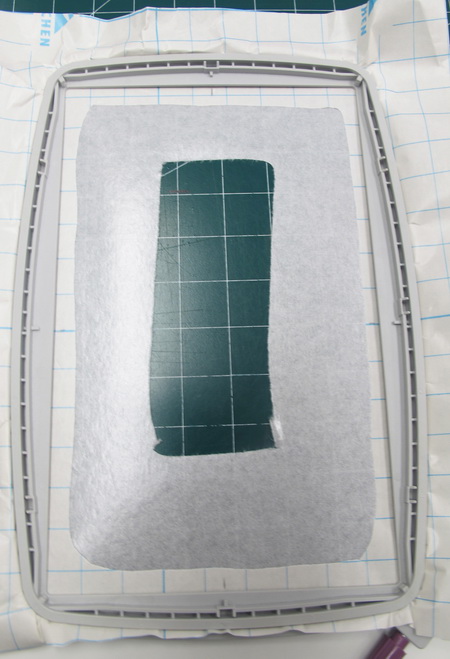
For ease of placement I used a larger hoop other than the 5 x 7 inch in that way you do not have to fiddle around with being exact or another way is by using the sticky paper for ease of placement and also stops you getting hoop burn
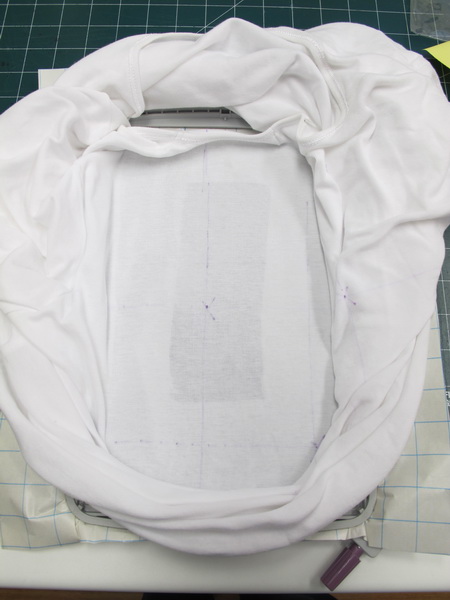
Place the back of the ‘T’ Shirt on the hoop
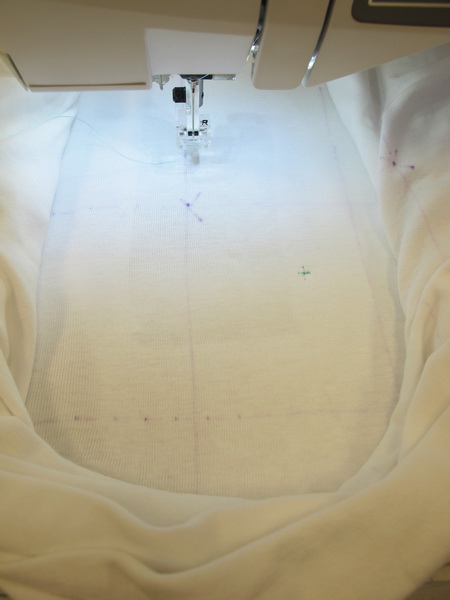
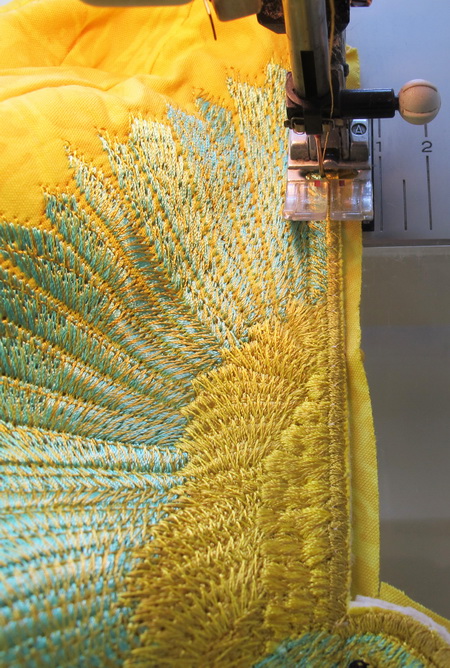
Stitch out “Show Off_02”
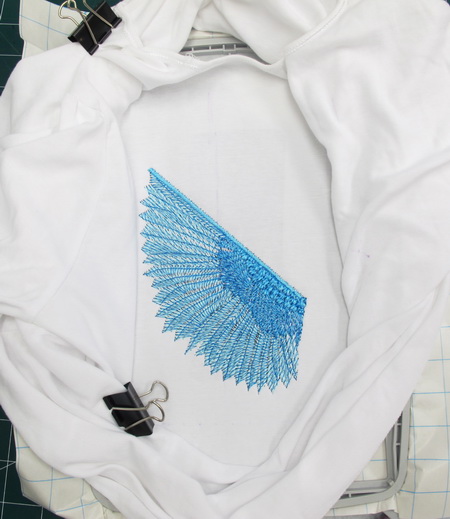
I use Bull Dog Clips to keep the fabric from falling in on itself
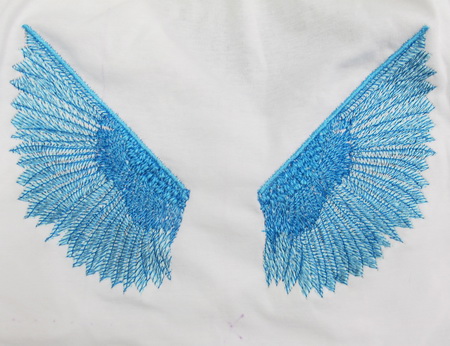
Stitch out “Show Off_03”
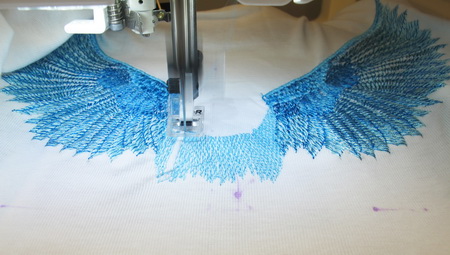
Stitch out “Show Off_01”
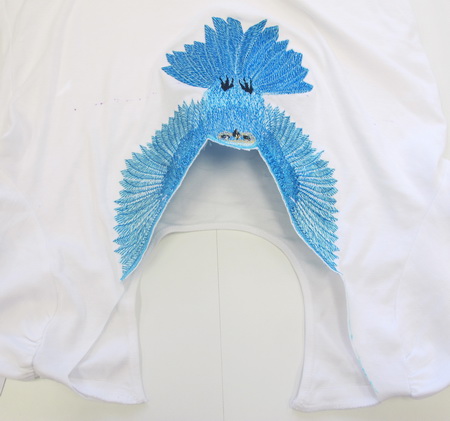
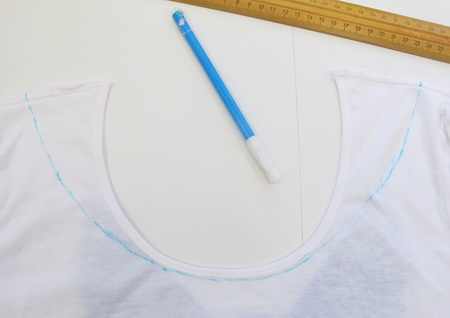
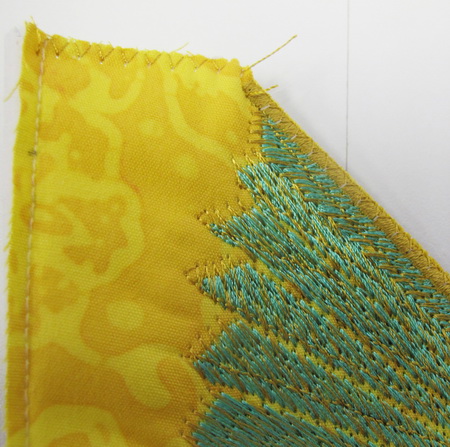
Cut the back of the ‘T’ Shirt as shown in the above photo Cutting as close to the satin stitch border of the bird
Mark the front of the ‘T’ Shirt to match up with the back of the ‘T’ Shirt
Cut the front and back of the ‘T’ Shirt.
Zigzag the raw edges of the front and back of the ‘T’ Shirt.
Fold over the zigzag edge and straight stitch a hem on the front and back of the ‘T’ Shirt.
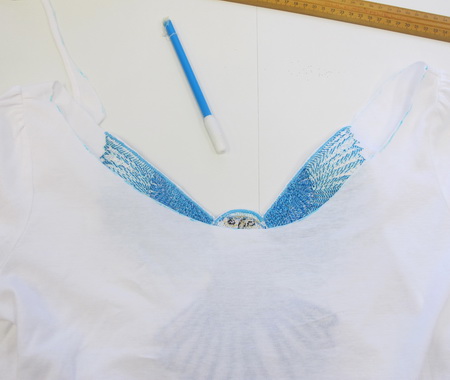
Zigzag stitch over the satin stitch of the bird using the same thread colour as the satin stitch.
Satin stitch over the zigzag stitch you just stitched, this gives the bird a nice finish.
As the ‘T’ Shirt was of a very fine knit I had problems with the front, the knit was just too thin, and so I ended up having to make small pleats in the front. To finish the front I stitched little tiny glass beads, I feel that the tiny glass beads gave the front that extra something
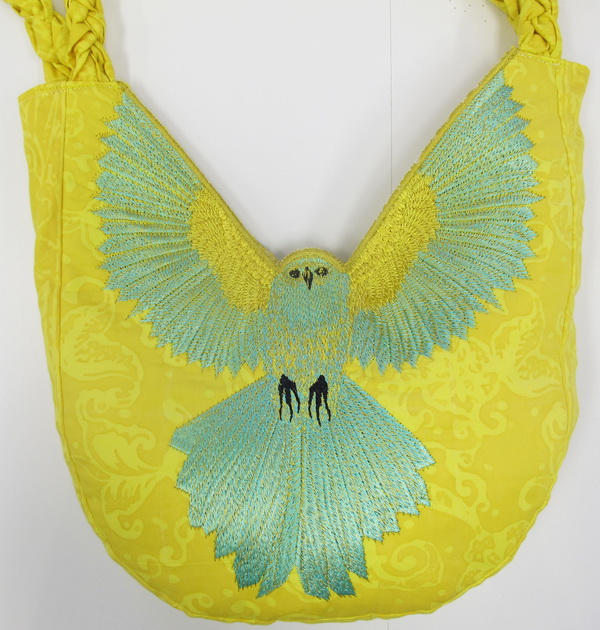
Show Off Bag
What you will need:
1.5 meters of fabric
½ meter of thin iron wadding
½ meter of stiffener or backing for bag
1 Magnetic fastener
1 meter of lining fabric
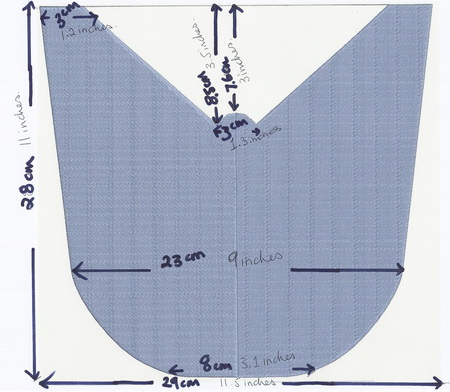
The dimensions of the bag in both centimetres and inches

Stitch out each of the designs as shown in the ‘T’ Shirt instructions on the fabric and thin wadding of your choice. I used a Batik cotton purchased in Bali
Make a template of the bag
Cut the fabric and backing leaving enough fabric at the top of the bag to cut out at a later stage
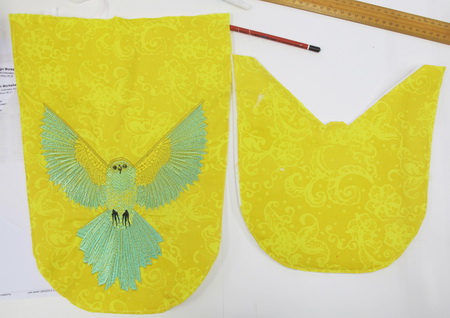
Cut the fabric and backing out for the back of the bag
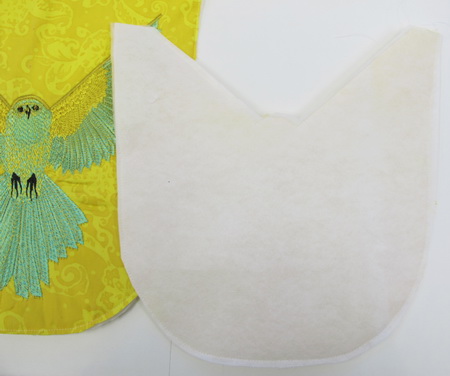
Stitch close to the edges of the front and back of the bag
For the side panel the following measurements were used: Length of the panel 1 meter x 7cm or 39 x 2.7 inches
Stitch the panel to the back of bag
Zigzag stitch the top backing to the front panel also over the satin stitch border of the bird
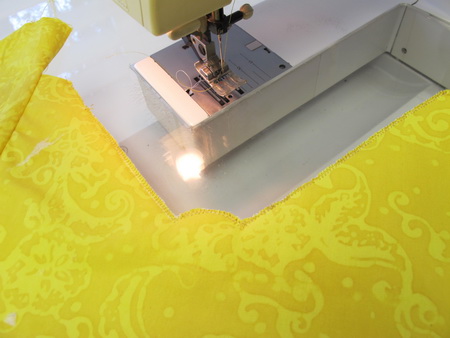
Stitch the side panel to the front of the bag Zigzag stitch the top of the back panel
Satin stitch the top of the back panel, I did this twice
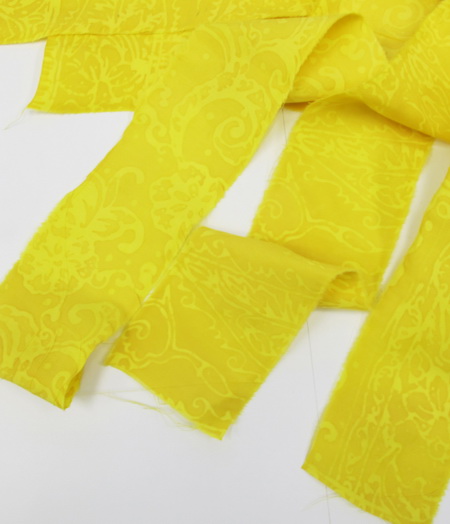
Cut out strips of fabric for the handles as the strips will be plaited and depending on the length you would like the handles I leave the length to you, when plaiting you need around 2.5 times in extra length
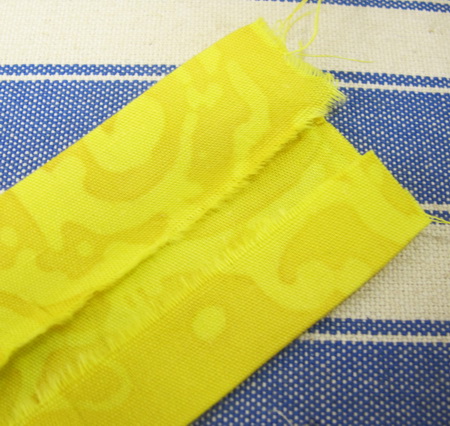
Iron over each of the strips as shown in the above photo
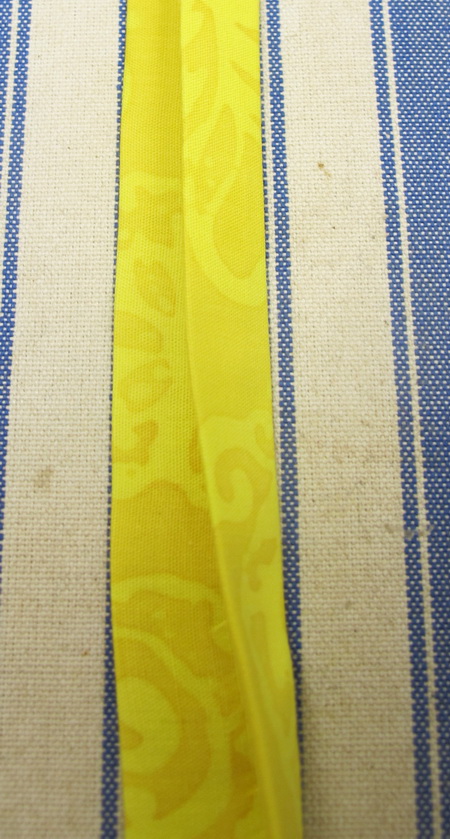
Iron over the strip then stitch over the strip
Stitch all four sides of the plated handle to the front and back of the bag
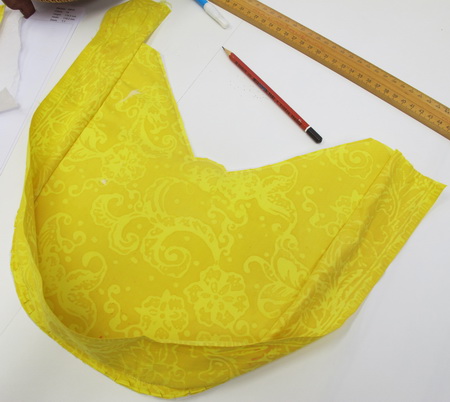
Stitch the lining together. I used the same cotton Batik fabric as the front of the bag as I had not that much left of the fabric, thought best to use all of the Batik on this project.
Insert the magnetic fastener into your lining
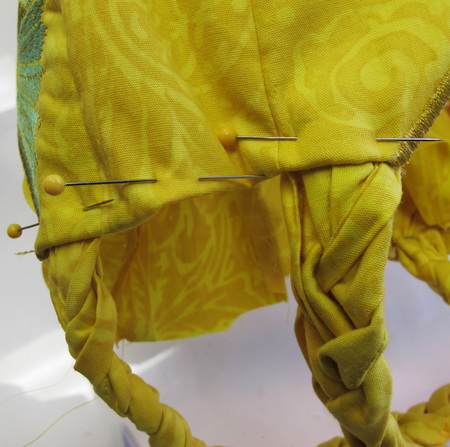
Insert the lining to the bag, leaving a little fabric above the satin stitch of the bag as shown in the photo
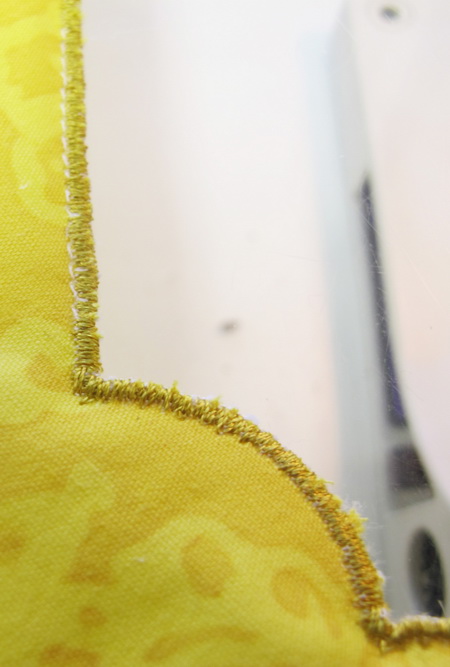
Zigzag stitch the lining to the top of the front and back top of the bag as you can see in the photo.

The photo showing you the zigzag stitch over the satin stitch in the front and back of the bag
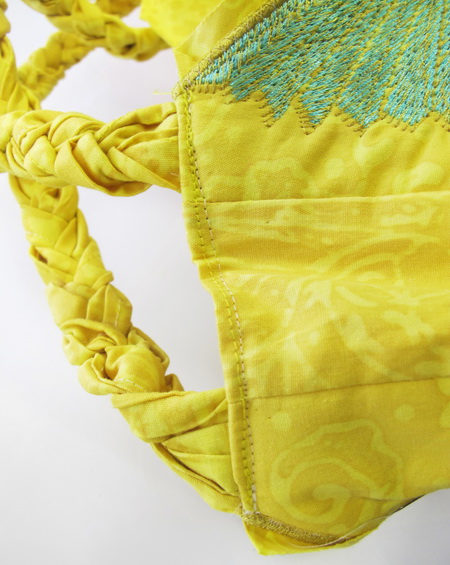
I then satin stitched over the zigzag stitch
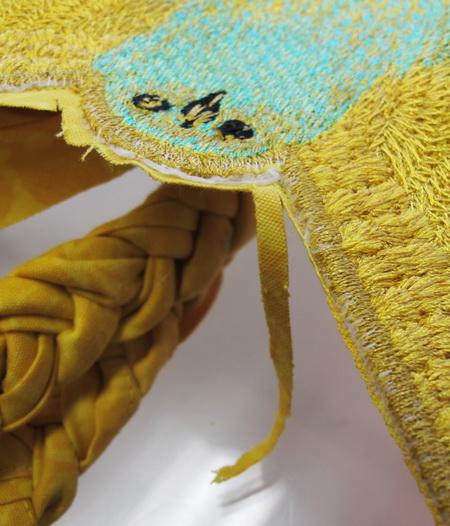
Cut away all excess fabric from the front and back of the bag
Satin stitch over the satin stitch once again, this gives your work a neat finish