Spartans Machine Embroidery Design Instructions
Spartans Bag
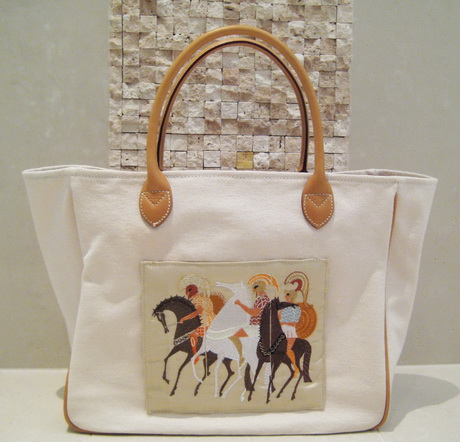
I stitched “3 Spartans 240×150” on a fine silk fabric then hot glued the panel to a bag that I had purchased.
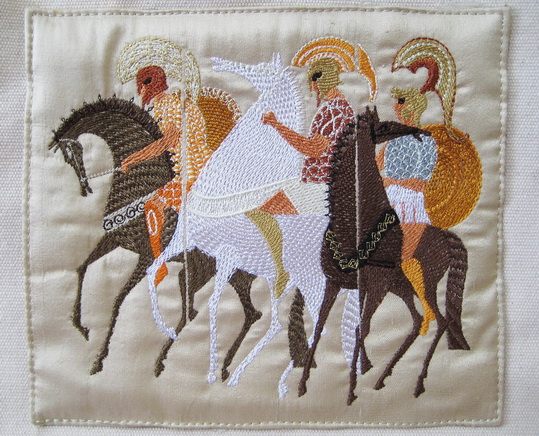
Close up of finished bag.
Spartans Wall Hanging
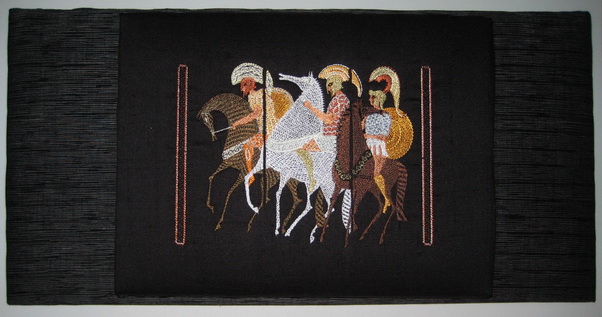
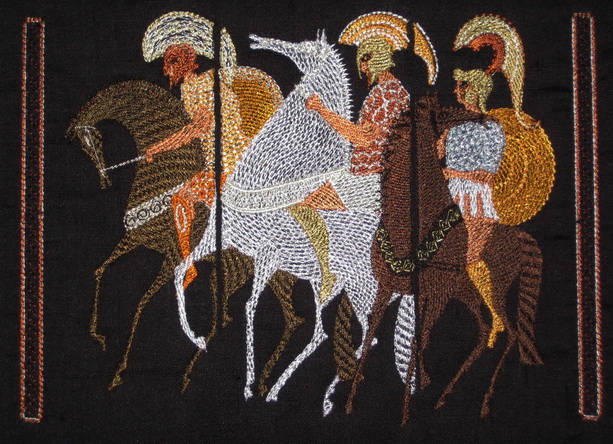
I stitched “3 Spartans 240 x 150_bord” on a black fine silk
Black canvas
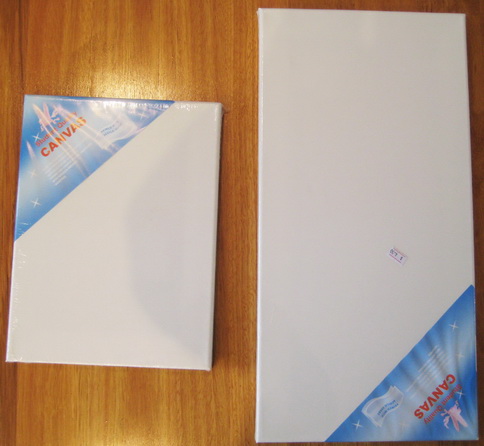
To make this stunning work to put up on your wall, purchase
2 Canvas boards’ sizes
- 9 x 12 inches
- 10 x 20 inches
I covered the larger board in a fabric in a very dark grey and white cotton fabric which has the 1950’s feel to it
I then hot glued the smaller canvas to the centre of the larger canvas board
Close up
Spartans Cushion
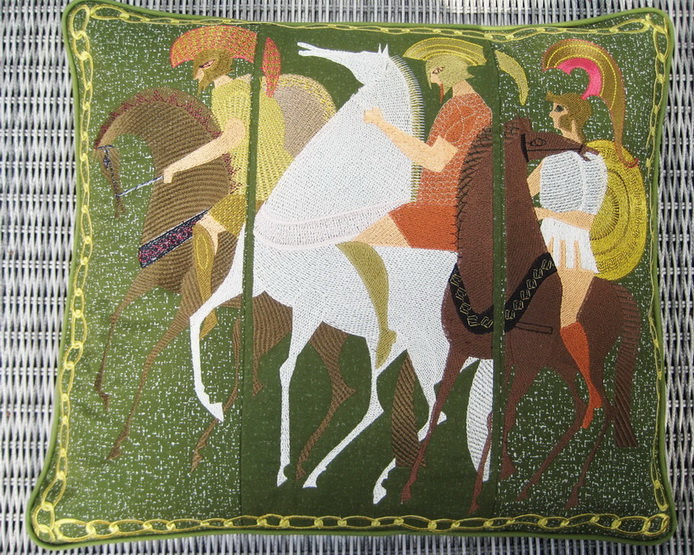
I stitched all three panels separately two of the panels I stitched on a green fleck fabric then on the opposite side of the green fleck fabric where it was just the plain green fabric I stitched the centre panel, this gives you an interesting look.
About 20 years ago I purchased the gold stitching that surrounds the three panels …. You iron the gold onto the fabric, never thought the glue would work after all these years, well, it did, but for how long.
- “A Screen_01_large”
- “A Screen_02_large”
- “A Screen_02_large”
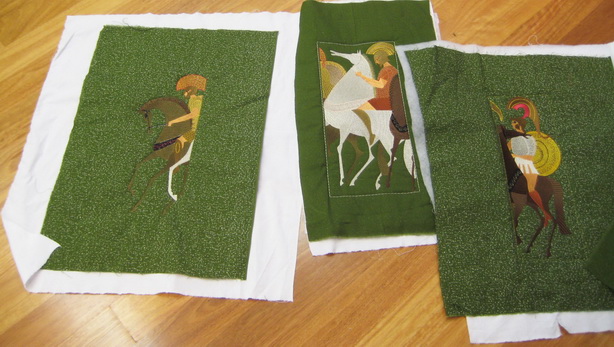
All three panels stitched and ready to be stitched together
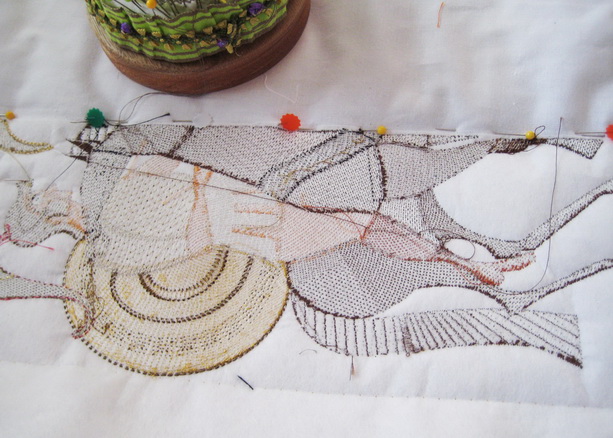
Pinning the panels together just like you would for patchwork
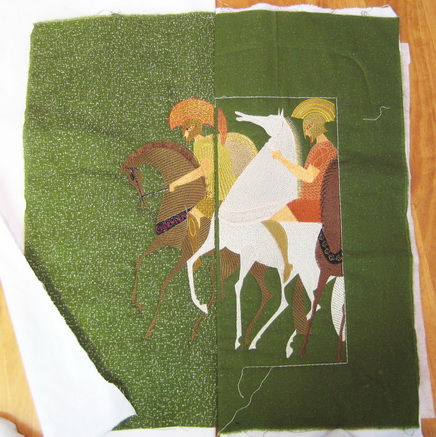
Panel pinned together and then stitched
Whenever I do this type of work I like to use a large straight stitch to sew the panels together, this way if you do not match up precisely you can easily take the stitches out and re stitch the panel once again. Once you have the panel placed correctly then re stitch the panel using a smaller straight stitch
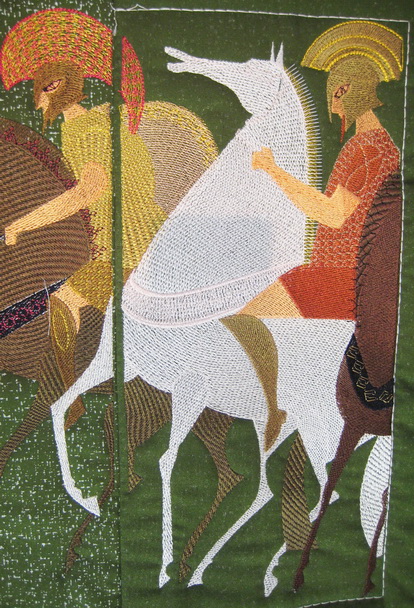
Close up of the two panels stitched together
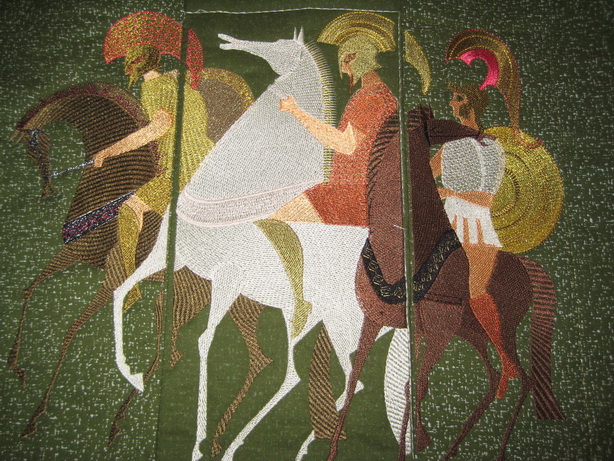
All three panels stitched together