Spring Meditation Machine Embroidery Design Instructions
Spring Meditation Bag
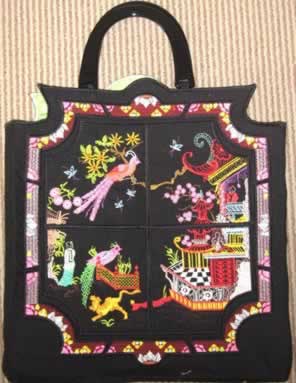
Stitch out the following designs for the bag:
Colour_01
Colour_02
Colour_03
Colour_04
Colour_bord_01a, 01b, 01c and 01d
Colour_bord_02a and 02b
Colour_bord_03a and 03b
What you need:
Black fabric 2 meters approximate of Cut Away heavy
Stitch and Shape approximate 2 meters (I tried the Floriani product, very good)
Lining 2 meters approximate
Handles
Stabilizer
Black cotton fabric
2 layers of Cut Away heavy
Opposite all the designs stitched out for the bag
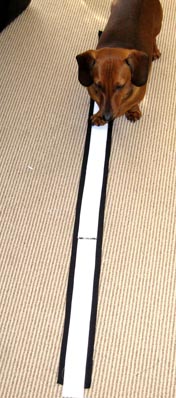
Cut away carefully all the satin stitched borders
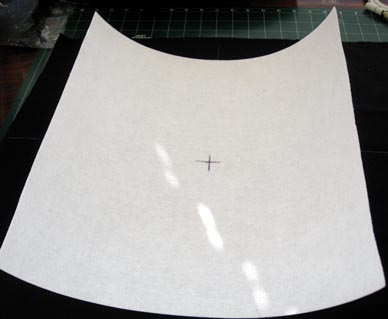
Cut out a large piece of Stitch and Shape and mark the centre
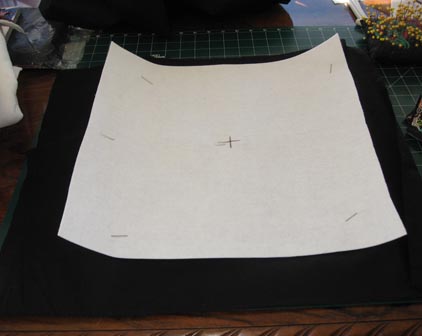
Pin the Stitch and Shape to your black fabric
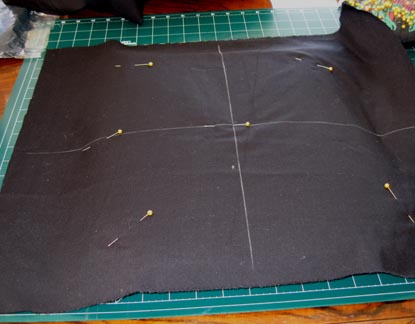
Mark the centre of your black fabric with chalk

Place your stitch out Colour_01 in the centre as shown in the photograph
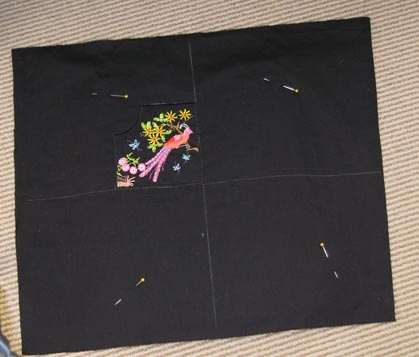
Stitch a zigzag stitch all around the stitch out Colour_01. Do not satin stitch the design at the moment
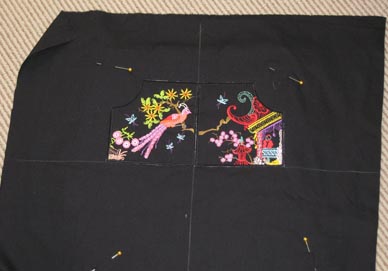
Stitch a zigzag stitch all around the stitch out Colour_02, Colour_03 and Colour_04.
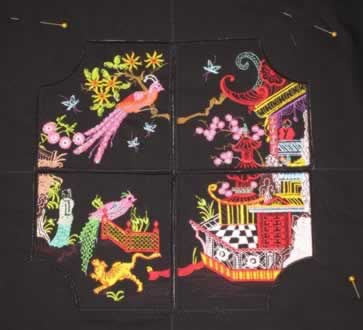
Now that you have zigzagged all four panels together and happy with the position, satin stitch all the four panels down on the black fabric
Place all the colour_bord stitch out around the panels and work out how they will all sit nicely together
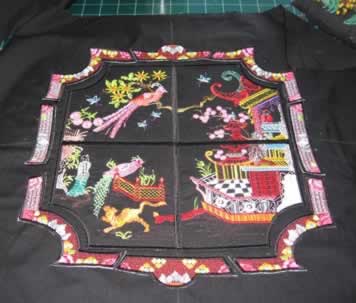
I used this glue to place all the border designs around the panels, I used very small dabs on each of the borders so I could fiddle and get the borders nicely positioned, then zigzag all the borders once the glue had dried
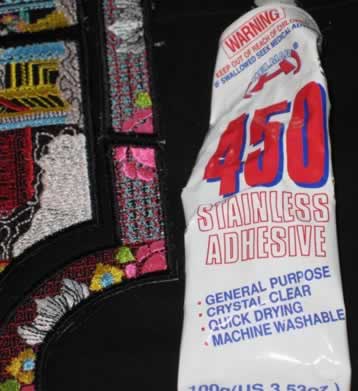
This was the glue I used but you use what ever you have on hand. This is what I had on hand
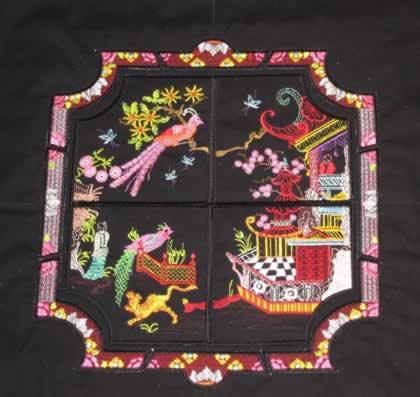
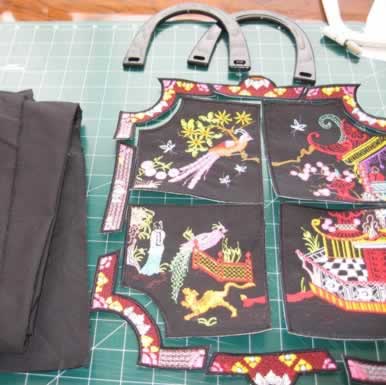
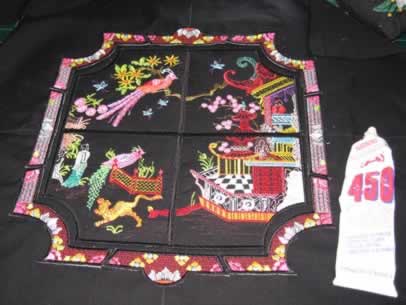
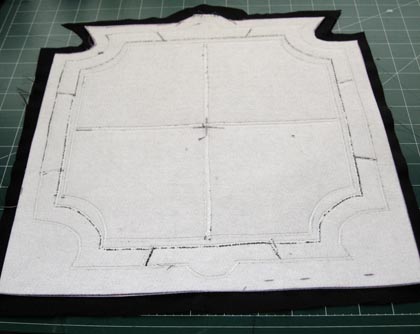
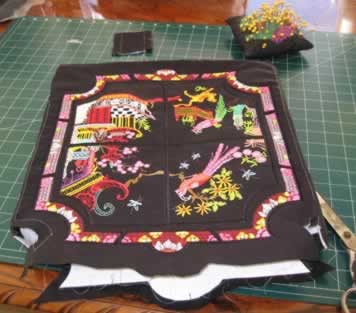
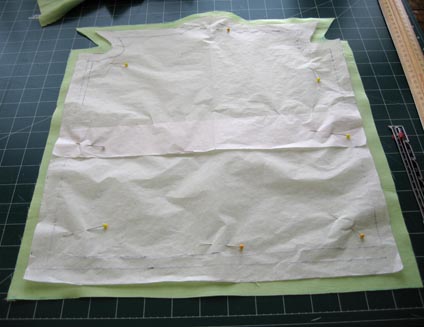
All the borders satin stitched to the black fabric
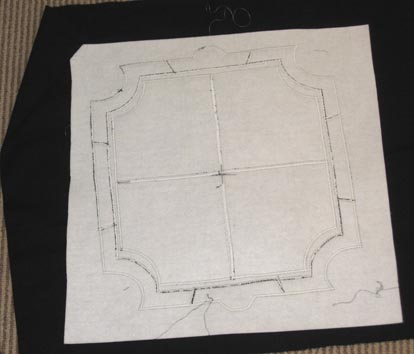
Back of the front bag
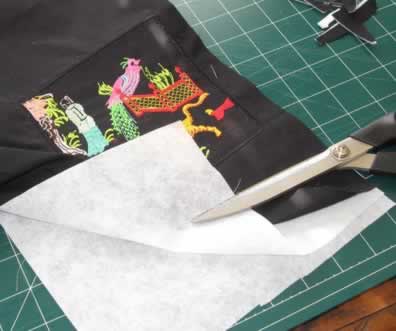
Using tracing paper design the pattern for the front and back of bag and make allowances for your seams
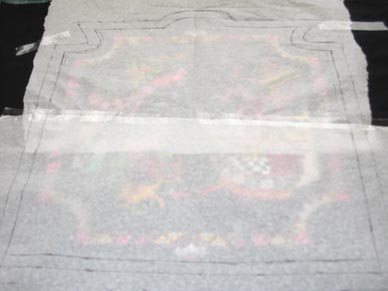
I cut the black fabric from the tracing paper and then cut the Stitch and Shape on the seam line due to the Stitch and Shape is to thick
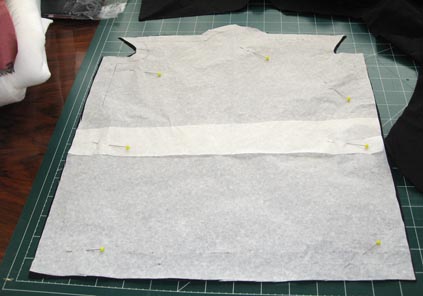
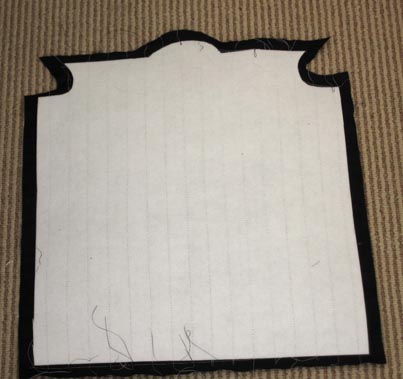
Back of bag cut to the same shape
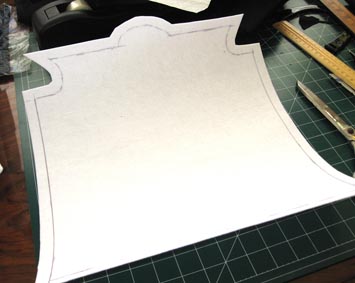
Stitch and shape cut to the shape of the bag back
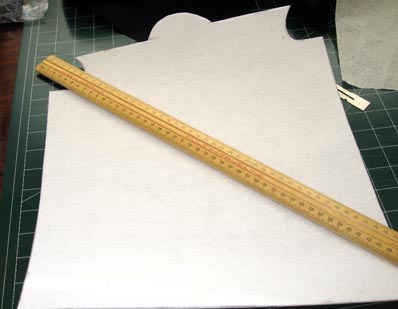
Cut the seam allowance away from the Stitch and Shape
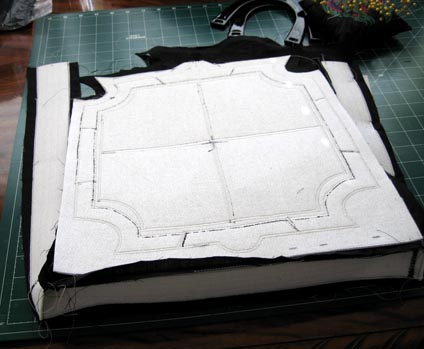
Cut Black fabric and Stitch and shape for the bag side panels. Simber helping 🙂 Notice I cut the seam allowance away from the Stitch and shape
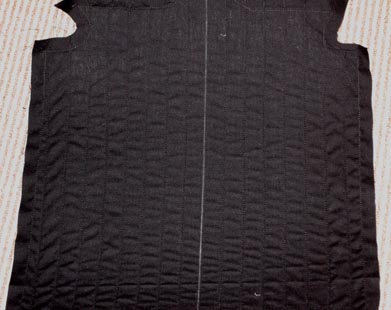
Mark a straight line down the centre of the bag back in chalk for making straight stitch lines. This gives the back of the bag a nice finish
All the lines stitched out for the back of the bag
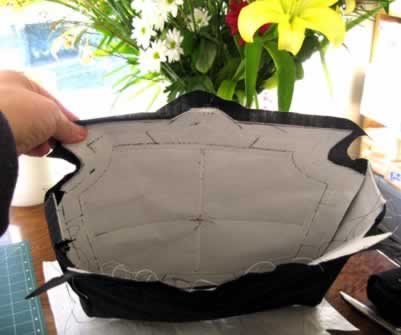
Pin and then stitch the side panels of the bag to the front and back sections
Front, back and side panels stitched together
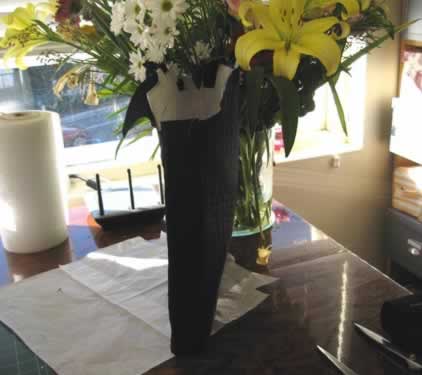
Another view of the bag stitched together
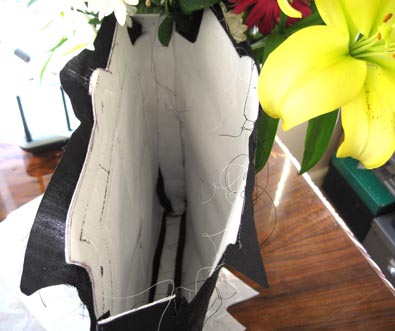
Looking inside the bag, looks dreadful at the moment 🙂
Font view of the bag unfinished
Using the same template you used for the front and back of the bag cut the lining out. I like to use a bright lining for this bag

Lining front, back and sides stitched together
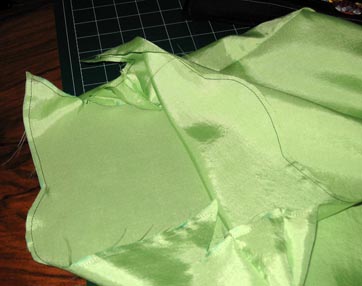
I like to use a straight stitch around the top of the lining as this helps stop stretching when applying the lining to the bag. I then zigzagged the top of the lining to the top of the bag and then satin stitched over the zigzag which gives the top of the bag a nice finish
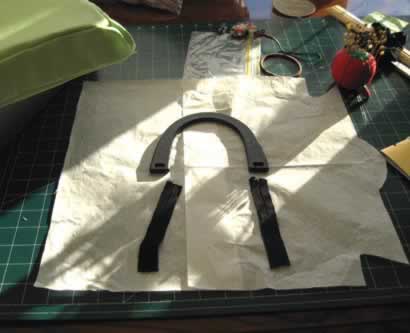
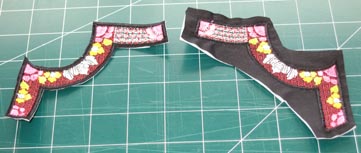
Cut four straps for the handles only if you are using this type of handle for the bag (Sorry I have no idea where I purchased these handles, I forgot)
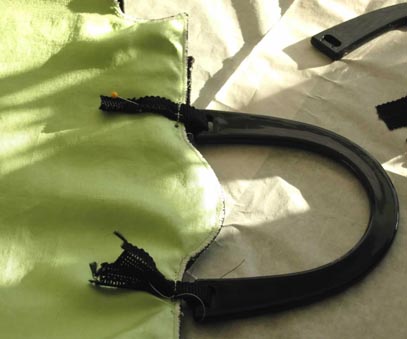
In the four straps with the two handles to the bag, making sure all four straps line up with one another and then stitch to the bag
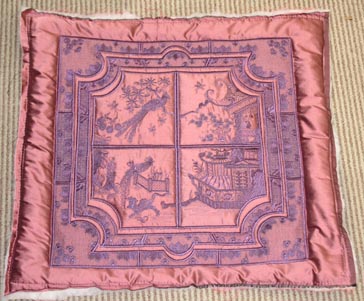
Spring Meditation Cushion
Stitch out the following designs for the cushion
Panel_01
Panel_02
Panel_03
Panel_04
Border_01a, 01b, 01c and 01d
Border_02a and 02b
Border_03a and 03b
Out_bord_01a, 01b, 01c and 01d
Out_bord_02a and 02b
Out_bord_03a and 03b
What you need:
- Pink salmon silk approximate 2 meters
- Cut away heavy
- Thin wadding
- Thick wadding
- Zipper
- Backing fabric
Stabilizing
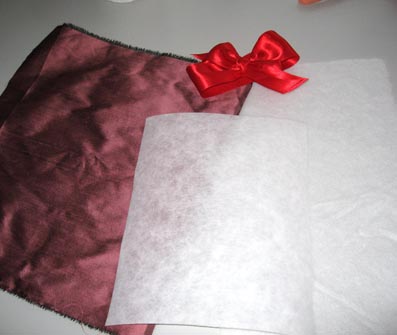
Pink Silk fabric
1 sheet Cut away heavy
1 Thin wadding
Follow the instructions from photo No. 6 to 14 of the black bag for placement of the all the panels and borders
Before you satin stitch all the panels and borders down place the thick wadding with a backing fabric
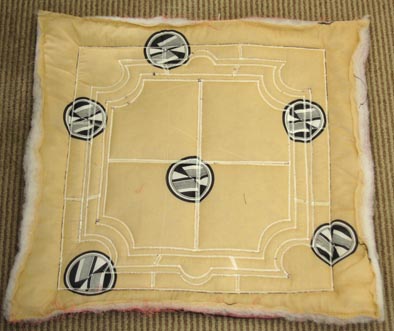
The back of the cushion showing the backing fabric and satin stitch of the borders and panels
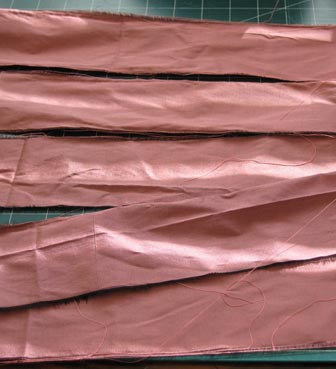
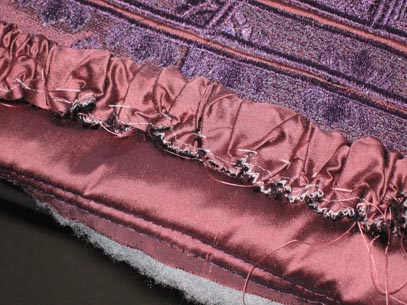
To give the cushion a lovely finish and look rather professional. I cut 3.5 times the length of the cushion into lengths of silk as you can see in the photo opposite
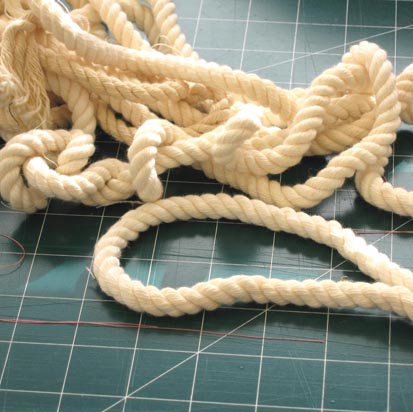
The thick rope I will be using to make the gathers
With the lengths of silk I had just cut I then folded the silk over the rope
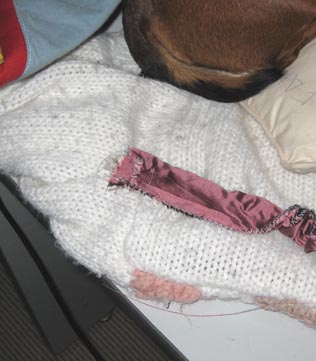
I then zigzag stitched the two ends
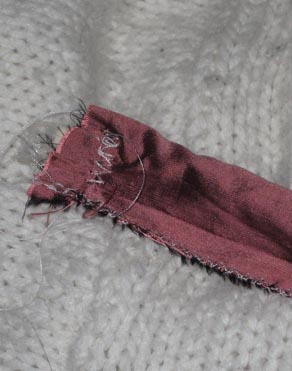
Photo showing you the one end of the length of silk with the rope and the rope and silk stitched at one end
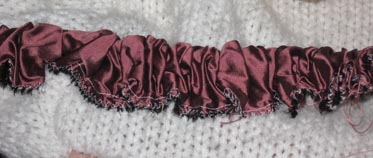
Gathering the silk using the rope
Once I managed to get the length of gathers right, I then hand stitched the gathers onto the cushion
I then stitched as close as I could to the rope using a zipper foot on my machine
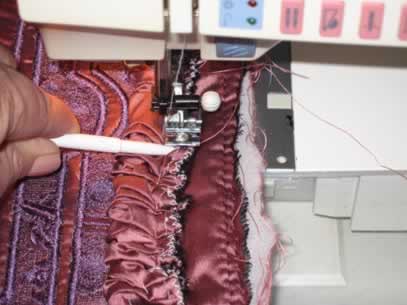
Stitching the rope gathers using my zipper foot and a plastic pointer to help keep the gathers down for easy sewing. I sometimes use a bamboo stick

Back of cushion with a zipper
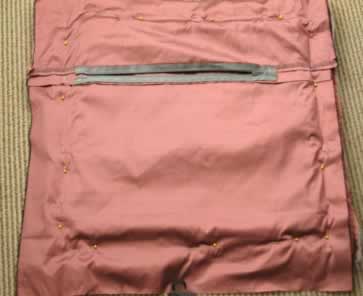
Pinning the back of the cushion to the front of the cushion