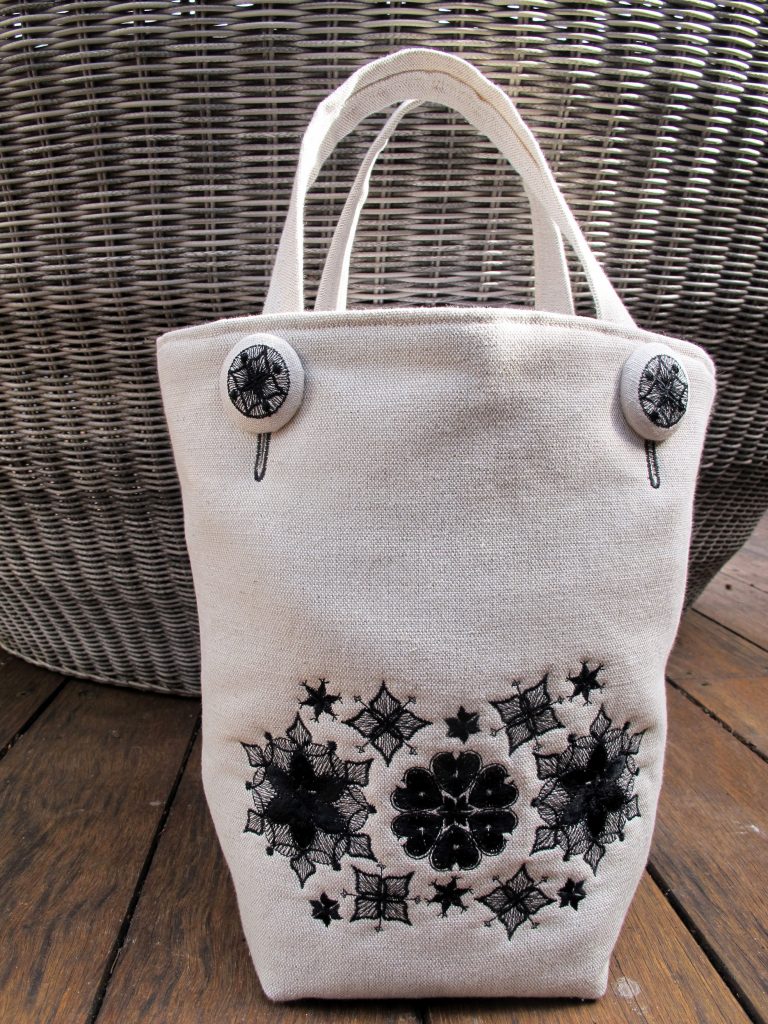
The Green Scene Machine Embroidery Design Instructions
Supplies:
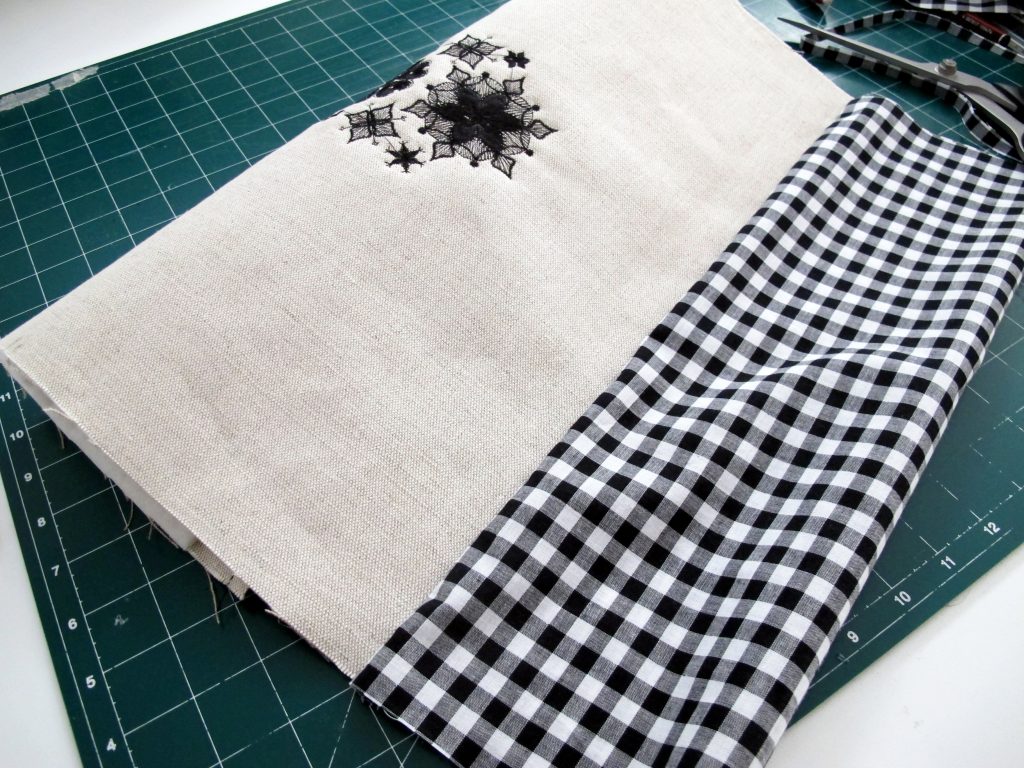
1 metre or 1 yard of fabric (I used linen fabric for this project)
1 metre or 1 yard of thin wadding
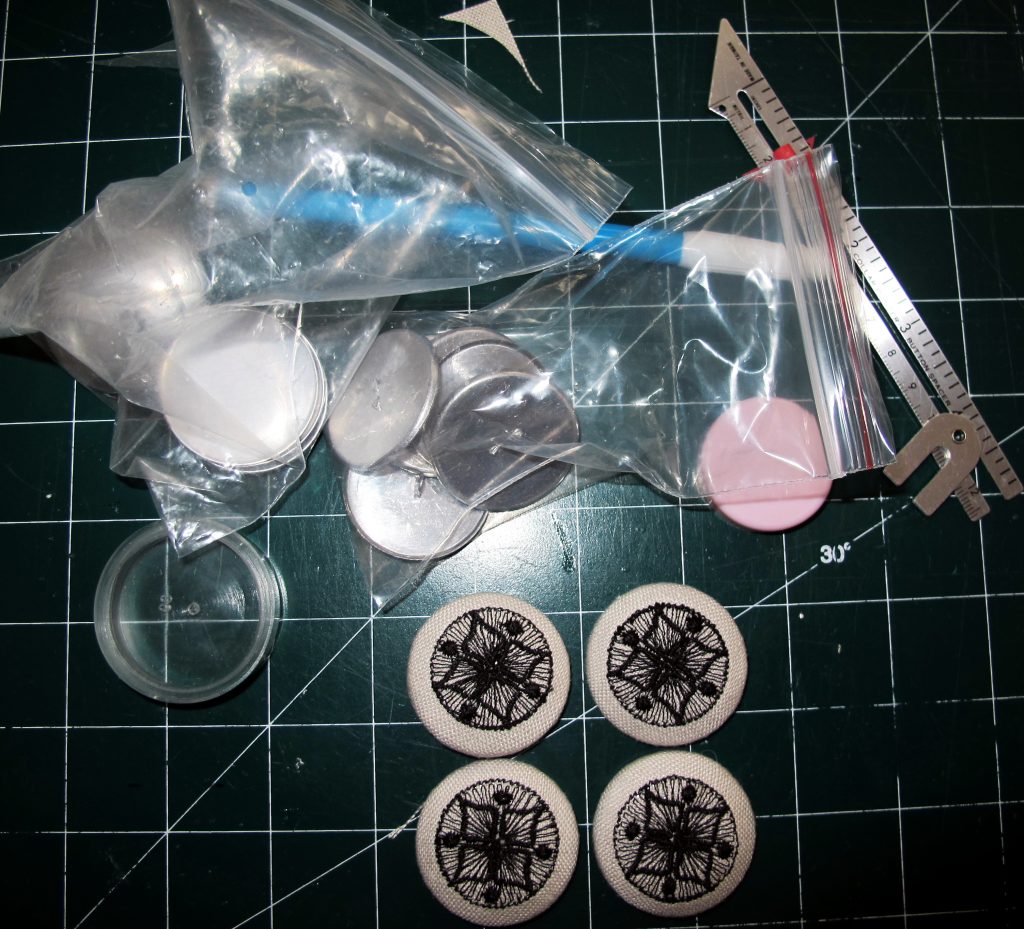
Covered button kit with at least 4 buttons 1.5 inches in diameter
1 metre or 1 yard of lining
Stabilizer
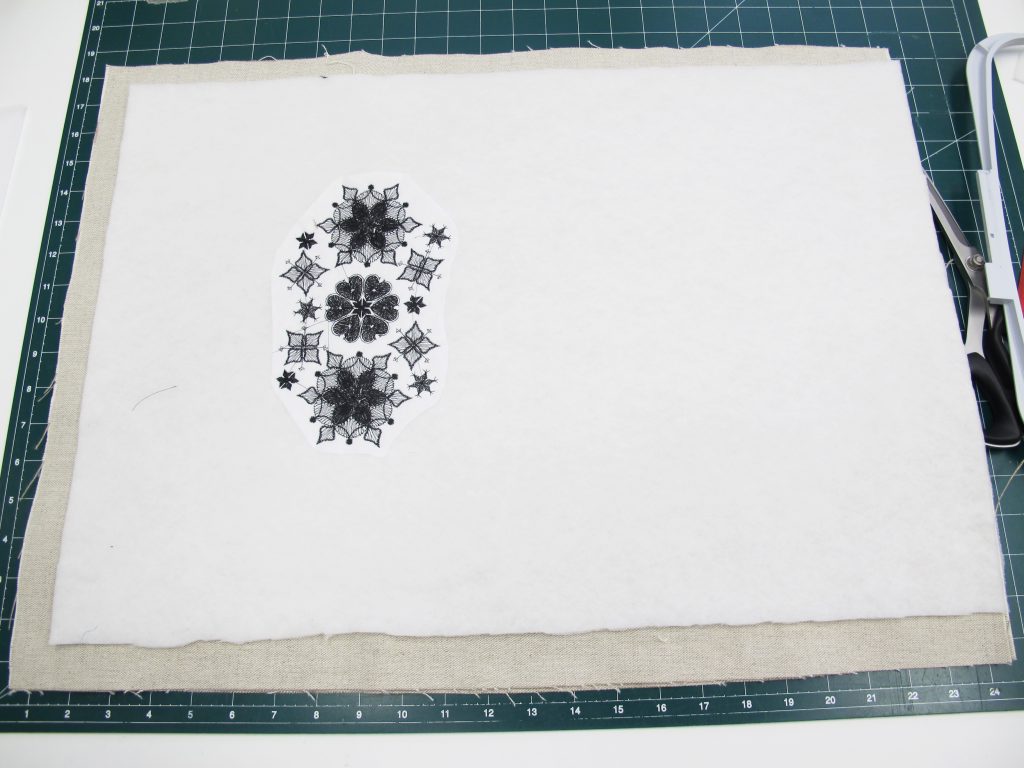
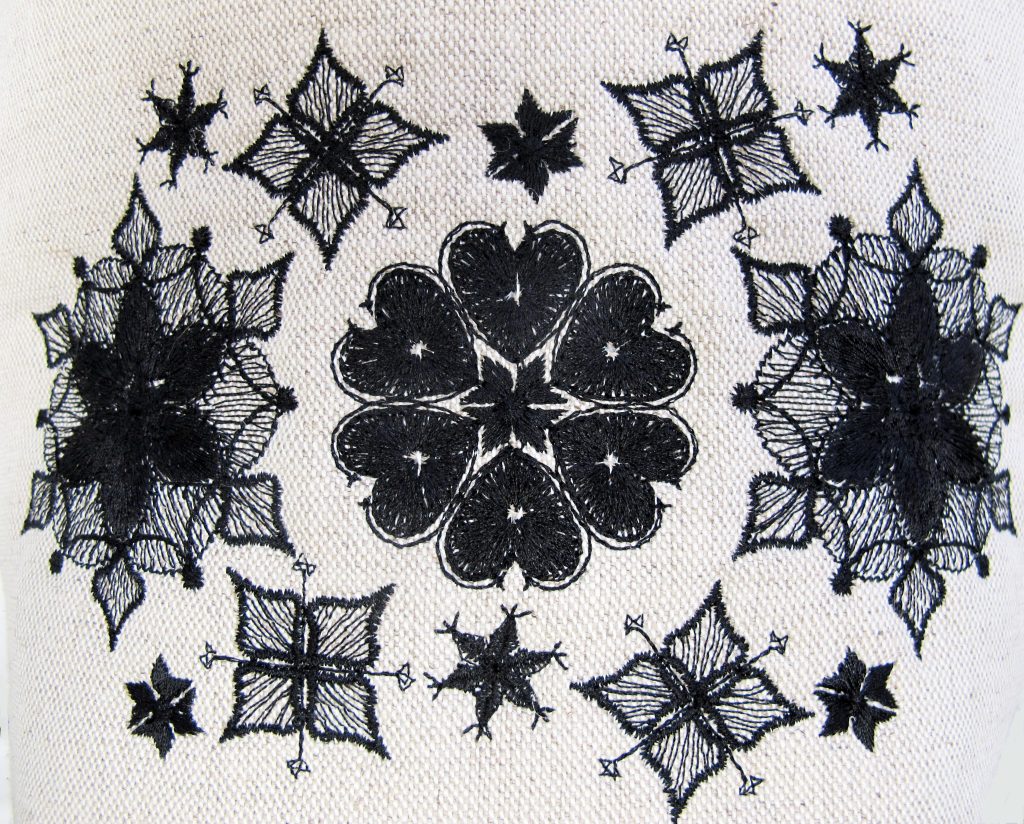
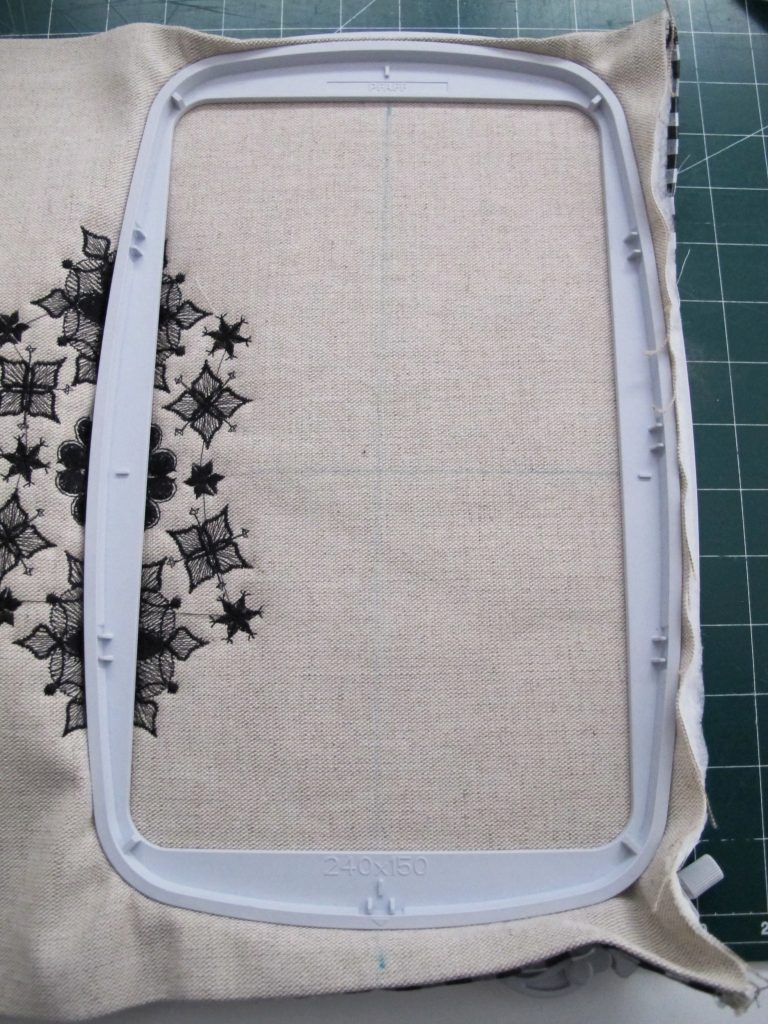
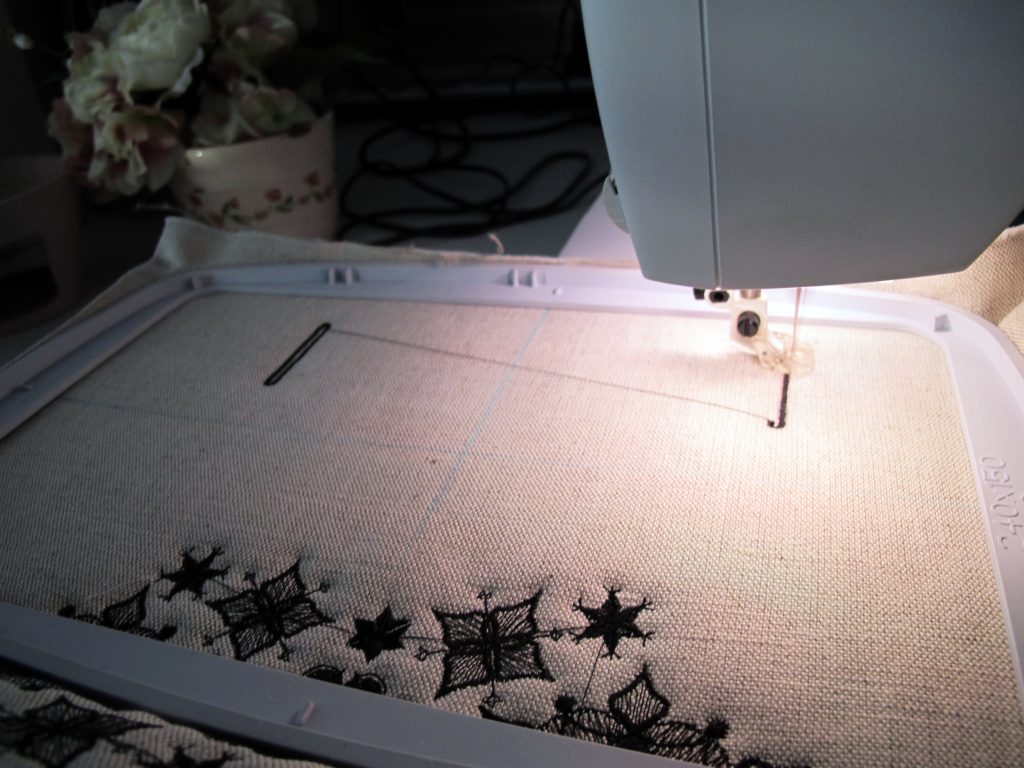
Stitch the design “The Green Scene_18” onto your chosen fabric, I preferred to have the design towards the base of the bag leaving approximately 15 cm or 6 inches from the edge
The measurements for the length and width of the fabric is the following:
40 cm or 15.7 inches wide
43 cm or 17 inches in length
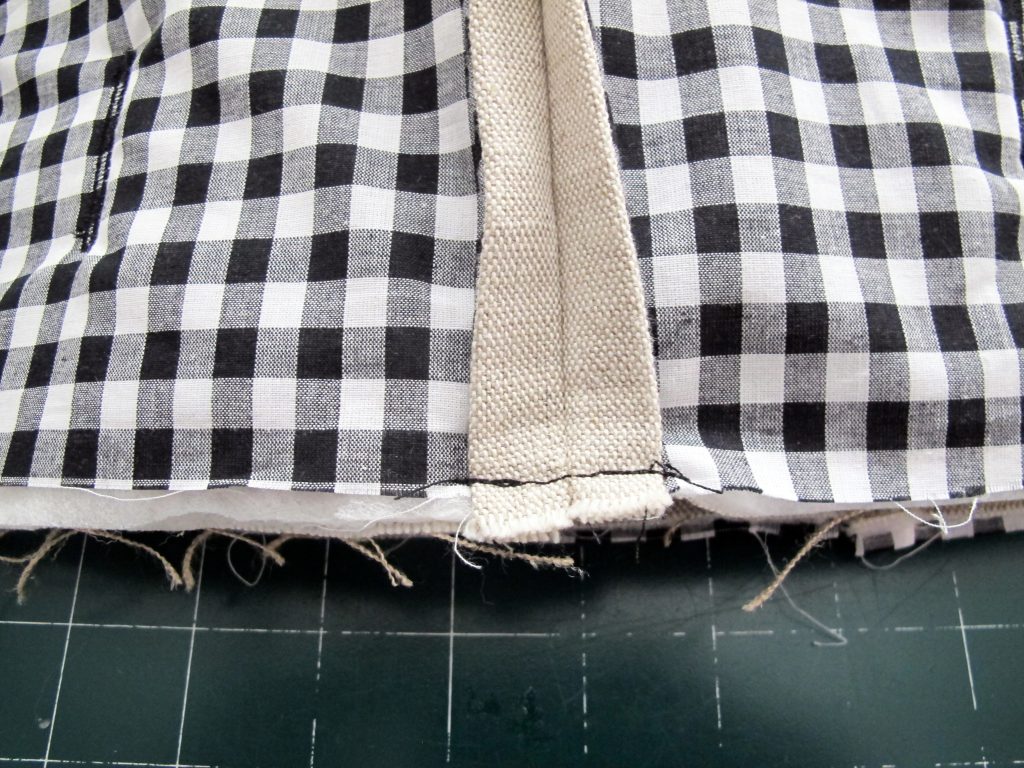
Cut away 2.5 cm or 1 inch of the wadding from the edge of the fabric, this helps to make the seams not so bulky
Stitch the lining to both sides and base seams of the front and back of the bag (I forgot to stitch the lining to the base so I ended up zigzagging together, one of those moments)
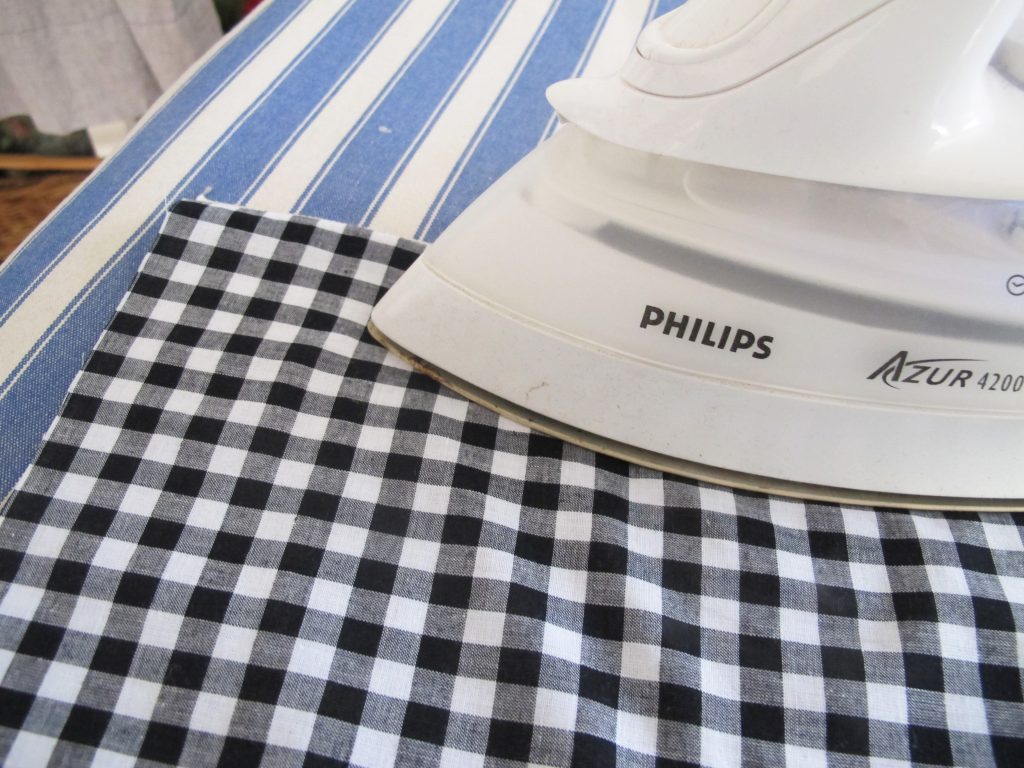
Press the side and base seams with your iron
To do the button holes “The green scene_21” Mark where you would like the button holes and stitch them out on the front and back of the bag
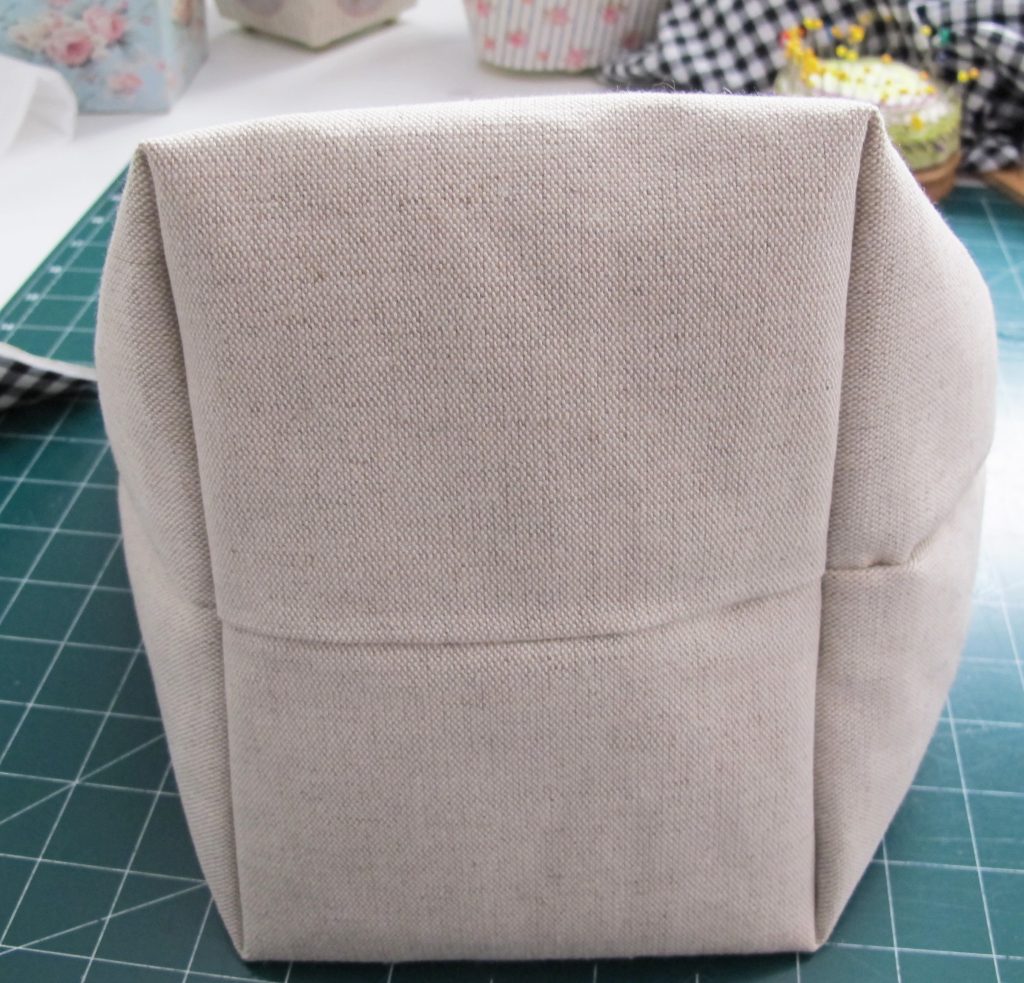
Stitch both the front and back of the bag together
At the top of the bag stitch down the seams
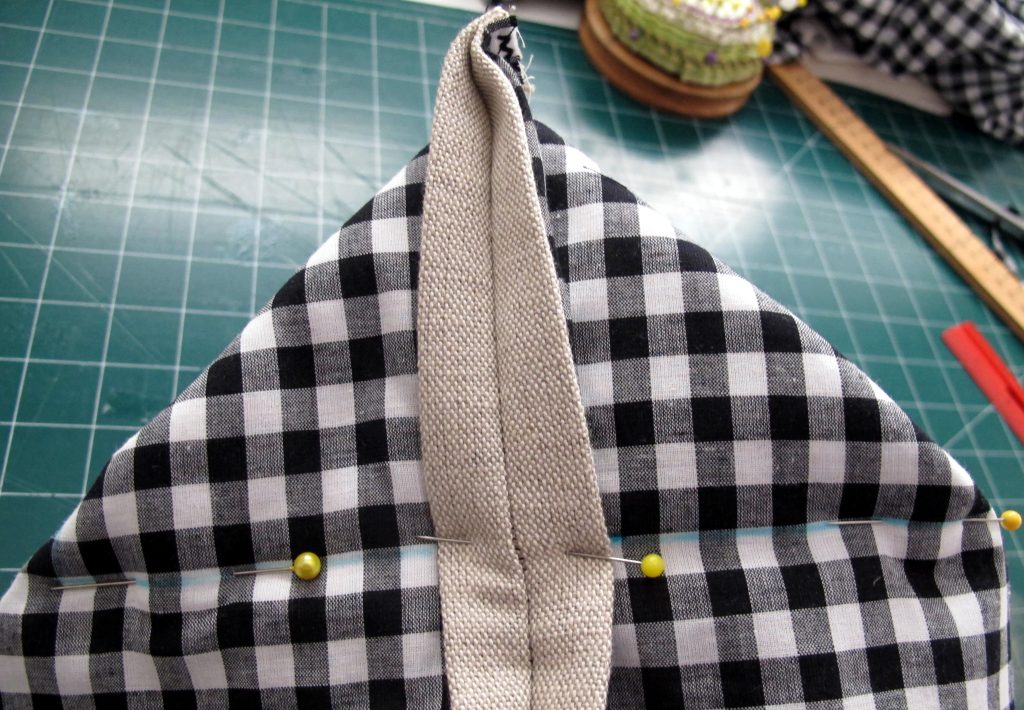
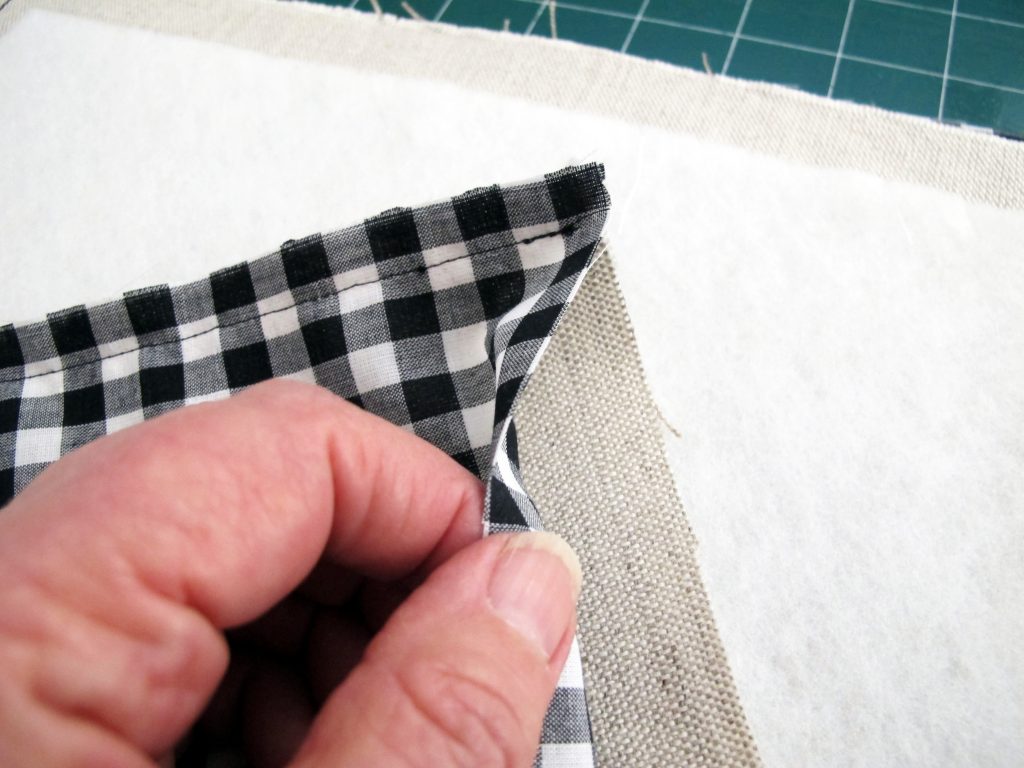
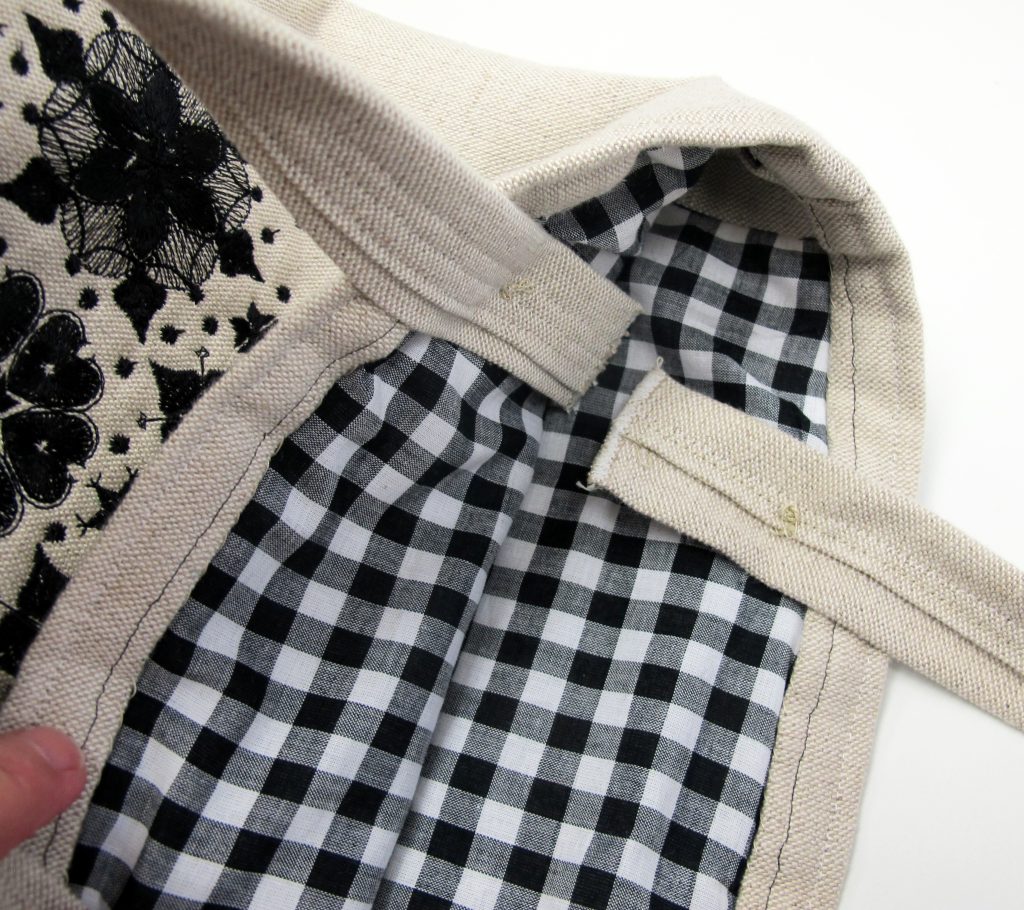
Open the fabric at the top and stick your hand inside and manoeuvre the fabric so the inside side seam and bottom seam line up together.
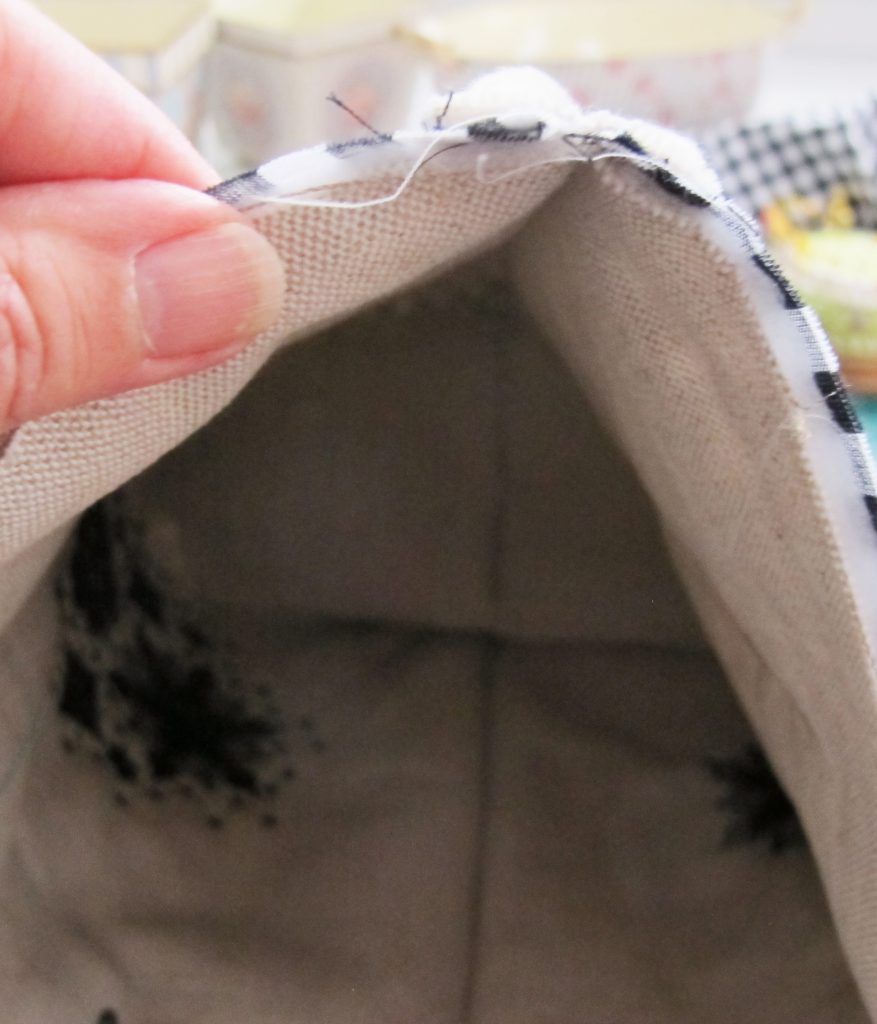
As you can see in the photo above I have lined the bottom and side seams together 10. With the other hand flatten the corner and you now have a “v”.
Lay your ruler with the 11cm line at the bottom of the “v.” Draw a line across.
After you draw a line you might want to place a couple of pins to help keep the fabric from shifting, keeping your seams aligned. Sew on the line back stitching at beginning and end.
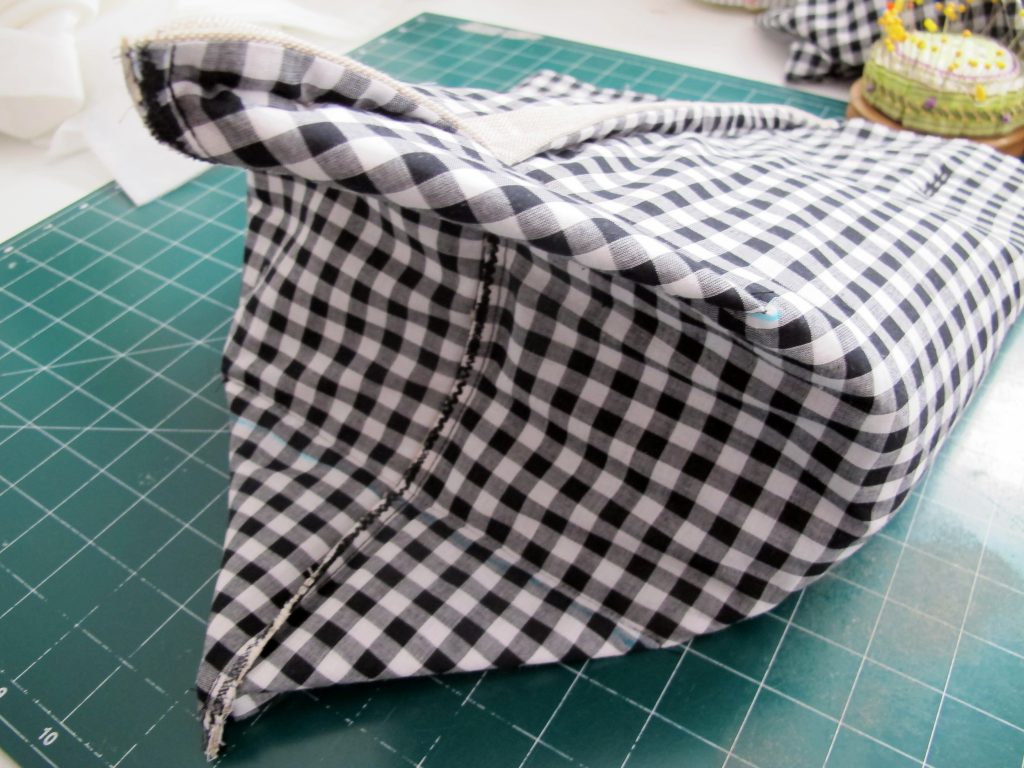
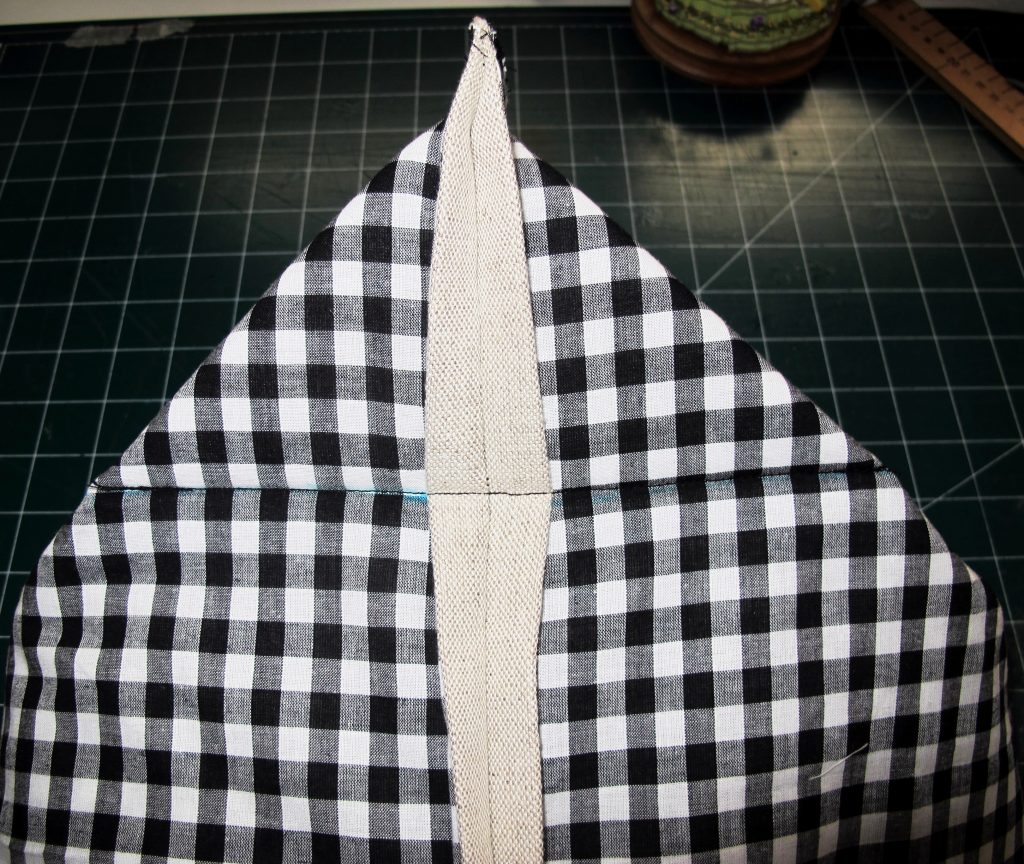
Photo showing you how the box pleat should look before you start cutting the two ends
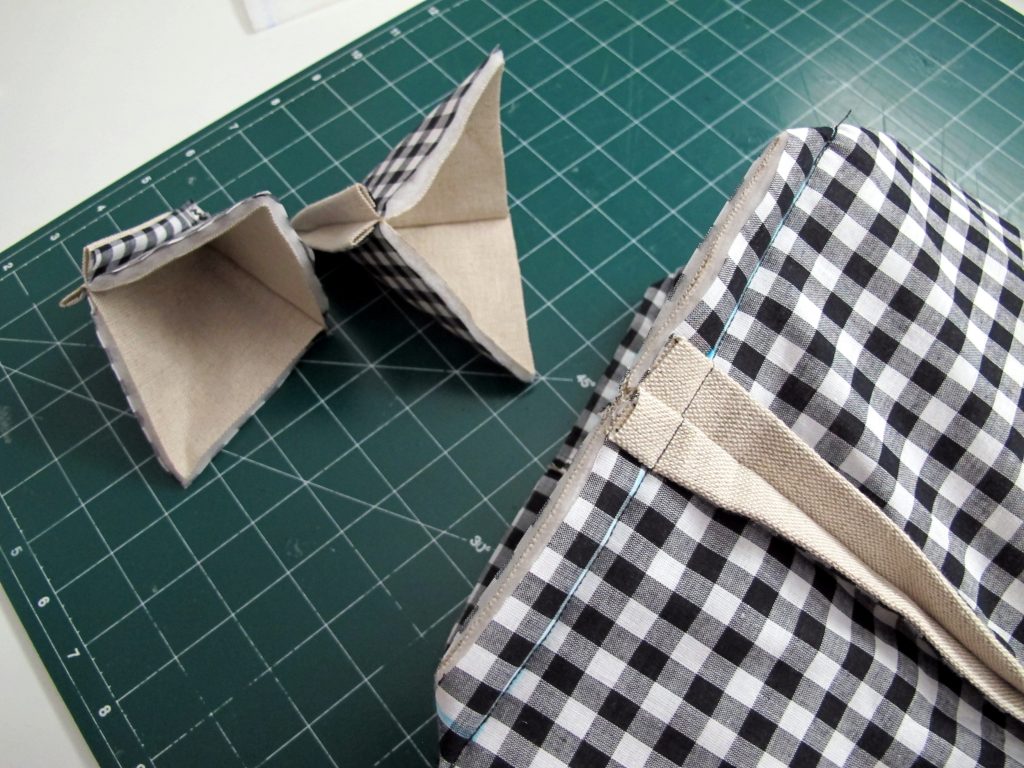
Cut away the two ends leaving a raw edge
Finish the two raw ends whatever way would best suite you, I used a zigzag stitch
The photo showing you the seams lining up together
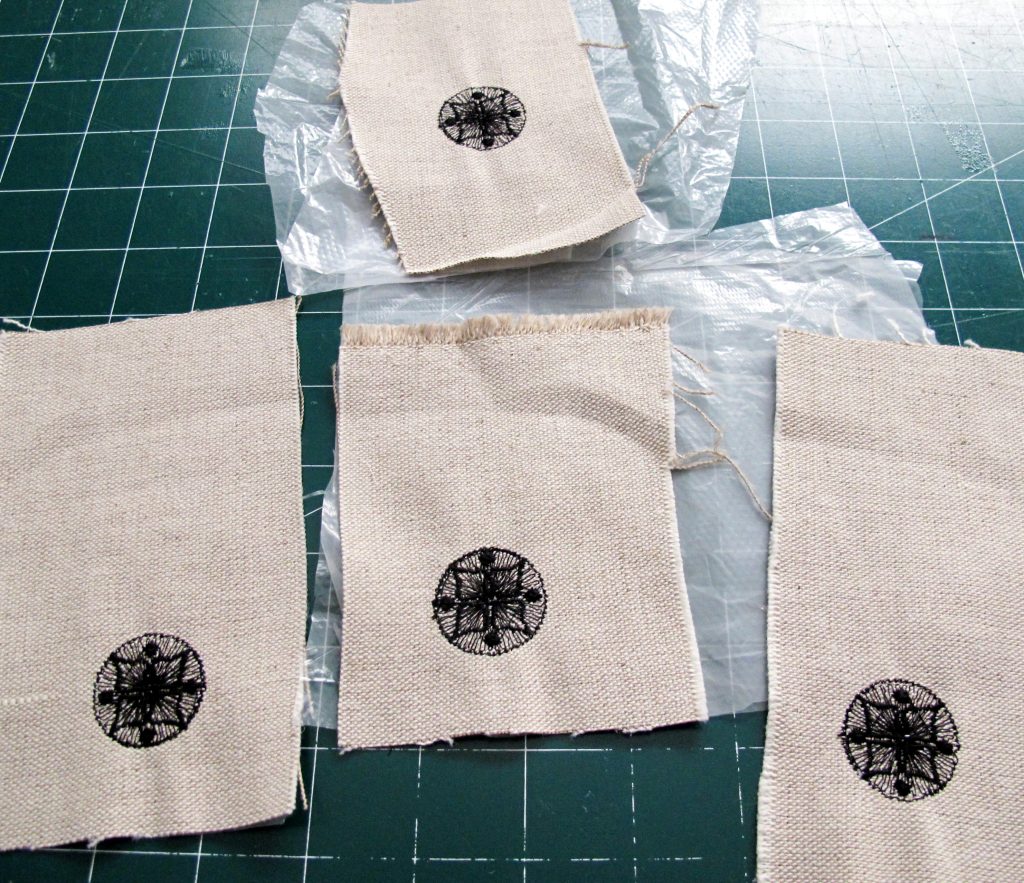
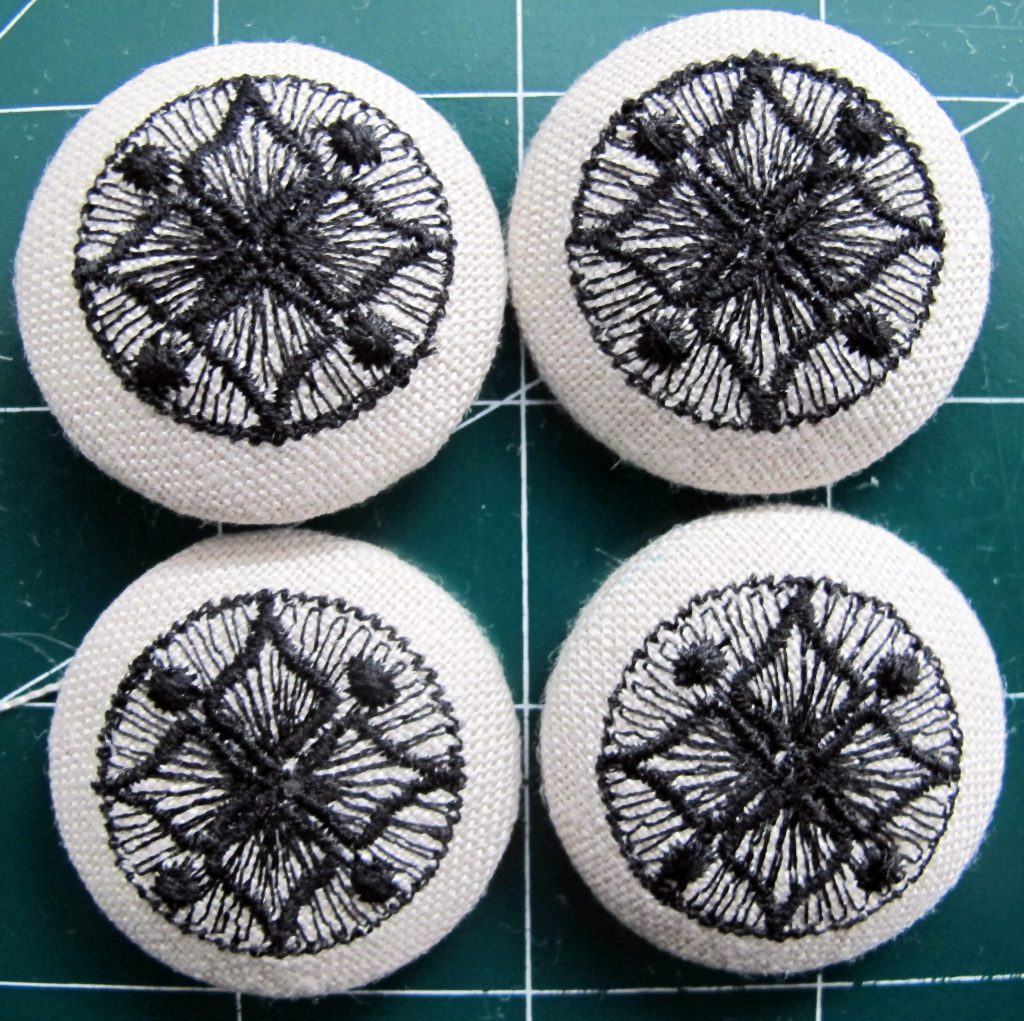
Stitch out the following design for the buttons “The Green Scene_20”
The self-covered buttons come with instructions. I found making these buttons so very easy
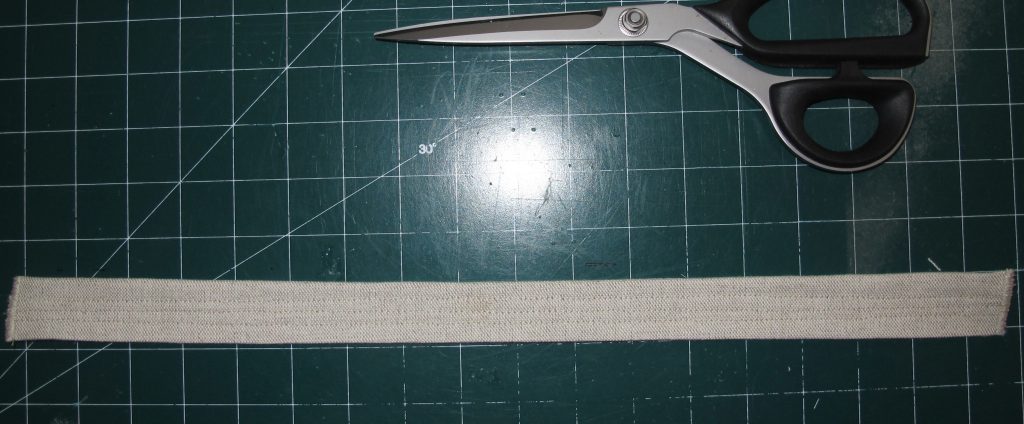
To make two straps cut each strap
45 cm or 18 inches long
10 cm or 4 inches wide
Fold over and iron one side of the strap 2.5 cm or 1 inch the length of the strap
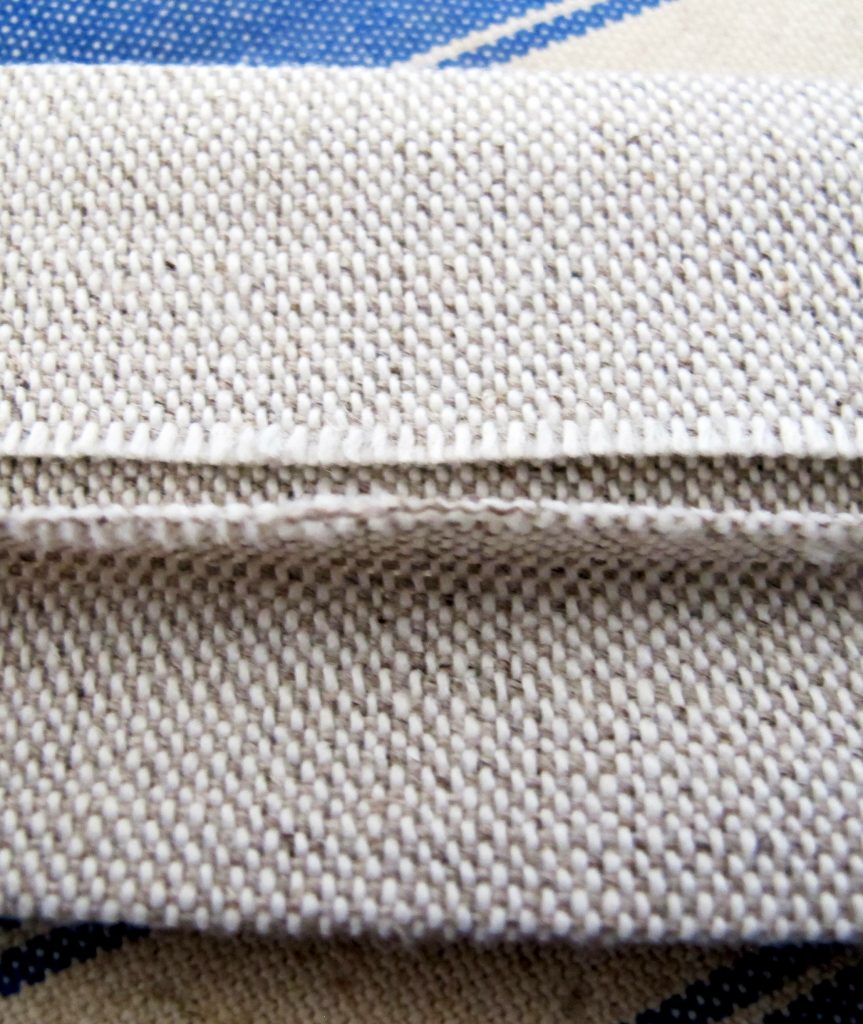
Fold over and iron the other side of the strap 2.5 cm or 1 inch the length of the strap
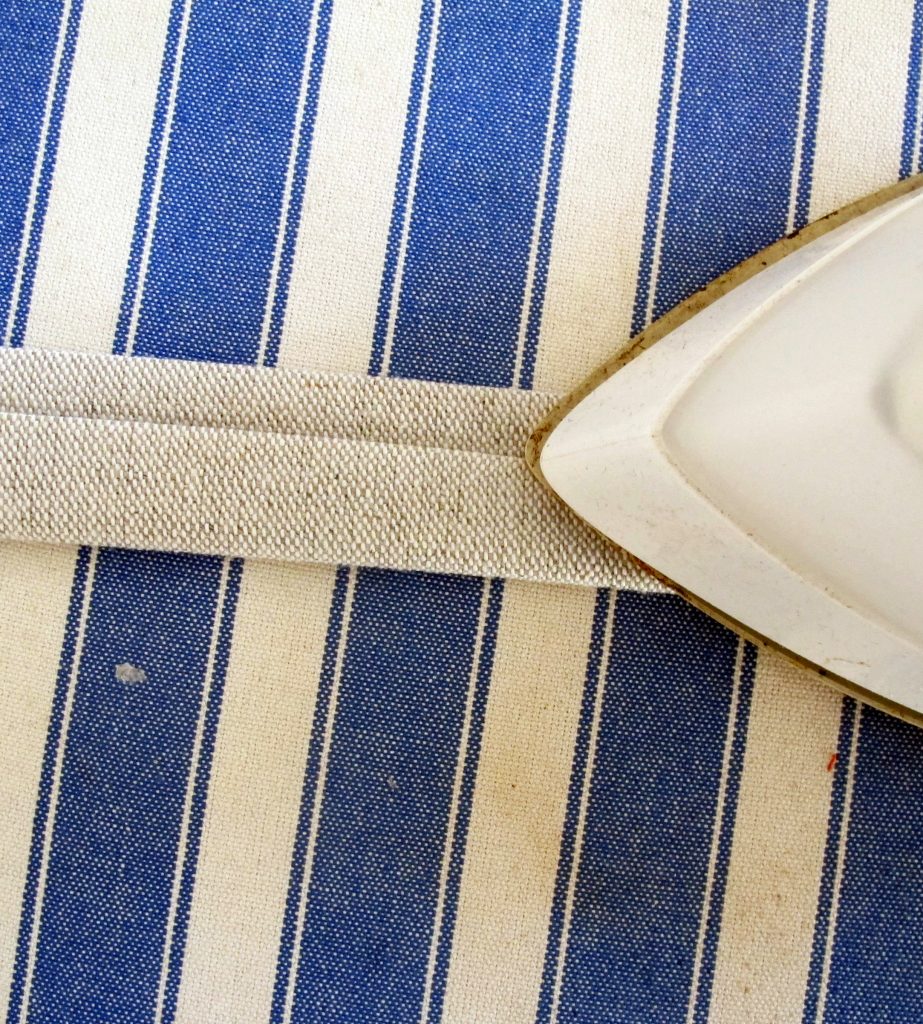
Press the strap down with your iron
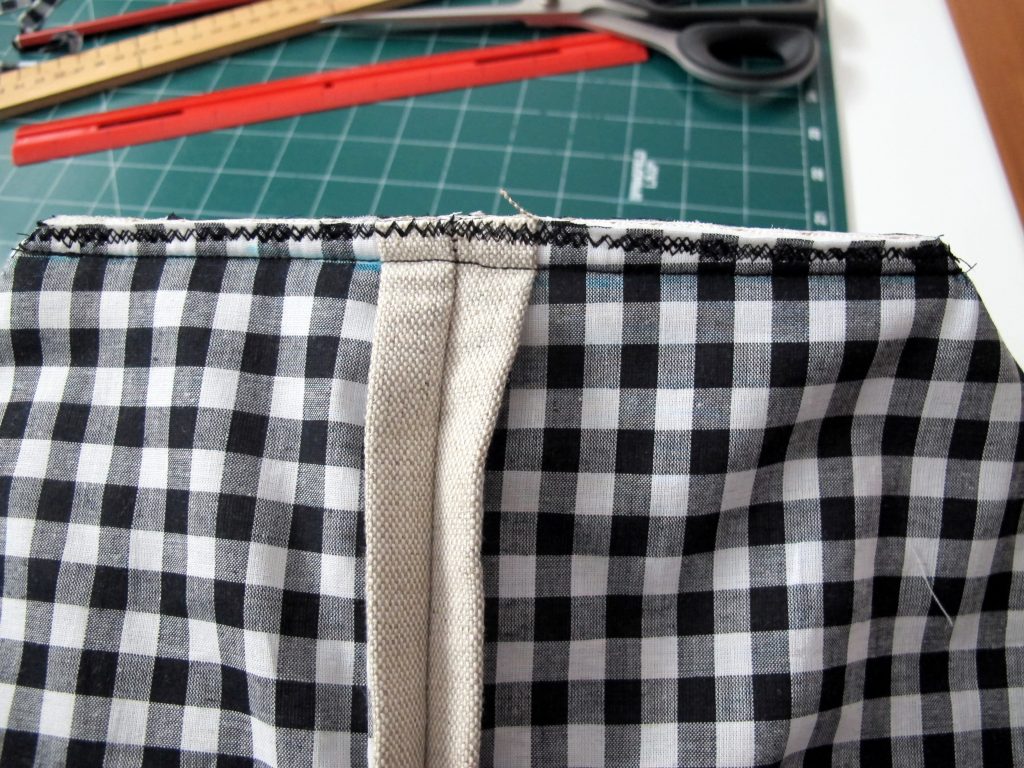
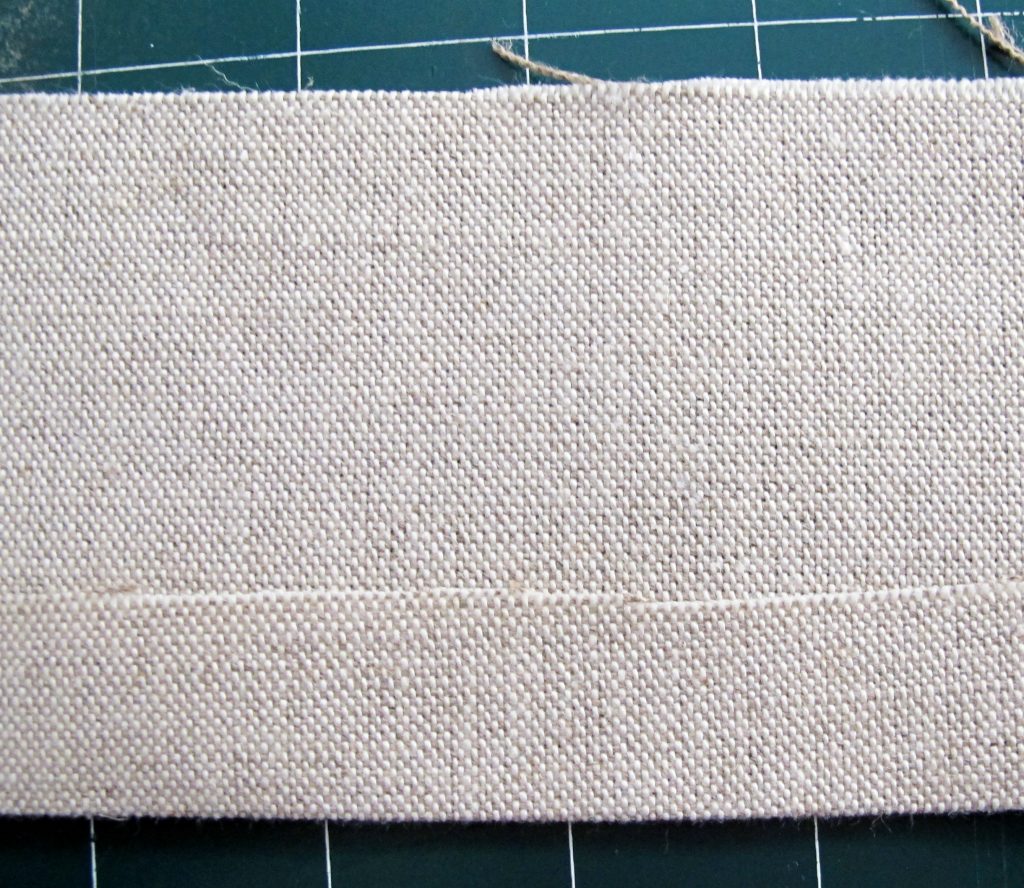
Sew using a straight stitch on the fold in the centre of the strap then on either side of the straight stitch sew a straight stitch, altogether you have three lines of straight stitch on the strap this also helps make the strap very sturdy
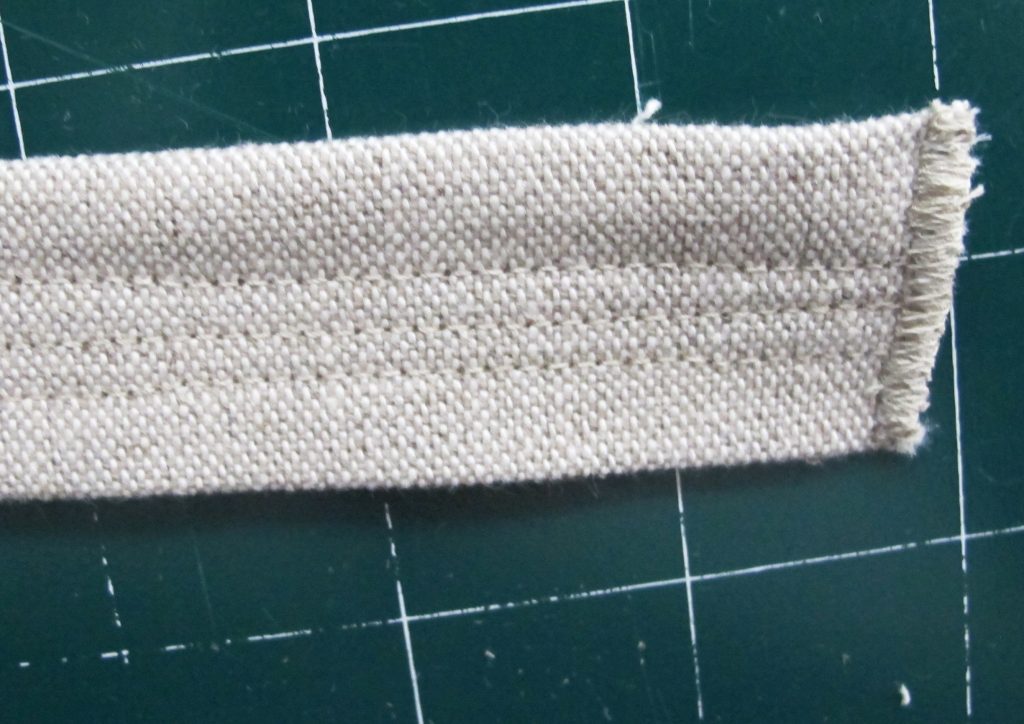
The photo showing you the three lines of straight stitch and zigzag all the ends of the strap
Attach the four buttons to the four ends of the strap
The photo showing you the button sewn onto the straps and the buttons inserted into the button holes
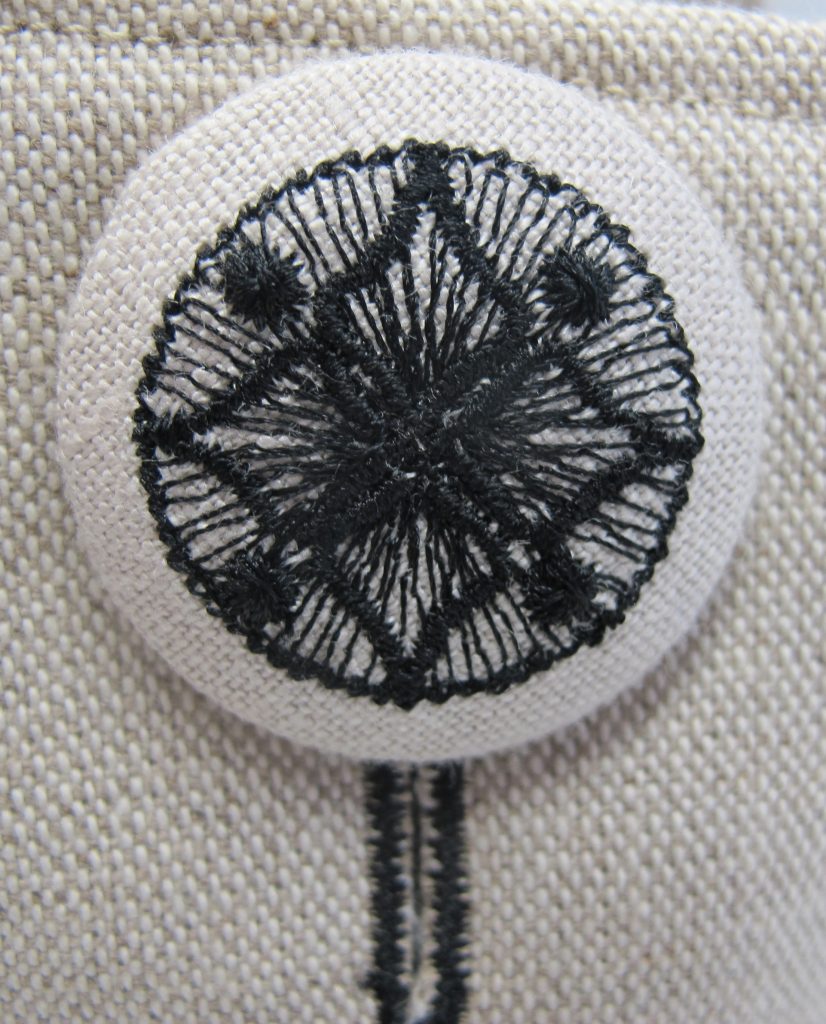
A close up photo of the buttons inserted into the button holes