Threads of the Village Machine Embroidery Design Instructions
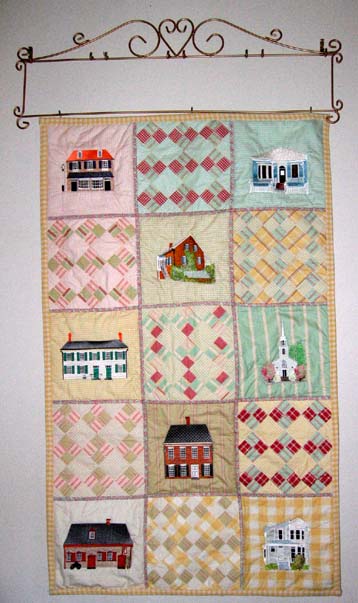
Threads of the Village Wall Hanging

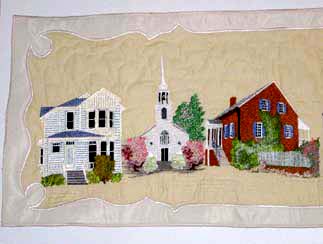
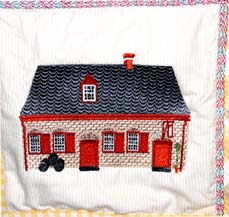
Stitch church out first onto the fabric
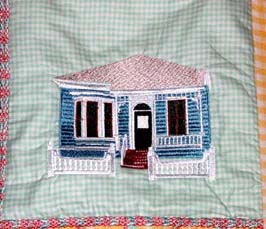
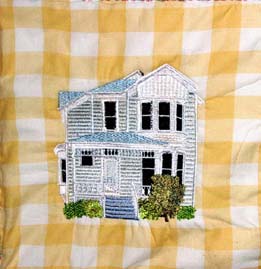
Stitch Ginger as close to the cherry tree of the church as possible. Make sure you bring the Ginger house forward, as seen in the enlarged photo
Stitch Garden house as close to the cherry tree on the other side of the Church. Once again making sure you bring the Garden house forward. If you look at the enlarged photo, I did not bring the Garden house forward enough, the Garden house should have come forward a fraction more, giving the correct persepective
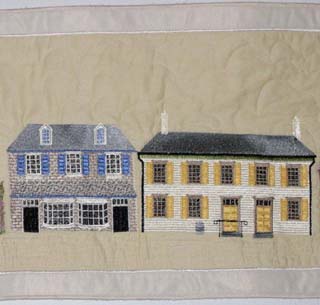
Stitch the shop as close as possible to the Garden house
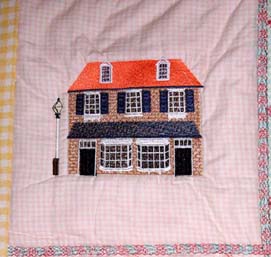
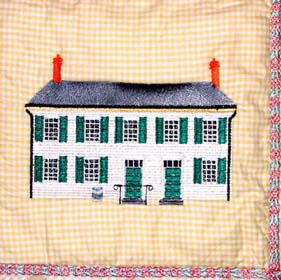
Stitch the Printers house as close as possible to the shop. When I took the Printers house out of the hoop, realised I had not lined the house up properly and the house is going slightly down south, as you can see in the enlarged photo
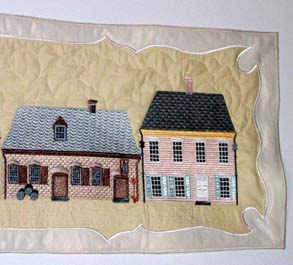
Beside the Printers house stitch the pub as close as possible
I should have put picket fence tree between the Pub and Red house, if time was on my side.
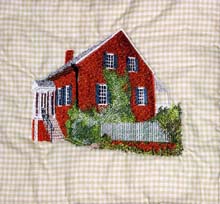
Stitch the Red house as close as possible to the Pub
Beside the Red house I would stitch picket fence_fl. Once again time not on my side.
At the front of the houses from the steps using the straight stitch from your sewing machine using a similar colour as the fabric and your straight stitch. Stitch all the way down, giving a nice quilted effect
Draw using the blue marking pen cloud effects at the top of the wall hanging.
Using your straight stitch once again for the cloud effect follow your blue marking pen.
For the border you will notice I designed a very simple pattern for the corners and the sides. A straight line for the front border. You should keep the border simple, as you have enough going on in the quilt
Applique the border onto the wall hanging
Threads of the Village Paddington Bag
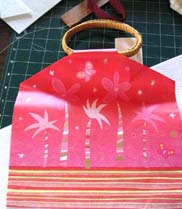
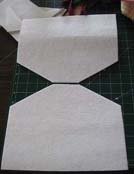
I purchased this paper gift bag from the dollar shops while in the States. I purchased the gift bag for the bamboo handles
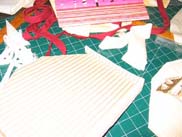
I used the gift bag as a template to cut the front, back and side panels of the bag using Timtex (I purchased the Timtex from Stirling Embroidery http://www.stirlingembroidery.com
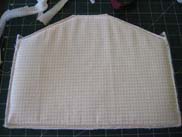
Iron double sided adhesive pellon (wadding) and fabric you wish to use for the bag on both sides of the Timtex and your side panels
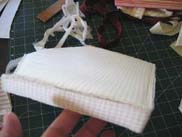
Zigzag stitch (Length 2.0 Width 2.5) all the panels together
Once you have zigzagged all the panels together
Stitch again using a zigzag stitch Length 1.0 Width 3.0
Cut all the frayed edges from the zigzag stitches
Make a satin stitch Length .35 Width 4.5
To hold the bamboo handles I made a flap using the timtex, pellon, wadding and the same fabric as the bag
Cut 2 rectangular pieces of Timtex and repeat what you did for the bag using the the pellon (wadding) and fabric
Threads of the Village Quilt
How to Patchwork the designs into a Quilt
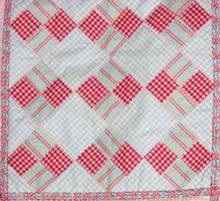
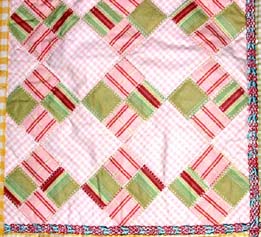
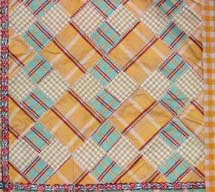
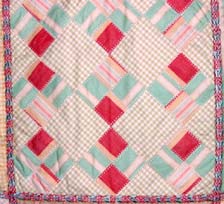
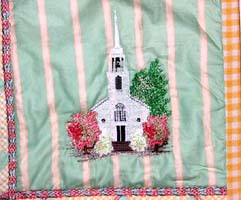
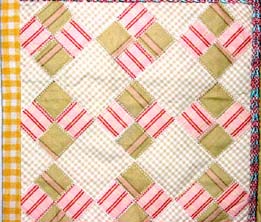
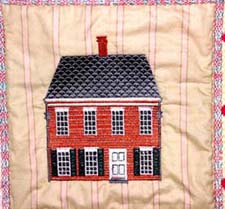
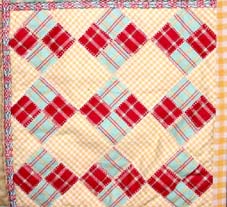
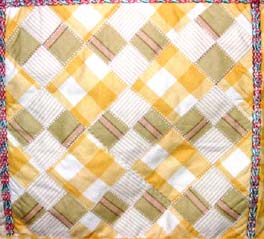
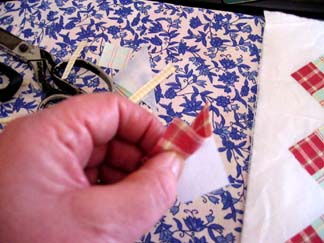
I have used Vlisofix to make this quilt. Vlisofix is a paper product with glue on either side, once you have taken the paper backing away, you then iron one side with the fabric of your choice and then iron onto the backing fabric. Above is an example (Vlisofix is the Australian name for this product, as to what it is called overseas I have no idea) I purchased the Vlisofix product from Stirling Embroidery http://stirlingembroidery.com
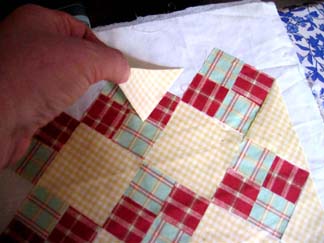
I have ironed the fabric onto the Vlisofix, taking the fabric away from the Vlisofix leaving the glue on one side of the fabric
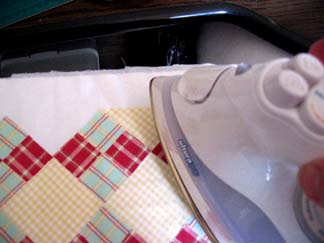
Placing the glued fabric onto the backing fabric
Ironing the glued fabric into position
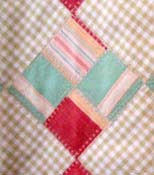
To applique the patchwork pieces down onto the backing fabric I used the stitch in the scanned photograph below Length 0.5 Width 5.0 This stitch is No. 18 on the Pfaff 7570

The fabric I used for the quilt is from Moda called “Paris Flea Market” I purchased this fabric from a dealer while visiting the States in 2004. The fabric came in a bundle of fat quarters. http://www.modafabrics.com/un_home.nsf/new_fabrics
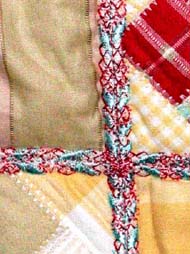
Decorative stitches used on the quilt In a ruby red colour thread Length 6.0 Width 9.0. Stitch this decorative stitch out first

An Aqua colour thread Length 14 Width 9.0. Over the top of the ruby decorative stitch

A pink colour thread Length 20 Width 9.0. Putting this stitch in between each of the aqua leaf stitches

On the Pfaff 7570 the decorative stitch numbers are 175, 123 and 137
