Tumon Machine Embroidery Design Instructions
Print each design out in “Actual size”
Tumon01a
Tumon02
Tumon03
Tumon04
Tumon05
Tumon06
Mark the centre of each design so you can see it clearly when placing on the fabric you have chosen to stitch the design on
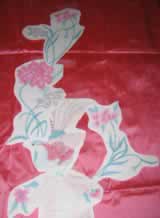
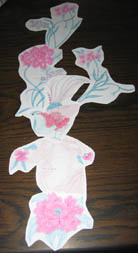
Sticky tape the design together
Start from the top, sticky tape
Tumon06 to Tumon05
Sticky tape Tumon 04 to Tumon02 sticky tape Tumon 03 to both Tumon 02 and tumon 05
Sticky tape tumon01a to Tumon 02…If you cannot follow all this then just look at the photo above.
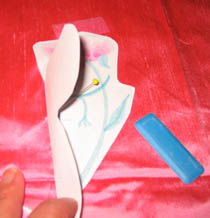
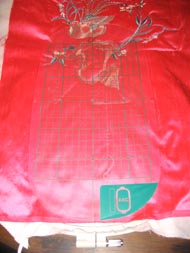
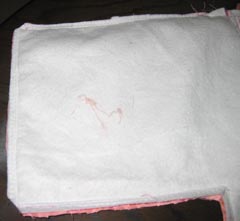
Where you have the centre of each design put a pin through the centre and mark on the fabric with chalk or marking pen.
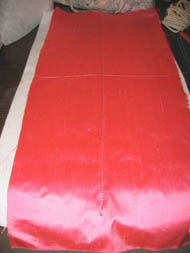
Once you have marked your fabric with either your chalk or marking pen stitch the fabric down with two layers of thin woolen batting. I would recommend to stitch more than what I have done above. As I found the stitching was not enough
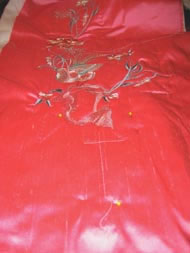
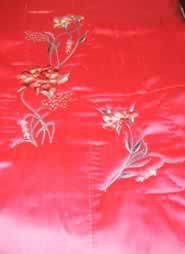
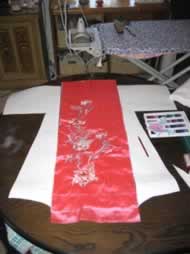
You can see I have stitched out Tumon05 Tumon04 and Tumon06
You can see here that with each design I stitched a hoop template which helped stabilize the fabric before stitching out the design
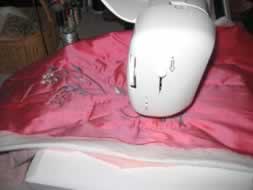
What I did to make it easier to place each design I used the sticky paper and hopped it and then placed the silk over the sticky paper. Found that the easiest way to place each design
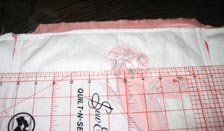
I used the plastic hoop template to find the exact centre as shown in the photograph.
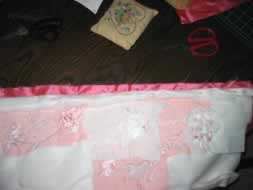
Close up of marking fabric
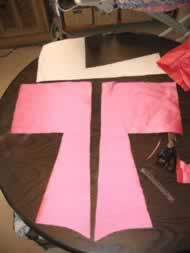
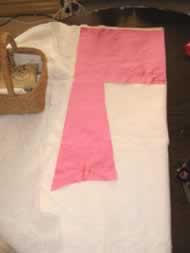
Using the dimension draw on paper the coat template only doing half, cut the half out and then on another piece of paper mirror the pattern and draw the outline of the coat pattern. Cut the other pattern out as shown to the left.
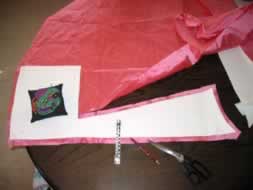
Pin your pattern to your fabric and then mark on your fabric your seam allowance. Cut out the fabric
Fabric cut out
Cut out 2 thin layers of batting
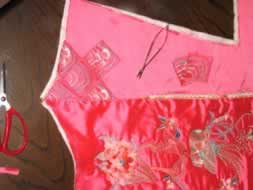
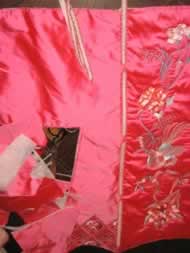
Pin each side panel that you have just cut out to the embroided panel
Making sure you do not pin the batting from the embroided panel to the side panel

Take both pieces and stitch both the side seams to the embroided panel
Stitch eight of each ripples02 and waves02. I did try stitching out 8 in one hopping but found the ripples did not stitch out all that well due to to much movement. I ended up doing two hopping of each ripples and waves
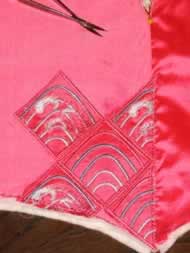
Cut out each of the eight ripples and waves as close as you can to the satin stitch border

Place the one of the ripples down and pinning on the fabric and using a zigzag stitch to applique the ripple down
Stitch out 8 tumon07 in two hopping. Pin each of the tumon07 as shown in the photograph using a zigzag stitch to applique each
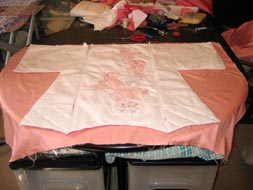
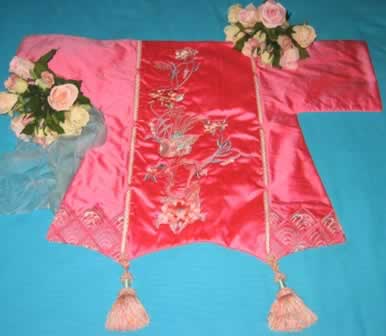
Backing the coat wall hanging
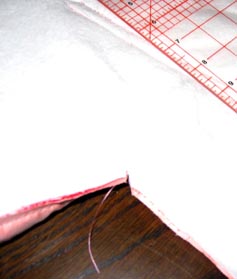
Stitch most of the way around refer to Photograph No. 23 Snip at the sleeves and on the corners
Showing the snips
Left the opening at the top of the coat, so you can bring the embroided part through to the right side

Pressed and pined where the opening is all ready to hand stitch.
You will receive a .bmp file of the above drawing with the Tumon set of designs, so you can have the same dimension as the Wall Hangin that I had done