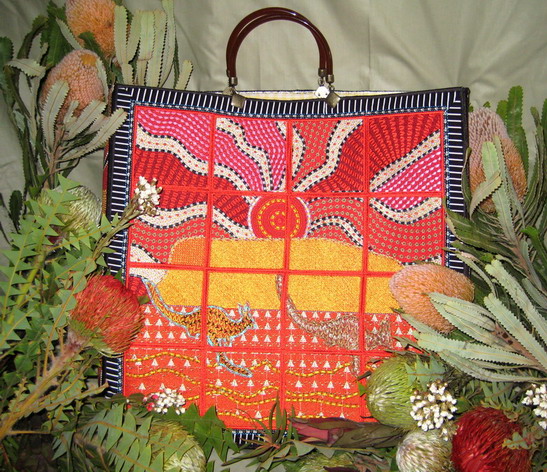
Uluru Machine Embroidery Design Instructions
Uluru Bag
What you need:
- 2.5 meters red cotton fabric
- 2.5 meters of thin wadding
- 2.5 meters of a medium weight stabilizer called “cut away” (I used a fabric type stabilizer, purchased many years ago and thought I had best start using it, it worked well) have no idea as to where I bought it
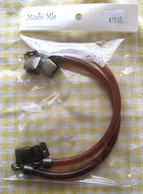
- 2 handles from “Studio Mio” ( I purchased these handles about two years ago at a Craft Show, not sure if they have those type of handles anymore) click on the following URL if you wish to look at handles http://www.studiomio.com.au/
- Stitch out all the following designs
- Uluru_01 to Uluru_16
- Little over 2 meters of Floriani “Stitch and shape” http://www.florianiembroidery.com.au/products.aspx?cat=123
- 2.5 meters of Fabric for the lining of the bag
- Half a meter of striped black and white fabric
Uluru bag dimensions
45 x 45 cm front and back of bag or 10cm wide 1.35 meters length
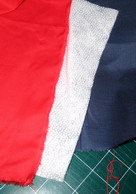
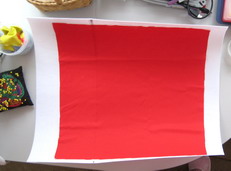
Red fabric
Thin wadding
Fabric stabilizer
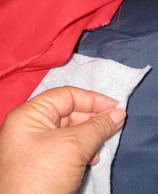
Showing the thin wadding to be used
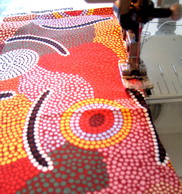
Once you have stitched all the Uluru designs from Uluru_01 to Uluru_16
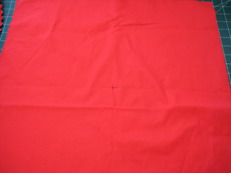
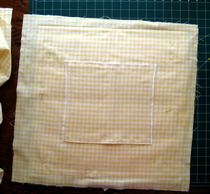
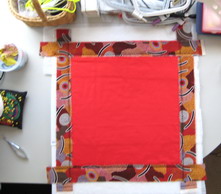
Cut the red fabric into a square 55 x 55 cm this allows for seams etc. (I always allow for more fabric than I need) the finished bag is 45 x 45 cm square
Mark the centre of the red fabric for placement of designs
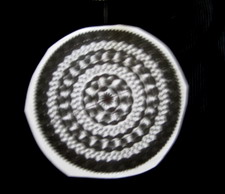
Place Uluru_06 on your red fabric where you have marked your centre
Stitch Uluru_06 using a zigzag stitch
Stitch beside Uluru_06, Uluru_07 then below Uluru_06 stitch Uluru_10
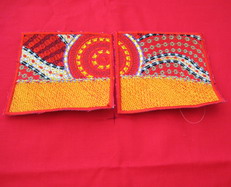
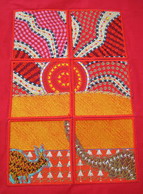
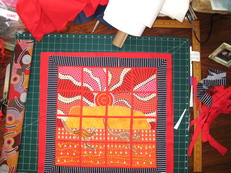
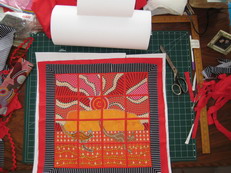
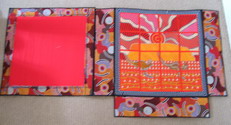
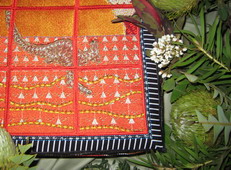
The following designs have been stitched in the centre as shown in the photograph above.
Uluru_11
Uluru_06
Uluru_07
Uluru_10
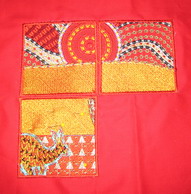
Stitch down
Uluru_02 and Uluru_03
Uluru_02
Uluru_03
Uluru_11
Uluru_06
Uluru_07
Uluru_10
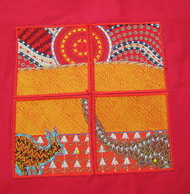
All the designs have been stitched out using the zigzag stitch
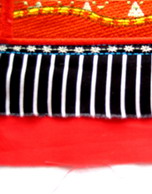
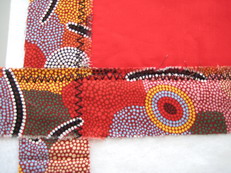
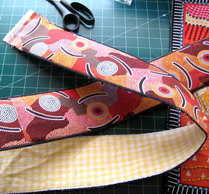
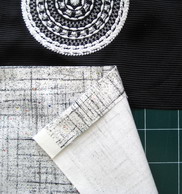
To help bring the design to your eye, add a black and white striped fabric as a border to the design
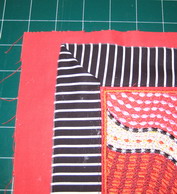
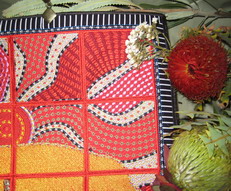
Close up of black and white fabric border
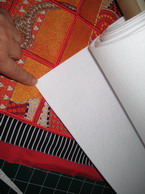
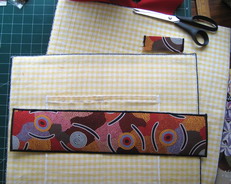
Floriani “Stitch and Shape”
As the “Stitch and Shape” is not wide enough for the bag cut another piece of the “Stitch and Shape” to cover the front and zigzag the two together as shown in the following photograph
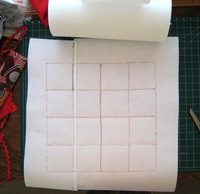
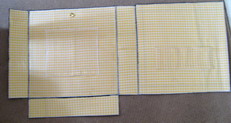
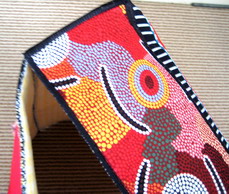
Showing you the back
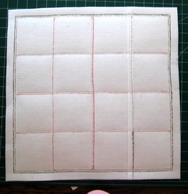
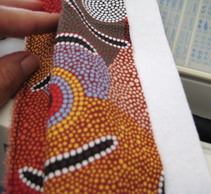
Satin stitch all the squares this gives the Uluru design a nice finish
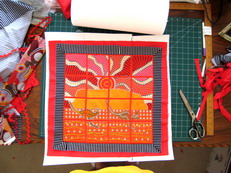
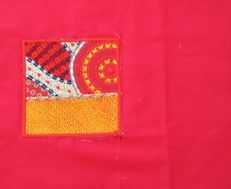
Satin stitched all the squares down to the “Stitch and Shape”
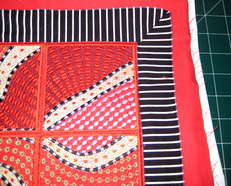
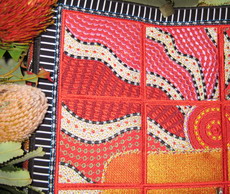
Close up of the squares satin stitched down to the “Stitch and shape”
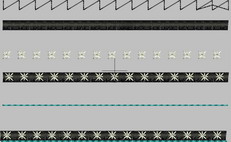
Stitching over the black and white striped fabric stitch in a black thread, satin stitch
Over the top of the satin stitch using a white coloured thread stitch the star shaped decorative stitch
Beside the satin stitch, stitch a triple straight stitch in an aqua blue thread colour, this helps bring everything together
Below is a guide to the type of stitches that was used
Cut away any excess fabric and square the bag front
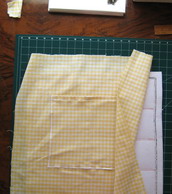
Stitch pockets onto the bag lining
Pin the lining to the bag front (making sure the pocket is facing the right way) guess who finished the bag then realising the pocket was put in up side down. I blame the new born baby Josh; I think my brain is going to mush. Straight stitch along the edges the lining
Do the same as you did with the front panel regarding “Stitch and Shape” for the back panel.
Put a thin wadding under the red fabric this softens the back
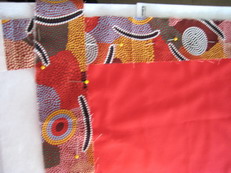
Pin a contrasting fabric which had been torn into strips along all four sides of the red fabric
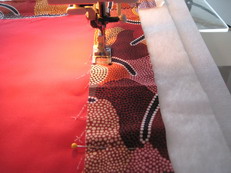
Using your decorative stitches, stitch a triple zigzag stitch in a black thread all the way around on the contrasting fabric strips
Frey the contrasting fabric once you have finished stitching the zigzag triple stitch
All stitched and frayed
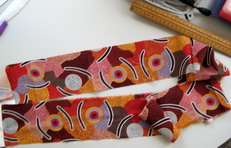
Cut enough fabric for the sides and base of the bag into a long strip
Stitch the side panel and base fabric to a long strip of ‘Stitch and Shape” using a straight stitch to start with
Stitching using straight stitch to the strip of fabric and ‘Stitch and Shape”
Once you have stitched the side panel and base fabric together with “Stitch and Shape” you then, straight stitch once again the lining. On the edges offront, back, side and base panels zigzag in a black coloured thread all sides of the panels after which you then satin stitch all the side panels, this gives a very nice finish, I would recommend you satin stitch twice
The front, back, side and base panels have been satin stitched, ready to put the bag together
Internal view
Start out stitching together using your zigzag stitch for the base panel to the front panel, then stitch one side panel to the front panel and then join the back panel to the side panel
Front View
Stitching all the panels together to form the Uluru Bag
Close up of panels Uluru_01, Uluru_02, Uluru_05 and Uluru_06
Close up of panels Uluru_03, Uluru_04, Uluru_07 and Uluru_08

Close up of panels Uluru_09, Uluru_10, Uluru_13 and Uluru_14
Close up of panels Uluru_11, Uluru_12, Uluru_15 and Uluru_16
Attach bag handles to the bag
Uluru Cushion
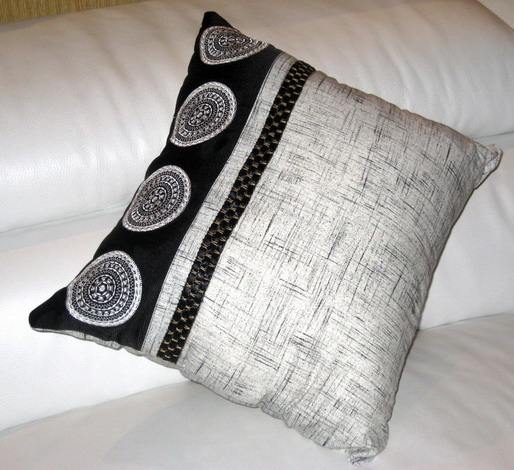
Cushion size 45 x 45 cm
This cushion was designed for my son for his new apartment, I was hoping he would like it, to my surprise he loved it!
What you need:
- Half a meter of black fabric
- 2 layers of “Cut Away” stabilizer
- 1 meter of contrasting fabric
- Zipper
- Braid ¾ meter
- Design Heat_02
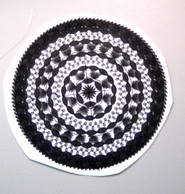
Print out Heat_02 in “Actual size”
Mark the centre of the design
Cut the design out as shown in the photograph above
With a pin mark the centre of the Heat_02 on the black fabric with your chalk using the print out of “Actual size”
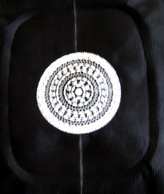
Stitch Heat_02 out in white thread where you marked with your chalk
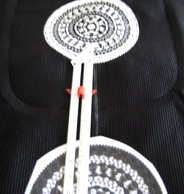
Measure the exact centre from each Heat_02 to mark the exact placement of the next Heat_02
Marking with chalk the exact placement of the next Heat_02
Place folded and ironed contrasting fabric onto the black fabric where you have stitched all four of the Heat_02.
Stitch in black thread over the black and contrasting fabric
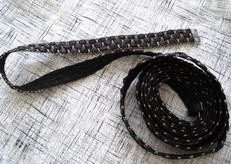
Braid used on the cushion

Place the braid where you feel it would best suit. Make the cushion as you normally do