Urban Appeal Machine Embroidery Design Instructions
Urban Appeal Summer and Winter Bag
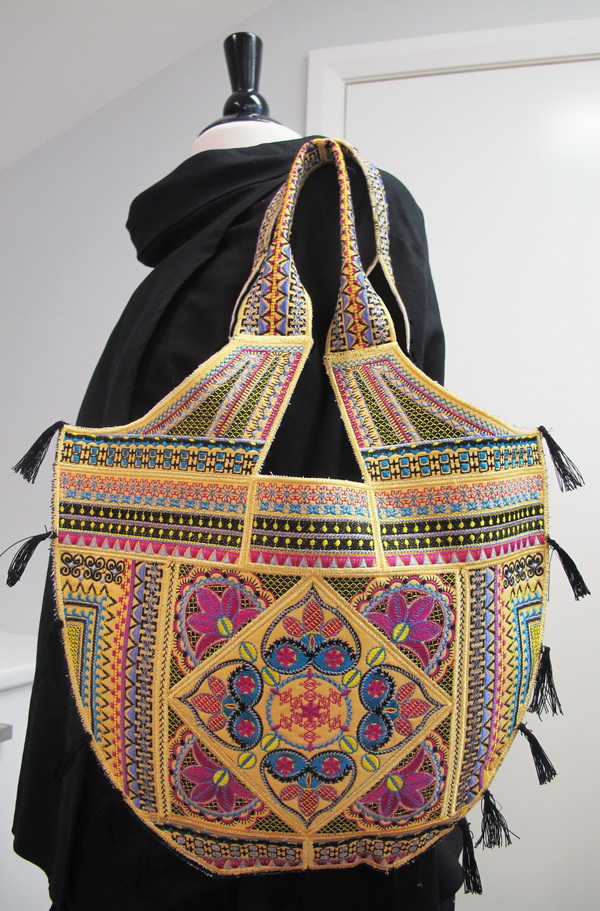
The size of the Urban Appeal bags are 34 x 35 cm or 13 x 13.7 inches approximately
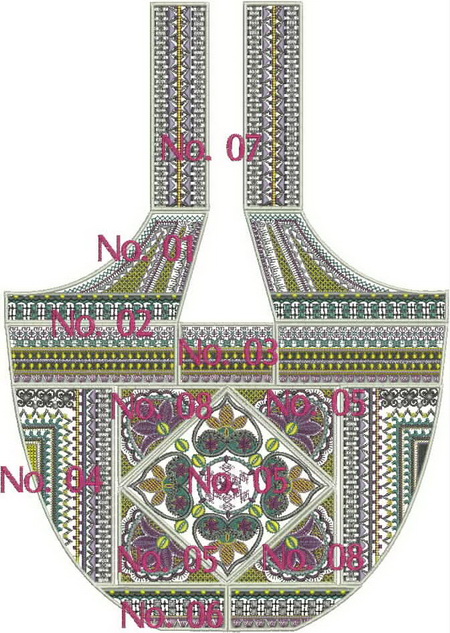
Stitch out the following designs for either the back of the winter or summer bags
- 2 x Back of Bag_01 you will need to mirror one of the stitch outs
- 2 x Back of Bag_02 you will need to mirror one of the stitch outs
- 1 x Back of Bag_03
- 2 x Back of Bag_04 you will need to mirror one of the stitch outs
- 1 x Back of Bag_05
- 2 x Back of Bag_06 you will need to mirror one of the stitch outs
- 4 x Back of Bag_08
Stitch out the following designs for either the winter or summer bags
- 2 x Summer or Winter Colour Bag_01 you will need to mirror one of the stitch outs
- 2 x Summer or Winter Colour Bag_02 you will need to mirror one of the stitch outs
- 1 x Summer or Winter Colour Bag_03
- 2 x Summer or Winter Colour Bag_04 you will need to mirror one of the stitch outs
- 1 x Summer or Winter Colour Bag_05
- 2 x Summer or Winter Colour Bag_06 you will need to mirror one of the stitch outs
- 4 x Summer or Winter Colour Bag_07 or if you would like a longer handle stitch out 8
- 4 x Summer or Winter Colour Bag_08
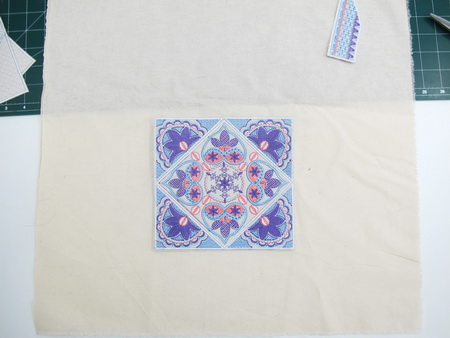
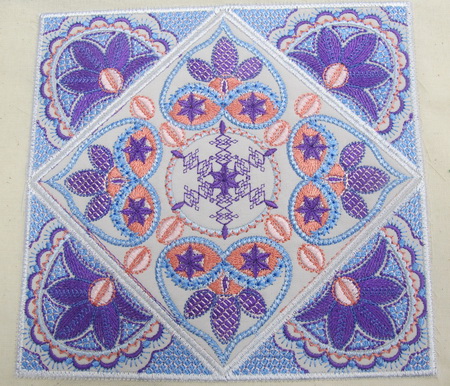
Cut the excess fabric from the satin stitch border of all the design panels you have stitched out
Place each of the panels on your background fabric of choice, I used calico fabric as you will not see the background fabric and start by the centre panel “Summer or Winter colour bag_05”
Lightly glue each of the panels down to the background fabric
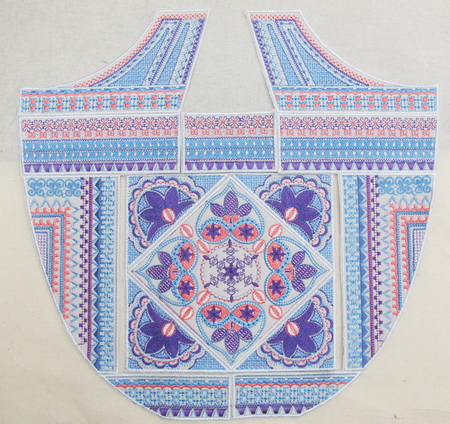
You will notice in the photo above there is a slight gap between panel No.0 5 and the No.04 the reason for this is there is usually and also depending on the fabric the stitches pull the fabric I will show you how to cover the gap in instruction No. 6
Once you have glued each of the panels down, using your zigzag stitch on your sewing machine stitch each of the panels down to your background fabric
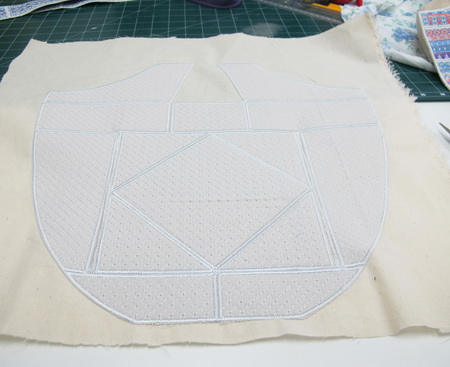
Zigzag stitch all the back panels together the same way as you did for the front panels
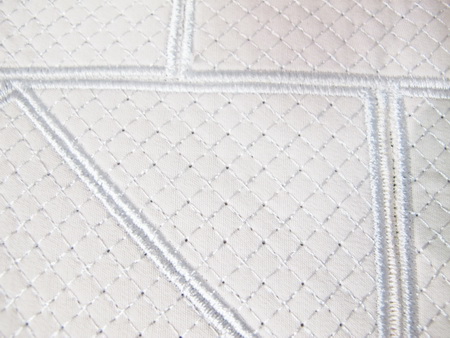
Close up of the panels stitched together for the back of the bag
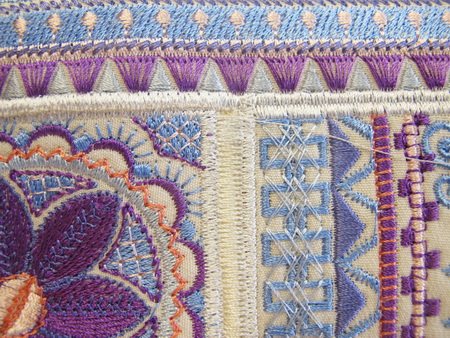
In the photo, you can see where I covered the gap using a wide satin stitch in the same coloured thread as I used for the satin stitch border on each of the panels
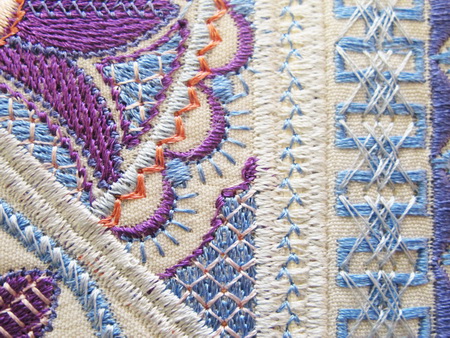
In the photo, you can see where I covered the gap using a wide satin stitch in the same coloured thread as I used for the satin stitch border on each of the panels
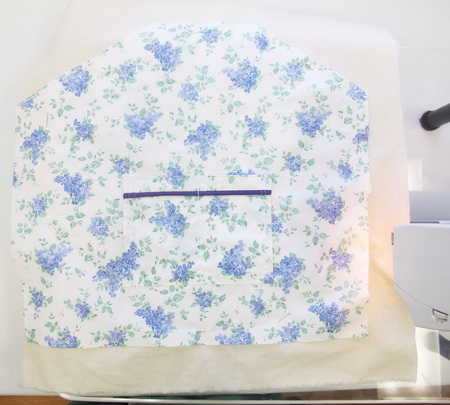
Put some pockets on your lining fabric
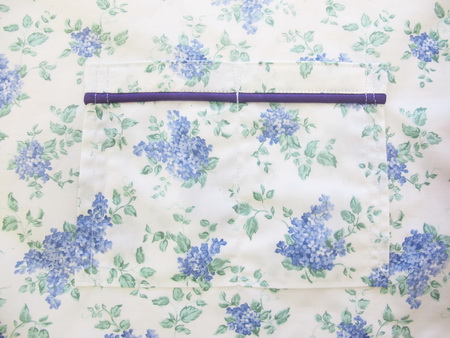
Close up of the pockets stitched into the lining
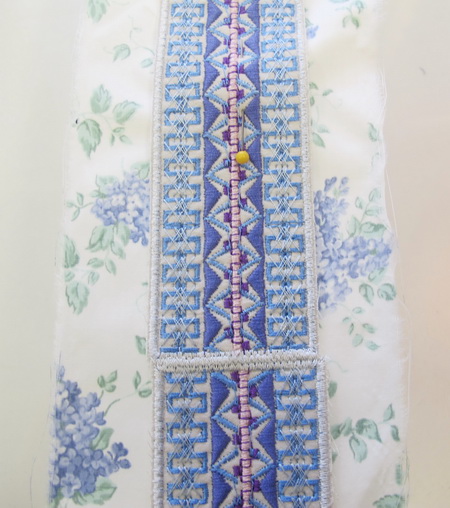
Zigzag stitch the lining to the handles
Zigzag stitch the lining to the bag
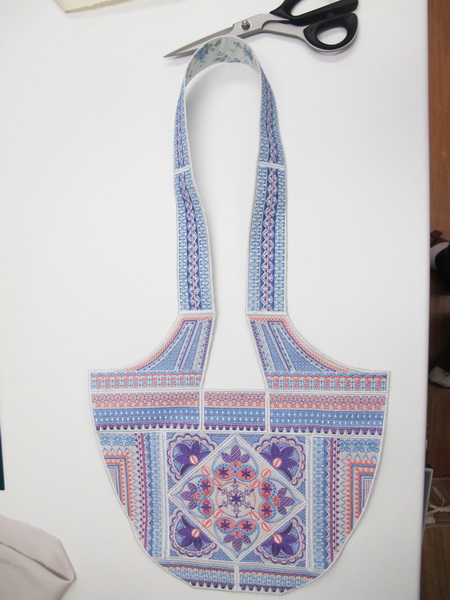
Attach the handles to the bag
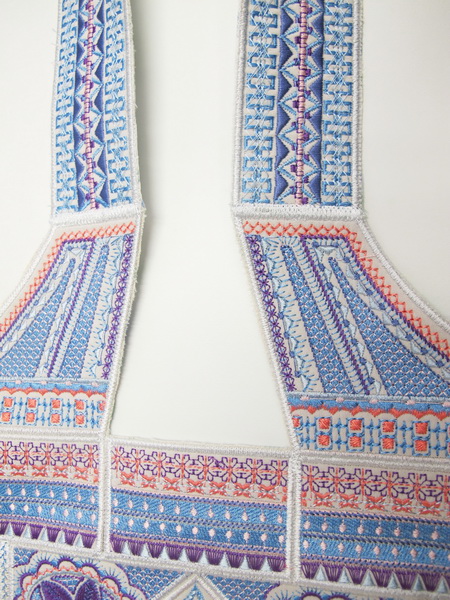
Attached is the bag handles to the front of the bag
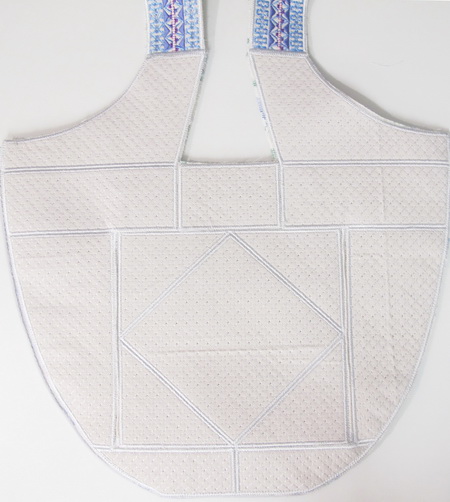
Attach the handles to the back of the bag
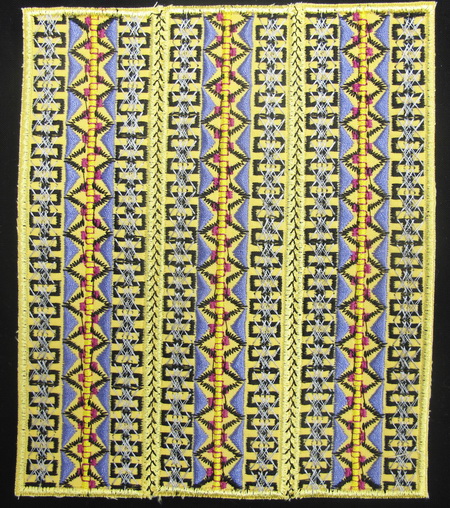
I was originally going to make a long handle for this bag, changed my mind, so I had 4 of the “Winter Bag_07” handles left over, so I thought why not use the panels for the pockets on the inside of the lining. I satin stitched each of the panels together then over the top of the satin stitch I stitched a feather stitch
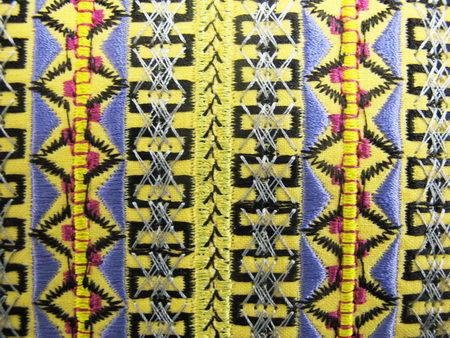
Close up photo of the satin stitch to join each of the panels and the feather stitch over the satin stitch
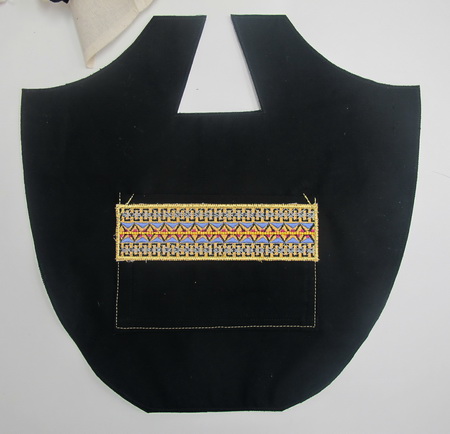
The left over handle I used on the top of the pocket
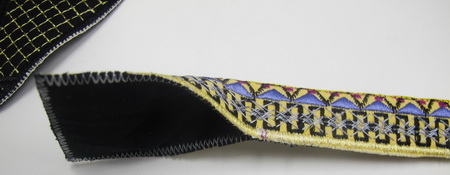
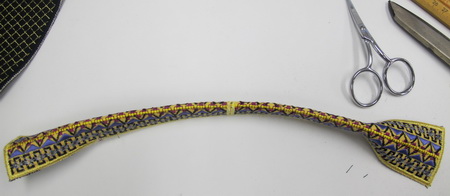
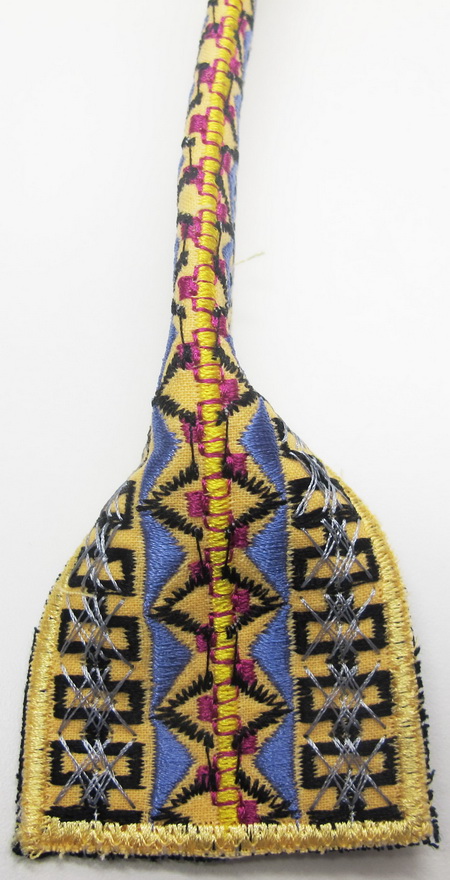
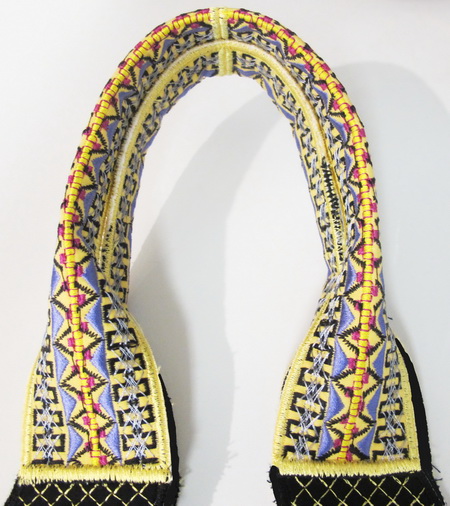
Fold the handles and zigzag stitch over the satin stitch, leaving enough room at the end of each handle to stitch to the bag
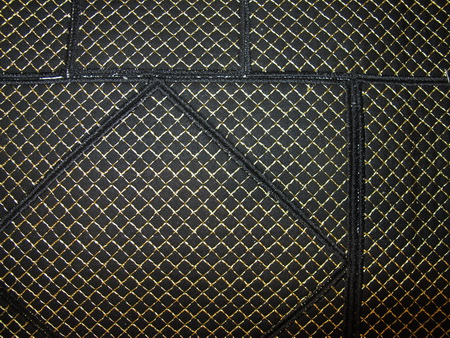
Back of the Winter Bag
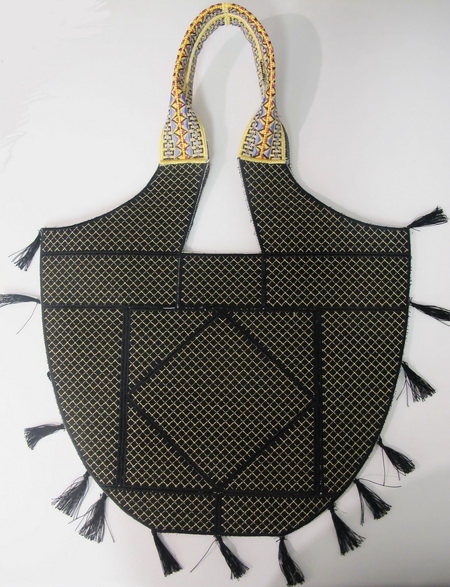
I made little tassel’s to put around the bag
